Make a crochet Christmas tree ornament with this easy pattern, perfect for holiday tree décor, gifts, and festive handmade decorations.
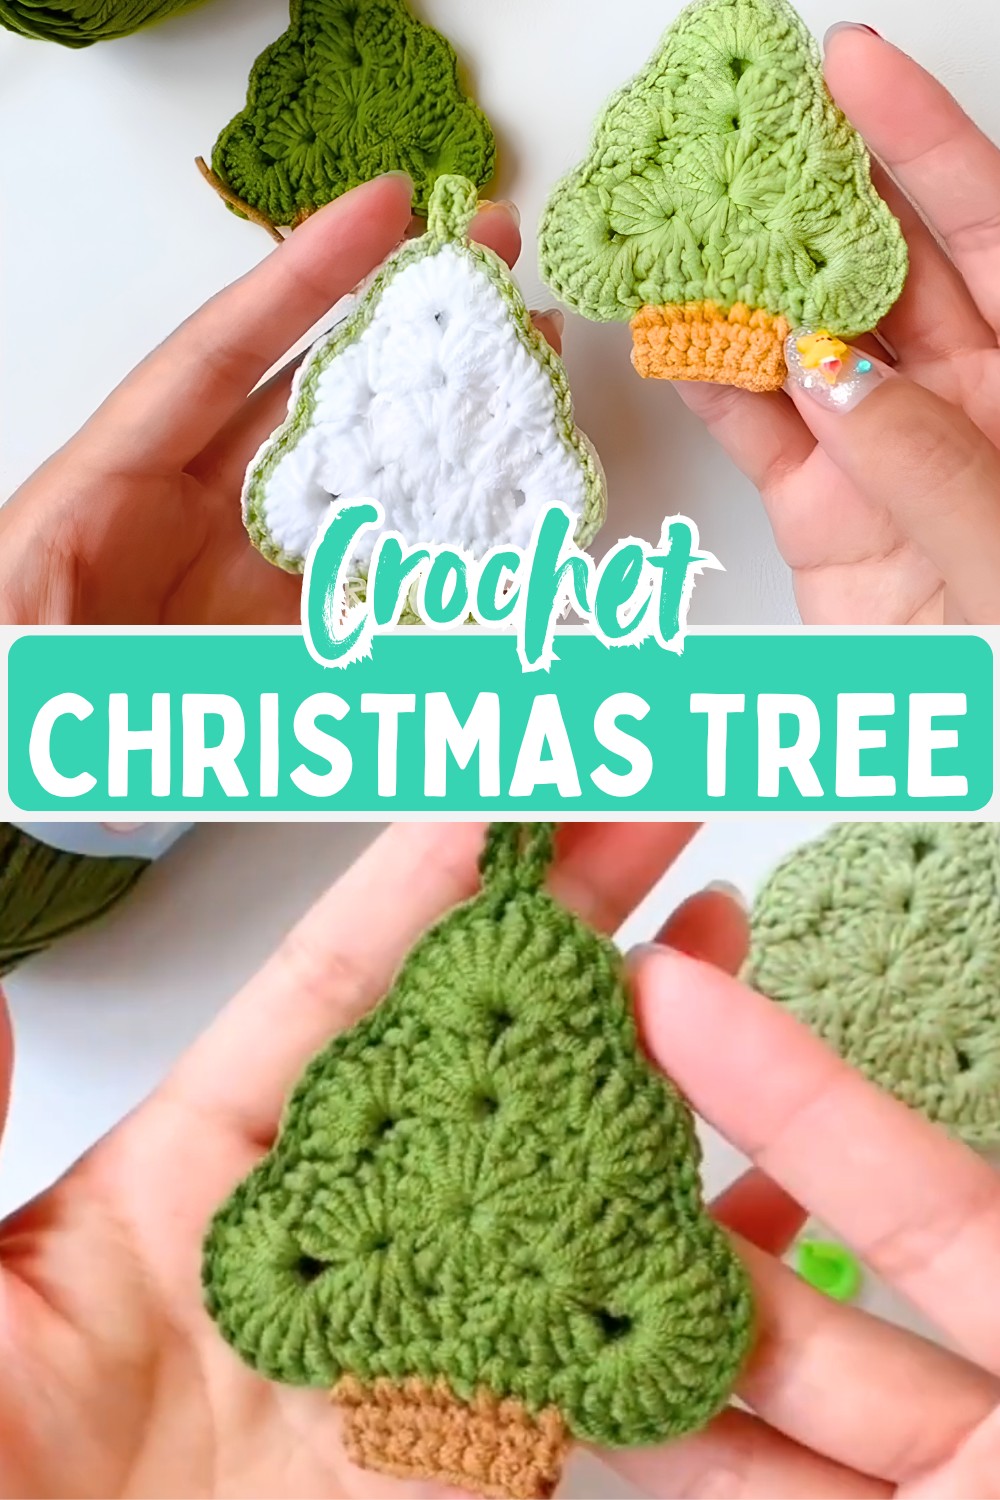
Crochet Christmas Tree Ornament
This crochet Christmas tree ornament turns a few simple stitches into a festive decoration with a classic holiday charm. The layered tree shape, neat details, and compact size make it a lovely addition to Christmas trees, gift wrapping, shelves, and seasonal displays.
Designed with an easy structure and beginner-friendly techniques, this crochet ornament offers a fun way to create a personal holiday keepsake. From the double-sided tree panels to the hanging loop and decorative options, every detail adds to its cheerful handmade appeal.
Credit Crochet Magic
Materials & Tools Needed
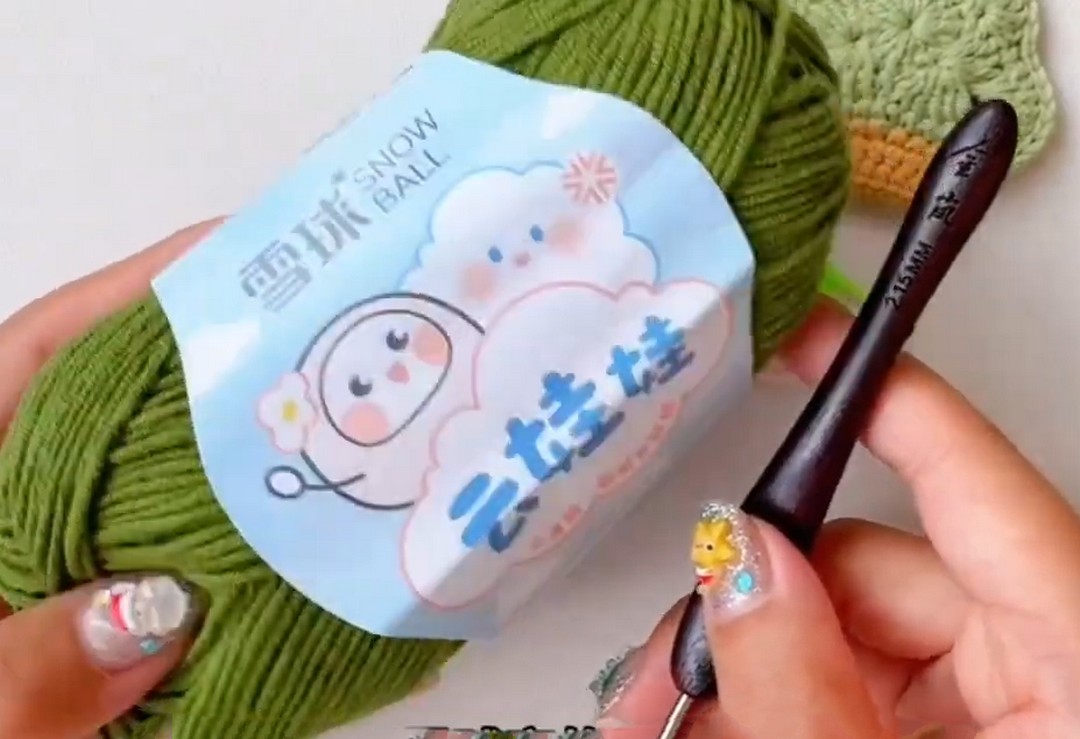
- Yarn: Medium weight (like Cloud Baby or Xue Qiu Jia yarn).
- Festive tones: forest green or white for the tree, contrast brown for the trunk.
- Crochet hook: 2.15mm or appropriate size for a tight fabric.
- Notions:
- Stitch markers (to mark stitches).
- Yarn needle (for weaving), scissors, and optional hot glue for stabilizing the trunk.
Pattern Details
Pattern Notes:
Two matching flat tree motifs joined for a strong, double-sided ornament.
Gauge:
Not critical; keep stitches tight and consistent.
Key Features:
- Magic Ring Core: Creates a completely closed center.
- Textured Fan Stitches: Shell and fan variations for tiered boughs.
- Seamless Assembly: Panels joined with slip stitches, plus hanging loop.

Pattern Overview & Making Process
The ornament begins by creating the tree motif from a magic ring foundation, followed by double crochet stitches to form a closed center. The next rounds build the tree shape with shell and fan stitch details, creating the layered boughs and pointed leaf sections while keeping the design flat and neat.
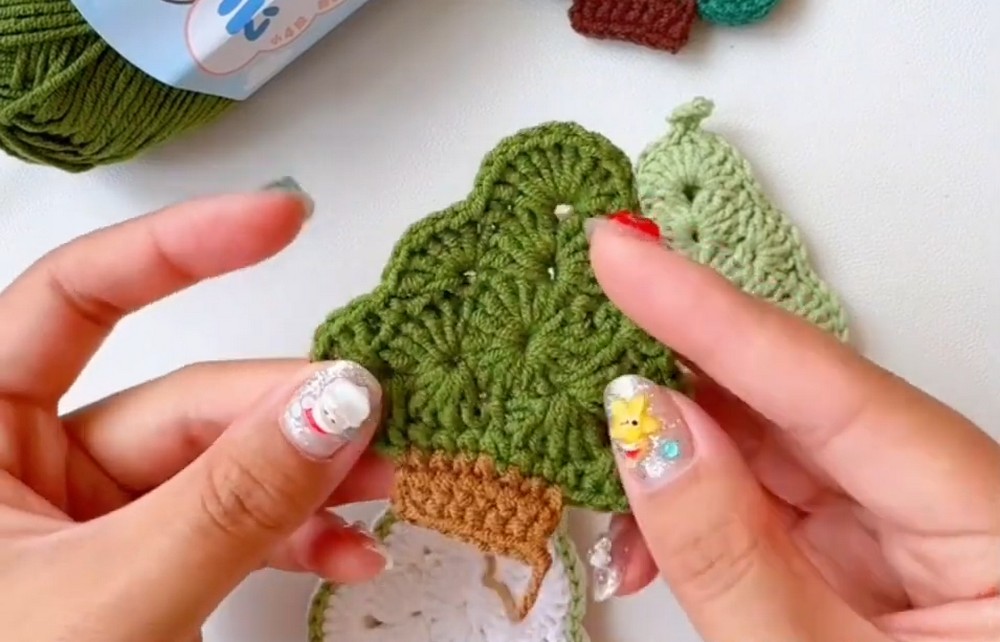
After completing the tree panels, the trunk is added separately using brown yarn and rows of single crochet stitches. Two matching tree motifs are then placed back-to-back and joined around the edges with slip stitches to create a sturdy double-sided ornament.
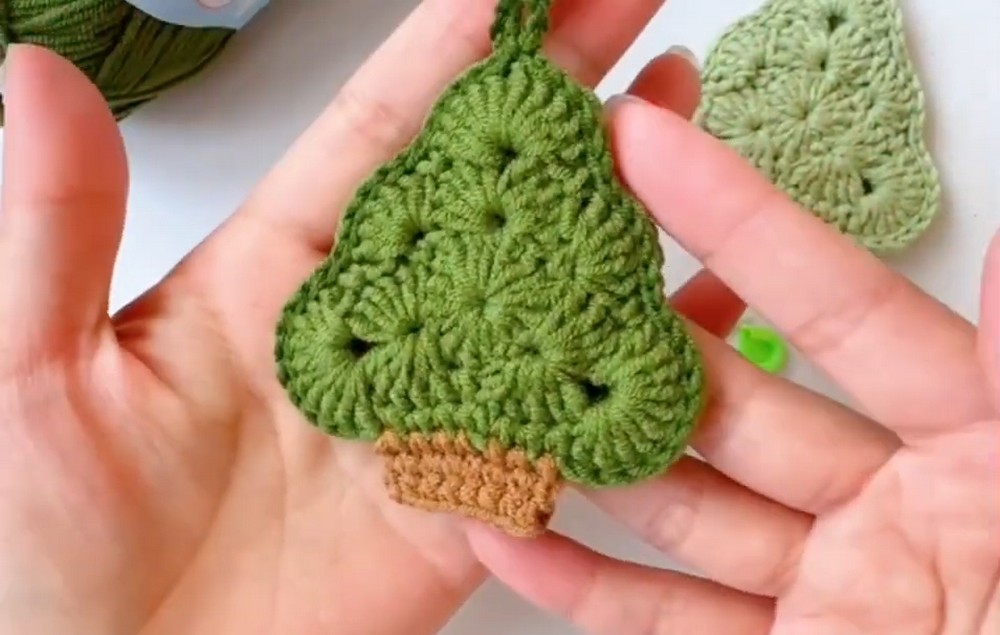
The final step includes adding a hanging loop at the top peak and securing all yarn ends. With simple shaping, textured stitches, and careful assembly, the pattern creates a festive crochet tree ornament ready for holiday decorating or gifting.
Step-by-Step Instructions
Round 1: Foundation Core
- Form a magic ring.
- Chain 3 (counts as the first stitch).
- Work 16 double crochets into the ring.
- Pull the yarn tail tightly to close the center.
- Slip stitch to the top of the first double crochet.
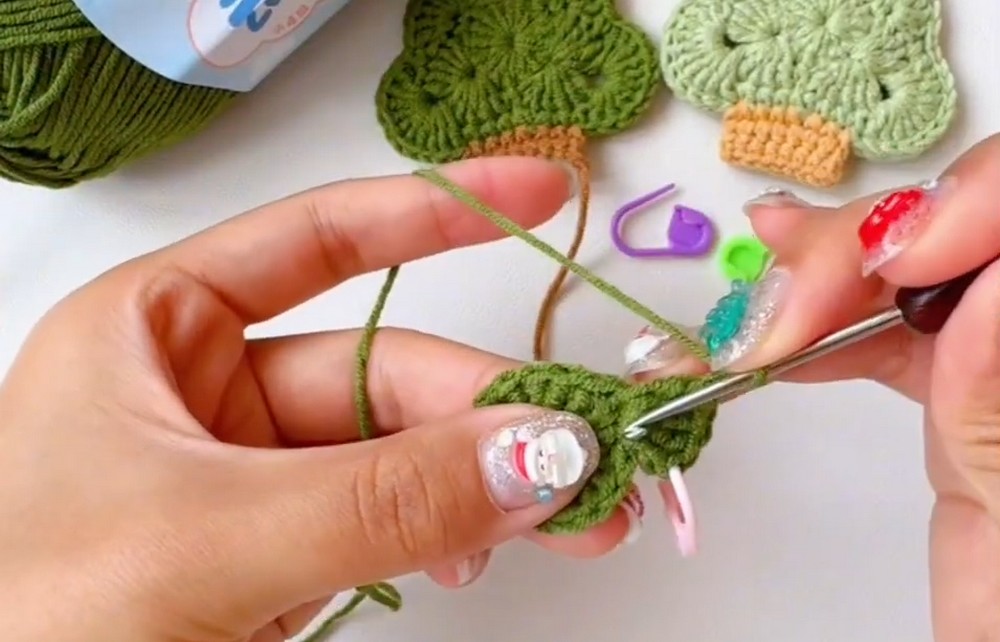
Round 2: Tiered Boughs
- Chain 3.
- In the same stitch: Work 5 double crochets, chain 1, and another 5 double crochets (creates shell).
- Skip 2 stitches, then work 1 single crochet in the next stitch.
- Skip another 2 stitches—repeat the shell pattern: (5 double crochets, chain 1, 5 double crochets).
- Continue around. End with 1 single crochet and slip stitch to the chain-3.
Round 3: Final Shaping
- Chain 1.
- Work 1 single crochet into each of the next 3 stitches. Skip the last double crochet before the shell’s peak.
- In the chain space of the shell, work 10 double crochets (forms leaf tip).
- Skip 2 stitches, work 1 single crochet. In the previous round’s single crochet, work 5 double crochets.
- Repeat around. Cut yarn and weave ends.

Tree Trunk:
- Locate single crochets at the tree’s base. Attach brown yarn & chain 1.
- Work 7 single crochets across the row.
- Chain 1, turn. Crochet another row of 7 single crochets.
- Repeat for 2 total rows. Fasten off and trim.
Assembly:
- Place finished tree panels back-to-back (right sides outward).
- Insert your hook into both panel edges, and join slip stitches around the perimeter.
- At the top peak: Chain 7 to create a hanging loop. Slip stitch back to the peak for an anchor and finish bordering.
- Secure with a final knot and hide ends.
Troubleshooting & Creative Variations
Prevent Curling:
- Check tension—too tight? Adjust skipped stitches or use a larger hook.
Neat Joins:
- Align stitches using locking stitch markers before slip stitching.
Stabilize Trunk:
- Use fabric glue or hot glue between trunk panels for added strength.
Fun Variations:
- Use white yarn for a “snowy” look.
- Add seed beads for baubles before joining panels!
Action Steps
Grab your crochet hook and yarn, and start stitching! Create a forest of ornaments to decorate your home or give as gifts this holiday season.