Bring Nick Wilde to life with tiny crochet details, colorful clothing, playful paws, and a tilted green hat in this pocket-sized amigurumi pattern.
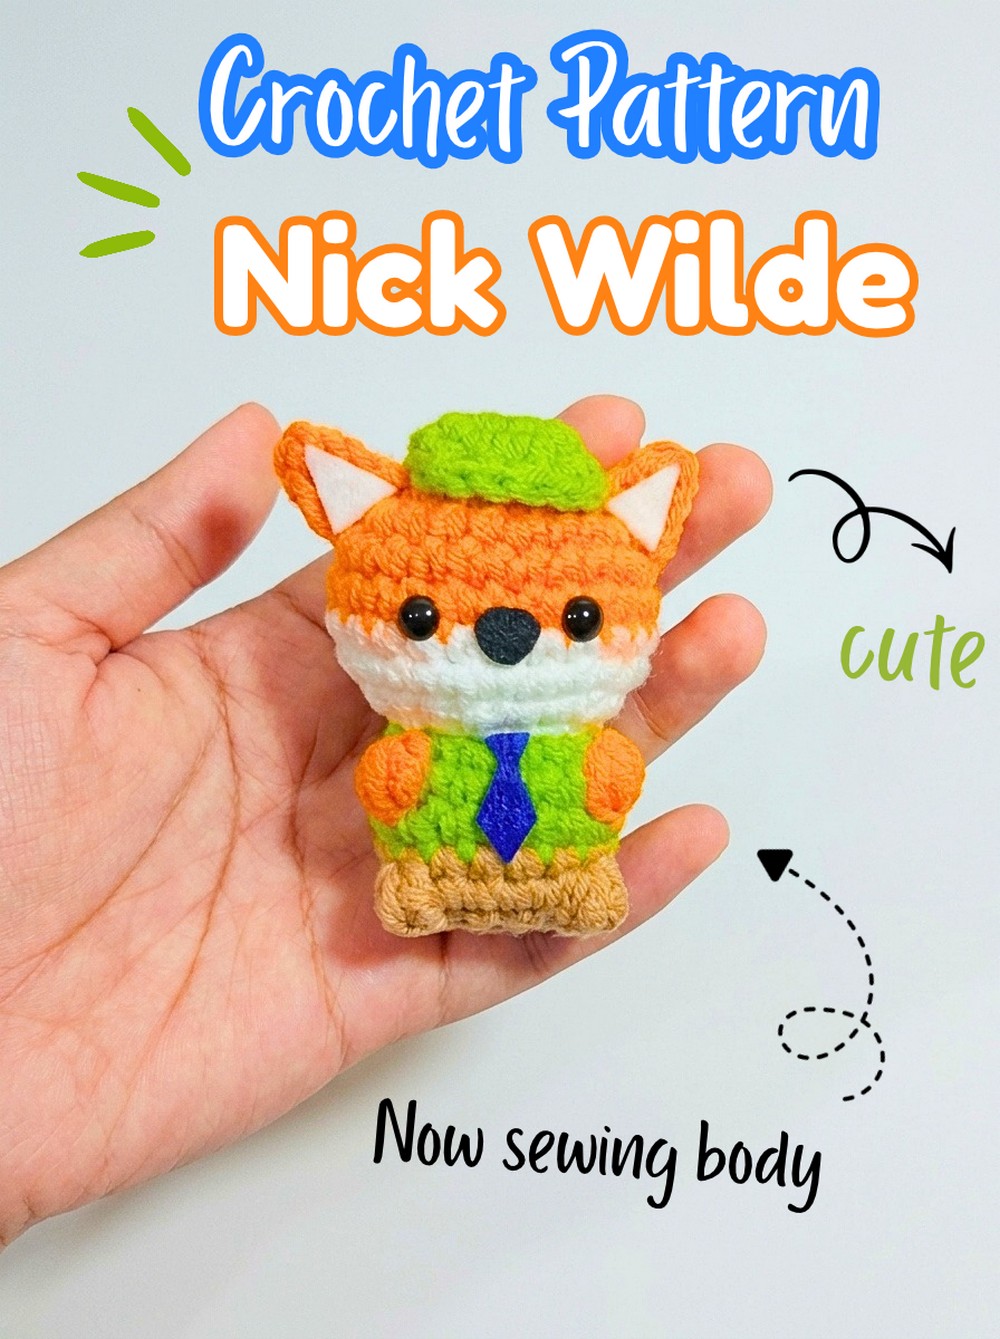
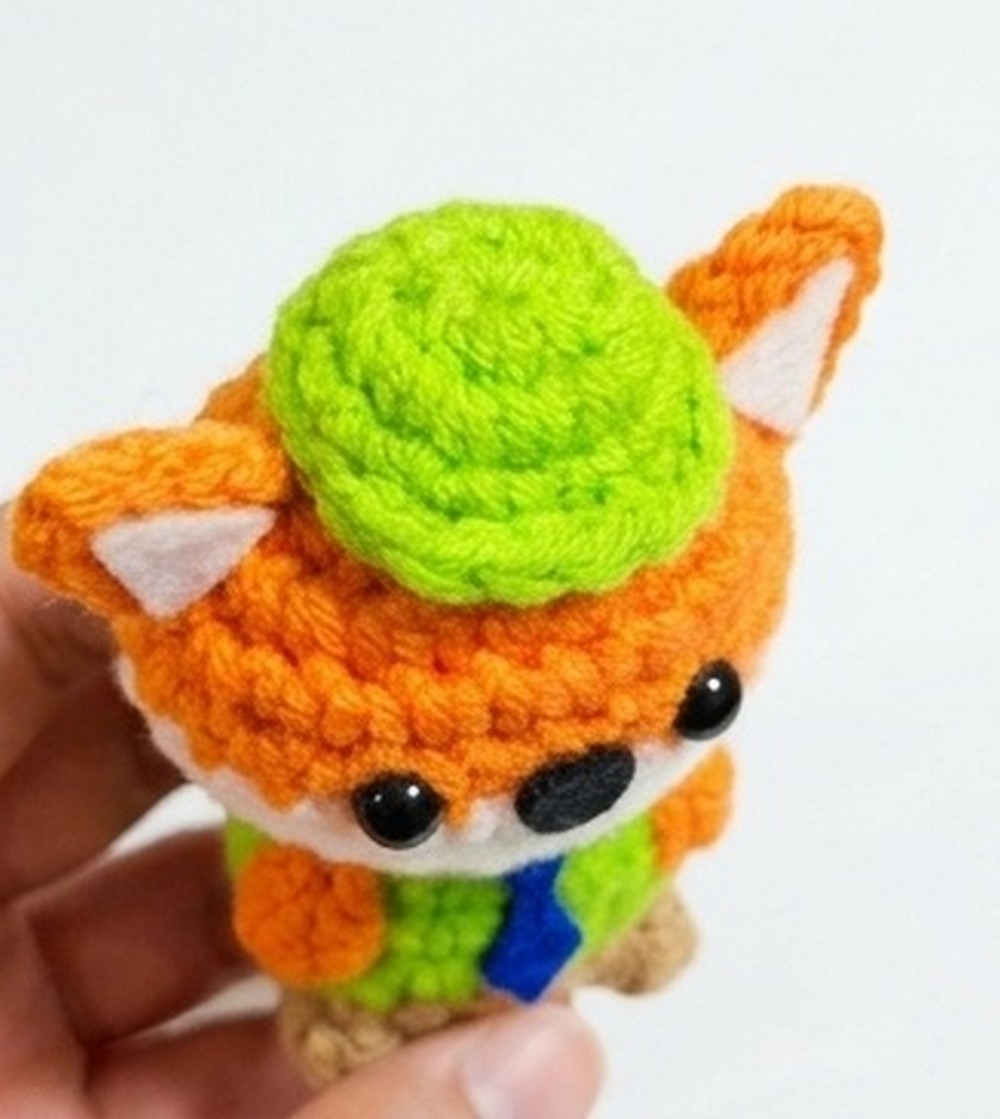
Nick Wilde’s recognizable fox features make this little crochet amigurumi especially fun to put together. At about 3 to 4 inches tall, he has a compact shape with an orange head and paws, a white lower face, a green shirt and hat, and brown pants that give the finished figure plenty of character.
The crochet pattern uses simple increases and decreases for the main shape, while the paws and feet come from small 4DC cluster stitches worked during specific color changes. A few felt details, safety eyes, and the slightly tilted hat bring the face and outfit together, so it helps to pay close attention to placement as you move through the finishing crochet steps.
Credit Tedzukurida
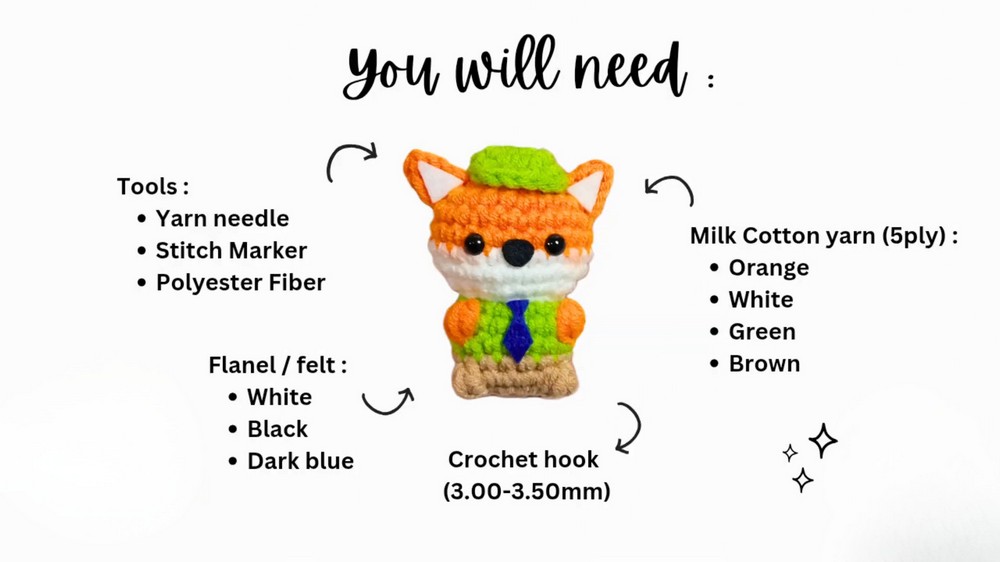
Materials & Tools Needed
- Yarn: Milk Cotton Yarn (5-ply)
- Orange – head, ears, arms/paws
- White – lower face
- Green – shirt and hat
- Brown – pants and legs
- Crochet Hook: 3.00 mm–3.50 mm
- Flannel/Felt: White, black, and dark blue for the eyes, nose, and tie details
- Tools: Yarn needle, stitch markers, and scissors
- Stuffing: Polyester fiberfill
- Safety Eyes: 2 small black safety eyes, approximately 5 mm or 6 mm
- Glue: Fabric glue or UHU glue for the felt details
- Optional: A little blush and a makeup brush for the cheeks
Using 5-ply milk cotton yarn with a 3.00 mm hook, the finished Nick will be approximately 3 to 4 inches tall. This makes him small enough to use as a pocket-sized plushie or keychain.
For a different version, attach a keyring loop to the top of his head or hat. You can also crochet a tiny blue tie instead of cutting one from felt. If you want a much larger, softer Nick, try a larger hook with thicker plush blanket yarn such as velvet or chenille.
Abbreviations
- MR – Magic Ring
- CH – Chain
- SC – Single Crochet
- INC – Increase, 2 SC in one stitch
- DEC – Decrease, single crochet 2 stitches together
- FLO – Front Loop Only
- HDC – Half Double Crochet
- DC – Double Crochet
- 4DC Cluster Stitch – 4 Double Crochet Cluster Stitch, used to form the small paws and feet bumps
How to make Amigurumi Nick
Head
Start with orange yarn. The head begins as a small circle and gradually widens through the first few rounds. Keep a stitch marker at the end of each round so the increases and later decreases stay easy to follow.
Rnd 1: Make 6 SC in a Magic Ring. (6)
Rnd 2: (INC) x 6. (12)
Rnd 3: (SC, INC) x 6. (18)
Rnd 4: (SC, INC, SC) x 6. (24)
Rnd 5–Rnd 6: SC all around. (24); change from Orange to White yarn on the last crochet step of Round 6.
Rnd 7–Rnd 8: With White yarn, SC all around. (24)
Rnd 9: (SC, DEC, SC) x 6. (18)
Rnd 10: (SC, DEC) x 6. (12); change from White to Green yarn on the last stitch to begin the body.
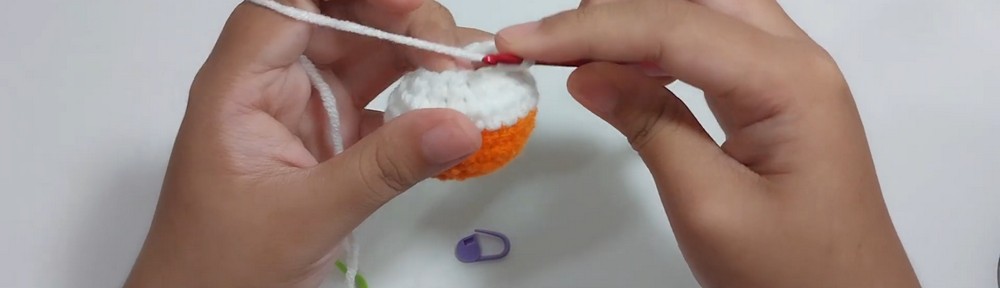
The color change at the end of Round 6 creates the white lower-face area, while the change at the end of Round 10 transitions directly into Nick’s green shirt. Making each color change on the specified final stitch keeps the boundary neat.
Body and Paws
The body starts with green yarn. Round 11 is slightly different because the stitches are worked through the front loops only. This creates the point where the shirt begins and prepares the shape for the following color details.
Rnd 11: With Green yarn, work in FLO: (SC, INC) x 6. (18)
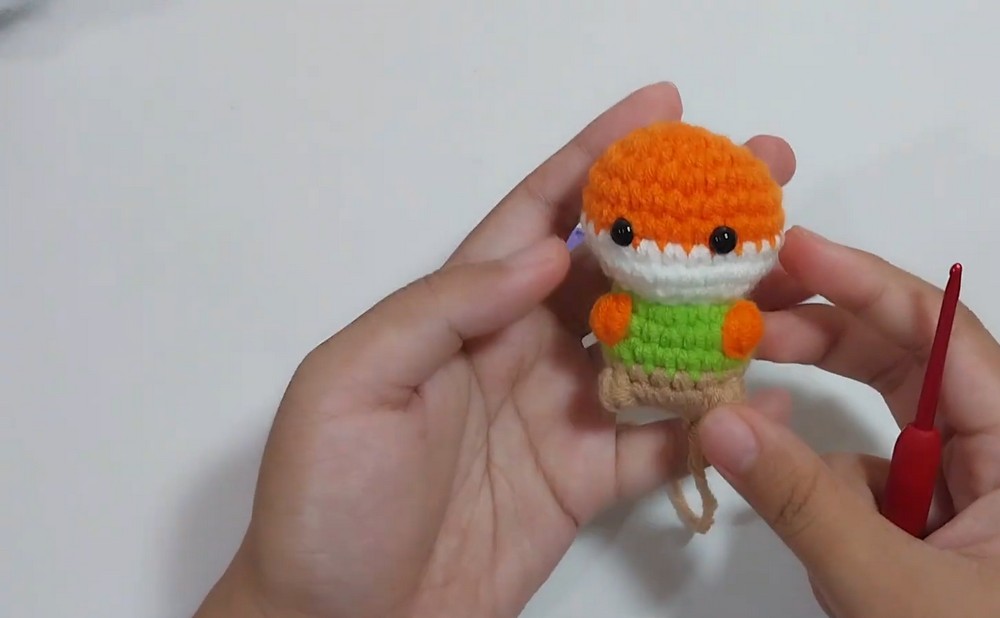
Rnd 12: Work 5 SC with Green, 1 4DC Cluster Stitch with Orange for the first hand, 5 SC with Green, 1 4DC Cluster Stitch with Orange for the second hand, then 6 SC with Green. (18)
Rnd 13: With Green yarn, SC all around. (18); change from Green to Brown yarn on the last stitch.
Rnd 14: With Brown yarn, SC all around. (18)
Round 12 is the point where the small orange paws appear. Keep the two orange cluster stitches in their specified positions so the hands sit on opposite sides of the body rather than shifting around the figure.
Legs and Body Closure
The brown section continues into the legs. As with the hands, the orange cluster stitches in Round 15 create the visible feet, so the color placement matters as much as the stitch count.
Rnd 15: With Brown yarn, work 6 SC, 1 4DC Cluster Stitch with Orange for the first foot, 4 SC with Brown, 1 4DC Cluster Stitch with Orange for the second foot, then 6 SC with Brown. (18)
Rnd 16: (SC, DEC) x 6. (12)
After Round 16, pause to firmly fill the body with polyester fiber fill. Add enough stuffing to give Nick a solid, rounded shape without forcing the stitches apart. It is easier to adjust the stuffing before the opening becomes smaller.
Rnd 17: (DEC) x 6. (6)
Cut the yarn, leaving a long tail. Weave the tail through the FLO of the remaining 6 stitches, then pull to close the opening completely. Hide the excess yarn inside the body.
Eyes and Face Placement
Before finishing all the small details, place the safety eyes carefully because their position determines much of Nick’s expression.
Insert the two small black safety eyes between Rnd 6 and Rnd 7 of the head, leaving exactly a 3-loop distance between them.
The head should also be generously stuffed before the body is completely sealed. A well-filled head helps the face retain its rounded shape and gives the safety eyes a stable surface.
Ears
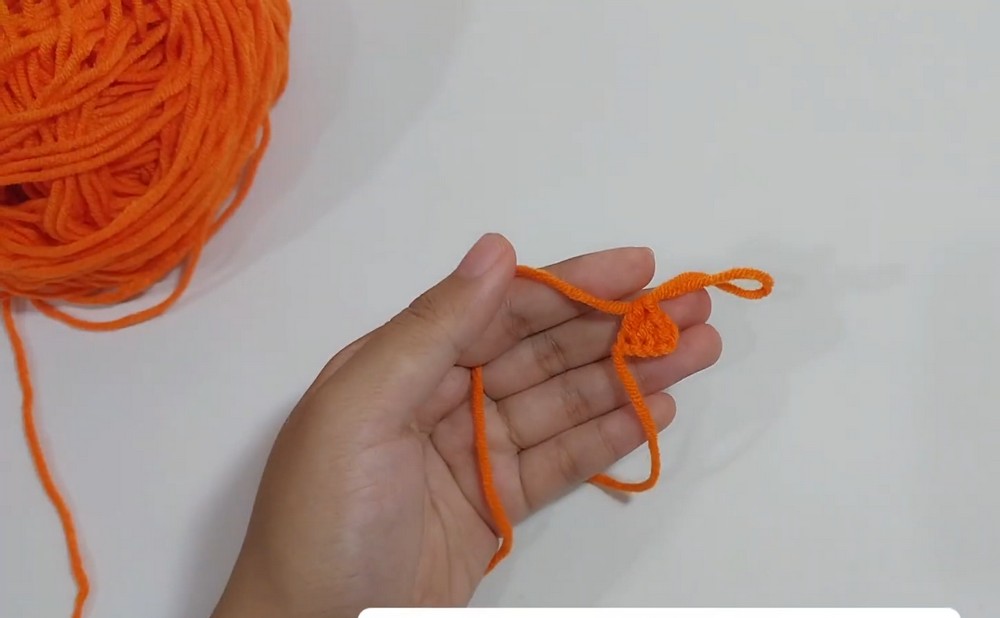
Make 2 ears with orange yarn. Each ear is worked in just two rows, with the different stitch heights creating the pointed shape.
Row 1: Chain 4.
Row 2: Skip 1 chain and work into the 2nd chain from the hook: SC, HDC, DC.
Cut the yarn, leaving a long tail for sewing. Repeat the same two rows to make the second ear, keeping both pieces identical so they sit evenly on the head.
Green Hat
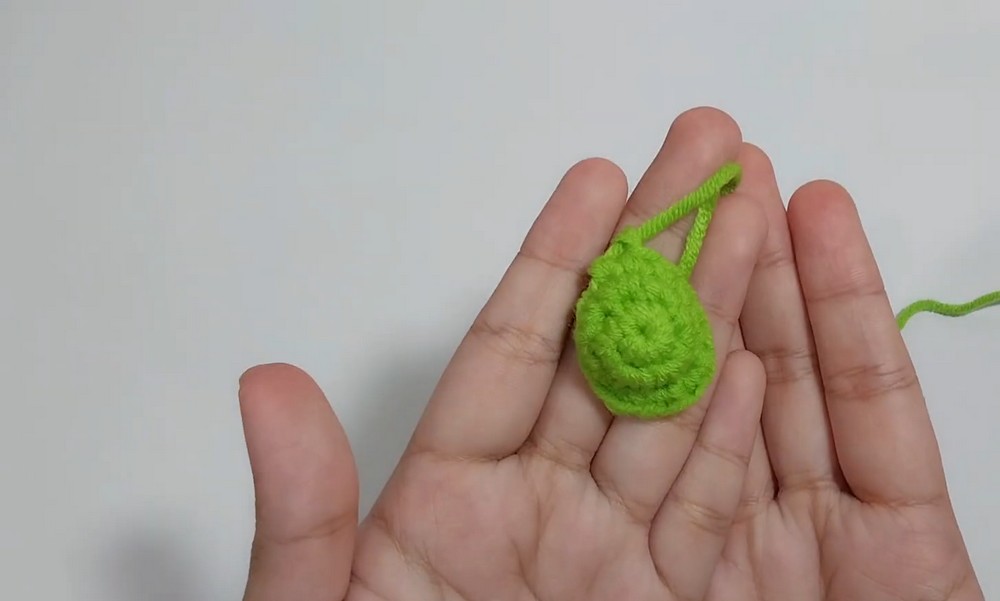
The hat begins with a Magic Ring and develops its small brim through FLO increases in Round 3.
Rnd 1: Make 6 SC in a Magic Ring. (6)
Rnd 2: (INC) x 6. (12)
Rnd 3: 3 SC, then in FLO work (INC) x 3, followed by 6 SC. (15)
Cut the yarn, leaving a long tail for sewing.
The FLO section in Round 3 creates the hat’s forward-facing brim. Keep this detail in mind when you attach the hat, because its direction will determine how the hat sits on Nick’s head.
Putting Nick Together
Once the crocheted pieces are complete, the final details turn the small figure into Nick Wilde. Work through the pieces in an order that makes positioning easier rather than attaching everything at once.
Attach the Hat
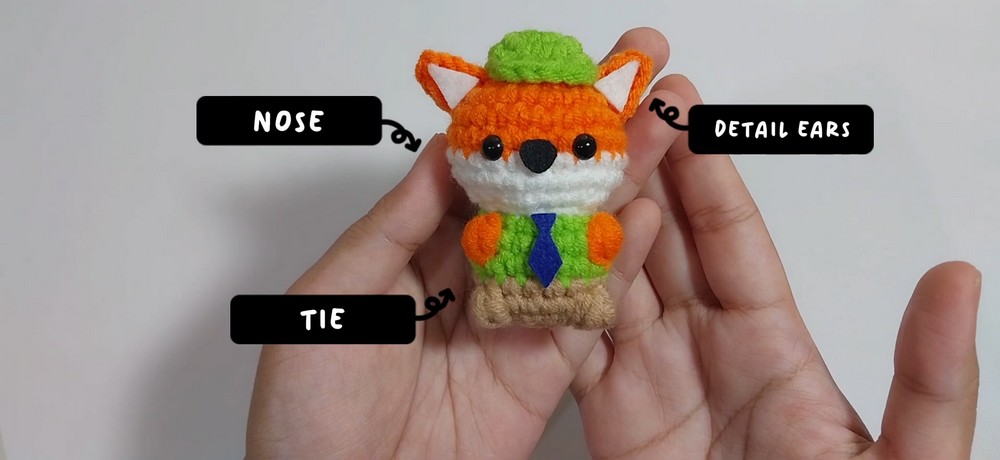
Use the long green yarn tail to sew the hat onto the top of the head. Position it slightly tilted, with the brim pointing forward.
The hat should sit between Rnd 2 and Rnd 3 of the head. Check its angle from the front before securing it fully; a small adjustment here can noticeably change the finished expression.
Sew on the Ears
Place the two orange ears on either side of the hat and sew them securely to the head using their long yarn tails.
Check that the ears appear balanced from the front before making the final stitches.
Add the Felt Features
Cut the small facial and clothing pieces from felt:
- Cut a tiny triangle from black felt for the nose.
- Cut two small white triangles for the inner sections of the orange ears.
- Cut a tie shape from dark blue felt.
Glue the white felt triangles into the inner centers of the orange ears. Attach the black felt nose to the center of the snout, then place the blue tie directly below the chin on the green shirt.
Allow the glue to set securely before handling the finished figure.
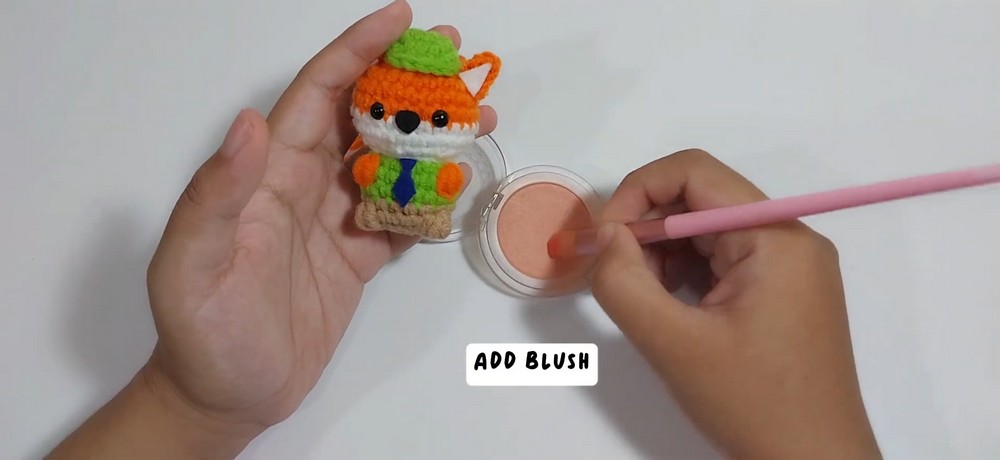
Optional Cheek Detail
For an extra cute finish, use a small makeup brush to gently dab a little pink blush onto the cheeks directly below the safety eyes.
This step is completely optional, but the soft color can add more expression to the small face without changing the crocheted features.
A Small Check Before You Finish
Take a moment to look at Nick from the front before calling him finished. The eyes should have the specified three-loop spacing, the ears should sit on opposite sides of the hat, and the hat brim should point forward while the hat itself remains slightly tilted.
Also check that the orange paws and feet are positioned evenly on the body. Because these details are created during the color-change rounds, checking them from the front is an easy way to catch a misplaced stitch before the figure is displayed or turned into a keychain.
Your crochet Nick Wilde is now ready to show off, whether you keep him as a tiny pocket-sized plushie, attach him to a keyring, or make a larger version with thicker yarn for an entirely different feel.