Need a tiny hanging charm with plenty of personality? This Teru-Teru Bozu combines a round crocheted head, sweet face, and flowing white skirt.
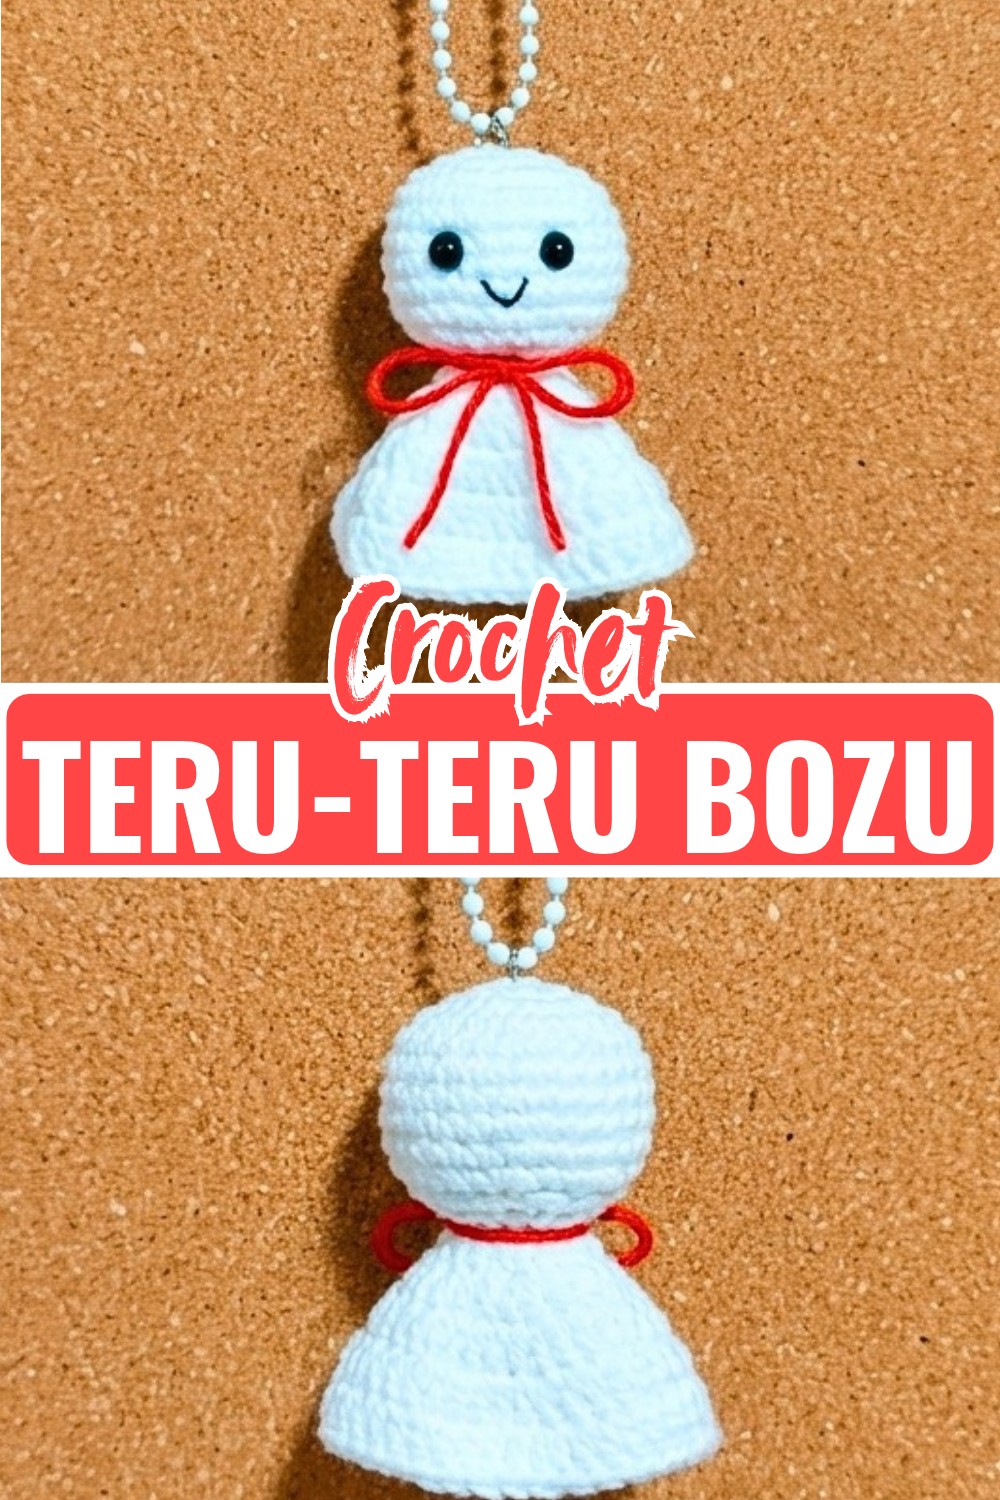
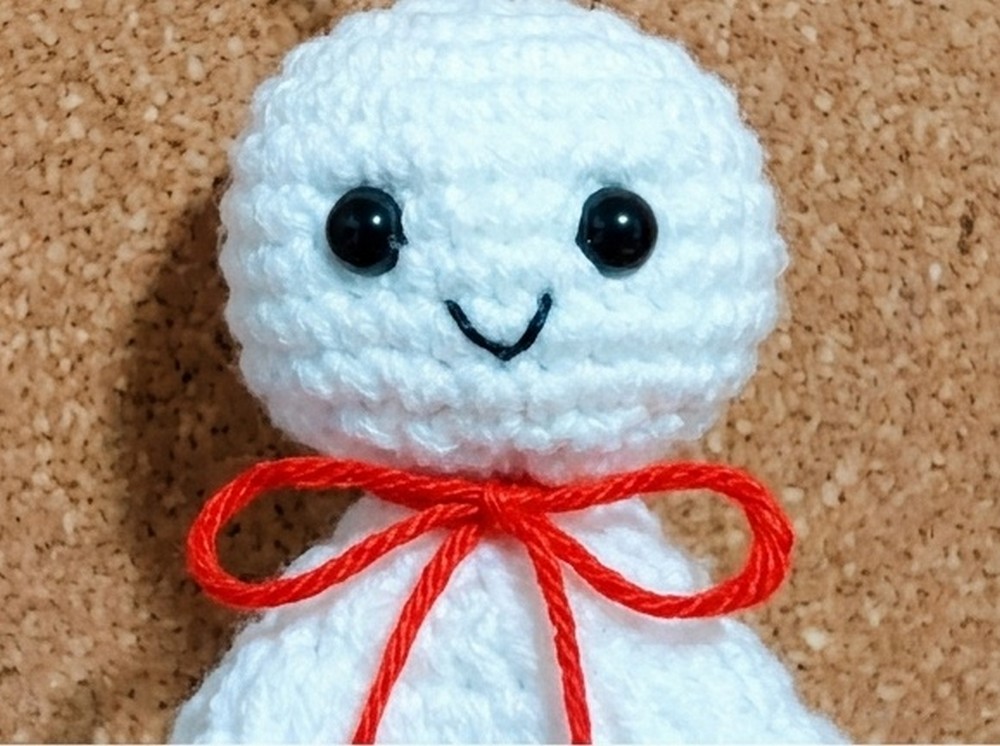
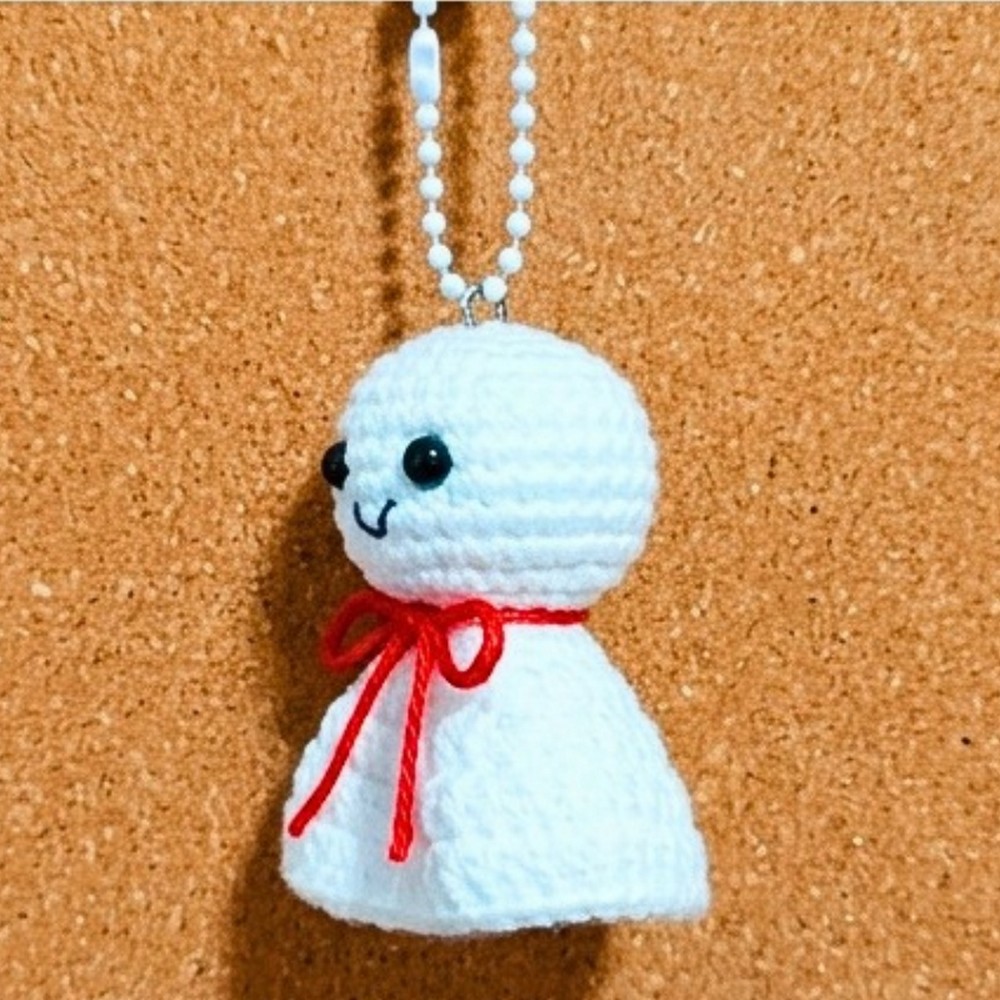
A Teru-Teru Bozu has a wonderfully simple shape, but the small details give this crochet doll its character. The round white head, tiny embroidered smile, bright red bow, and soft skirt create a petite finished crochet piece that works beautifully as a hanging charm or keychain.
The crochet begins with a tightly shaped single-crochet head, then changes into double crochet for the flowing skirt. The most important points come as the head closes, the safety eyes are positioned, and the unused front loops are picked up to begin the body, so keeping track of those transitions will help the doll keep its intended shape.
Credit Tedzukurida
Materials & Tools Needed
To make this petite weather doll, gather the following supplies:
- Small Ply Yarn: White for the body and red for the bow
- Crochet Hook: 1.50 mm
- Safety Eyes: 5 mm
- Stuffing: Polyester fiber
- Tools: Stitch marker, yarn needle, and scissors
- Details: Black thread for the mouth and a lighter for sealing the ribbon ends
- Optional: Ball chain or keyring for hanging the finished doll
The combination of small-ply cotton yarn and a 1.50 mm hook keeps the finished doll compact, making it suitable for a keychain or for hanging from a rearview mirror.
For a larger version, replace the small-ply yarn with chunky chenille or blanket yarn and pair it with a suitable larger hook, such as a 4.5 mm or 5.0 mm hook. You can also add pink blush beneath the eyes with a little makeup or pink yarn, or replace the red bow with a tiny crocheted scarf.
Pattern Abbreviations
- Rnd = Round
- ch = Chain
- sc = Single crochet
- inc = Increase single crochet, 2 sc in one loop
- dec* = Standard decrease; use a regular decrease rather than an invisible decrease
- Dc = Double crochet
- inc Dc = Increase double crochet, 2 Dc in one loop
- BLO = Back Loop Only
- FLO = Front Loop Only
- Slst = Slip stitch
Tip: Place a stitch marker at the end of every round so you can keep track of the stitch count as the head takes shape.
Step-by-Step Crochet Pattern
The doll is worked in two main sections. First, shape and close the rounded head with white yarn. Then use the FLO left from the final head round to begin the wider double-crochet skirt.
Head
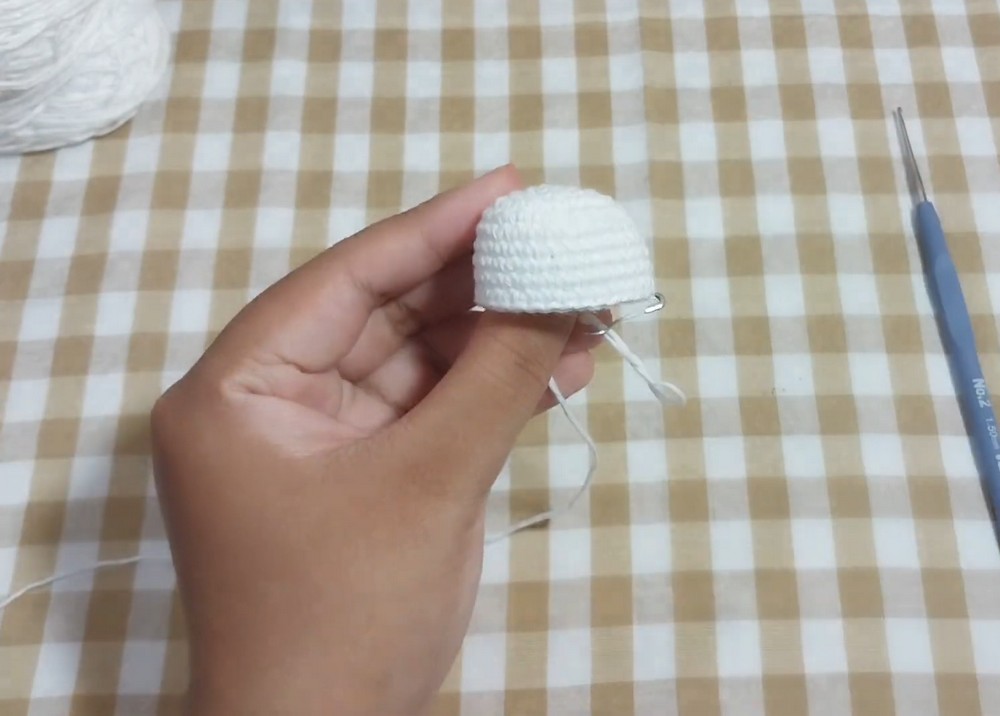
Start with white yarn. The first five rounds gradually increase the stitch count, creating the rounded base of the head. Rounds 6 through 10 then maintain that width before the decreases bring the shape back inward.
Rnd 1: Make 6 sc in a magic ring. (6)
Rnd 2: (inc) x 6. (12)
Rnd 3: (sc, inc) x 6. (18)
Rnd 4: (sc, inc, sc) x 6. (24)
Rnd 5: (3 sc, inc) x 6. (30)
Rnd 6–Rnd 10: sc all around. (30)
Place the Safety Eyes
Insert the 5 mm safety eyes between Rnd 7 and Rnd 8, leaving a distance of 4 visible loops between them.
Take a moment to check their spacing from the front before continuing. Since the head will soon begin decreasing, this is a useful point to make sure the eyes are sitting at the intended height and distance.
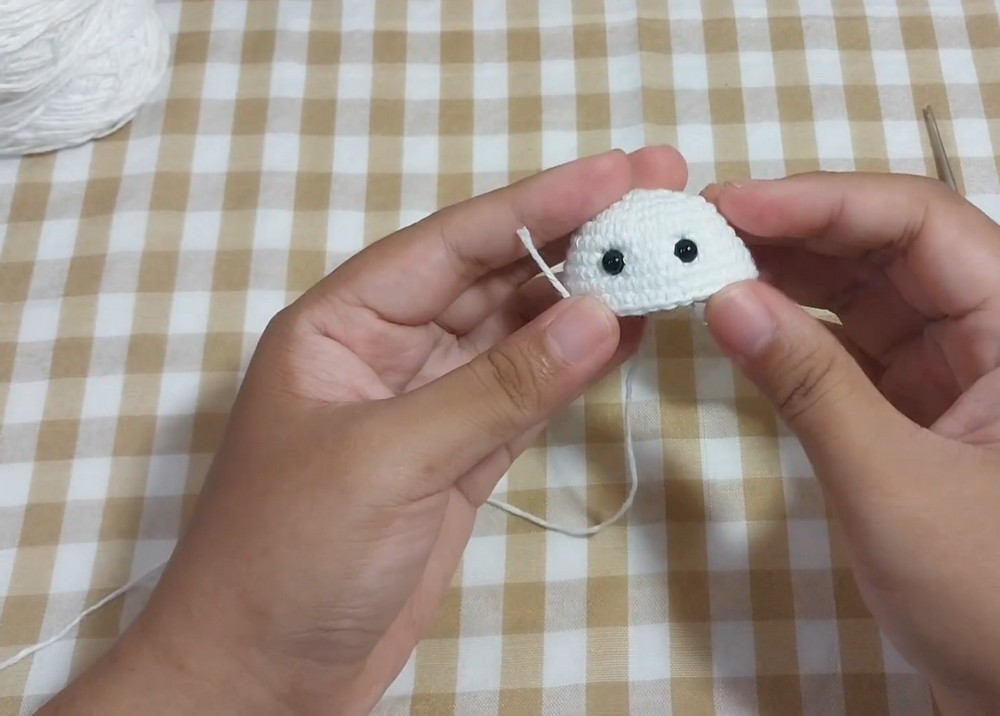
Rnd 11: (3 sc, dec*) x 6. (24)
After Round 11, firmly stuff the head with polyester fiber. Add the filling evenly rather than placing it all in one area, so the head remains rounded as the opening becomes smaller.
Rnd 12: (sc, dec*, sc) x 6. (18)
Rnd 13: (sc, dec*) x 6. (12)
Add a little more stuffing after Round 13 until the head is full.
Rnd 14: In BLO, (dec*) x 6. (6)
Close the Head
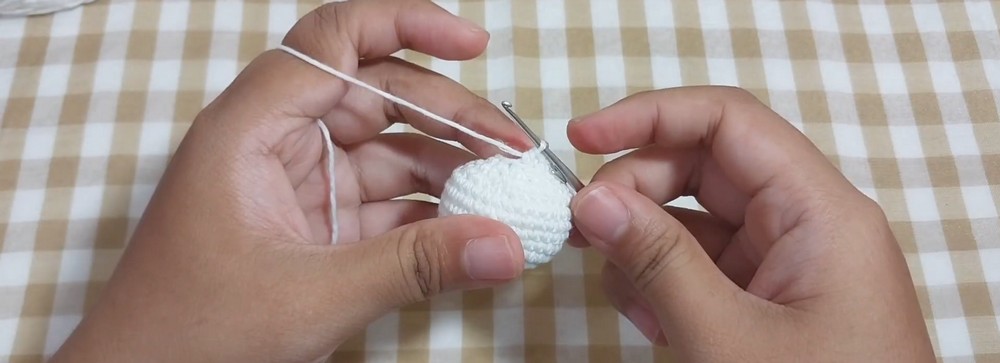
Cut the yarn, leaving a short tail, and fasten off. Thread the tail onto a yarn needle, then sew through the front loops only of the remaining 6 stitches and pull the opening tightly closed.
The FLO left unworked during Round 14 is important because it will be used next to attach the white yarn and begin the skirt.
Body and Skirt
Attach the white yarn to the FLO section left unworked from Rnd 14 of the head. This is the transition from the compact single-crochet head to the wider, flowing skirt.
The skirt uses double crochet, so it grows outward more quickly than the head. Keep the joins and chain spaces consistent as you move through each round.
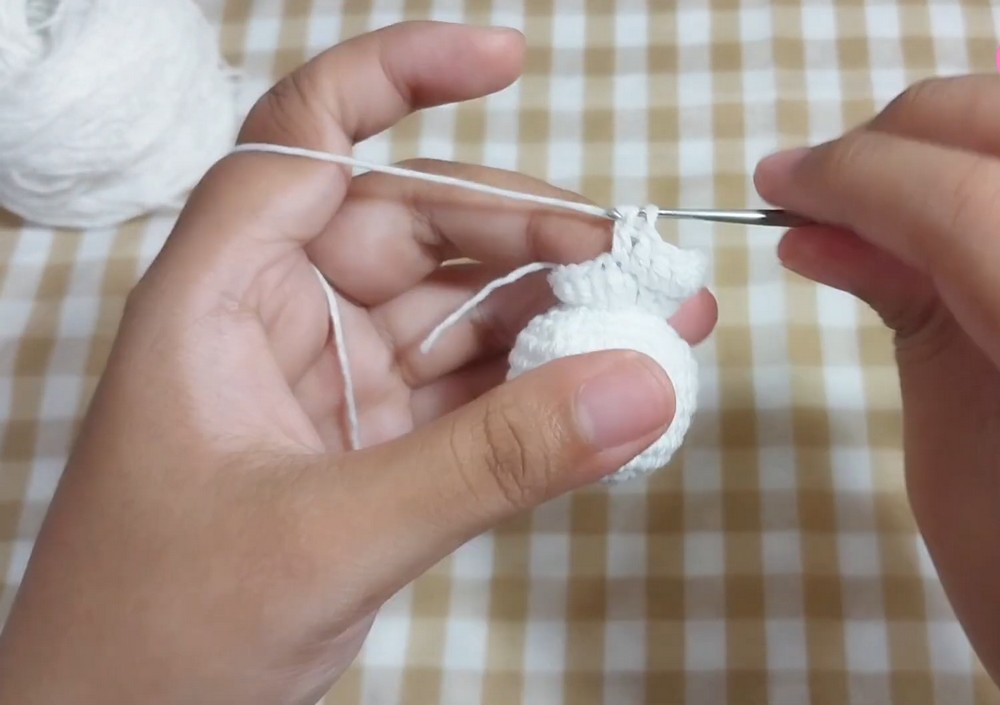
Rnd 15: Make 2 ch, (Dc, inc Dc) x 6. (18)
Rnd 16: Slst to join, 2 ch, (2 Dc, inc Dc) x 6. (24)
Rnd 17: Slst to join, 2 ch, (Dc, inc Dc) x 12. (36)
Rnd 18: Slst to join, 2 ch, (4 Dc, inc Dc) x 7, Dc in the last stitch. (43)
Rnd 19: Slst to join, 2 ch, (Dc all around). (43)
The stitch count increases from 18 to 43 across the skirt, giving the lower section its wider, draped appearance. By Round 19, the shaping is complete and the final round simply maintains the established width.
Finish the Skirt
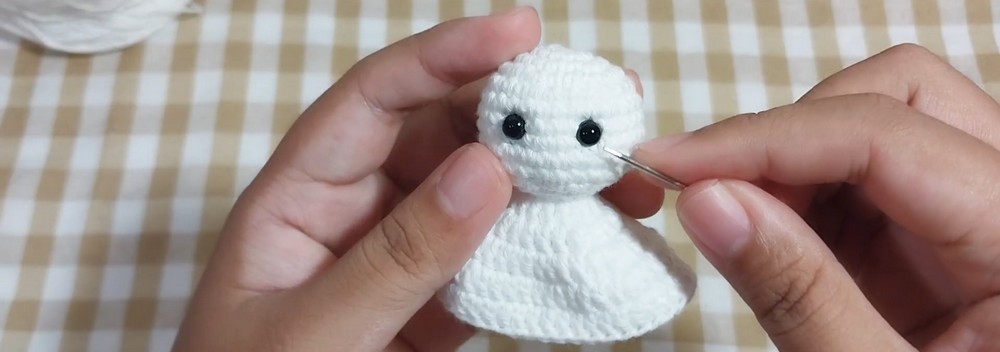
Cut the yarn and pull it through to fasten off. Weave the remaining tail discreetly into the inside of the skirt so it does not show on the finished doll.
Add the Face and Red Bow
With the crocheted shape complete, the remaining details are small but make a big difference to the finished expression.
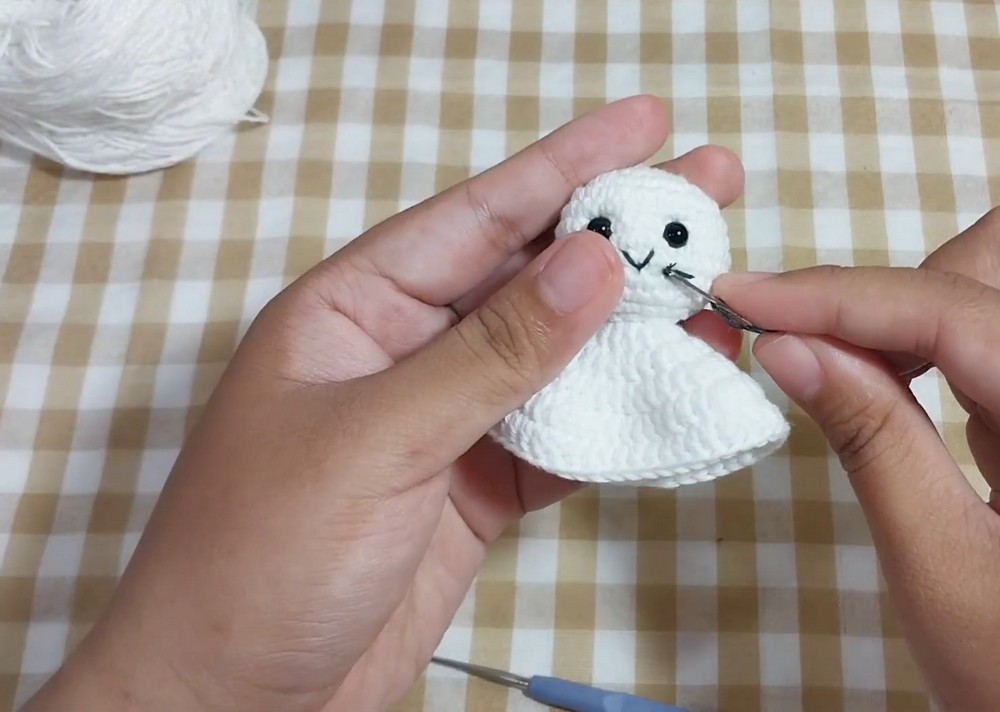
Embroider the Smile
Thread a needle with a single strand of black thread. Embroider a simple V-shaped smile between the safety eyes, centered slightly below the eye line.
Keep the mouth small and centered. Because the face is compact, even a small change in placement can alter the expression.
Tie the Red Bow
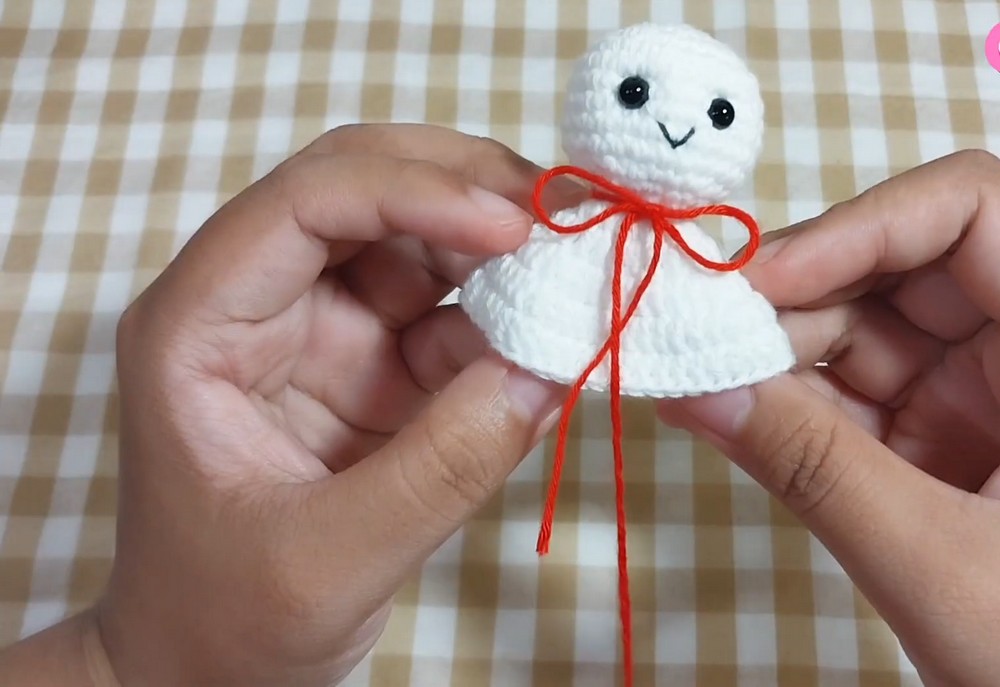
Take a length of red yarn and wrap it around the doll’s neck, where the head meets the skirt. Tie a neat, small bow at the front.
Trim the loose ends to your preferred length. To keep the red yarn from fraying, carefully use a lighter to briefly seal the tips.
Work with the flame cautiously and keep it away from the crocheted body and other materials.
Add a Ball Chain or Keyring
For a hanging charm, thread a ball chain through the top center loops of the head at Rnd 1.
Make sure the chain is securely positioned before hanging the doll. This gives the small Teru-Teru Bozu an easy way to become a bag charm, keychain, or rearview-mirror decoration.
A Quick Shape Check
Before displaying the finished doll, look at it from the front and check three small details: the safety eyes should have the specified 4 visible loops between them, the smile should sit centered beneath the eyes, and the red bow should rest where the head meets the skirt.
The head should feel firm and rounded from the stuffing, while the skirt should fall naturally from the FLO section of Round 14. These quick checks help preserve the proportions created by the pattern.
Your crochet Teru-Teru Bozu is ready to hang, carry, or display. The tiny round head, cheerful face, red bow, and flowing skirt give this petite weather doll its recognizable charm, while the optional keychain makes it easy to take along wherever you go.