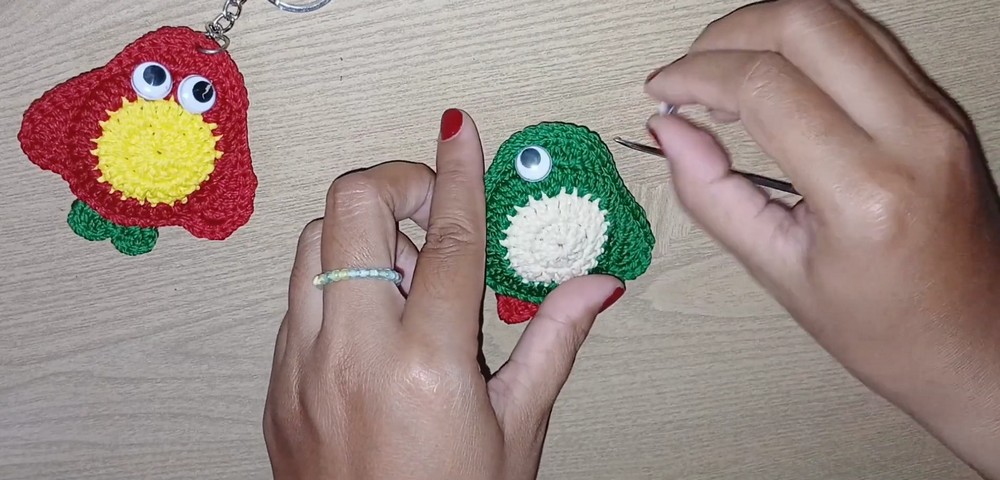
Need a quick handmade charm with plenty of personality? This crochet penguin turns two small panels into a cute everyday keychain.
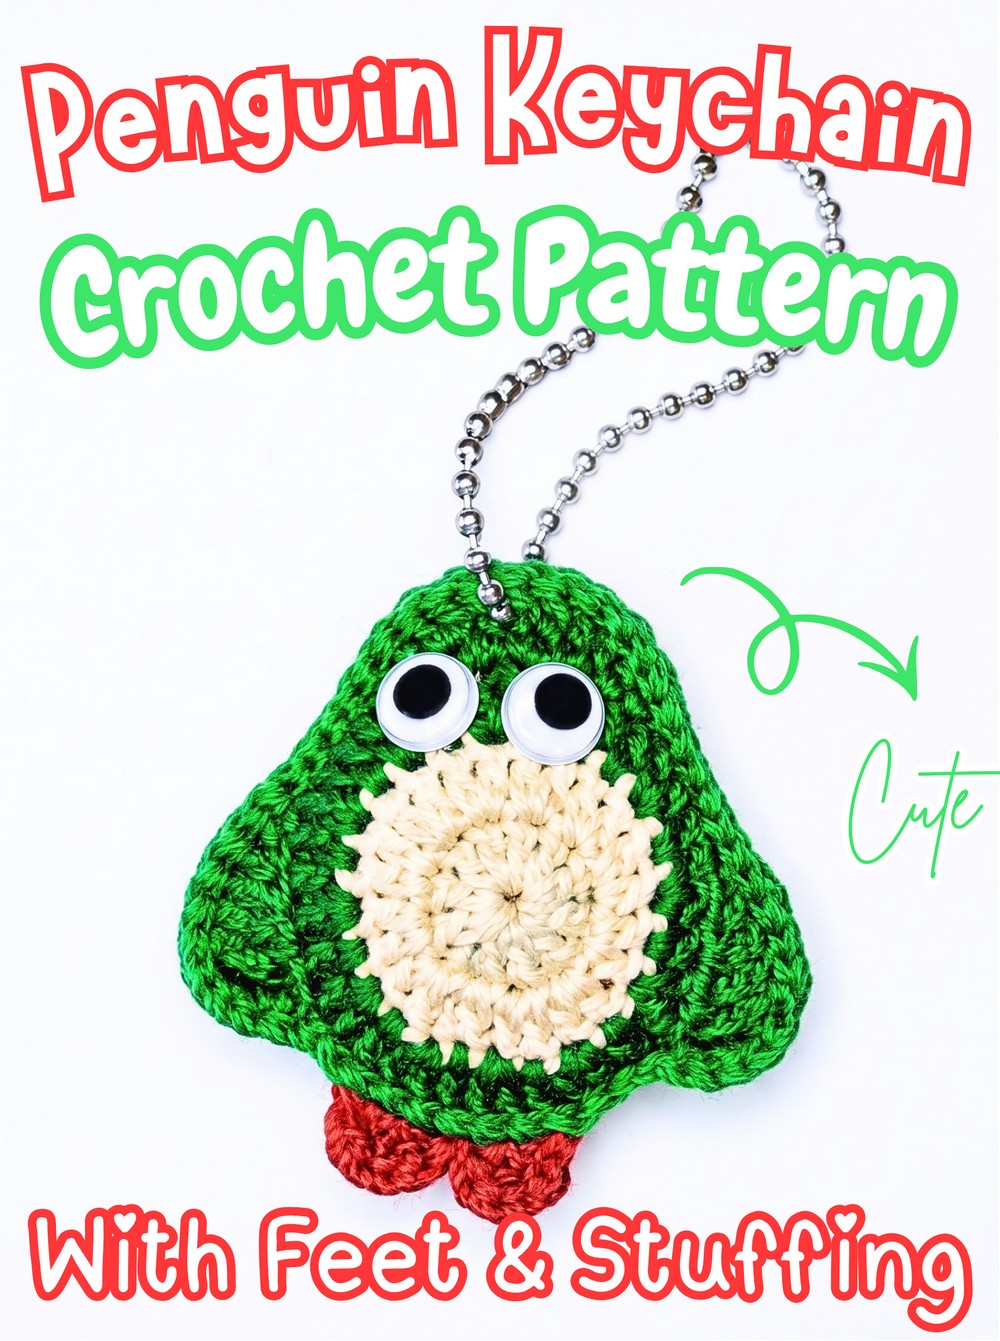
Small crochet penguin can bring plenty of character to something as ordinary as a keyring or backpack zipper. This crochet design uses a cream face, a contrasting main body color, and little red or orange feet to create the recognizable penguin look without making the finished charm bulky.
The tutorial walks through the two identical body panels, the shaped outer edge, separate feet, and the joining process that gives the crochet penguin its plump form. You will also see where the small amount of stuffing goes, how the face is finished, and where to attach the hanging ring. The main body color can be changed to suit a holiday theme or personal style, while felt can replace googly eyes when preferred.
Credit arizka pitta
What Makes This Charm Work
The finished penguin stays compact and lightweight, making it suitable for everyday keys or as a backpack charm. Its shape comes from two matching panels rather than a large stuffed body, so the small amount of Dacron or polyfill added during assembly is enough to give it a plump appearance.
The color choices can change the personality of the finished penguin without altering the main pattern. A festive green or red body can work for seasonal versions, while black and blue can create a more traditional penguin-inspired look. For the face, googly eyes can be replaced with black felt cutouts for a softer finish.
Materials & Tools Needed
- Yarn: Cream or white for the belly/face, a main body color such as green or red, and red or orange for the feet.
- Crochet Hook: Use an appropriate size for your chosen yarn weight.
- Stuffing: Dacron or polyfill fiber stuffing.
- Accessories: Googly eyes or black felt, a lighter for sealing yarn ends, and a keychain ring or ball chain.
Pattern Abbreviations
- ch: Chain
- sl st: Slip stitch
- sc: Single crochet
- hdc: Half double crochet
- dc: Double crochet
- tr: Treble crochet
- ext-dc: Extended double crochet
- st(s): Stitch(es)
- MR: Magic Ring

Make the Two Body Panels
The two panels need to match because they will be placed back-to-back later. The cream center creates the face first, while the main-color rounds expand that center and then use different stitch heights to form the outer penguin shape.
Center Face, Round 1: With cream/white yarn, start with a Magic Ring, ch 2 (counts as 1 dc), work 11 dc into the ring, then join with a sl st in the first dc. (12 sts)
Center Face, Round 2: Ch 2 (counts as 1 dc), work 1 dc in the same stitch, work 2 dc in each of the next 11 stitches around, then join with a sl st in the first dc; ch 1, cut yarn, and secure. (24 sts)
The second round doubles the center from 12 to 24 stitches, giving you the wider base needed for the outer body. Before changing colors, make sure the cream circle has a clean, even edge because this will become the visible face area.
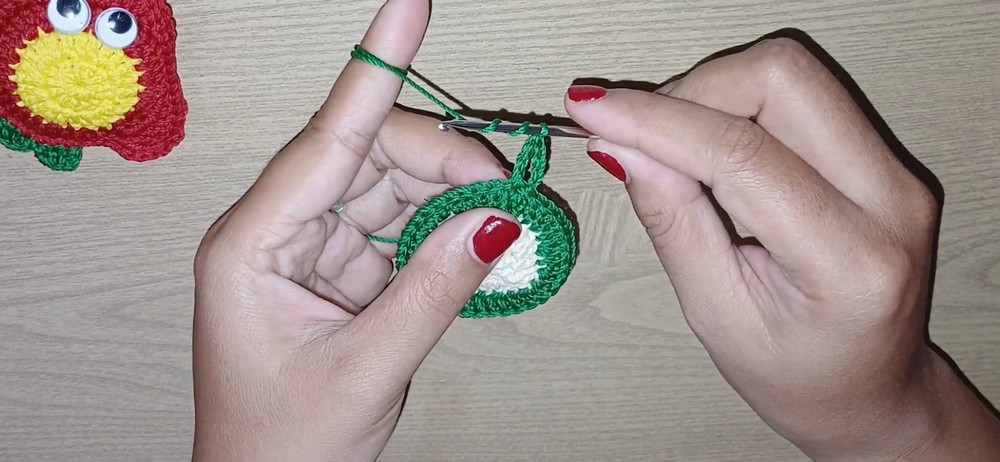
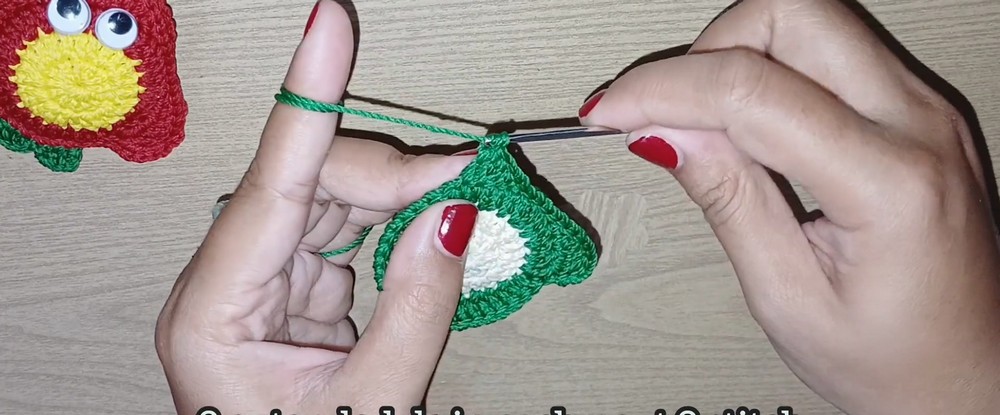
Outer Body, Round 3: Attach the main body color to the edge with a sl st, ch 2 (counts as 1 dc), work 1 dc in the same stitch, then repeat (2 dc in the next stitch, 1 dc in the next stitch) 11 times around; join with a sl st in the first dc.
Outer Body, Round 4: Ch 4, work 2 tr in the next stitch, 2 dc in the next stitch, 1 hdc in the next stitch, 1 sc in the next stitch, sl st in each of the next 4 stitches, 1 sc in the next stitch, 1 hdc in the next stitch, 2 dc in the next stitch, 2 ext-dc in each of the next 2 stitches, 2 dc in the next stitch, 1 hdc in the next stitch, sl st in each of the next 4 stitches, 1 sc in the next stitch, 1 hdc in the next stitch, 2 dc in the next stitch, 2 tr in the next stitch, ch 4, sl st in the next stitch, ch 1, cut yarn, and fasten off securely.
The different stitch heights in this round are what give the outer edge its shaped appearance. The taller tr and ext-dc stitches create raised areas, while the sc and sl st sections keep other areas lower. Work the sequence carefully rather than trying to make every part of the edge the same height.
Make two identical body panels using the same sequence. Keeping the panels matched at this stage will make the joining step much easier.
Add the Little Feet
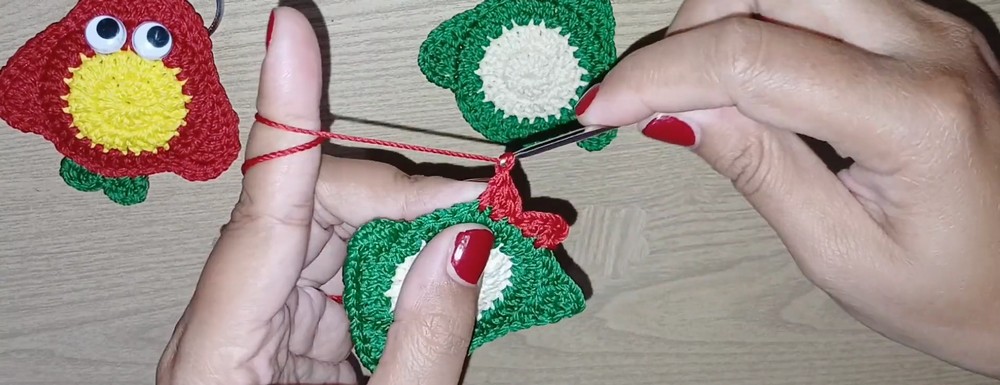
The feet are worked directly onto the bottom edge of each finished body panel. Their placement gives the flat penguin shape a recognizable pair of feet before the two sides are joined.
Feet: Attach red yarn to the bottom edge of the finished body panel, skip 3 chains, work a sl st in the next stitch, then ch 2; work 1 dc in the same stitch, work 2 dc in the next stitch, sl st in each of the next 2 stitches, work 2 dc in the next stitch, 1 dc in the next stitch, ch 2, and sl st in the same stitch; ch 1, cut yarn, and secure.
Repeat the same foot sequence on the second panel. Check that the feet are positioned in corresponding places on both panels before assembly.
Join and Shape the Penguin
Once both panels and their feet are complete, the penguin begins to take its final form. The key point here is to keep the two panels aligned while working through both thicknesses.
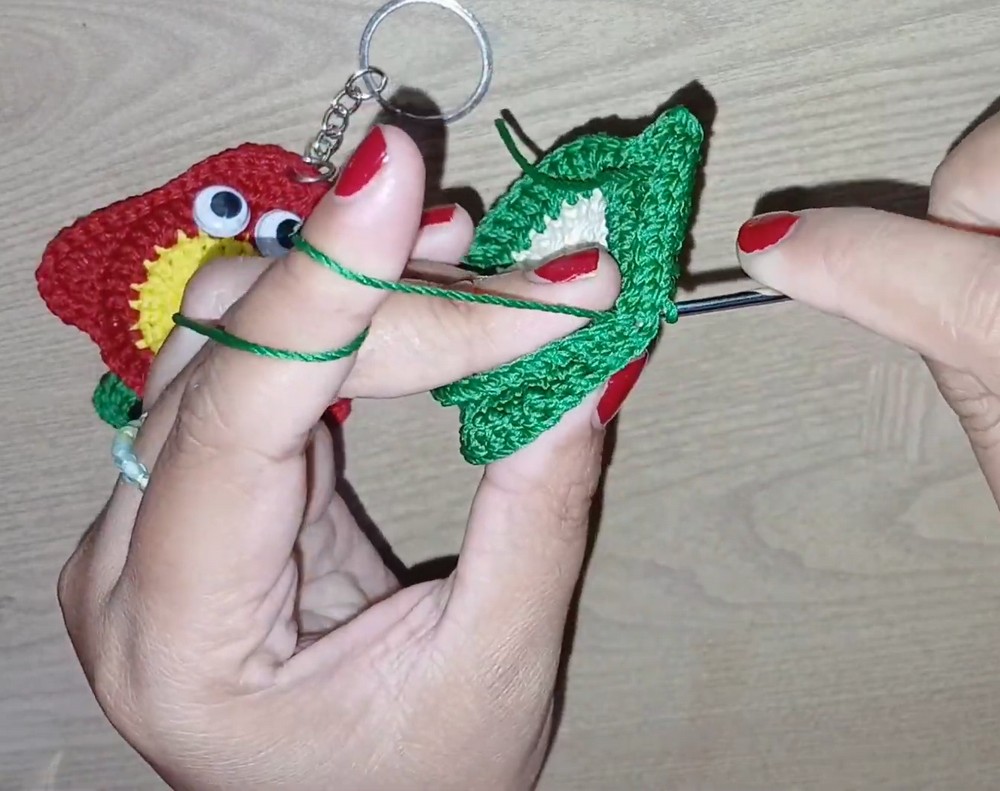
Join the Panels: Place the two finished body panels back-to-back, then use the main body color yarn to join them around the outer edges with continuous slip stitches worked through both thicknesses.
Add the Stuffing: Before completely closing the top, insert a small amount of Dacron or polyfill fiber stuffing inside the penguin to give the body a nice, plump shape; finish slip-stitching the top closed.
The amount of stuffing affects how full the charm looks. The supplied tutorial calls for only a small amount, so add enough to give the panels some dimension without forcing the edges apart.
Finish the Face and Hanging Point
With the body closed, only the small details that turn the crocheted shape into a penguin charm remain.
Face Details: Glue or attach the googly eyes onto the cream facial circle. If using black felt instead, position the cutouts evenly on the cream area before securing them.
Hanging Loop: Attach the keychain ring or ball chain to the top peak of the penguin, checking that it is firmly secured before putting the charm onto keys or a backpack.
The finished piece should remain compact and lightweight, with the cream face clearly visible, both feet aligned at the bottom, and the hanging attachment sitting at the top peak.