Turn soft brown yarn into a palm-sized Choco Bun Bear with a creamy center, tiny ears, and a sweet bear-face finish.
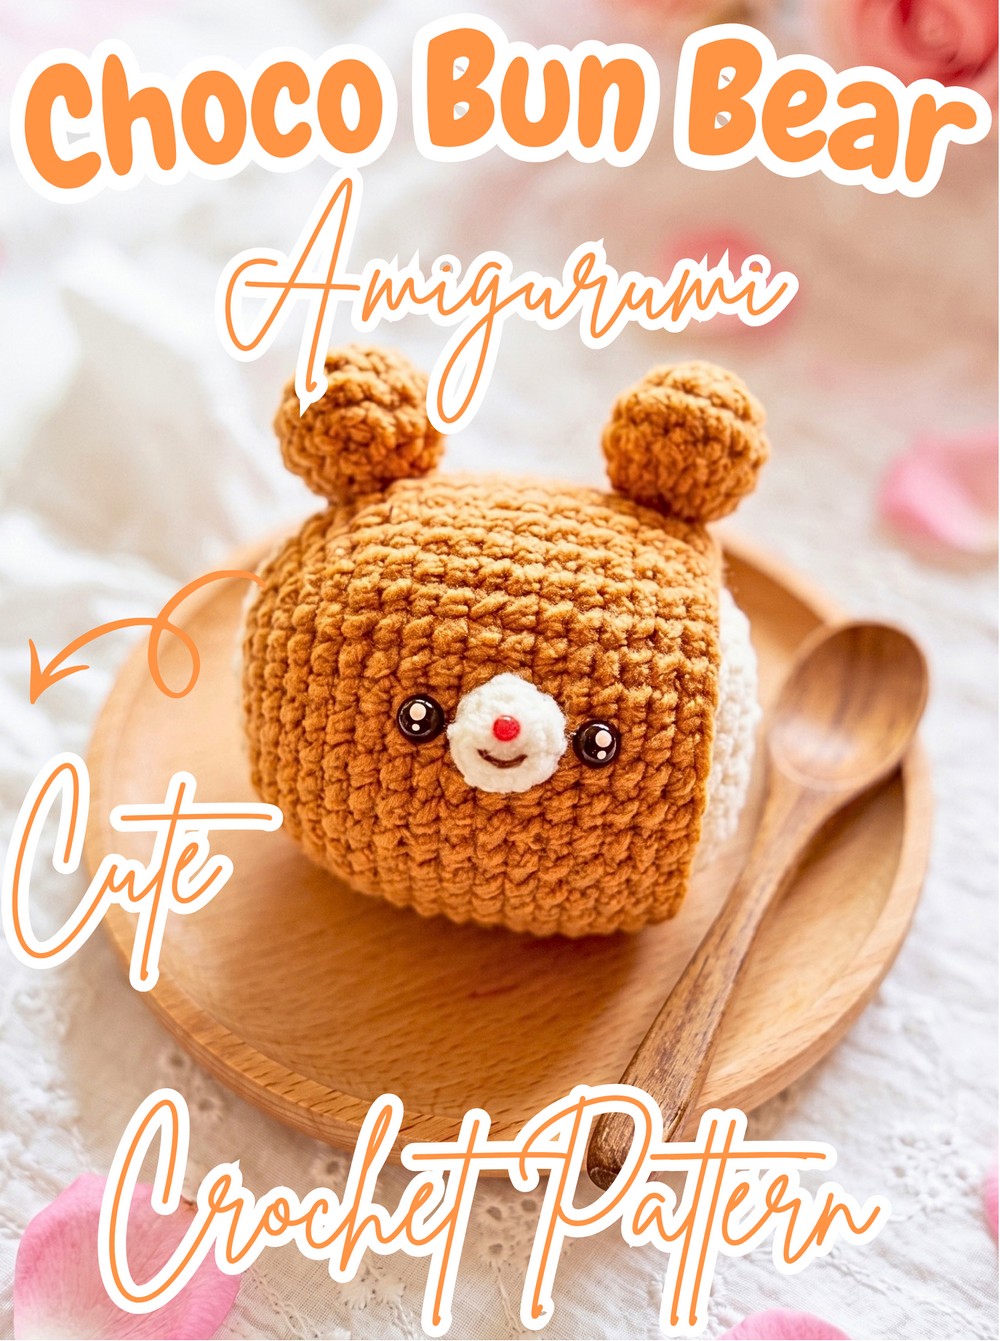
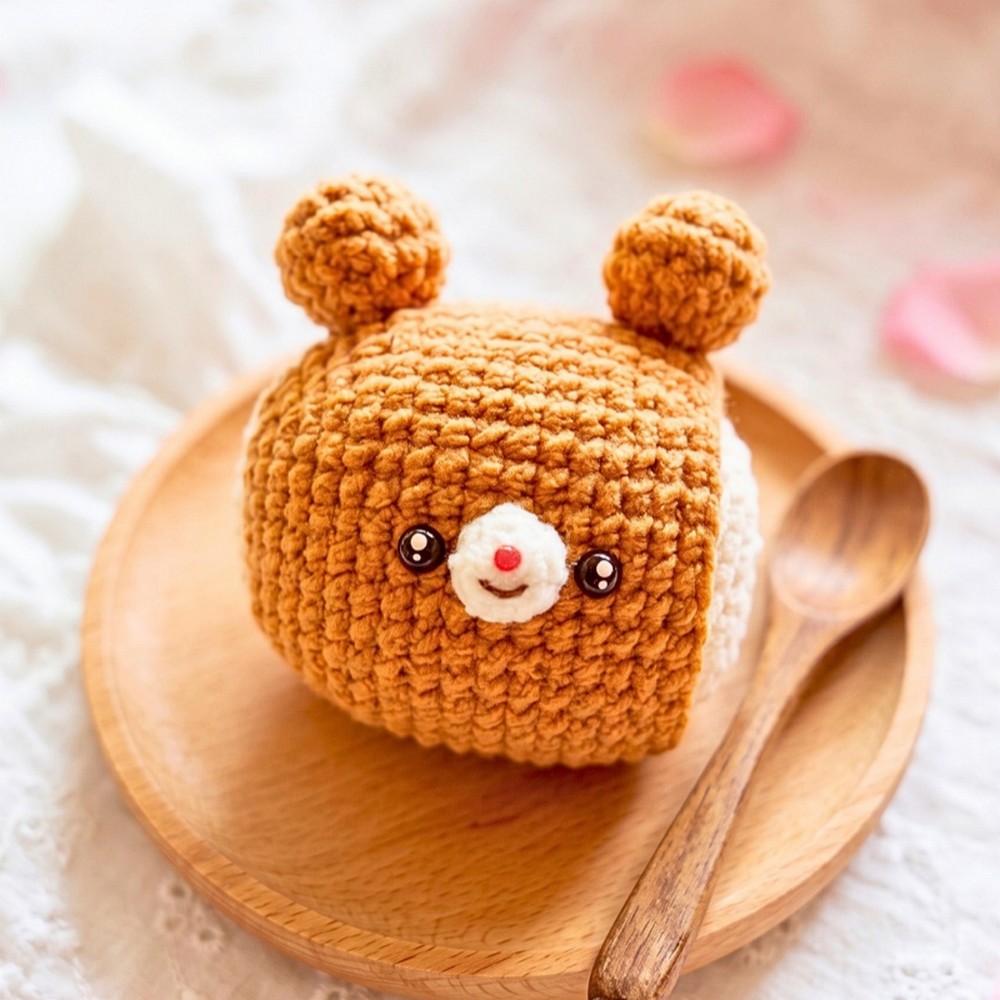
Brown yarn gives this crochet Choco Bun Bear its warm, bakery-inspired appearance, while the cream section adds the look of a delicious filling tucked into the middle. Tiny rounded ears and a dark little nose bring the bear character to life without requiring complicated facial shaping.
Following the crochet pattern in rounds lets you build the bun gradually, from the initial chain base through the wider middle and back down into the closing rounds. You’ll also crochet a separate cream filling, two ears, and a small nose, then bring those pieces together with light stuffing and careful placement.
Credit mikimeloco
What You’ll Need
- Brown yarn for the bun/head
- Cream or off-white yarn for the filling
- Dark brown or black yarn for the nose
- Crochet hook appropriate for your yarn, typically 2.0 mm–3.0 mm for amigurumi
- Stitch markers
- Tapestry needle
- Polyester stuffing
- Scissors
- Tacky glue, optional, for attaching pieces
The exact yarn choice can change the finished size, so the stated palm-sized result is best treated as an approximate finished size rather than a fixed measurement.
Pattern Abbreviations
- Ch: Chain stitch
- Sl st: Slip stitch
- Sc: Single crochet
- Inc: Increase – work 2 single crochets in the same stitch
- Dec: Decrease – work 2 single crochets together
- St(s): Stitch(es)
- FLO: Front loop only
- Rnd: Round
Shape the Brown Bun First
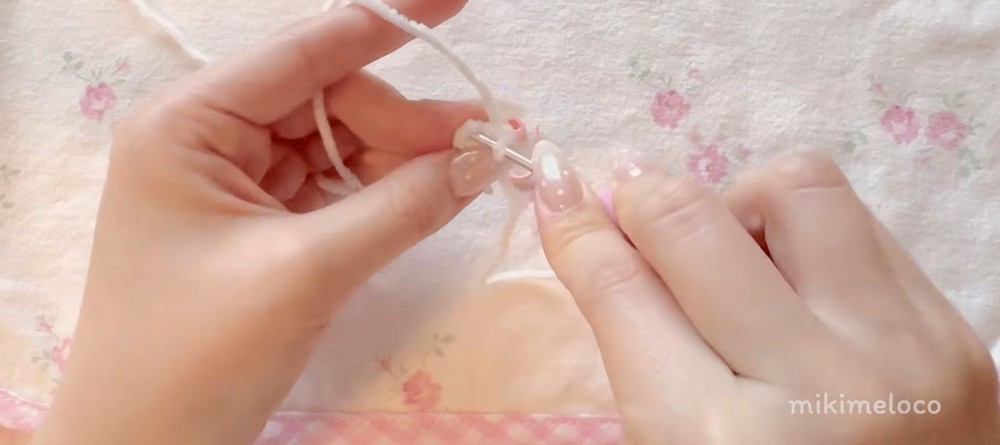
The main brown piece begins with a short chain rather than a magic ring. Because the first rounds travel around both sides of that chain, the starting stitches establish the elongated base that gives the bun its rounded form.
Foundation: Make 7 chain stitches.
Rnd 1: Insert the hook into the 2nd stitch from the hook and make 1 sc, place a stitch marker in the first stitch, continue with 1 sc in each of the next 4 stitches for 5 sc total, work 3 sc together in the last stitch, turn to the opposite side of the foundation chain and work 4 sc, then 1 inc in the last stitch; remove the stitch marker and connect with a sl st to the first stitch. (16 sts)
The three single crochets worked together in the last foundation-chain stitch create the rounded end of the base. When you turn to the opposite side, keep working around the chain rather than treating it as a flat row.

Rnd 2: Ch 1 as a standing stitch, work 1 inc in the first stitch, 4 sc, 3 inc, 4 sc, and 2 inc; connect with a sl st to the first stitch.
Rnd 3: Ch 1, work 1 inc in the first stitch, 5 sc, 1 inc, 3 sc, 1 inc, 5 sc, 1 inc, and 3 sc; connect with a sl st.
Rnd 4: Ch 1, work 1 inc in the first stitch, 7 sc, 1 inc, 3 sc, 1 inc, 7 sc, 1 inc, and 3 sc; connect with a sl st.
Rnd 5: Ch 1, work 1 inc in the first stitch, 9 sc, 1 inc, 3 sc, 1 inc, 9 sc, 1 inc, and 3 sc; connect with a sl st.
These increase rounds gradually widen the oval. If your stitches start looking uneven, check that each increase is being made in the intended stitch rather than accidentally spreading increases into neighboring stitches.

Let the Bun Sides Settle
Once the widest part has been reached, the pattern pauses the increases so the brown piece can build height while maintaining its rounded width.
Rnd 6: Ch 1, work 1 sc in each stitch around for 32 sc total; connect with a sl st.
Rnd 7: Ch 1, work 1 inc in the first stitch, 11 sc, 1 inc, 3 sc, 1 inc, 11 sc, 1 inc, and 3 sc; connect with a sl st.
Rnds 8–14: Ch 1 at the start of each round, then work 36 sc around for each round.
At the end of Round 14, the joining point changes slightly: insert the hook into the FLO when making the connection. This front-loop detail matters because the next shaping section also uses front loops.
Close the Brown Bun With Controlled Decreases
The final rounds narrow the opening instead of continuing the earlier increases. Keep the decreases positioned exactly as written so the two ends of the bun close evenly.
Rnd 15: Ch 1, work 1 dec in the front loops of the first two stitches, 11 sc, 1 dec in the front loops, 3 sc, 1 dec, 11 sc, 1 dec, and 3 sc; connect with a sl st.
Rnd 16: Ch 1, work 32 sc around, connecting into the FLO at the end of the round.
Rnd 17: Ch 1, work 1 dec, 9 sc, 1 dec, 3 sc, 1 dec, 9 sc, 1 dec, and 3 sc; connect with a sl st and fasten off.
At this point, the brown bun/head has its main rounded shape. Set it aside while you make the contrasting cream section.

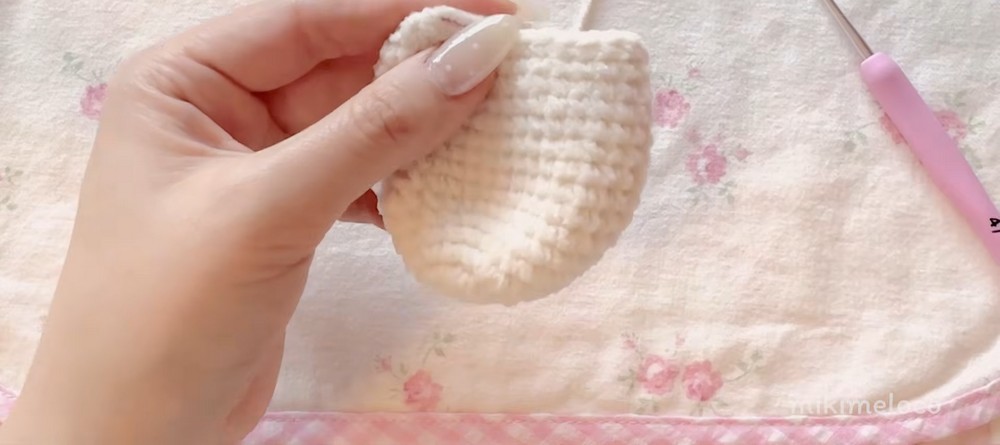
Crochet the Cream Filling
The cream piece follows the same general oval idea as the brown bun, but it remains smaller and finishes sooner. This lets it sit inside or against the brown section during assembly.
Foundation: Make 7 chain stitches.
Rnd 1: Work into the 2nd chain from the hook: 5 sc, 3 sc in the last stitch, then turn and work 4 sc along the opposite side and 1 inc in the last stitch; connect with a sl st.
Rnd 2: Ch 1, work 1 inc, 4 sc, 3 inc, 4 sc, and 2 inc; connect with a sl st.
Rnd 3: Ch 1, work 1 inc, 5 sc, 1 inc, 3 sc, 1 inc, 5 sc, 1 inc, and 3 sc; connect with a sl st.
Rnd 4: Ch 1, work 1 inc, 7 sc, 1 inc, 3 sc, 1 inc, 7 sc, 1 inc, and 3 sc; connect with a sl st.
Rnd 5: Ch 1, work 1 inc, 9 sc, 1 inc, 3 sc, 1 inc, 9 sc, 1 inc, and 3 sc; connect with a sl st.
Rnds 6–12: Ch 1 at the start of each round, then work 32 sc around for each round.
At the end of Round 12, connect with a FLO.
Rnd 13: Ch 1, work 1 dec, 9 sc, 1 dec, 3 sc, 1 dec, 9 sc, 1 dec, and 3 sc; connect with a sl st.
Rnd 14: Ch 1, work 28 sc around; connect into the FLO.
Rnd 15: Ch 1, work 1 dec, 7 sc, 1 dec, 3 sc, 1 dec, 7 sc, 1 dec, and 3 sc; connect with a sl st and fasten off.
The cream piece should now have a smaller matching shape. Light stuffing later will help it hold its form without making it overly bulky.
Give the Bear Its Ears
Make two ears in the brown yarn. The supplied tutorial lists the first two rounds, a front-loop joining detail for Round 4, and the decrease shaping in Round 5; Round 3 instructions were not provided, so they are not added here.
Foundation: Make a magic ring.
Rnd 1: Work 7 sc into the magic ring, pull the yarn tail to close the loop tightly, and connect with a sl st to the first stitch. (7 sts)
Rnd 2: Ch 1, work 1 inc in each stitch around for 7 increases and 14 sts total.
Rnd 4: Connect with the FLO.
Rnd 5: Ch 1, work 7 dec to shape the ear; fasten off, leaving a tail for sewing.
Make the second ear in the same way. Leaving a sewing tail on each one will make positioning and securing them to the head easier.

Add the Small Bear Nose
The nose is intentionally simple: a tiny dark circular piece is enough to establish the central bear-face detail.
Foundation: Make a magic ring using dark brown or black yarn.
Rnd 1: Work 6 sc into the magic ring, pull the yarn tail to close the loop securely, and fasten off, leaving a tail for sewing.
Keep the nose small and compact as you prepare for assembly; its position on the front of the head will affect how the finished bear’s face reads.
Put the Choco Bun Bear Together
Before attaching anything permanently, lightly stuff both the brown bun and cream filling. The goal is to help each piece maintain its shape without packing it so firmly that the rounded layers become distorted.
Place the cream filling inside or against the brown bun where appropriate. Then position the two ears at the top of the bear head and place the small dark nose on the front.
Use the tapestry needle and the remaining yarn tails to sew the pieces securely. If preferred, tacky glue can also be used to attach the parts. Take a moment to check the placement before securing each piece completely, especially the ears and nose.
A Quick Shape Check Before You Finish
Hold the bear upright and look at it from the front. The brown section should retain its rounded bun-like form, the cream section should remain visible as the contrasting filling, and the ears should sit evenly at the top.
If the face looks slightly off-center, adjust the nose before its yarn tail is fully secured. Small placement changes can make a noticeable difference on a compact amigurumi.