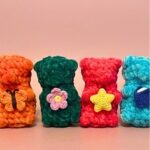
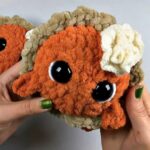
Need pumpkins in more than one size? This ribbed crochet pattern lets you make mini, medium, or jumbo pumpkins from a simple HDC rectangle.
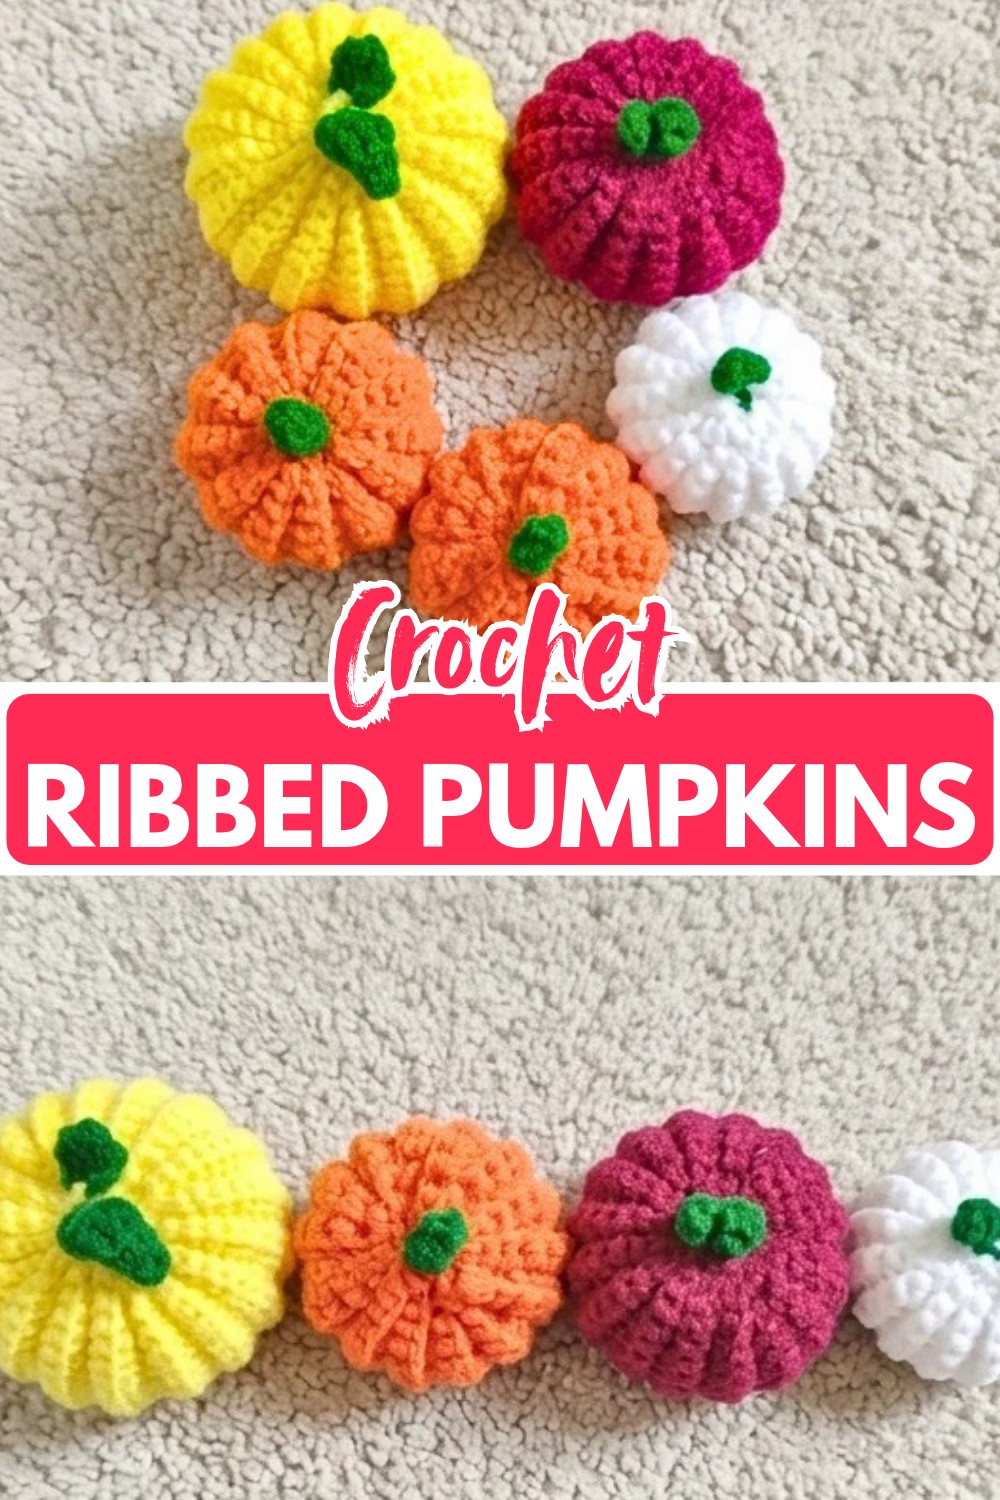
From a tiny tabletop accent to a fuller Thanksgiving centerpiece, this crochet pumpkin can be adjusted without learning a completely different pattern. The body is worked flat in ribbed HDC rows, then seamed and cinched to create the familiar rounded crochet pumpkin shape.
The three size options give you an easy way to use different yarn colors and create a coordinated fall display. Along the way, you’ll learn how the starting chain affects the crochet pumpkin’s height, how the row count changes its width, and how to shape the finished piece with stuffing and gathered edges.
Credit Kungfu Panda
Materials and Tools
- 4-ply worsted weight yarn in your choice of colors
- Yellow
- Maroon
- White
- Orange
- Green for the stem
- 3.0 mm or 4.0 mm crochet hook, depending on your yarn and preferred tension
- Poly-fil or fiberfill
- Tapestry or yarn needle
- Scissors
Choose Your Pumpkin Size
This pattern includes three size options:
Mini: Chain 16; approximately 20-22 rows.
Medium: Chain 26; approximately 34-36 rows.
Jumbo: Chain 36; approximately 48-50 rows.
The exact finished size can vary with yarn thickness, hook size, and tension.
For a mixed fall display, try making the smaller pumpkins in several colors and use a jumbo version as the larger focal piece.

Pattern Abbreviations
US crochet terms are used.
- CH: Chain
- SC: Single Crochet
- HDC: Half Double Crochet
- BLO: Back Loop Only
- SL ST: Slip Stitch
- ST(S): Stitch(es)
- FO: Fasten Off
Crochet the Ribbed Pumpkin Body
The pumpkin begins as a flat rectangle. The ribbing comes from working the HDC stitches through the back loop only, creating rows that will give the finished pumpkin its textured appearance.
Choose your pumpkin color and make the foundation chain for your selected size.
Foundation Chain: Mini: Ch 16. Medium: Ch 26. Jumbo: Ch 36.
Row 1: Starting in the 2nd ch from the hook, work 1 HDC in each chain across. (15 sts Mini; 25 sts Medium; 35 sts Jumbo)
Row 2: Ch 1, turn. Working in the BLO, work 1 HDC in each stitch across. (15 sts Mini; 25 sts Medium; 35 sts Jumbo)
Rows 3-End: Repeat Row 2 until the rectangle reaches the recommended row count: 20–22 rows Mini; 34–36 rows Medium; 48–50 rows Jumbo.
Do not fasten off at the end of the final row.
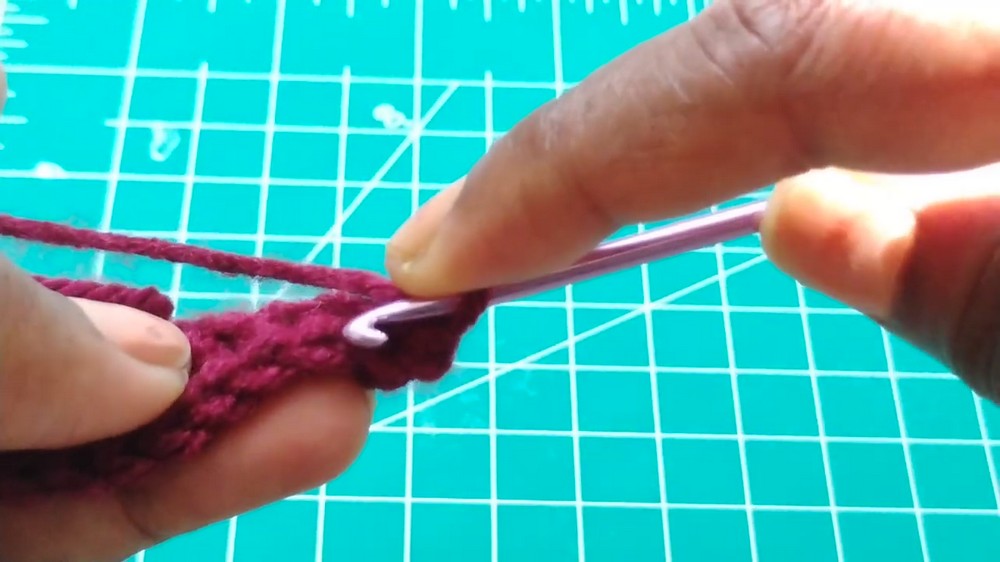
Check the Rectangle Before Seaming
Lay the crochet piece flat before joining it.
You want the rectangle to look long enough to wrap around into a pumpkin body, rather than being nearly square. The starting chain establishes one dimension, while the number of rows builds the other.
If your rectangle looks noticeably shorter or wider than expected, check your row count and stitch count before moving to the seam. Fixing an uneven rectangle now is much easier than trying to correct the proportions after stuffing.
Turn the Rectangle Into a Cylinder
Bring the two short ends of the rectangle together. The ribbed rows should run around the body once the ends are joined.
Seam the Sides
Insert your hook through the front loop of the current side and the corresponding starting-chain loop on the opposite side.
Joining: SL ST through the two edges across the entire seam.
Continue until you reach the opposite end.
Ch 1 and FO, leaving an extra-long tail of about 24 inches. This tail will be used to gather one end of the pumpkin.
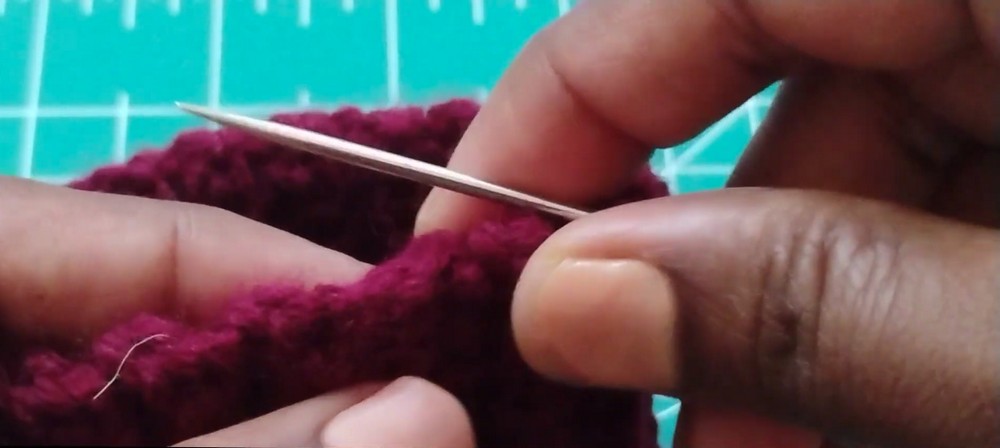
Cinch the Bottom Closed
Thread the long yarn tail onto your tapestry needle.
Weave the needle in and out along one raw edge of the cylinder, catching the end of each row. Continue all the way around the opening.
Pull the yarn firmly.
The edge should gather inward until the opening closes completely. Sew a few stitches back and forth across the center to reinforce the closure, then knot the yarn securely inside.
Fill the Pumpkin
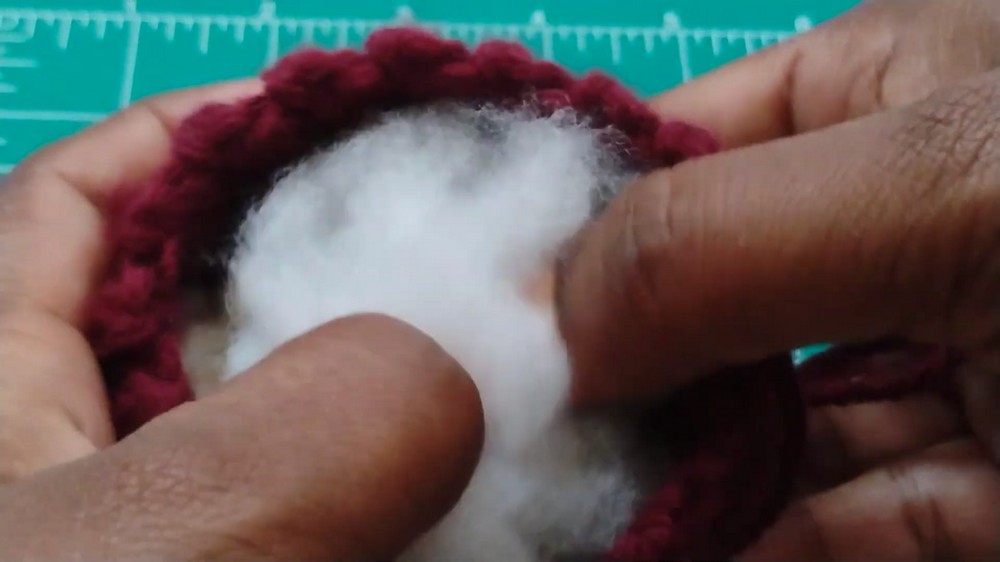
Now fill the cylinder with Poly-fil.
Add the stuffing gradually and distribute it throughout the body rather than putting a large amount in one place. Fill the pumpkin firmly enough to create a rounded shape, but avoid packing it so tightly that the crochet stitches become stretched.
For the jumbo version especially, take a moment to push stuffing toward the outer edges so the finished pumpkin does not look hollow or collapsed.
Close the Top and Define the Grooves
Thread another long piece of yarn onto your needle and weave it around the remaining open edge in the same way you gathered the bottom.
Pull the yarn to bring the opening inward.
Before completely securing the top, you can use the same shaping process to create the pumpkin’s deeper sections.
Pull the Pumpkin Into Sections
Take the needle down through the center of the top, bring it through the center of the bottom, and pull the yarn around the outside of the pumpkin.
Repeat the movement several times, spacing each pull evenly around the body.
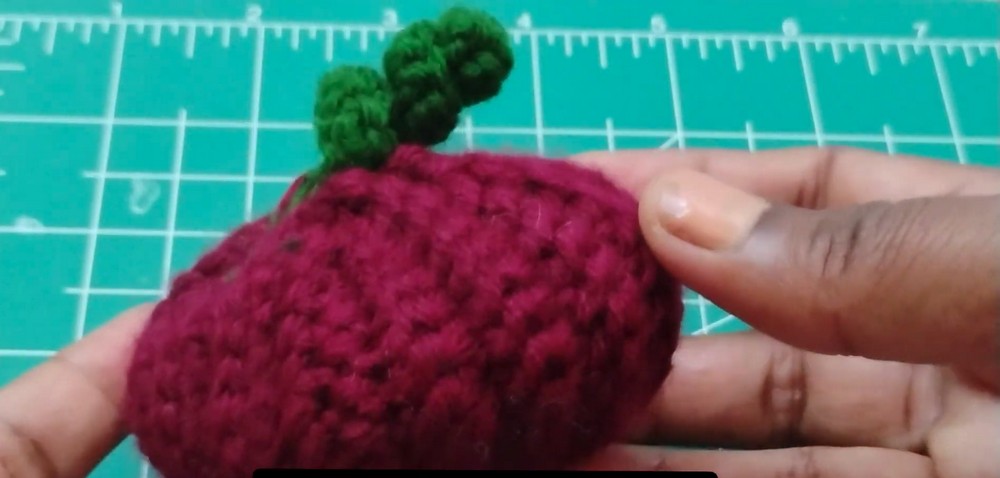
Aim for approximately 4-6 grooves. Pull firmly enough to create visible indentations, but keep the tension consistent so the sections look balanced.
Once the grooves are shaped, tie off the yarn and weave the ends into the pumpkin.
Crochet the Green Stem
Make the stem separately with green yarn.
Round 1: Leave a long sewing tail and Ch 6.
Round 2: Starting in the 2nd ch from the hook, work 1 SC in each chain across. (5 sc)
Round 3: For the Medium and Jumbo pumpkins, make the stem thicker if desired by working in the round or adding a second row of SC.
Finishing: FO, leaving another yarn tail for attaching the stem to the pumpkin.
The stem does not need to be complicated—the goal is simply to give the gathered center a small raised finishing detail.
Attach the Stem
Thread the green yarn tail onto your tapestry needle.
Position the stem directly over the cinched top center of the pumpkin.
Sew through the base of the stem and into the gathered pumpkin stitches several times until it feels secure.
Weave in the remaining yarn ends and trim any excess.
Build a Coordinated Fall Pumpkin Patch
The three size options make this pattern especially useful when you want a group of pumpkins rather than one identical piece.
Try maroon and orange for a traditional fall palette, combine yellow and white for a lighter Thanksgiving display, or mix all four colors for a more playful arrangement.
Place the mini pumpkins around the base of a centerpiece, use medium pumpkins along a shelf or mantel, and let a jumbo pumpkin provide the larger shape in the arrangement.
Because the body is based on the same ribbed rectangle for every size, you can create the whole collection while using the same basic crochet technique.