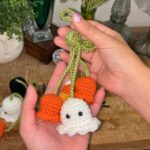
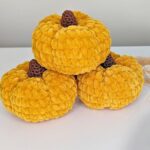
Crochet a pumpkin turtle to combine the cozy feel of autumn with the adorable appeal of turtles. This project beautifully blends aesthetics and functionality, making it a standout accessory or gift.
Its versatility allows it to be used as home decor, a play toy, or a unique gift for all ages.

The pumpkin turtle offers practicality with its sturdy design and charming appearance. It can be a delightful seasonal decoration, a child’s toy, or a thoughtful handcrafted present.
It’s durable, easy to clean, and visually appealing, making it a go-to project for crochet enthusiasts of every skill level.
Materials and Preparation
To crochet your pumpkin turtle, you’ll need the following materials:
- Yarn: Worsted weight yarn in orange (pumpkin body), green (leaves/turtle shell), and brown (stem).
- Hook Size: 4.0 mm crochet hook (or size recommended for your yarn).
- Additional Tools:
- Tapestry needle for sewing pieces together.
- Scissors for trimming yarn ends.
- Stitch markers for keeping track of rounds.
- Stuffing material (e.g., polyester fiberfill) for filling the pumpkin body.
Abbreviations and Notes
Below are the common crochet abbreviations used in this tutorial:
- SC: Single crochet
- HDC: Half double crochet
- DC: Double crochet
- INC: Increase (2 single crochets in one stitch)
- DEC: Decrease (single crochet two stitches together)
- SL ST: Slip stitch
- CH: Chain

Pattern Notes:
- This pattern is worked in continuous rounds, unless specified otherwise. Use a stitch marker at the beginning of each round to track your progress.
- Ensure you don’t overstuff the pumpkin body to maintain its rounded shape.
Gauge, Approximate Size, and Pattern Notes
- Gauge: No strict gauge is required for this project, but you should aim for tight stitches to avoid visible stuffing.
- Finished Size: The pumpkin turtle design should measure approximately 5 inches wide and 3 inches tall, depending on the yarn and hook used.
- Special Techniques:
- Magic Circle: Used to start the base of both the pumpkin and turtle shell.
- Surface Crochet: Added to create details like the pumpkin ridges (optional).
- A gauge swatch is not required, but keep your tension consistent for a neat finish.
Step-by-Step Pattern
Part 1: Pumpkin Base
- Begin with a magic circle:
- CH 1 to secure the circle.
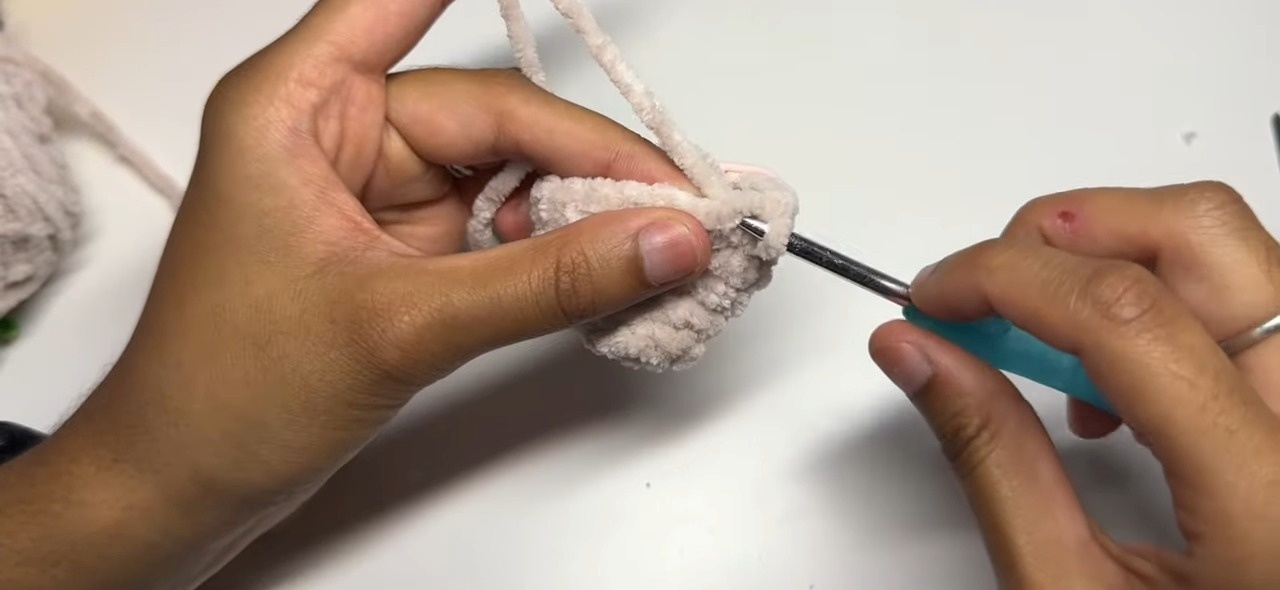
- Round 1: Work 6 SC into the magic circle, pull tight to close. (6 stitches).
- Work increases:
- Round 2: INC in each stitch around (12 stitches).
- Round 3: SC in the next stitch, INC in the next stitch; repeat around (18 stitches).
- Continue to increase in this manner (adding 6 stitches per round) until the base measures approximately 4 inches wide.
- Work even rounds:
- SC in each stitch around for 4 rounds to form the pumpkin’s sides.
- Decrease to close the pumpkin:
- Round 1: SC in the next stitch, DEC in the next stitch; repeat around.
- Round 2: DEC in each stitch until the opening closes. Leave a small hole for stuffing.
- Stuff the pumpkin body:
- Add stuffing material to create a rounded shape.
- Finish closing:
- SL ST to join the last round, weave in ends securely.
Part 2: Turtle Shell and Leaves
- Shell:
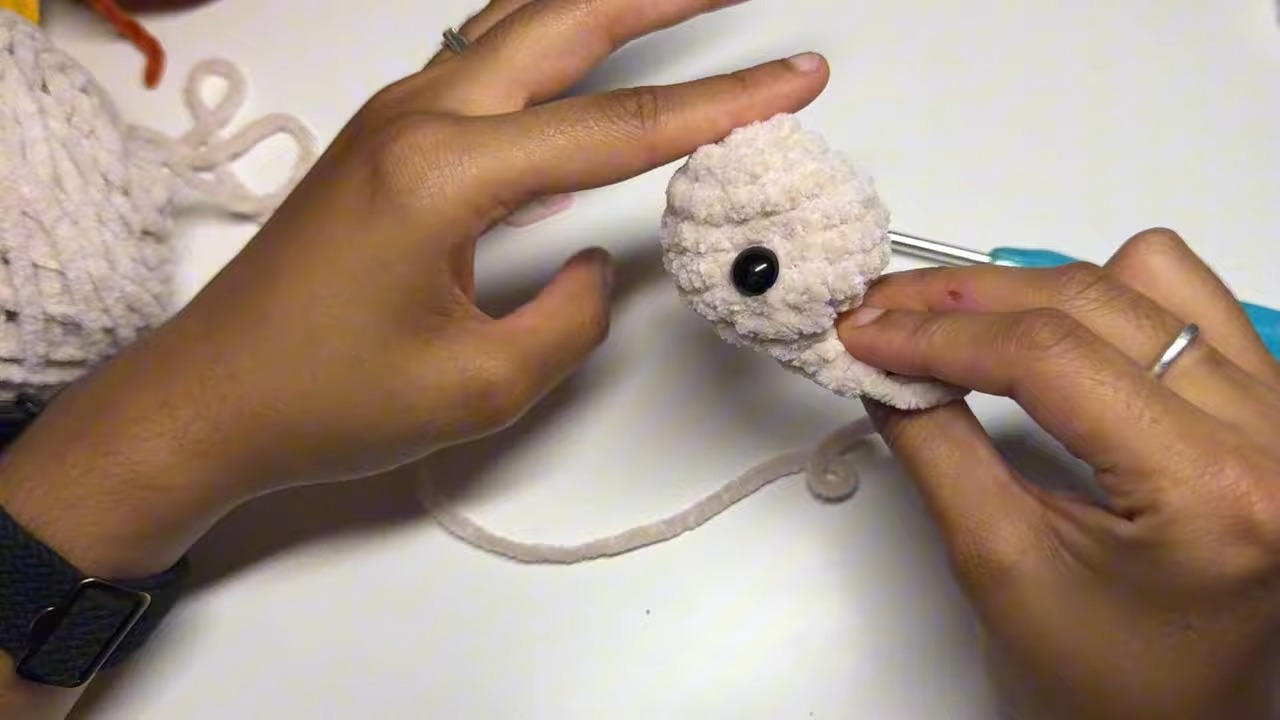
- Begin with a magic circle in green yarn.
- Round 1: Work 6 SC into the magic circle.
- Round 2: INC in each stitch around (12 stitches).
- Round 3: Work even rounds until the shell measures about 3 inches across. Fasten off.
- Leaves:
- CH 7, SL ST into the second CH from hook.
- SC, HDC, DC in next stitches. Continue DC, HDC, SC back down, and SL ST to finish a leaf shape. Make 3–5 leaves.
Part 3: Assembly
- Stem:
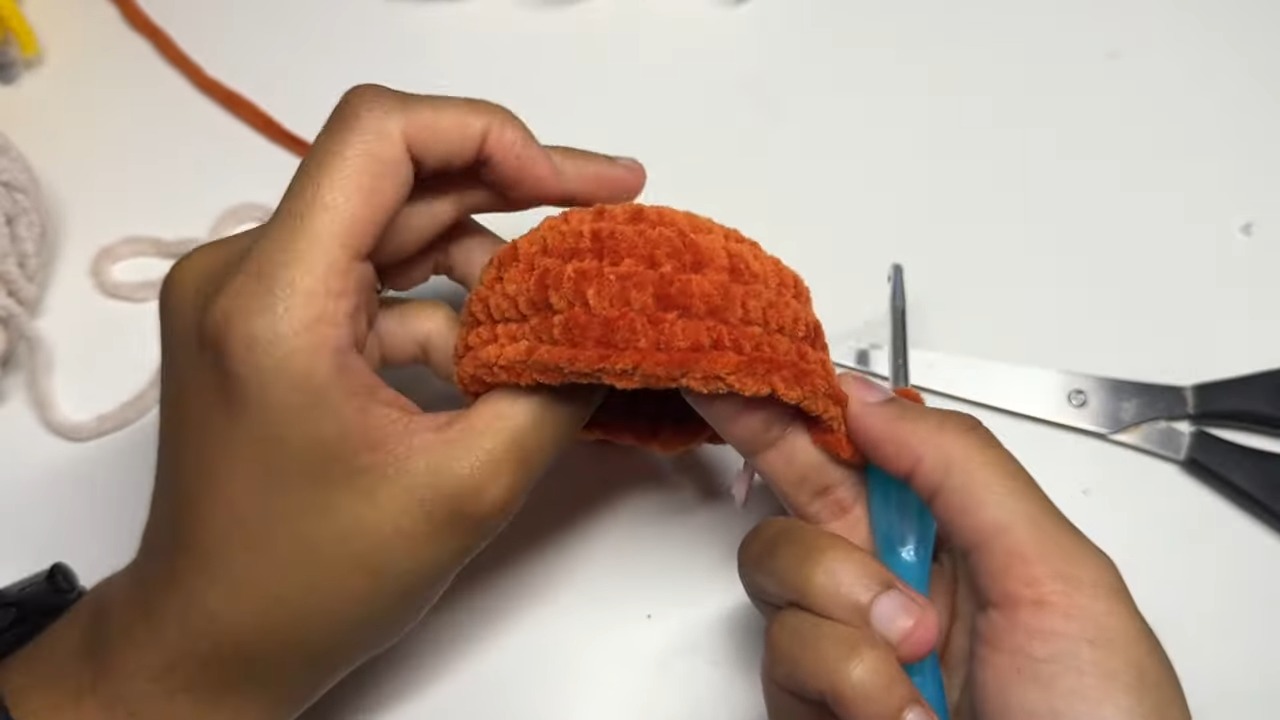
- CH 6, SL ST to form a ring. SC evenly around for 4 rounds. Fasten off and attach to pumpkin top.
- Attach Turtle Shell:
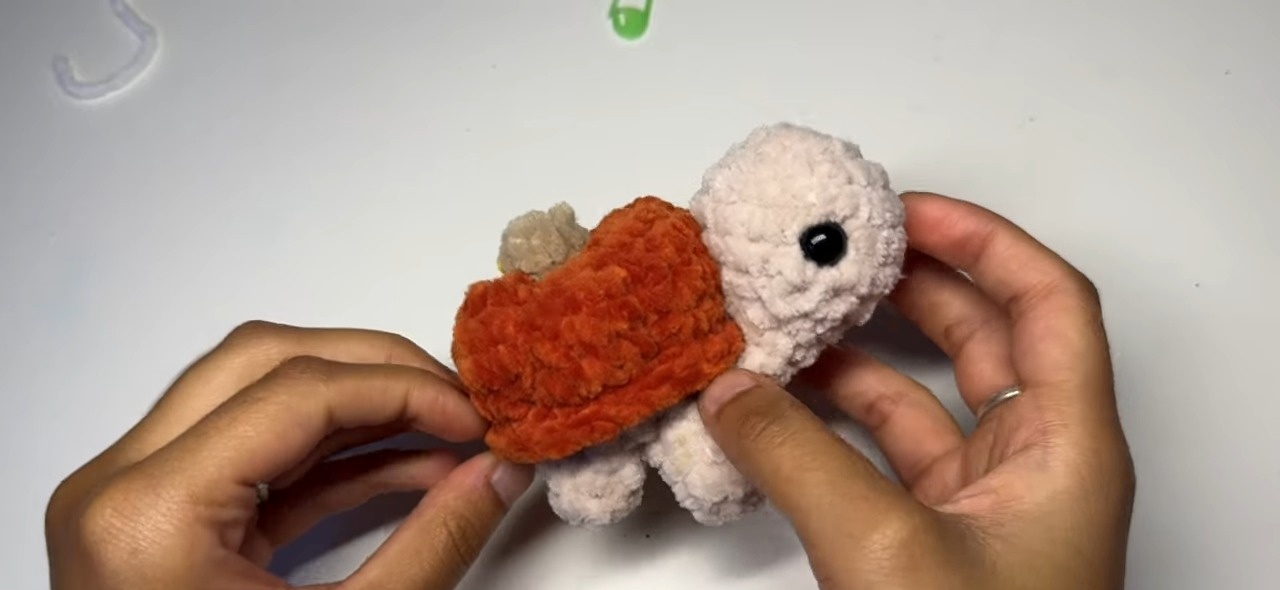
- Center the turtle shell on the pumpkin base. Stitch securely using a tapestry needle.
- Add Details:
- Sew leaves around the stem on top of the pumpkin.
- Optional Final Touches:
- Use surface crochet or embroidery to add pumpkin ridges or turtle shell texture.
Key to Success
- Choose quality yarn for better durability and a refined finish.
- Follow the pattern instructions closely for optimal results.
- Use a stitch marker to keep track of rounds.
- Stuff the turtle evenly to maintain its shape.
- Add personal touches with color variations or accessories.
Conclusion
Creating a pumpkin turtle is a fun and rewarding crochet project that combines beauty and utility in one charming item. Its multifunctionality and appeal make it a fantastic craft project for anyone looking to add a touch of handmade charm to their home or gift-giving repertoire.