Here’s a delicate crochet snowflake with six airy points, simple chain arches, and a seamless finish that works beautifully for ornaments or winter décor.
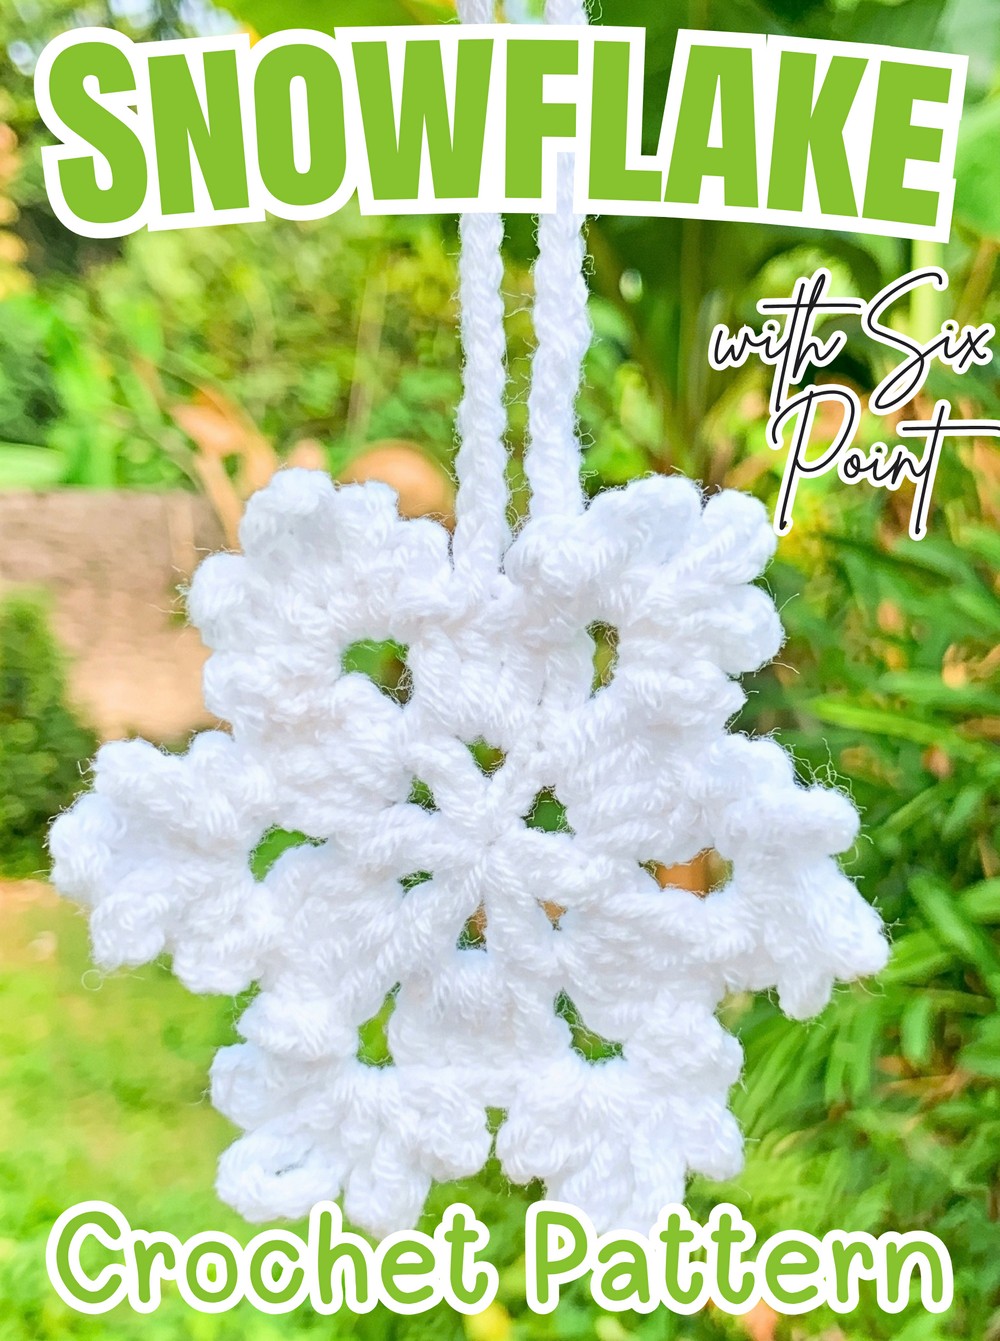
Delicate enough for a tree yet useful beyond the holiday season, this crochet snowflake grows from a small center into six graceful points. The open chain spaces keep the motif light and lacy, while the final round gives each point its distinctive layered edge.
Starting with two straightforward rounds makes the six-point structure easy to recognize before the decorative edge is added. The last round uses chains of different lengths to create each crochet snowflake tip, so you’ll know exactly where to place the slip stitches and how the shape should look as you move around. A longer chain at the end can also turn the finished motif into a ready-to-hang crochet ornament.
Credit Crochet with ice
Materials & Tools
- Yarn: White yarn or any color you prefer
- Crochet hooks: 2.0 mm and 2.5 mm
- Stitch marker
- Yarn needle: For weaving in ends
- Scissors
The exact finished size will depend on your yarn weight and hook choice. A finer yarn creates a delicate smaller snowflake, while a thicker yarn and appropriately sized hook can make the motif larger.
Finished Size & Uses
This motif can be used as a coaster, applique, winter decoration, or Christmas tree ornament. For a hanging version, simply add a chain loop directly from the final stitch instead of attaching a separate piece.
Experimenting with hook sizes is an easy way to change the scale while keeping the same pattern. Different yarn colors can also shift the look from traditional snowy white to colorful winter décor.
Abbreviations – US Terms
- MR: Magic Ring
- ch: Chain
- dc: Double crochet
- sl st: Slip stitch
- sp: Space
- sk: Skip
- st(s): Stitch(es)
Crochet Snowflake Pattern
This snowflake is worked seamlessly in joined rounds, so there are no separate pieces to sew together. Keep track of the beginning of each round and pay particular attention to the ch-2 spaces, since they become the locations for the six decorative points.
Round 1 – Create the Center
Round 1 establishes six evenly spaced ch-2 spaces around the magic ring. These spaces will later become the foundations for the snowflake points.
Round 1: Start with a MR, ch 5 (counts as 1 dc and a ch-2 space), then work 1 dc into the MR followed by ch 2; repeat the (1 dc, ch 2) sequence 5 more times, pull the yarn tail tightly to close the center, then sl st into the 3rd chain of the starting ch-5. (6 dc, 6 ch-2 spaces)
Before continuing, check that the center has closed neatly and that six ch-2 spaces are visible around the ring. These are the spaces you will use throughout the next round.
Round 2 – Build the Six Sections
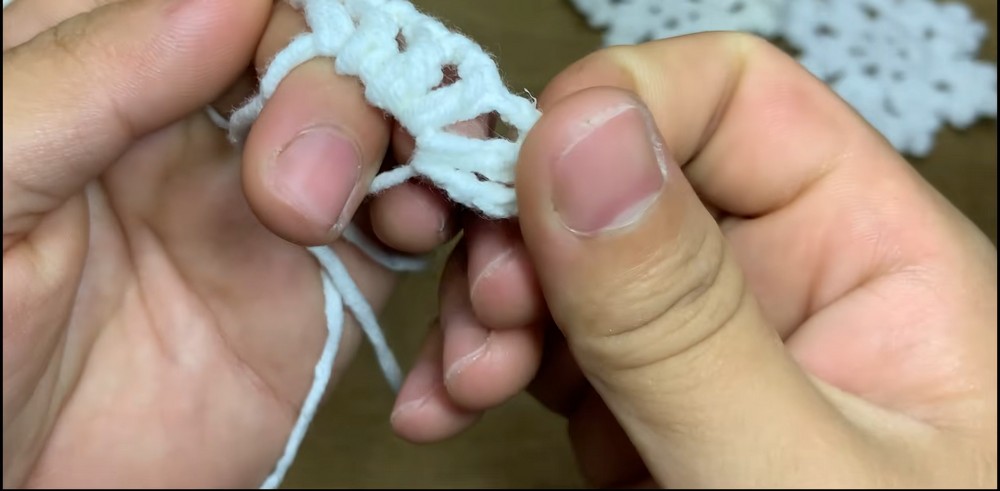
Round 2 fills each ch-2 space with a four-dc group. These groups create the six broad sections that will later be shaped into snowflake points.
Round 2: Ch 3 (counts as the first dc), work 3 dc into the first ch-2 space, ch 2, then work 4 dc into each remaining ch-2 space followed by ch 2, continuing around; sl st into the top of the starting ch-3. (6 groups of 4 dc, 6 ch-2 spaces)
Keep the ch-2 spaces open and easy to identify. They should sit between the six groups of 4 dc and will become the center of each decorative point in Round 3.
Round 3 – Shape the Snowflake Points
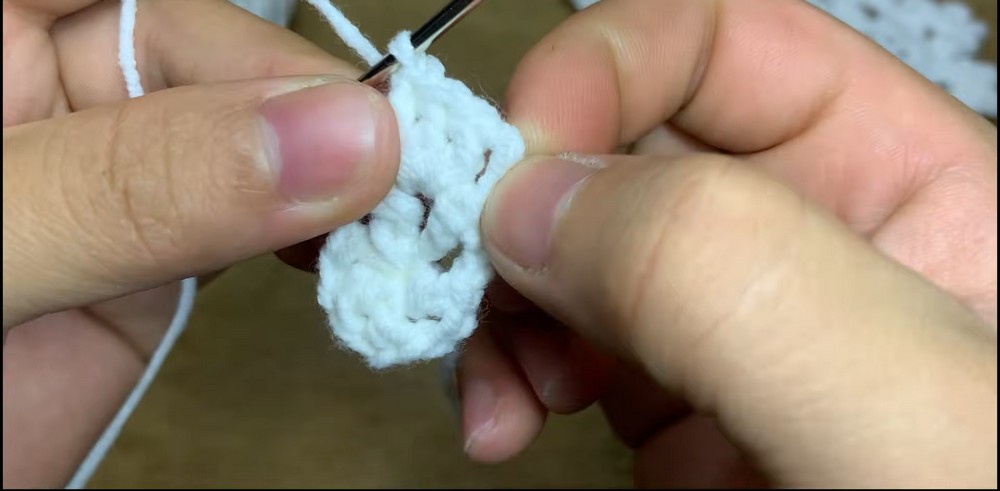
The final round transforms the broad sections into delicate snowflake edges. The slip stitches move you across each 4-dc group, while the five chain arches in each ch-2 space create the actual point.
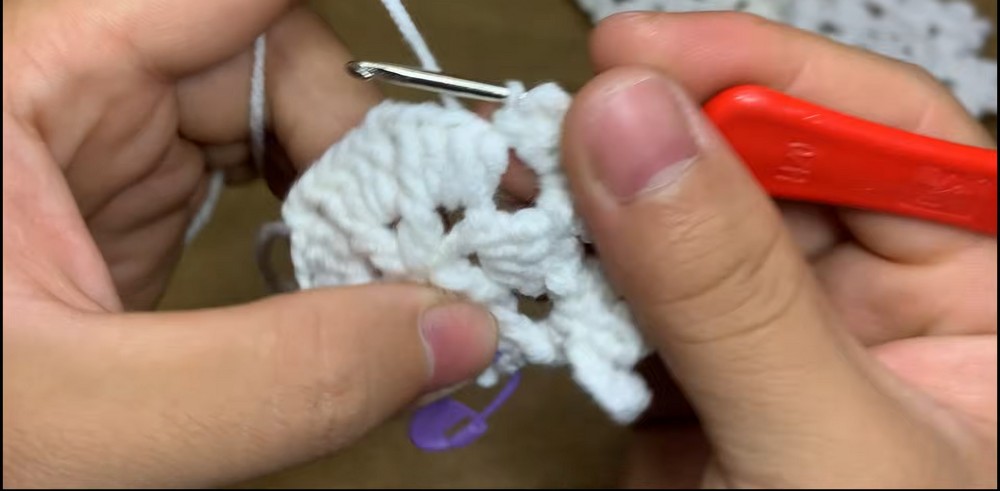
Round 3: Skip the first st, sl st in the next st and place a stitch marker in this sl st, sl st in the next 2 sts (3 sl sts total); in the next ch-2 sp, work ch 3, sl st in the same sp, ch 5, sl st in the same sp, ch 7, sl st in the same sp, ch 5, sl st in the same sp, ch 3, sl st in the same sp; moving to the next 4-dc group, sk 1 st and sl st in the next 3 sts; repeat this sequence around all 6 sections, then sl st into the first marked stitch to finish.
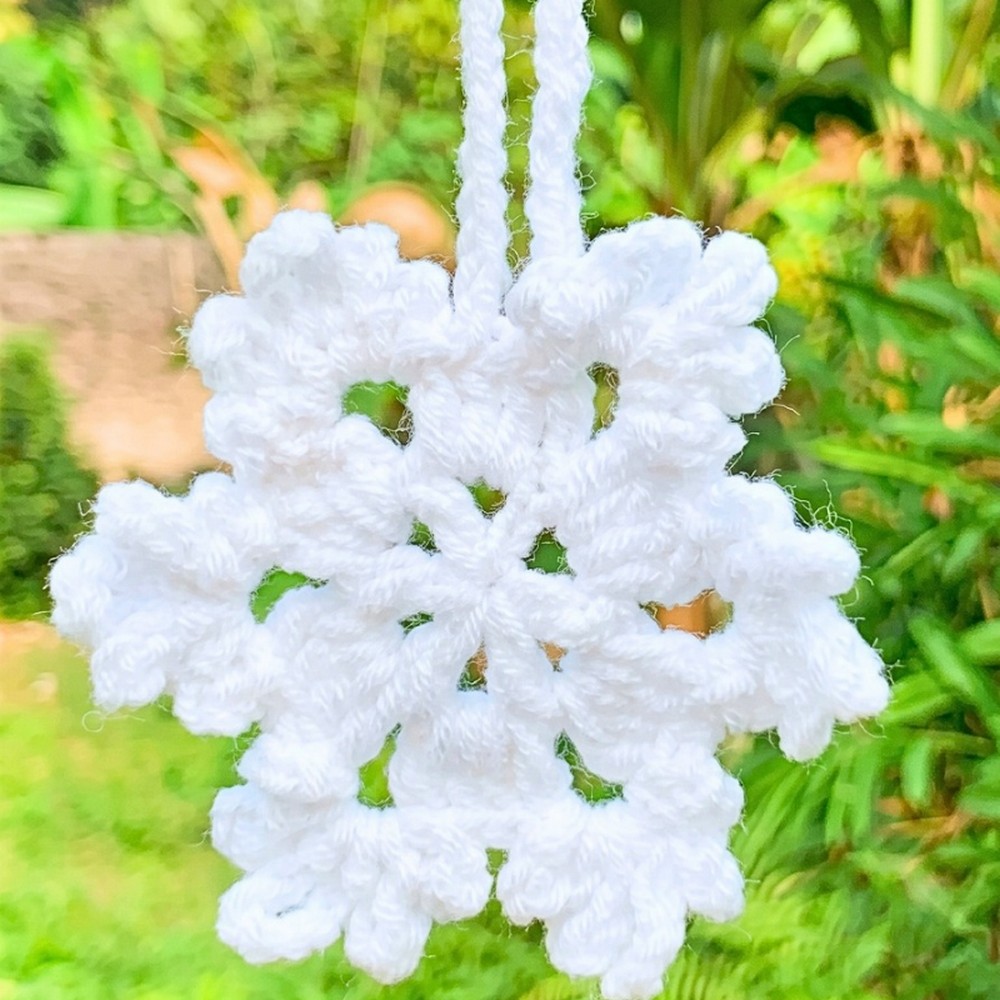
The chain lengths are what give each point its snowflake-like shape: the ch 7 forms the tallest central arch, while the neighboring ch 5 and ch 3 arches step the point inward on both sides.
As you repeat the cluster around the motif, pause occasionally to check that the points are spreading evenly. Each ch-2 space should receive one complete chain cluster, giving you six matching snowflake points by the end.
Finishing the Snowflake
No separate assembly is needed because the entire motif is crocheted in one continuous piece.
For a tree ornament or hanging decoration, keep the yarn attached after the final slip stitch. Crochet a chain to your desired hanging length, fold the chain back toward the snowflake, and slip stitch it into the base to form a loop. This gives you a built-in hanger without needing to sew one on separately.
For a flat snowflake, simply fasten off after completing Round 3. Use your yarn needle to weave all loose ends securely into the back of the stitches, then trim the excess.
Blocking for Crisp Points
Blocking can make a noticeable difference if you want sharply defined snowflake points. Pin the finished motif to a blocking mat, gently arrange each point into its intended shape, then lightly mist it with water or use an appropriate fabric stiffener. Allow it to dry completely before removing the pins.
The center should remain flat while the six outer points spread evenly around it. If one point looks smaller than the others, adjust its chains before the snowflake dries completely.

Quick Shape Check
Your finished snowflake should have:
- 6 evenly spaced points
- 1 central ch-7 arch in each point
- ch-5 and ch-3 arches stepping down on both sides
- A flat, open center
- No separate pieces requiring sewing
Once the six points are evenly arranged and the loose ends are hidden, the snowflake is ready to use as winter décor, a coaster, applique, or a delicate Christmas tree ornament.