
Need a quick festive crochet detail? This tiny green tree uses simple rows, a peaked loop, and a fringed brown trunk for a playful holiday finish.
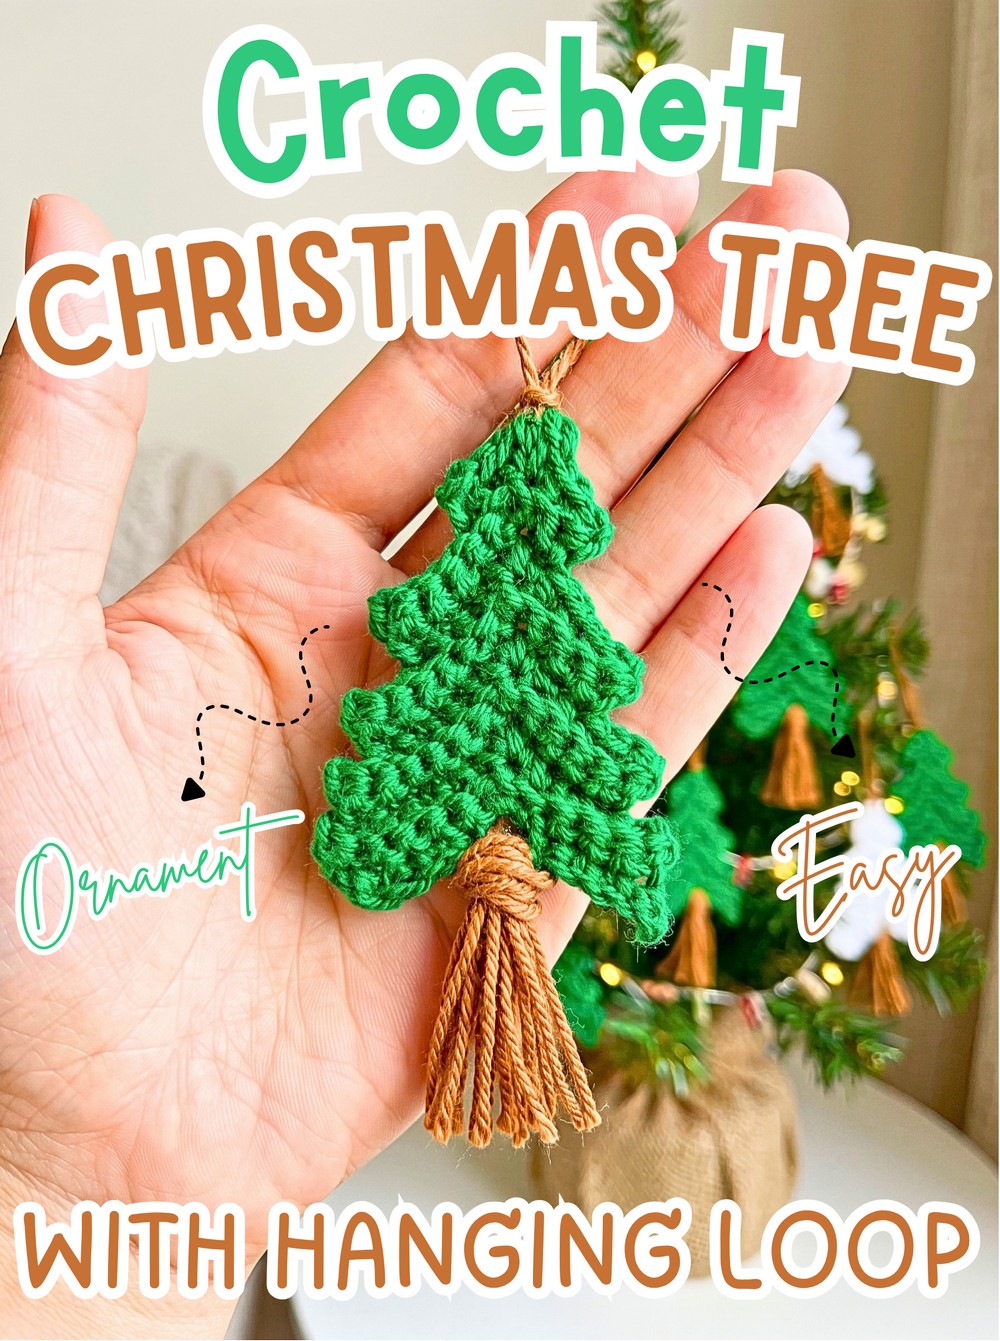
Green yarn quickly takes shape as a miniature Christmas tree in this crochet pattern, with skipped stitches creating the narrowing branches and a small peak giving the ornament its recognizable silhouette. A brown fringe trunk adds the finishing touch without requiring a separate crocheted piece.
Working with a 2.5 mm hook keeps the stitches compact while you shape the crochet tree row by row. The tutorial includes the exact stitch placement, skipped stitches, center spaces, and final hanging loop, followed by a simple fringe method for the trunk so each part has a clear place in the finished crochet ornament.
Credit Crochet Patterns Free
Materials & Tools Needed
- Yarn: 3-ply yarn in green for the tree body and brown for the trunk.
- Hook: 2.5 mm crochet hook.
- Notions: Tapestry needle and scissors.
Finished Size & Customization
This pattern creates a miniature Christmas tree suited to hanging on a Christmas tree, adding to a garland, or using as a decorative package topper.
For a different appearance, you can:
- Use fingering-weight or sport-weight cotton yarn for a different stitch definition and finished scale.
- Add small beads or French knots with contrasting embroidery floss to suggest ornaments or tiny lights.
- Try variegated green yarn for a speckled or frosted pine-tree effect.
Pattern Abbreviations
- ch: Chain
- sc: Single crochet
- st(s): Stitch(es)
- sk: Skip
- sl st: Slip stitch
- […]: Repeat instructions or a grouped set of stitches worked in the same space
Shape the Tree
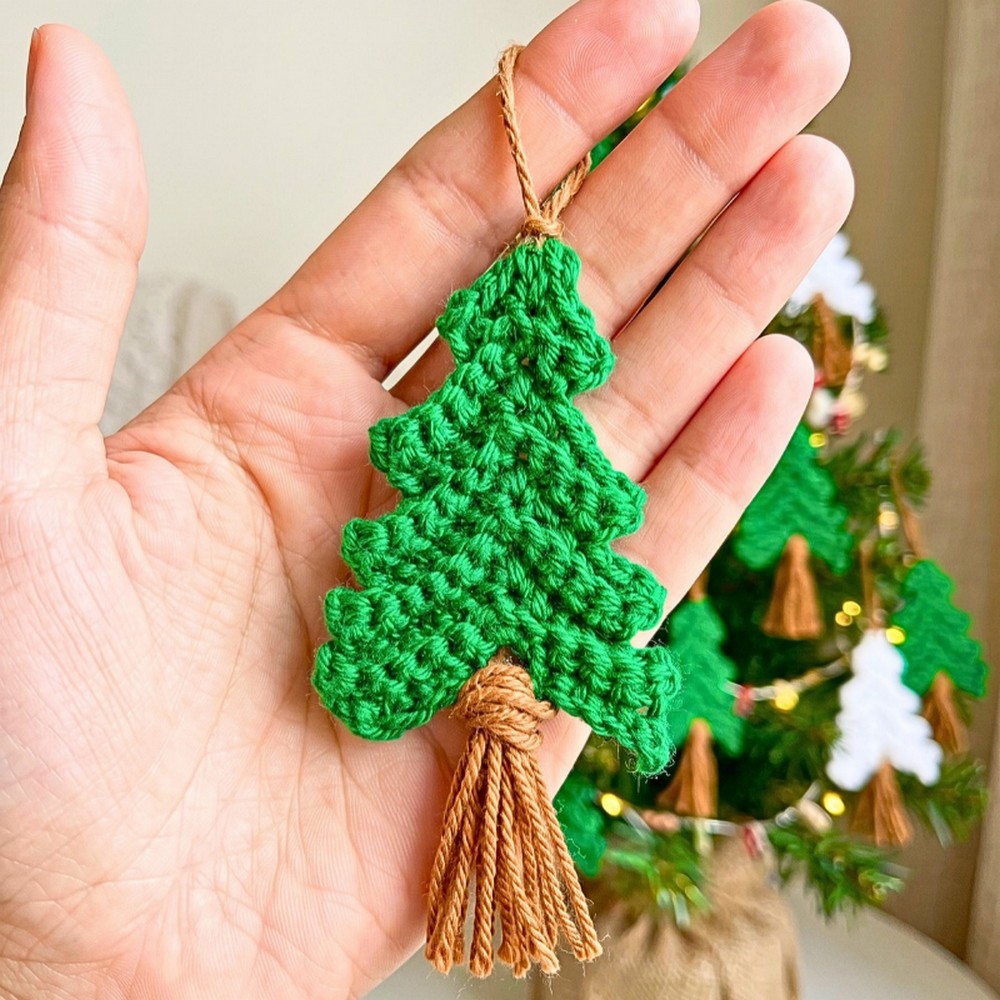
The tree is shaped by changing how many stitches you work before and after the center ch-1 space. The skipped stitches gradually reduce the width, so keeping track of exactly which stitches are skipped is important for maintaining the tree silhouette.
Foundation Chain: Using green 3-ply yarn and a 2.5 mm hook, chain 12. (12 ch)
Row 1: Skip the 1st chain from the hook, work 1 sc in each of the remaining 11 chains. (11 sc)
Row 2: Ch 1, turn. Sk 1 st, 5 sc in the next 5 sts, [1 sc, 1 ch, 1 sc] in the 6th st, 4 sc in the next 4 sts, sk last st.
Row 3: Ch 1, turn. 5 sc in the first 5 sts, [1 sc, 1 ch, 1 sc] in the next st (the ch-1 space from the previous row), 5 sc in the next 5 sts, sk last st.
Row 4: Ch 1, turn. 6 sc in the first 6 sts, [1 sc, 1 ch, 1 sc] in the ch-1 space, 4 sc in the next 4 sts, sk last 2 sts.
Row 5: Ch 1, turn. 5 sc in the first 5 sts, [1 sc, 1 ch, 1 sc] in the ch-1 space, 5 sc in the next 5 sts, sk last 2 sts.
Row 6: Ch 1, turn. 6 sc in the first 6 sts, [1 sc, 1 ch, 1 sc] in the ch-1 space, 3 sc in the next 3 sts, sk last 3 sts.
Row 7: Ch 1, turn. 4 sc in the first 4 sts, [1 sc, 1 ch, 1 sc] in the ch-1 space, 4 sc in the next 4 sts, sk rest.
Row 8: Ch 1, turn. 5 sc in the first 5 sts, [1 sc, 1 ch, 1 sc] in the ch-1 space, 1 sc in the next st, sk last 4 sts.

Form the Peak and Hanging Loop
The final row narrows the top further while the 2-chain section creates the hanging loop directly within the peak. This means there is no separate loop to attach afterward.
Row 9 – Tree Peak & Hanging Loop: Ch 1, turn. 2 sc in the first 2 sts, [1 sc, 2 ch, 1 sc] in the next st to form the hanging loop peak, 2 sc in the next 2 sts, sk rest. Ch 1 and fasten off, leaving a short tail to weave in.
At this point, the green portion should read clearly as a small tree shape, with the narrowest point at the top and the 2-chain opening positioned at the peak.
Add the Brown Trunk
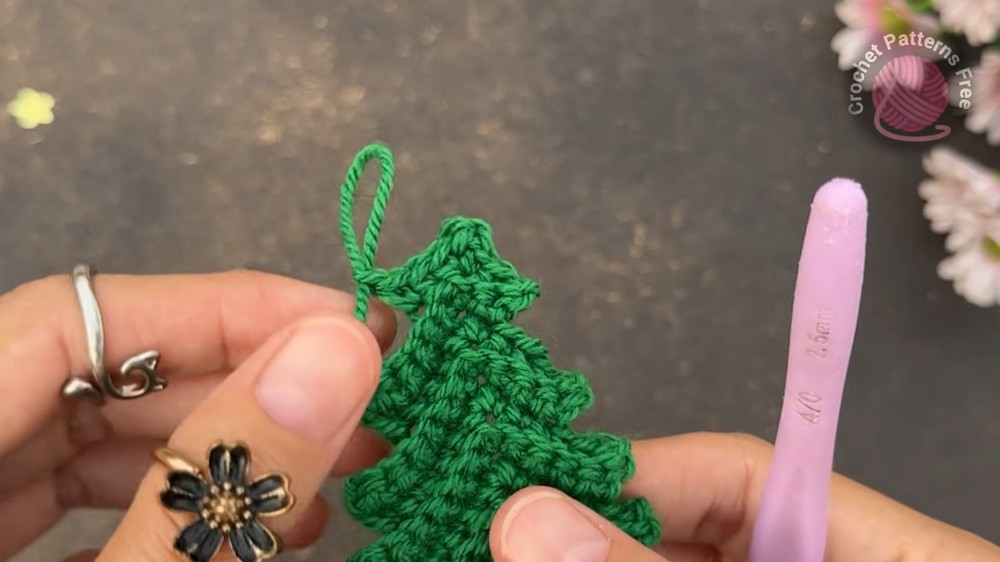
The trunk uses a fringe or tassel-style attachment rather than another crocheted section, keeping the base quick and simple.
- Cut several short strands of brown 3-ply yarn.
- Insert the hook at the bottom center of the tree.
- Fold the brown strands in half and pull them through the base using a slip-knot/fringe-tassel method.
- Trim the brown strands evenly with scissors to your preferred trunk length.
The trunk can be kept short for a compact ornament or trimmed to a slightly longer fringe for a more noticeable tassel effect.

Weave In the Ends
Use a tapestry needle to weave any remaining loose yarn ends securely into the stitches of the green tree body. Trim excess yarn once the ends are tucked away.






