
Add a handmade botanical touch to your crafts with this simple crochet leaf, shaped with varied stitches and finished with a delicate little stem.
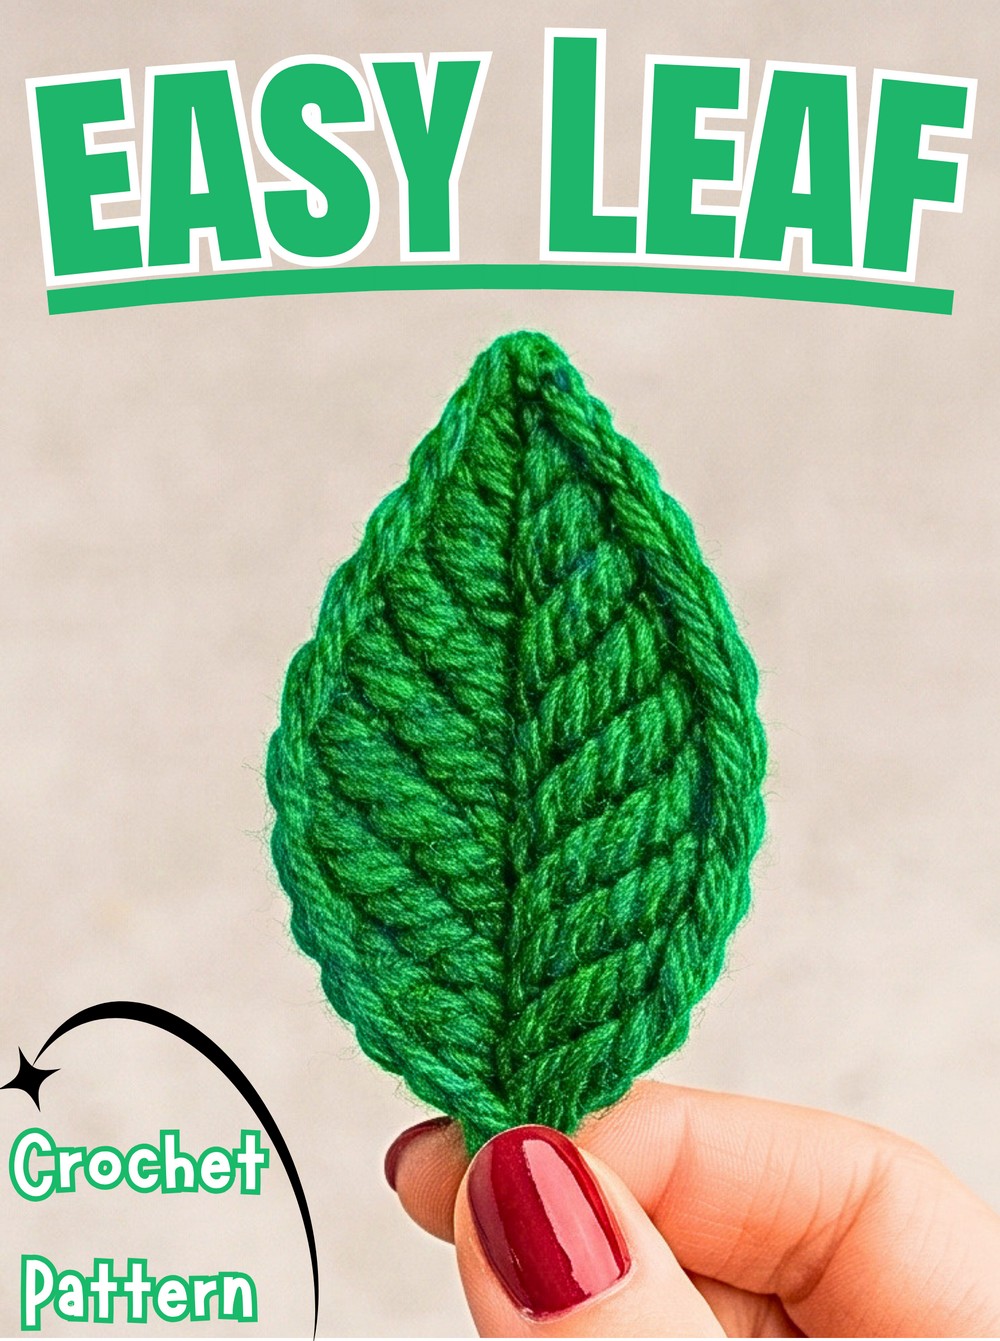
A little green crochet leaf can add a natural finishing touch to handmade bags, clothing, hair accessories, and seasonal decorations. This simple crochet design has a pointed outline, a fuller center, and a narrow stem, making it a versatile embellishment for both small accessories and larger botanical arrangements.
The shape comes together by working different crochet stitches along both sides of a 15-chain foundation. Short single crochets form the tapered ends, while taller stitches create the wider middle before the opposite side completes the outline. Follow the steps to shape the leaf and finish its stem, then adjust the foundation chain to experiment with different sizes.
Credit NakhArt🪡🧶
Materials & Tools Needed
- Yarn: Green yarn in worsted, DK, or sport weight, depending on the desired leaf size. Medium-weight acrylic or cotton yarn is suitable.
- Crochet Hook: Choose a hook appropriate for your yarn. Suggested sizes include 2.5 mm, 3.0 mm, or 3.5 mm to help create neat, compact stitches.
- Tapestry or Yarn Needle: For weaving in the yarn ends.
- Sharp Embroidery Scissors: For cutting the yarn.
Finished Size & Customization Ideas
Finished Size: Approximately 3.5-4 inches (9–10 cm) long, including the stem.
This small leaf can be used as an appliqué, a keychain decoration, part of a coaster design, or one element in a botanical garland.
- For a Longer or Larger Leaf: Increase the foundation chain to 17 or 19 chains and scale up the central treble crochet section to suit the additional stitches.
- For a Smaller Leaf: Shorten the foundation chain to 11 chains and reduce the number of treble crochet stitches accordingly.
Sizing Tip: Changing the foundation chain also changes the number of stitches available for the leaf’s edges. Adjust the stitch sequence to keep the taller stitches near the center and the shorter stitches near the ends. The exact revised stitch counts for the alternative sizes are not specified in the supplied pattern.
Pattern Abbreviations & Terminology
- ch: Chain
- sl st: Slip Stitch
- sc: Single Crochet
- hdc: Half Double Crochet
- dc: Double Crochet
- tr: Treble Crochet
- st(s): Stitch(es)
The pattern uses US crochet terminology. The leaf is worked along both sides of the original foundation chain, with the central chain forming the line through the middle of the leaf.
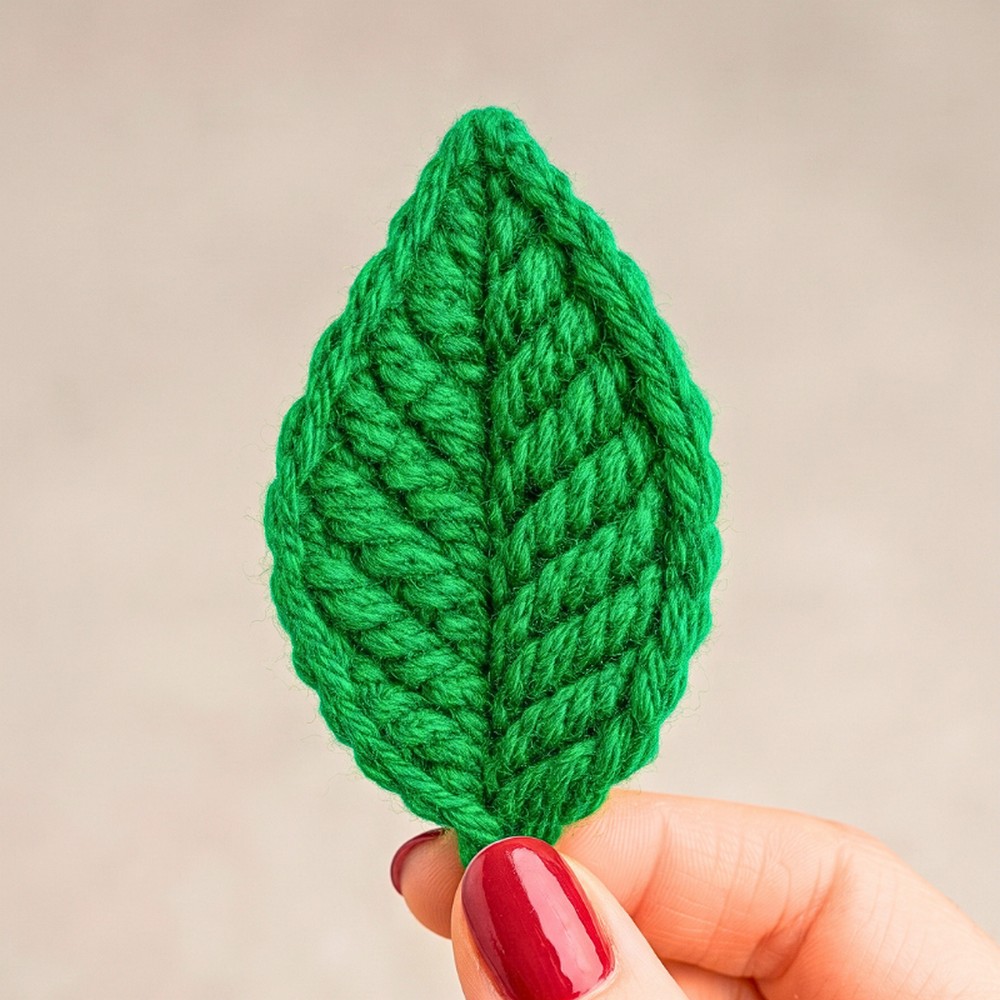
Step-by-Step Crochet Instructions
1. Make the Foundation Chain
Using green yarn, make a slip knot and chain 15.
This chain forms the length of the leaf. You will first crochet along one side, then turn around the end and work along the opposite side to create the leaf shape.
Teaching Guide – Keep Track of the Chain Stitches
After making 15 chains, count them before starting the first side. Work into the chain stitches in sequence rather than skipping ahead. The stitch heights change gradually from single crochet to treble crochet and then back down again, so keeping your place will help the leaf form its tapered outline.
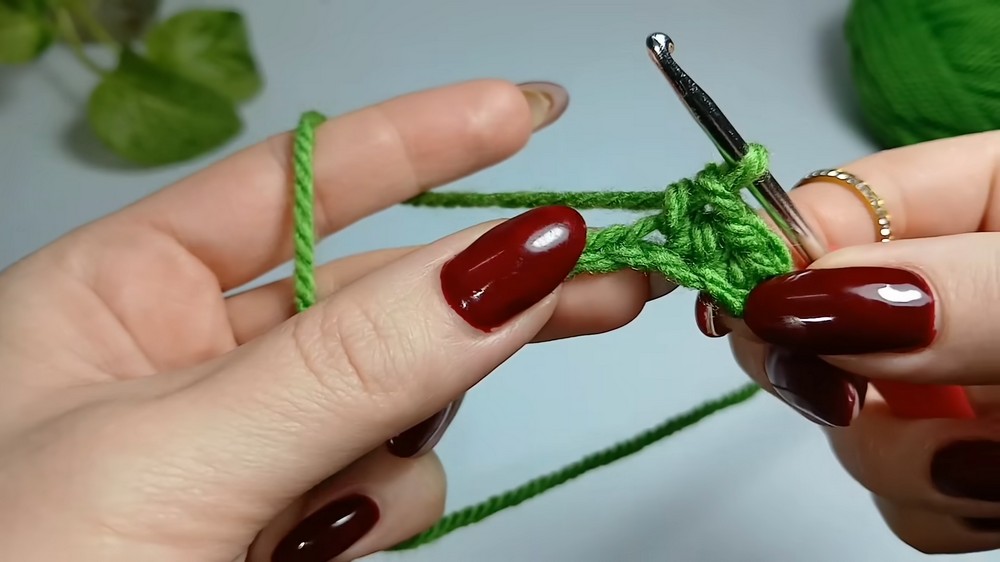
2. Crochet the First Side of the Leaf
Work down one side of the foundation chain, following the stitch sequence from the base toward the opposite end.
- Stitches 1-3: Work 1 single crochet in each of the first 3 stitches from the hook.Total for this section: 3 single crochets
- Stitch 4: Work 1 half double crochet in the next stitch.
- Stitch 5: Work 1 double crochet in the next stitch.
- Stitches 6–10: Work 1 treble crochet in each of the next 5 stitches.
- Stitch 11: Work 1 double crochet in the next stitch.
- Stitch 12: Work 1 half double crochet in the next stitch.
- Stitches 13-15: Work 1 single crochet in each of the remaining 3 stitches, continuing toward the base.
The stitch heights create the outline: single crochets form the shorter ends, while the taller treble crochets build the wider central section.
Teaching Guide – Create a Smooth Leaf Outline
Keep the stitch order exactly as written. The single crochets at the ends help taper the leaf, and the five treble crochets form its tallest section. If the leaf looks uneven, check that each stitch was worked into the next chain stitch and that no chain was accidentally skipped.
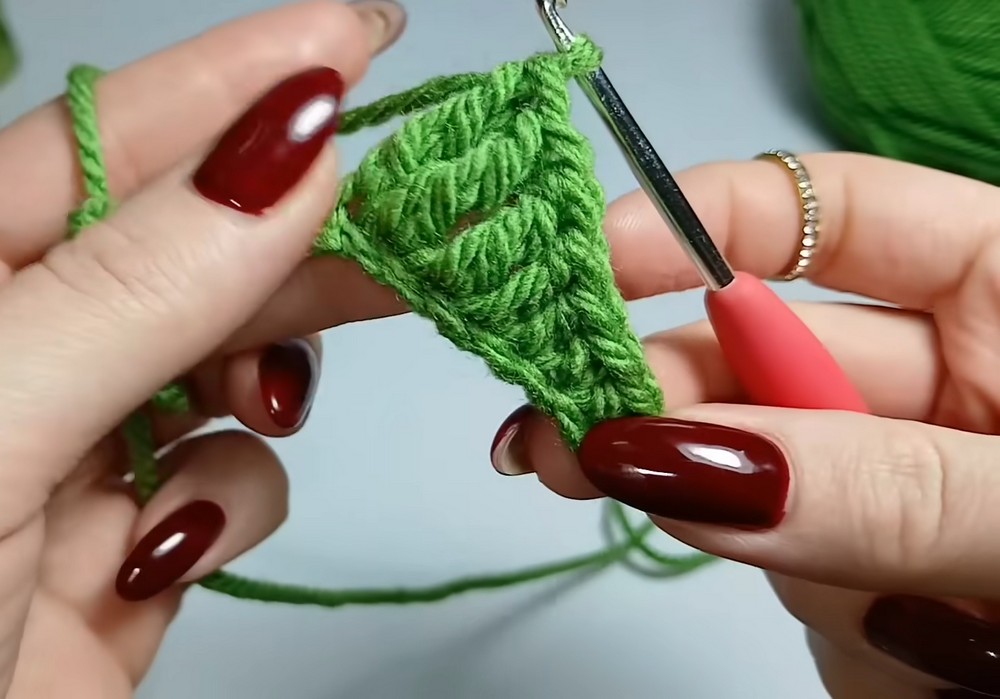
3. Form the Stem
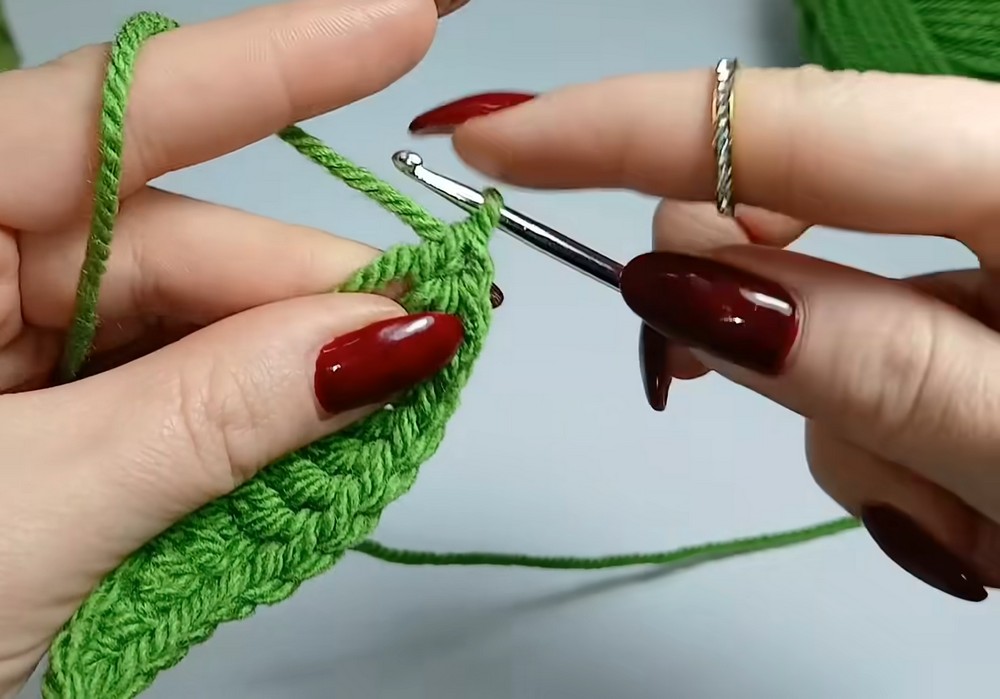
At the leaf base, chain 5.
Starting in the second chain from the hook, work slip stitches back down the chain toward the leaf base.
Important clarification: A chain of 5 has 4 chain spaces remaining after skipping the first chain from the hook. Therefore, this instruction produces 4 slip stitches, not 5. The supplied wording says to work into the 4 remaining chain spaces but also mentions 5 slip stitches. Follow the chain-space count and check the original demonstration if the intended stem length differs.
Teaching Guide – Keep the Stem Narrow
Slip stitches create a compact stem. Avoid pulling them too tightly, as this can make the chain curl or become difficult to work into. Keep the stem lying naturally against the base of the leaf while you prepare to continue around the opposite side.
4. Crochet the Second Side of the Leaf
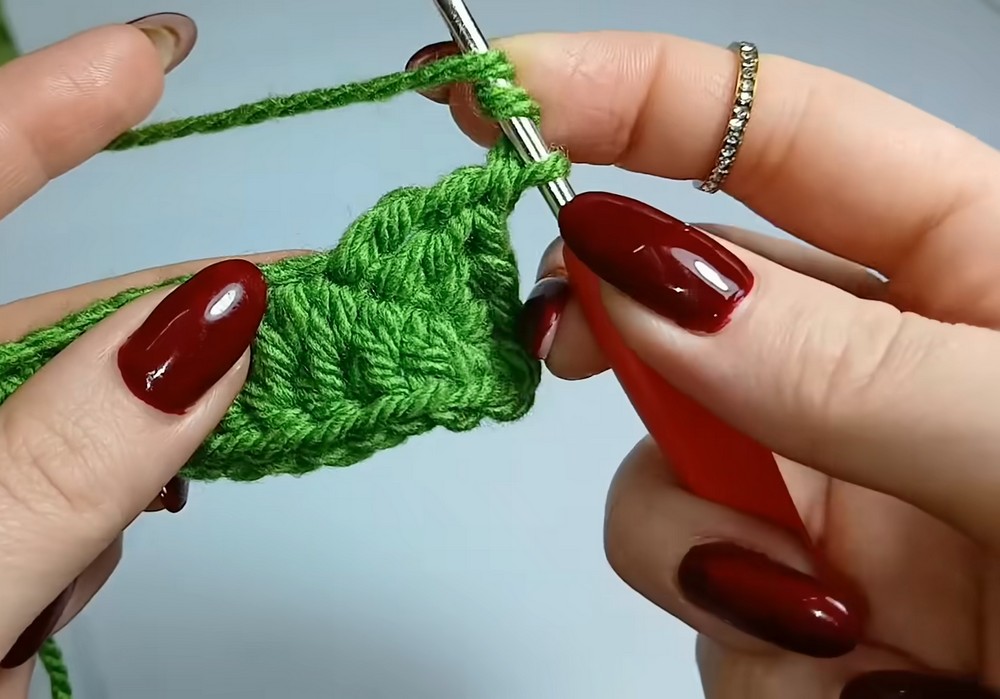
Now work into the unused loops on the opposite side of the original foundation chain. This forms the other half of the leaf around its central rib.
The supplied sequence is:
- Base stitches: Work 2 single crochets in the corresponding base stitches.
- Next stitch: Work 1 half double crochet.
- Next stitch: Work 1 double crochet.
- Next 5 stitches: Work 1 treble crochet in each stitch.
- Next stitch: Work 1 double crochet.
- Next stitch: Work 1 half double crochet.
- Final 3 stitches: Work 1 single crochet in each stitch, continuing toward the tip.
Teaching Guide – Find the Unused Side of the Chain
Turn the work enough to see the loops along the opposite side of the foundation chain. These are the loops left unused when you crocheted the first side. Work into them in sequence, keeping the stitch heights in the same general order as the first side so the leaf remains balanced.
5. Join and Fasten Off
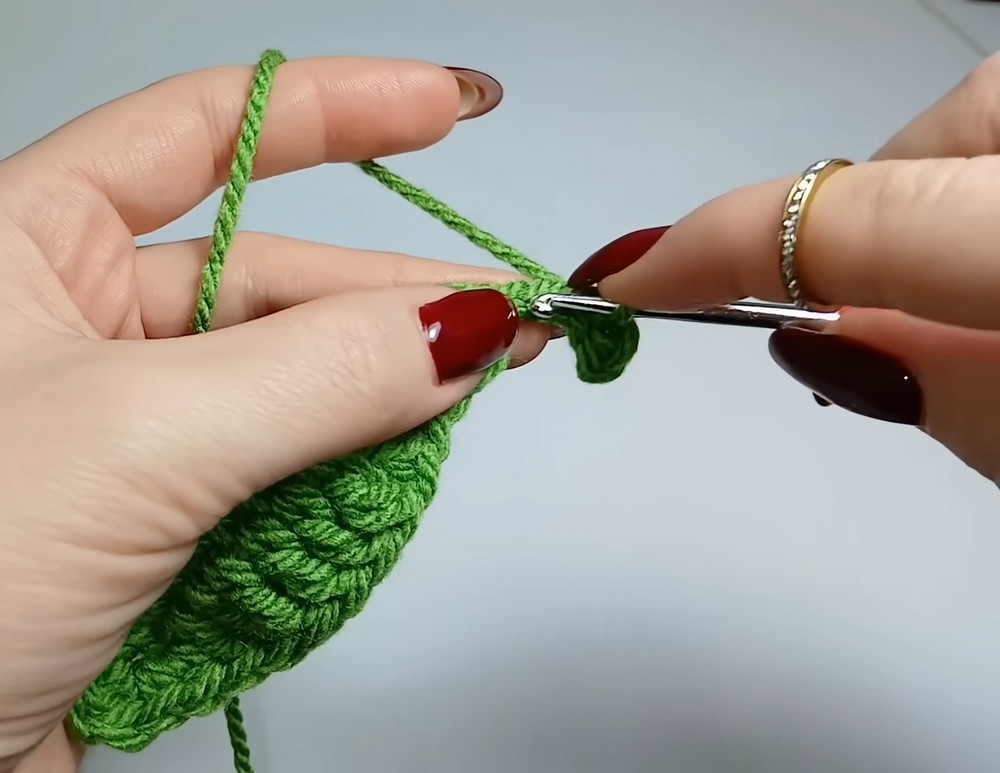
Once the second side is complete, join with a slip stitch at the top tip of the leaf as described in the supplied instructions.
Fasten off, leaving a yarn tail approximately 6 inches long.
Thread the tail onto a tapestry needle and weave it securely through the stitches on the back of the leaf. Trim any remaining excess yarn after securing the end.
Teaching Guide – Secure the Finish Without Distorting the Tip
Before fastening off, check the leaf’s outline and make sure the tip lies neatly. Keep the joining stitch snug but not so tight that it pulls the tip out of shape. Weave the yarn tail through several back stitches so it stays secure when the leaf is handled or attached to another item.
6. Shape the Leaf
The leaf may curl slightly after crocheting, especially around the taller treble stitches. Shape it gently with your fingers so the central section spreads outward and the two sides lie flat.
You can gently steam or finger-press the edges, taking care not to stretch the stitches or flatten the texture too much. Use a method suitable for your yarn fiber, and avoid direct heat that could damage acrylic yarn.
Shaping Tip: Arrange the leaf with the stem at the base and the pointed tip at the opposite end. Smooth both edges outward so the treble crochet stitches fan into the wider central section.
Ways to Use Your Crochet Leaf
This small leaf is versatile enough to become part of several handmade projects:
- Appliqué: Sew it onto a bag, hat, garment, or other fabric accessory.
- Keychain: Attach a suitable keychain fitting to the stem or base.
- Coaster Decoration: Add it to a botanical or garden-inspired design.
- Garland: Crochet several leaves and arrange them along a cord to make a decorative vine.
- Gift Embellishment: Attach a leaf to gift wrapping or a handmade tag for a natural finishing detail.
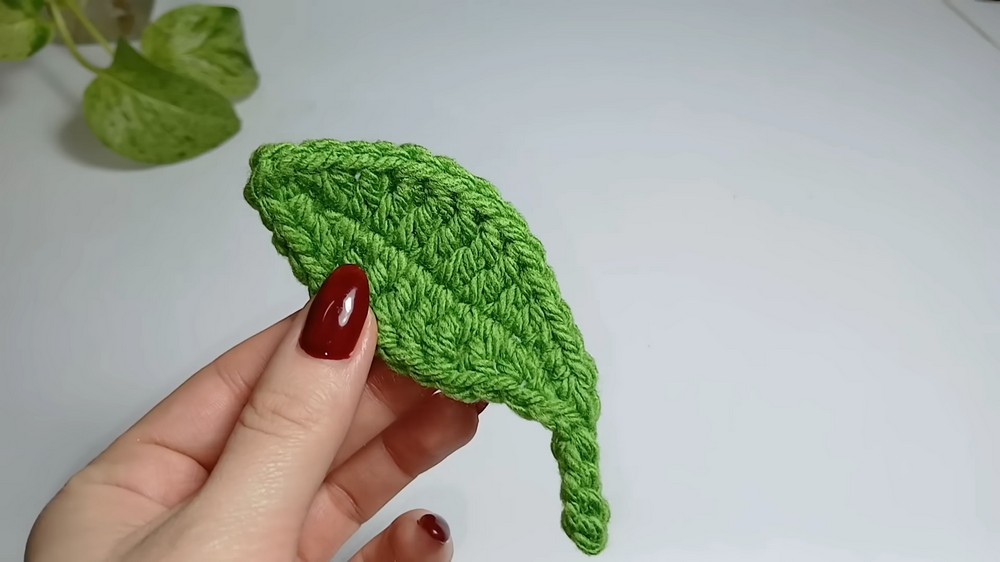
Your basic crochet leaf is ready to use as an appliqué, a small accessory, or part of a larger botanical decoration. Make a few in different green shades and sizes to create a more varied handmade vine.






One Comment