A tiny crocheted gift box turns simple stitches into a festive little keepsake, complete with surface-stitched ribbon, a handmade bow, and a hanging loop that makes it ready for the Christmas tree or a gift tag.
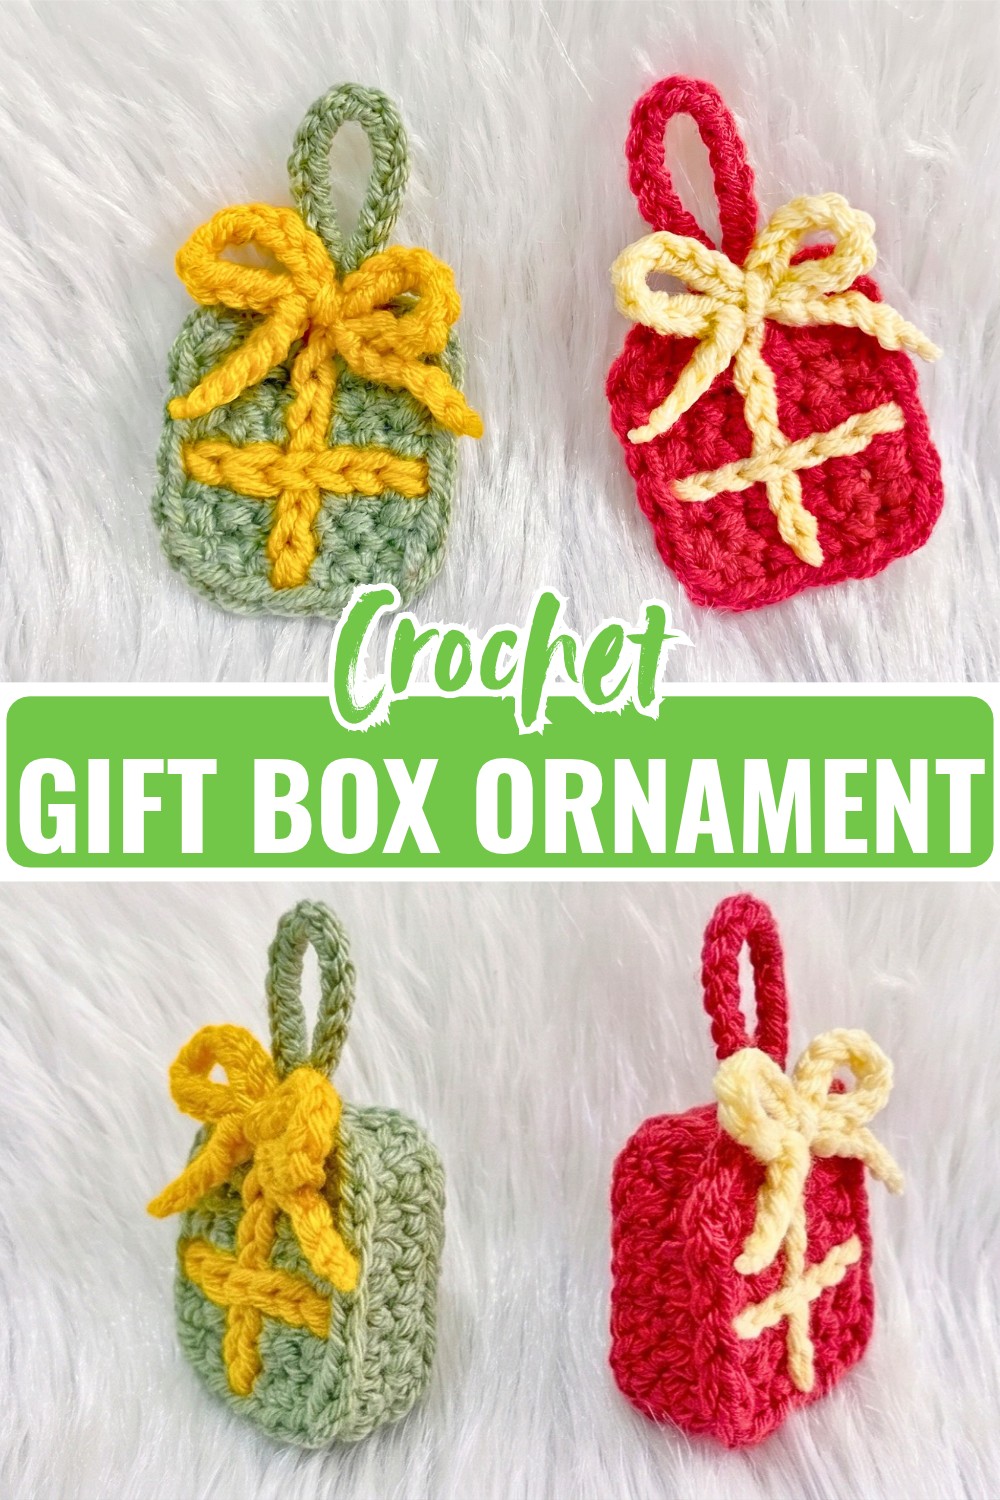
This miniature Christmas gift box is a great example of how a very small crochet piece can get plenty of character from a few carefully placed details. The square base is worked in simple single crochet, then a contrasting color is added directly onto the surface to create the ribbon. A small crocheted bow finishes the center, giving the flat piece the appearance of a wrapped present.
Because the finished crochet box measures only about 4 cm square, accuracy matters more than speed. The most important points are keeping the small square even, placing the surface slip stitches through the center, and positioning the bow directly over the ribbon intersection. Once those details are in place, the hanging loop makes the finished piece easy to turn into a crocheted ornament, gift tag, or part of a festive garland.
Credit Bua Crochet
Materials & Tools
- Size 2 mm cotton yarn
- Main color for the gift box and hanging loop
- Contrasting color for the ribbon and bow
- 3 mm crochet hook
- Tapestry or yarn needle
- Scissors

Finished Size
- Approximately 4 cm wide × 4 cm tall
The small size makes this design particularly suitable for lightweight Christmas ornaments, gift tags, garlands, and other decorative uses.
Pattern Abbreviations
- ch: chain
- sc: single crochet
- sl st: slip stitch
- sk: skip
- st / sts: stitch/stitches

How to Crochet the Christmas Gift Box
The gift box is worked as a small square first. The ribbon is then added directly to the surface rather than crocheted as a separate strip, and the bow is attached last.
Before You Start
Because the finished square is only about 4 cm across, small differences in tension can be noticeable. Try to keep your foundation chain and single crochet rows even so the square does not become noticeably wider or narrower on one side.
Crochet the Gift Box Square
Work this section in the Main Color.
Foundation Chain: Make a slip knot and ch 6.
Row 1: Skip the first ch from the hook and work 1 sc in each of the remaining 5 chains. (5 sts)
Rows 2–6: Ch 1, turn, and work 1 sc in each stitch across. (5 sts per row)
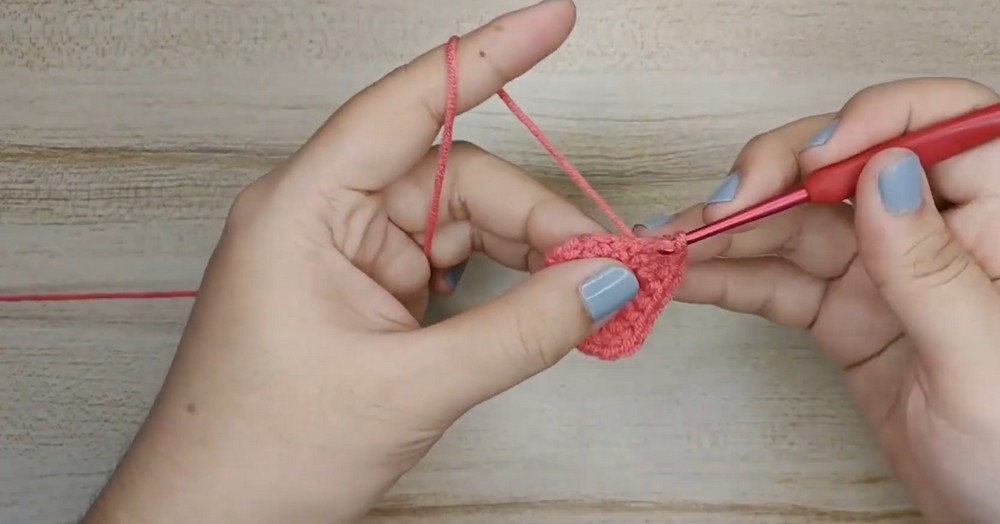
You now have a small square made from six rows of crochet.
Shape Check
Before adding the border, check that the piece looks square rather than noticeably rectangular. Since the design is so small, maintaining an even stitch height will make the finished gift-box shape look much cleaner.
Add the Border
Continue with the Main Color.
Row 7: Work 6 sc down the first side edge, 5 sc across the bottom edge, and 6 sc up the second side edge.
The original top edge of the square remains in place, so this border works around the other three sides rather than adding another row across the top.
Fasten off and weave in the yarn end with a tapestry needle.
Border Placement Tip
When working down the side edges, aim for one sc at each row level. This keeps the border from pulling the square inward or creating noticeably uneven corners.


Add the Vertical Ribbon
Switch to your Accent/Contrast Color.
The ribbon is created with surface slip stitches, so the stitches sit visibly on top of the square instead of forming another crocheted layer.
- Insert your hook through the bottom-center stitch of the gift box.
- Pull the contrast yarn through to begin the surface stitching.
- Work 6 surface sl sts vertically up the center of the box.
- Cut the yarn.
- Pull the yarn tail through to the back of the piece.
Placement Tip
The ribbon should run through the center of the square. Before making the first slip stitch, identify the center line of the five-stitch width so the finished ribbon does not sit noticeably to one side.
Add the Horizontal Ribbon
Continue using the Accent/Contrast Color.
- Insert the hook through the stitch at the middle of the side section.
- Work 6 surface sl sts horizontally across the center of the gift box.
- Cut the yarn.
- Pull the tail through to the back.
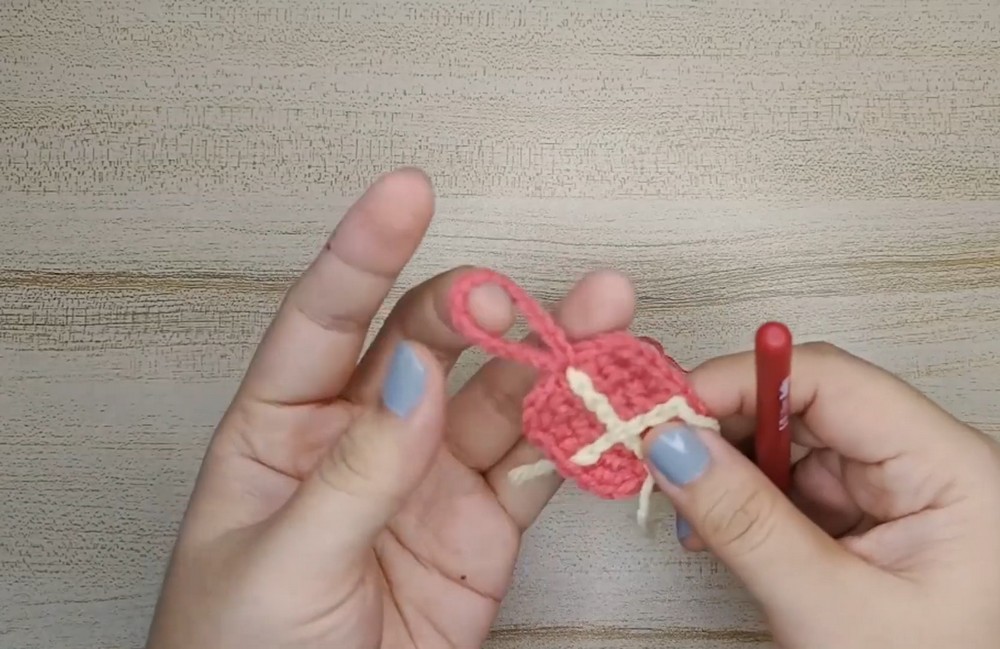
The two surface-stitched lines should now cross near the center, creating the appearance of ribbon wrapped around a tiny present.
Alignment Check
Look at the square before attaching the bow. If the vertical and horizontal ribbons do not meet at the center, adjust their placement now. The bow will cover the intersection, but an uneven ribbon can still make the finished ornament look off-center.

Make the Hanging Loop
Return to the Main Color.
- Attach the yarn to the top-center stitch of the gift box.
- Ch 15.
- Sl st into the same top-center stitch to secure the chain loop.
- Fasten off.
- Pull the yarn tail toward the back and weave it in securely.
Hanging Loop Tip
Keep the chain relaxed while making it. Pulling it tightly can make the top of the gift box curl upward.
Crochet the Decorative Bow
Use the Accent/Contrast Color.
Step 1: Make the First Loop
Make a slip knot and ch 15.
Skip 9 chains from the hook, insert the hook into the 10th chain, and work 1 sl st. This forms the first large loop of the bow.
Step 2: Make the Second Loop
Ch 10.
Skip 9 chains, insert the hook into the same center chain, and work 1 sl st to form the second loop.
Step 3: Add the Bow Tail
Ch 5 to create the remaining tail.
Cut the yarn, secure the end, and trim the excess.
Bow-Shaping Tip
Lay the bow flat before attaching it. Arrange both loops so they sit open and the tails extend naturally from the center. Because the bow is made from a chain rather than a solid crocheted shape, arranging it before sewing makes a noticeable difference to the final appearance.
Attach the Bow
Place the finished bow at the top center of the gift box, directly over the vertical ribbon and close to the intersection of the two ribbon lines.
Using a tapestry needle and the yarn tail, stitch the center of the bow securely to the gift box.
Final Placement Check
The bow should sit over the ribbon rather than beside it. Check the ornament from the front before securing the final stitches so the bow, ribbon, and hanging loop all appear aligned.
Weave all remaining loose ends neatly toward the back of the piece.

Ways to Use Your Mini Gift Boxes
These little squares can be used in several ways without changing the basic pattern.
Christmas Tree Ornaments
The 15-chain loop makes the finished gift box ready to hang directly on a Christmas tree.
Gift Tags
Make several in coordinating colors and attach them to wrapped presents as reusable handmade tags.
Festive Garland
Crochet multiple gift boxes in different color combinations and string them together to make a miniature holiday garland.
Color Combinations
Try combinations such as:
- Red and gold
- Forest green and cream
- Pink and white
- Burgundy and silver
- White and gold
Since the design is so small, it is also a useful way to use small amounts of leftover cotton yarn.
Tips for a Neat Finish
Keep the Square Even
The five-stitch width stays consistent through Rows 1–6. If your piece begins looking wider at the top or bottom, check your turning chain and first or last stitch before continuing.
Count the Border Carefully
The side edges receive 6 sc each, while the bottom receives 5 sc. These numbers correspond to the small square’s existing structure, so adding extra stitches can make the border ripple.
Center the Surface Ribbon
The ribbon is the main visual feature of the gift box. Take a moment to locate the center before beginning each direction rather than relying on the appearance of the fabric alone.
Secure the Small Bow Well
The bow is handled more often than the flat square because it sits on the surface. Stitch through its center several times so the loops stay in position.
Weave Ends Toward the Back
Because the front is so small, even a short loose tail can become visible. Keep the finishing work on the back and trim only after the ends are securely woven in.