Here’s a palm-sized crochet star with five crisp points, soft stuffing, and plenty of room for colorful scrap-yarn combinations.
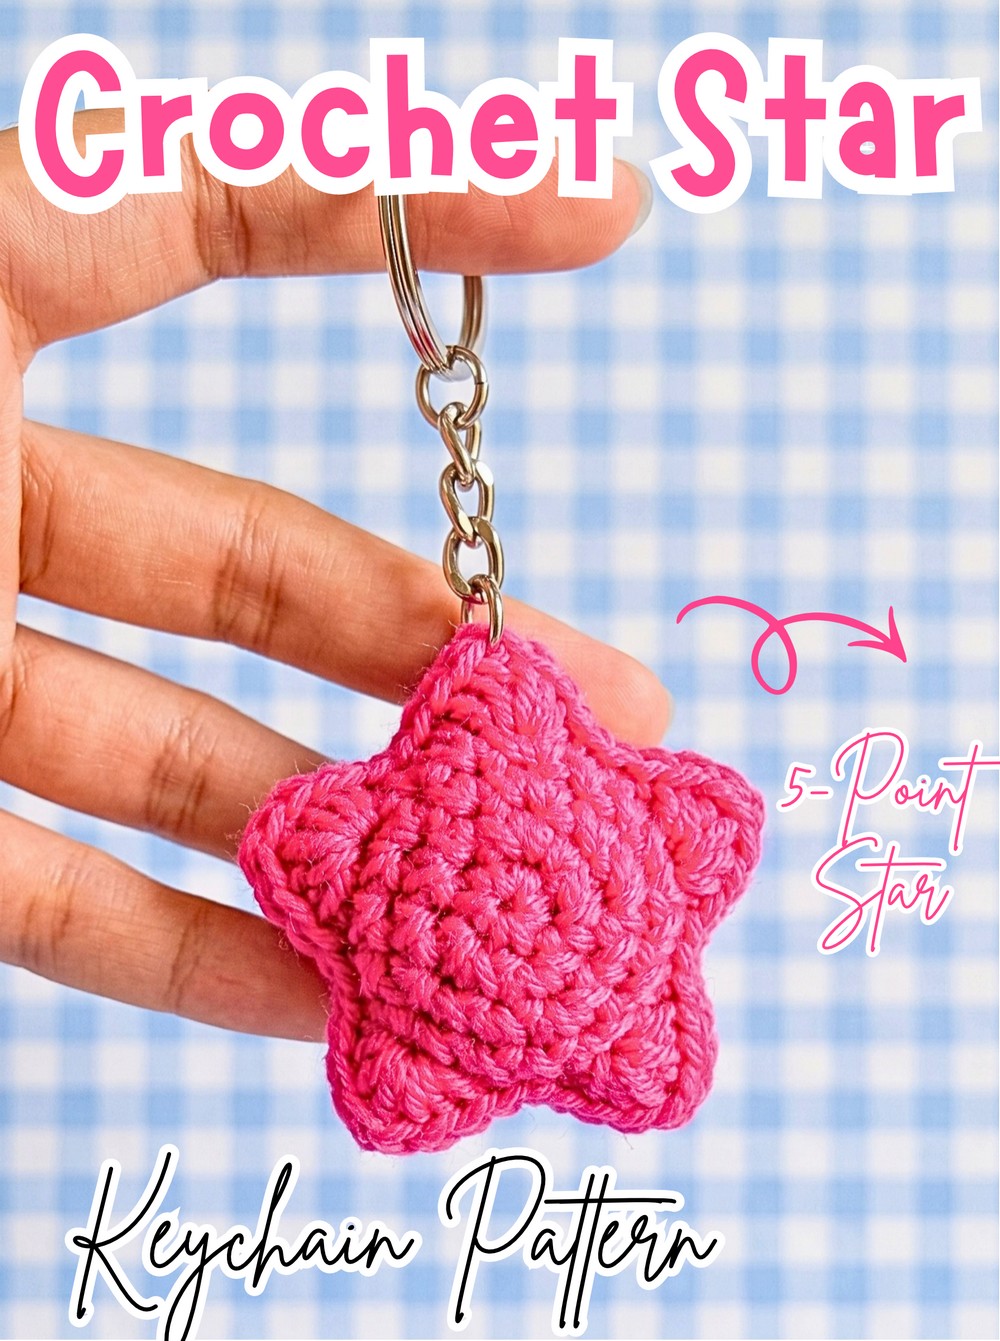
Bright colors and five defined points give this crochet star keychain a cheerful little shape that looks just as good hanging from a bag as it does on a set of keys. Because it uses only a small amount of 4-ply yarn, it is also a handy way to turn leftover scraps into something useful.
Two matching star panels are crocheted separately, then joined around the edges and lightly stuffed so every point keeps its shape. The pattern walks through the increases, point formation, back-loop sewing, stuffing order, and hardware attachment, with the small details that help the finished crochet star stay neat and evenly shaped.
Credit Crochet with Ritu
Materials & Tools
- 4-ply yarn: Use leftover scrap yarn in different colors for a colorful collection.
- 3.0 mm crochet hook
- Small amount of fiberfill or toy stuffing
- Jump ring
- Keychain ring
- Tapestry or yarn needle
- Scissors
- Stitch marker
Finished Size & Customization
The finished star is approximately palm-sized, making it a quick make for keys, bags, or small gifts.
Since each star uses only a small amount of yarn, you can change colors between stars or use several scraps together to create different combinations. For the face, embroider a tiny smile, add safety eyes, or lightly dab blush onto the cheeks for a kawaii-style finish.
Abbreviations
- MR: Magic Ring
- sc: Single Crochet
- inc: Increase – 2 sc in the same stitch
- hdc: Half Double Crochet
- dc: Double Crochet
- sl st: Slip Stitch
- BLO: Back Loop Only
- sts: Stitches
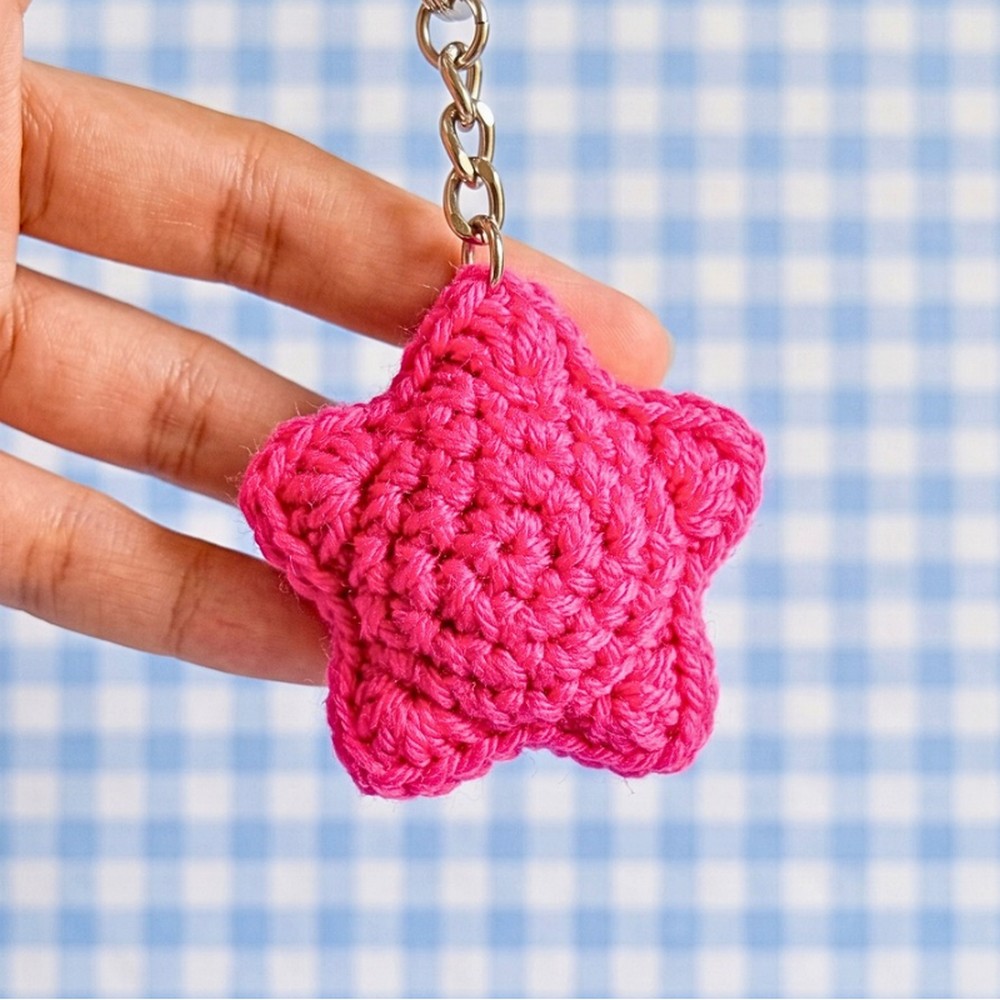
Note: You will crochet two identical star panels for one stuffed keychain.
Crochet the First Star Panel
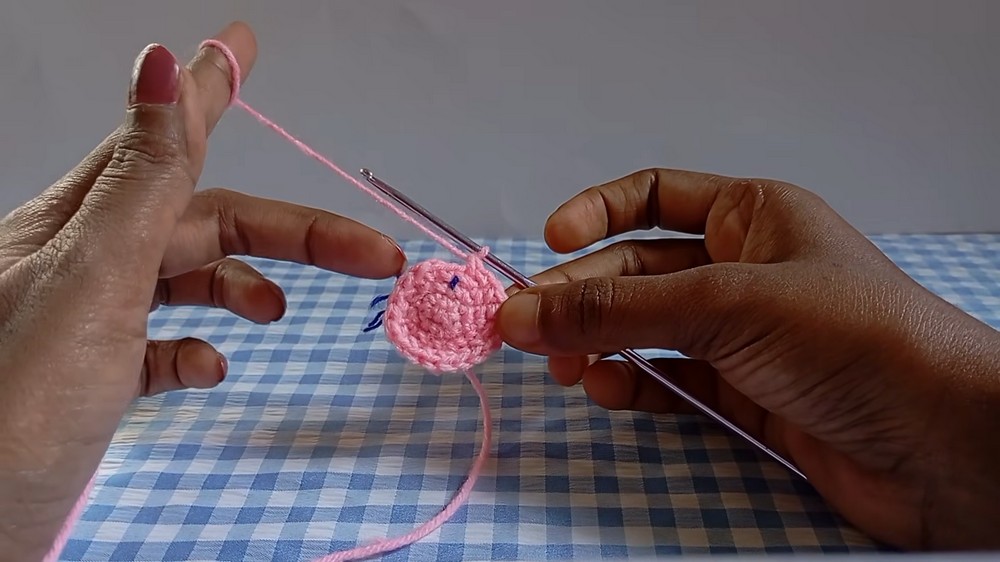
The star begins as a small circular base. The first four rounds gradually increase the stitch count; Round 5 then turns that circle into five pointed corners.
Round 1: Make a MR and work 5 sc into the ring (5 sts). Keep the center slightly loose for now so your hook can easily enter the stitches during the next round.
Round 2: Work inc in each of the 5 sts (10 sts). Each stitch receives 2 sc. Once the round is complete, pull the starting yarn tail firmly to close the center hole.
Round 3: Place a stitch marker in the first stitch; work (sc, inc) x5 (15 sts). Move the marker to the first stitch of each new round as you continue.
Round 4: Move the stitch marker; work (sc, inc, sc) x5 (20 sts). This is the final circular base before the five points are formed.
Form the Five Star Points
Remove the stitch marker before beginning this round. The starting point is slightly unusual: you return to the same stitch where the final sc of Round 4 was made.
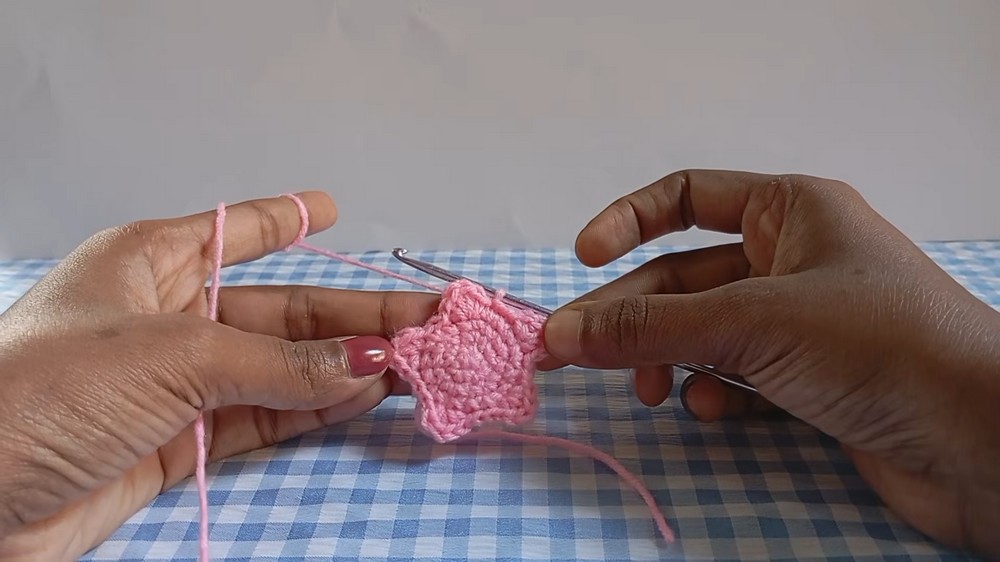
Point 1: In that same stitch, work 1 hdc, 1 dc, 1 hdc, 1 sc; gently pull the cluster back if needed to expose the next stitches, then work 1 sl st in each of the next 3 sts.
Points 2-5: In the next stitch, work (sc, hdc, dc, hdc, sc) all in the same stitch; then work 1 sl st in each of the next 3 sts. Repeat this complete point-and-slip-stitch sequence 4 more times to form all five star points.
The taller dc in each cluster creates the peak, while the three slip stitches pull the fabric back down before the next point begins. If a point looks hidden while you are working, gently spread the stitches with your fingers rather than pulling them tightly.
Finish the Two Panels
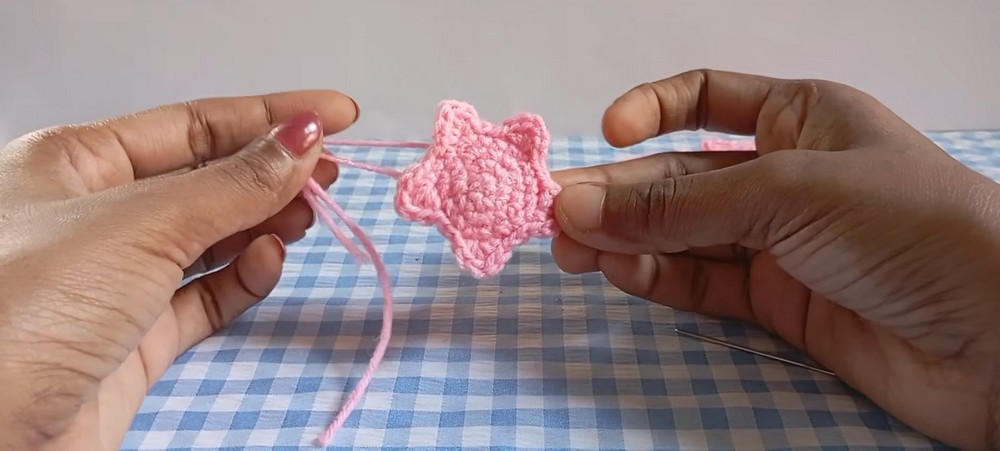
For the first star panel, cut the yarn leaving a very long tail. This tail will be used to sew the two panels together.
For the second star panel, cut the yarn leaving a shorter tail and fasten off. Thread the short tail onto your tapestry needle and knot or weave it into the back of the star so it stays hidden.
Repeat the complete pattern above to make the second identical star panel.
Join and Stuff the Star
Place both panels together with their wrong sides facing each other, leaving the clean right sides facing outward.
Thread the tapestry needle with the long tail from the first panel. The BLO method keeps the seam tidy while preserving the visible outline of the star.
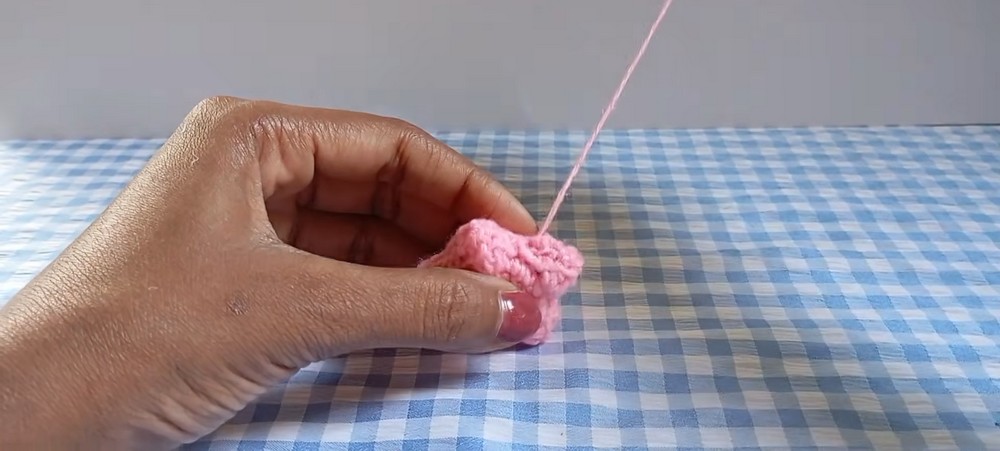
1. Sew the edges: Insert the needle through the back loop only of the front panel and then through the back loop only of the back panel. Continue whip stitching around the perimeter, matching the stitches of both panels as you go.
2. Leave the final point open: Sew until you reach the 4th corner, leaving the 5th point open for stuffing.
3. Fill the closed points first: Tuck any loose yarn tails inside. Take small pinches of fiberfill and push them carefully into each of the four closed points. Work the stuffing all the way into the tips so they do not collapse.
4. Fill the center: Once the points are filled, add a larger amount of stuffing to the middle of the star. Pack it firmly enough to give the star body without stretching the crochet stitches.
5. Finish the last point: Before sewing the final opening closed, push a small amount of stuffing into the fifth point. Check all five points and add more stuffing anywhere the shape still looks flat.
Secure the Seam
Sew the final stitch, then pass the needle back through the same stitch and pull it through the loop to form a tight knot.
To hide the remaining tail, push the needle deep through the stuffed center and bring it out through another stitch. Pull gently, snip the yarn close to the surface, and allow the cut end to disappear back inside the stuffing.
Shape and Add the Keychain
Give the finished star a final shaping pass before attaching the hardware. Pinch each of the five points firmly between your fingers to sharpen the corners and make the star outline more defined.
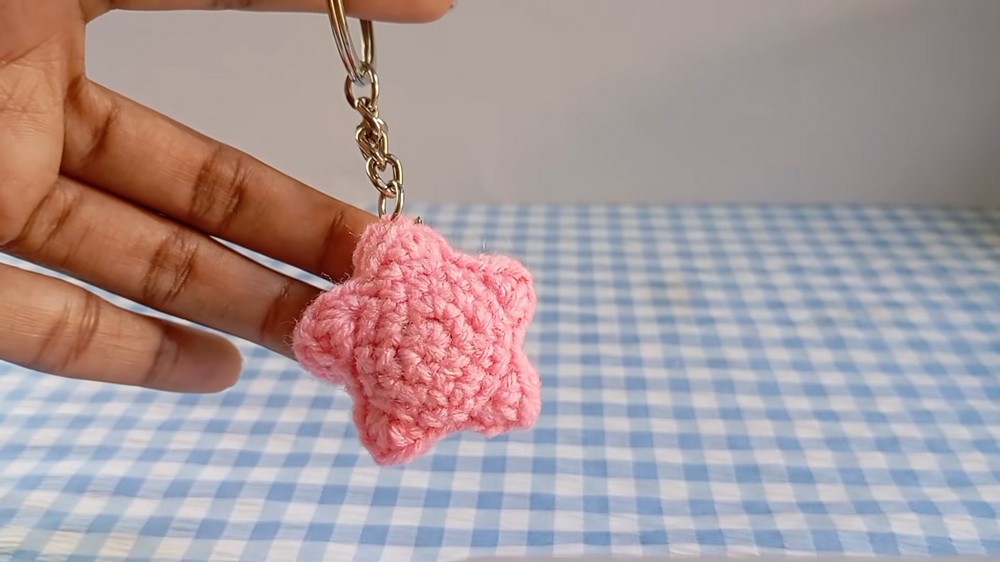
Open the jump ring and insert it through the top point of one star corner. Add the keychain ring or attached hardware, then close the jump ring firmly so the two ends meet without a gap.
Check the attachment by giving the hardware a gentle pull. The ring should remain securely connected to the crochet point before you put the keychain into regular use.
Quick Finishing Check
- All five star points are filled and clearly defined.
- The stuffing is firm without stretching the stitches.
- The seam is closed evenly around the edge.
- Loose yarn tails are hidden inside.
- The jump ring is completely closed.
- The keychain hardware is firmly attached.
Your stuffed crochet star is now ready to hang from keys, bags, or a zipper. Making several in different scrap-yarn colors is an easy way to turn small leftover amounts of yarn into a matching collection.