
Want a tiny Christmas tree with a surprisingly full shape? Three ruffled crochet leaves slide onto one hanging cord to create a palm-sized holiday tree.
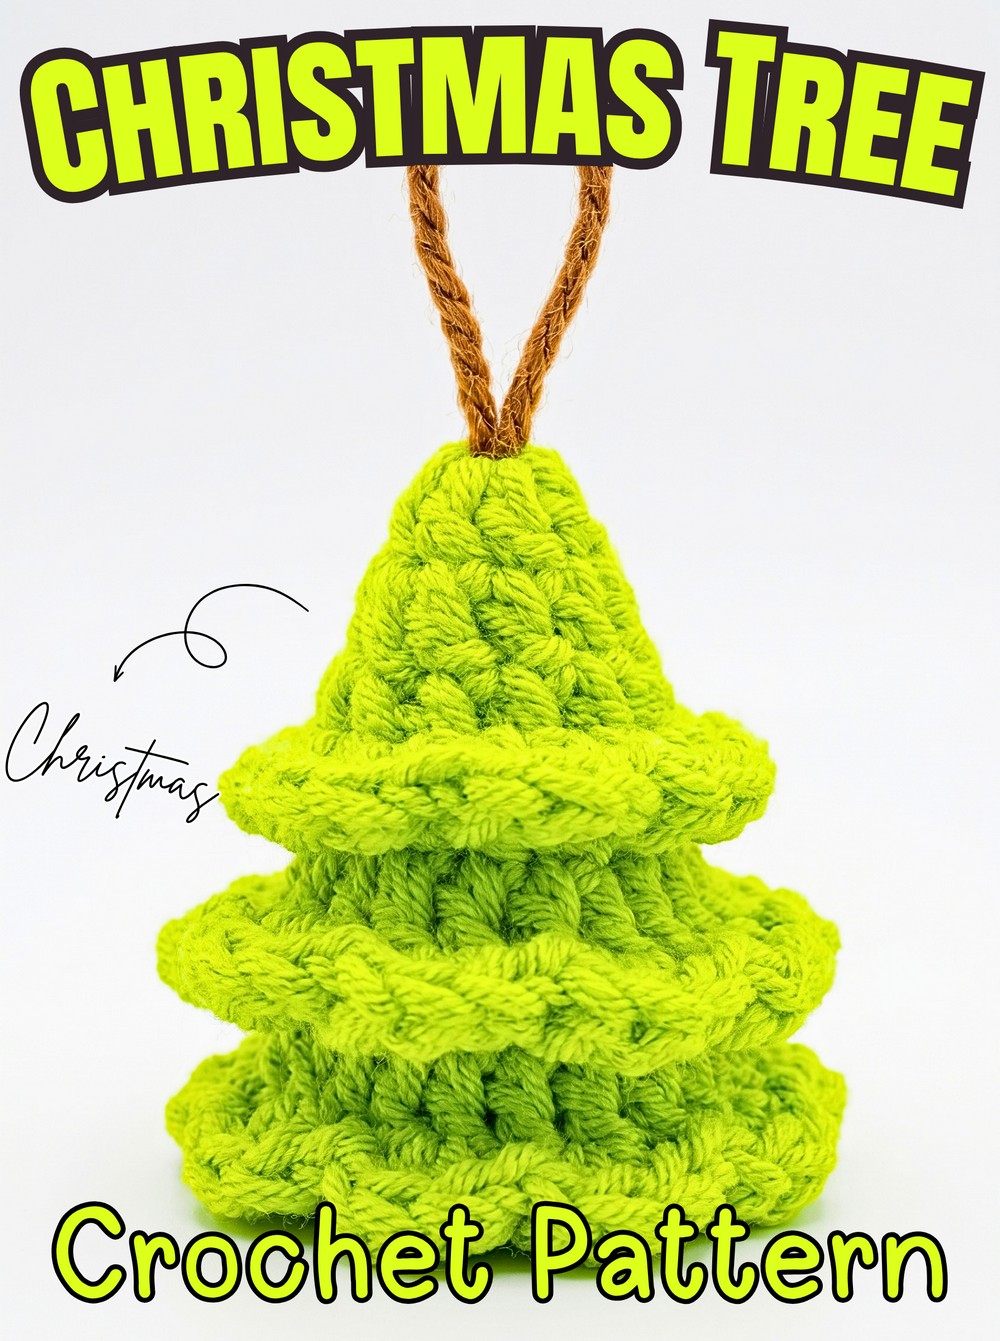
Three green crocheted pieces are all it takes to build the tree’s layered shape. The smaller top leaf and two larger tiers have matching petal edges, while a simple brown chain runs through their centers and doubles as the trunk and hanging loop.
You’ll crochet one small leaf and two larger leaves, make the brown hanging cord with its chunky stopper knot, and then stack everything into place. The pattern uses basic double crochet increases and repeated petal groups, so the main detail to watch is keeping the leaf centers open enough for the cord to pass through.
Credit Nida Catty Official
How the Three Pieces Become a Tree
Unlike a tree that is shaped as one continuous piece, this design gets its height from three separate ruffled leaves. The bottom and middle pieces are identical and larger, while the top piece is smaller.
A single brown chain passes through the center of all three pieces. Its thick knot acts as the bottom stopper, keeping the leaves stacked, while the unused chain above the top leaf becomes the hanger.
That means the final arrangement is simple: large leaf → large leaf → small leaf, all threaded onto the same cord.
Materials & Tools Needed
- Yarn: 4-ply Cotton Milk yarn in Green for the tree and Brown for the trunk/hanging cord
- Crochet Hook: 2.5 mm (Tulip size 3/0)
- Stitch markers
- Scissors
- Tapestry needle
Finished Size & Easy Customization
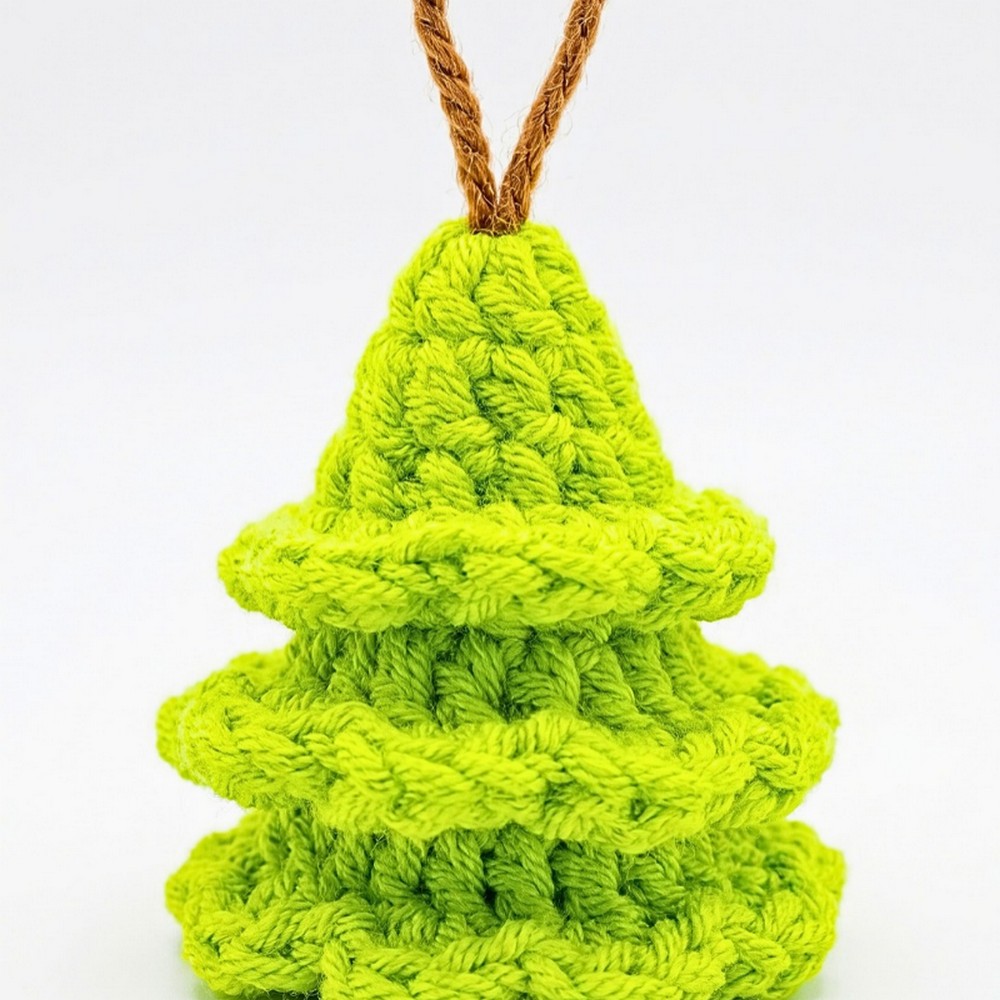
The finished tree is palm-sized and works well as a keychain, car hanger, or Christmas tree ornament.
The easiest adjustment is the hanging cord. Make the starting chain longer or shorter depending on where you plan to hang the tree. For a taller tree, additional Large Leaf pieces can be added to the base.
Mini craft beads, sequins, or embroidered French knots can also be sewn onto the finished petals as tiny Christmas ornaments.
Pattern Abbreviations
- MR = magic ring
- Ch = chain
- St(s) = stitch(es)
- Sl St (C) = slip stitch
- DC (F) = double crochet
- DC Inc = double crochet increase, 2 DC in the same stitch
- Rnd = round
Important: The starting Ch 3 at the beginning of each round does not count as a stitch.
Crochet the Small Top Leaf
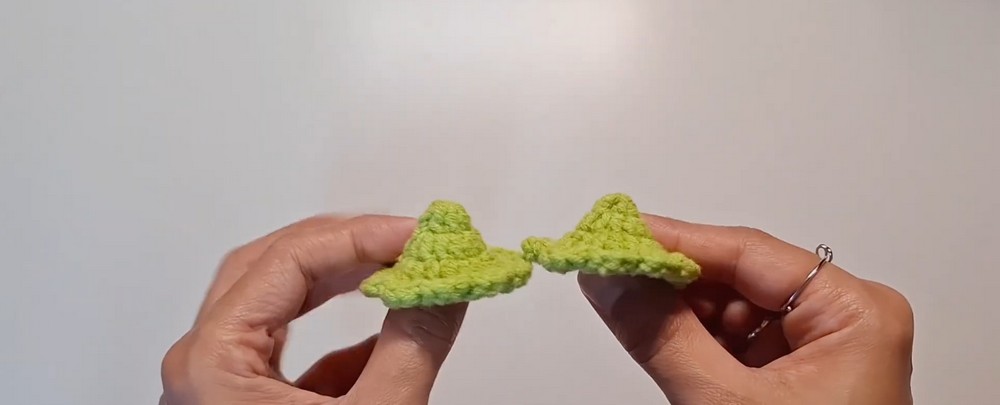
Make 1 Small Leaf in Green. This is the smallest tier and will sit at the very top of the finished tree.
Rnd 1: Create a Magic Ring. Ch 3, then work 6 DC into the ring. Pull the tail to close the ring tightly. Join with a Sl St to the very first DC, skipping the starting Ch 3. Place a stitch marker here. (6 sts)
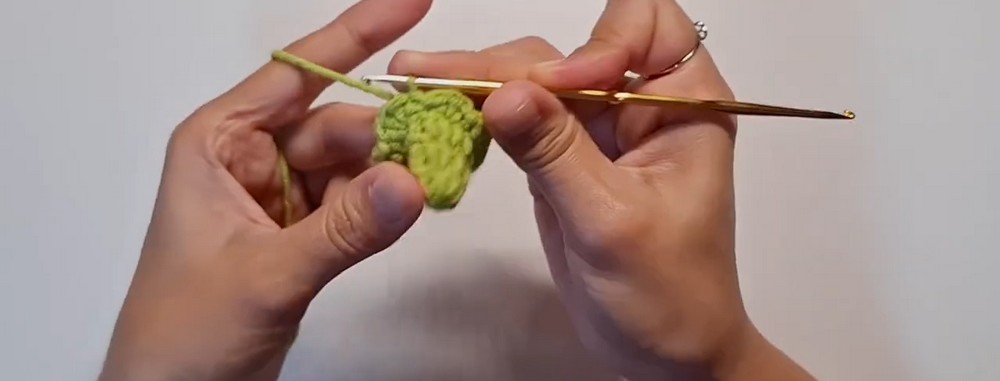
Rnd 2: Ch 3. Work 1 DC in the same st as the join. Work a DC Inc in the next st. [1 DC in the next st, DC Inc in the next st]. Repeat the sequence inside the brackets 1 more time. Join with a Sl St to the first DC. (9 sts)
Rnd 3: Ch 3. Work 1 DC in the same st as the join, DC Inc in the next st, and 1 DC in the next st. [1 DC in next st, DC Inc in next st, 1 DC in next st]. Repeat the sequence inside the brackets 1 more time (3 sets total). Join with a Sl St to the first DC. (12 sts)
Rnd 4 (Petals): Ch 1. Place your stitch marker. Work 3 DC into the same st as the join. Sl St into the next st. [3 DC in the next st, Sl St in the next st]. Repeat the sequence inside the brackets around the entire edge. You will have exactly 6 petals. Sl st to the first marked Ch 1 to join. Fasten off and weave in the end.
Set this piece aside; it will be the final leaf you thread onto the cord.

Make the Two Larger Leaves
Make 2 Large Leaves in Green. These pieces form the lower two tiers, so they are wider and have nine petals each.
Rnd 1: Create a Magic Ring. Ch 3, then work 6 DC into the ring. Pull the ring tight. Join with a Sl St to the first DC. (6 sts)
Rnd 2: Ch 3. Work a DC Inc (2 DC) in the same st as the join. Work a DC Inc in each of the remaining 5 sts. Join with a Sl St to the first DC. (12 sts)
Rnd 3: Ch 3. Work 1 DC in the same st as the join. Work a DC Inc in the next st. [1 DC in the next st, DC Inc in the next st]. Repeat the sequence inside the brackets 4 more times (6 sets total). Join with a Sl St to the first DC. (18 sts)
Rnd 4 (Petals): Ch 1. Place your stitch marker. Work 3 DC into the same st as the join. Sl St into the next st. [3 DC in the next st, Sl St in the next st]. Repeat the sequence inside the brackets around the entire edge. You will have exactly 9 petals. Sl st to the first marked Ch 1 to join. Fasten off and weave in the end.
Repeat these rounds once more to make the second Large Leaf.
Make the Brown Hanging Cord
The brown cord performs two jobs: it provides the hanging loop and keeps the three green pieces stacked.
Step 1: Ch 50, or chain to your preferred hanging length.
Step 2: Fasten off, leaving a small tail.
Step 3: Take one end of the chain and tie it into a thick, bulky knot. This knot becomes the trunk at the bottom and acts as a stopper for the leaves. Trim any excessive yarn below the knot.
Stack the Tree on the Cord
Now the individual pieces finally become one tree. Thread the unknotted end of the brown chain upward through the center hole of each leaf.
- Bottom tier: Thread the chain through the first Large Leaf and slide it all the way down until it rests snugly against the bulky knot.
- Middle tier: Thread the chain through the second Large Leaf and slide it down onto the first one.
- Top tier: Thread the chain through the Small Leaf and slide it down to form the pointed top.
- Final adjustment: Rotate the leaves so their petals are staggered rather than sitting directly on top of one another. The remaining brown chain above the Small Leaf becomes the hanging loop.
The tight fit of the leaves around the chain helps keep the three tiers in position while the staggered petals give the finished tree its ruffled branch effect.

Add Your Own Holiday Details
Once the tiers are stacked, the tree is ready to decorate without changing its basic shape. Sew on tiny beads or sequins for ornaments, or add small French knots for an embroidered version.
For a more personalized set, make several trees in different green shades and vary the hanging-cord length. The same three-tier arrangement can then work as a Christmas ornament, car hanger, or small festive charm.






One Comment