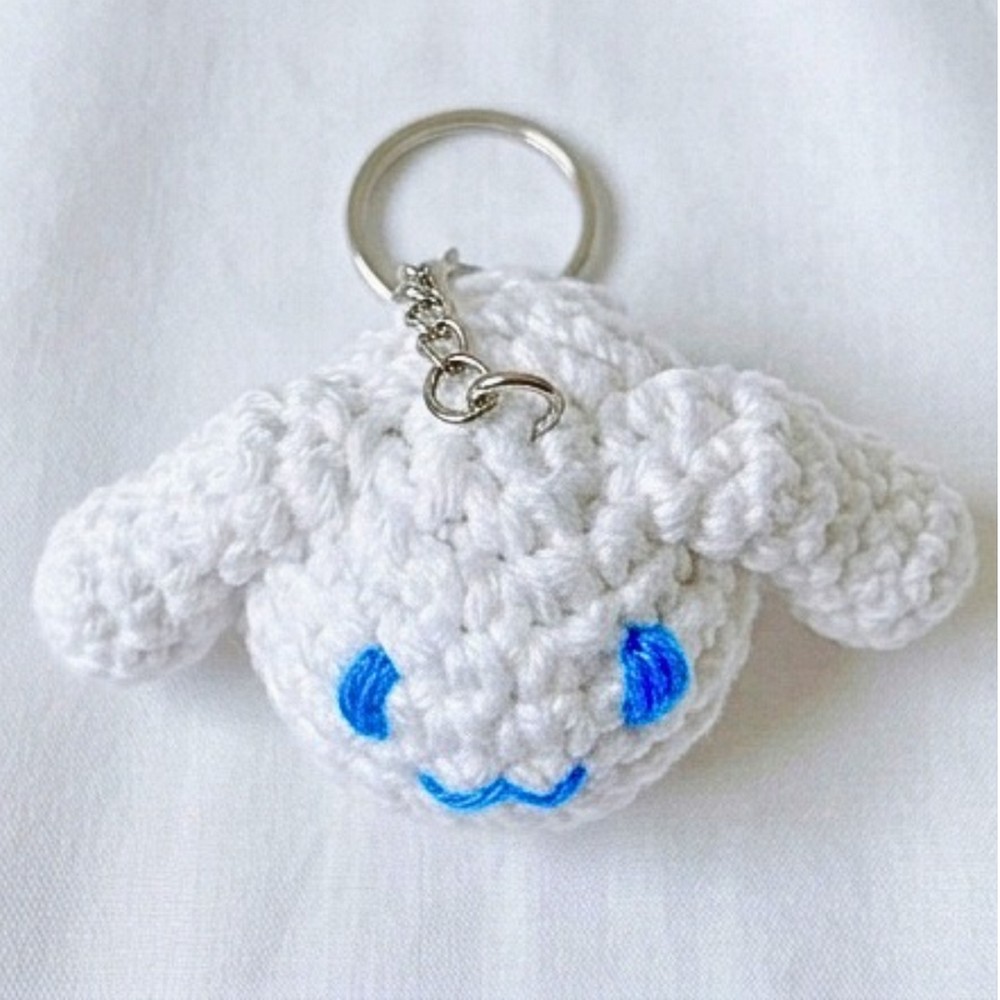
Meet a tiny Cinnamoroll crochet plushie with floppy ears, pastel details, and a soft 3-4-inch finish- perfect for a keychain, small gift, or cheerful desk companion.
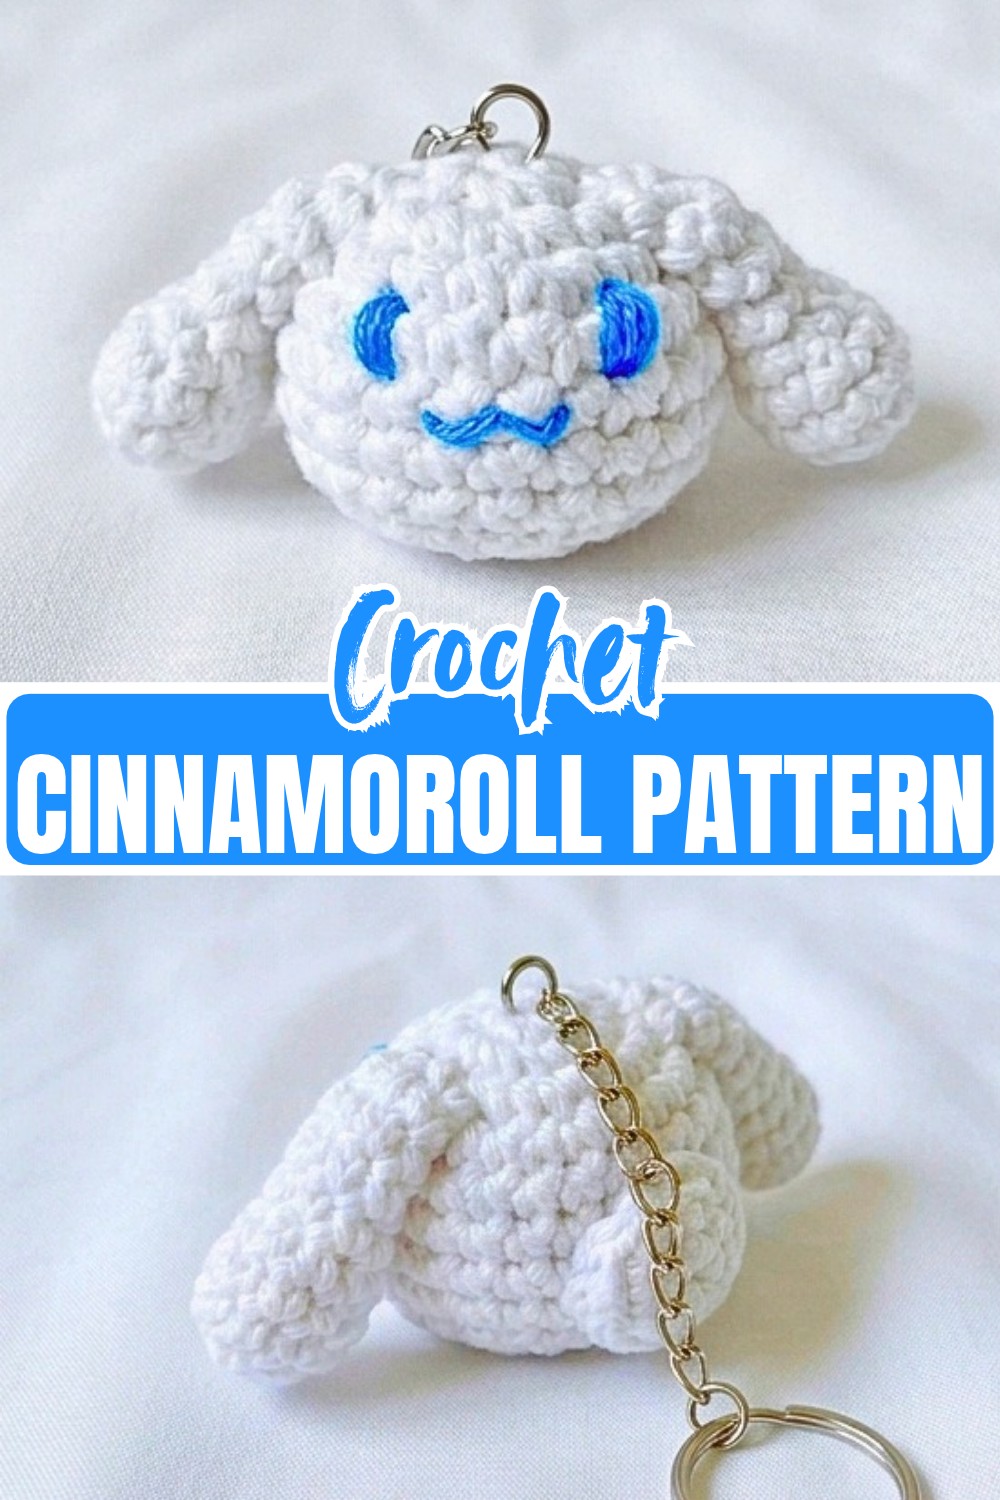
Few things are as charming as a tiny crochet Cinnamoroll with a round, softly stuffed head and those unmistakably floppy ears. This small crochet amigurumi uses white worsted yarn for the main shape, while light blue, pink, and simple embroidered details bring his sweet expression to life.
The tutorial walks you through the continuous crochet rounds for the head, the two unstuffed ears, and the final facial details and assembly. You’ll also see where firm stuffing matters for the head shape, how the ears are positioned, and how the simple embroidery turns the finished piece into a recognizable Cinnamoroll.
Credit Riyal Crochet
Materials & Tools Needed
- Yarn: Medium weight (Size 4 / Worsted) in White for the head and ears, plus small amounts of Light Blue and Pink yarn or felt for the facial features.
- Crochet Hook: 3.5 mm, or a size appropriate for your yarn to maintain tight stitches.
- Additional Tools:
- Stitch markers for keeping track of continuous rounds.
- Tapestry needle/yarn needle for sewing components together.
- Scissors.
- Polyfill stuffing.
- Safety eyes, if you are not embroidering the eyes.
Finished Size & Customization Ideas
The finished Cinnamoroll measures approximately 3–4 inches tall, making this a compact size for a keychain or small plushie.
For a larger, extra-squishy version, switch to chunky or velvet/chenille yarn with a larger hook, such as a 5.0 mm or 6.0 mm hook.
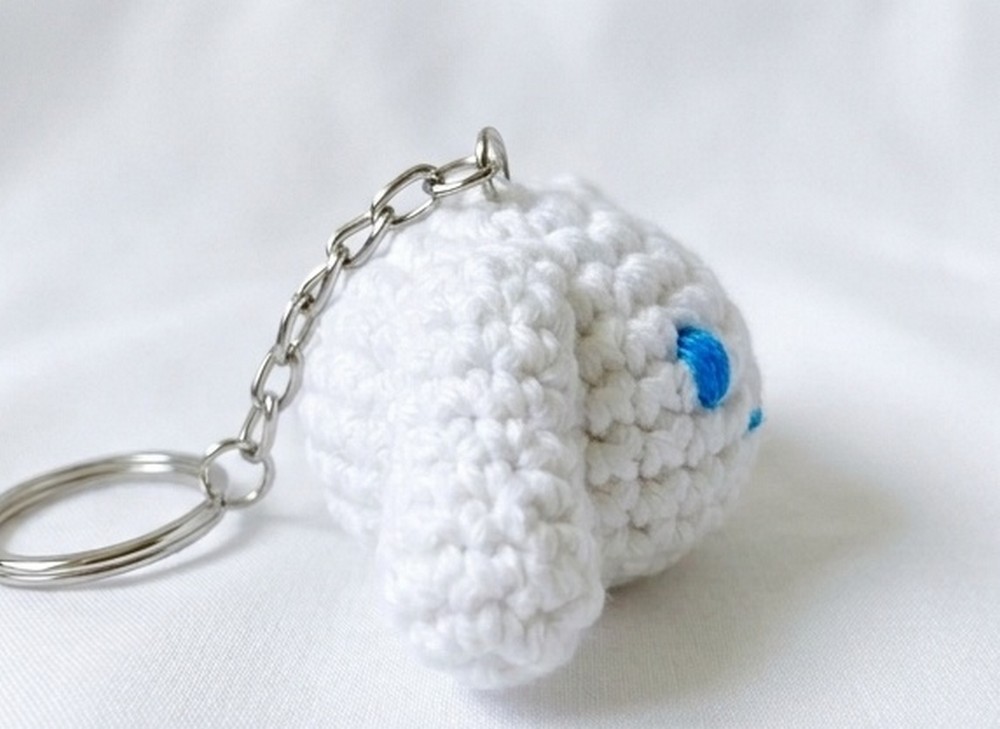
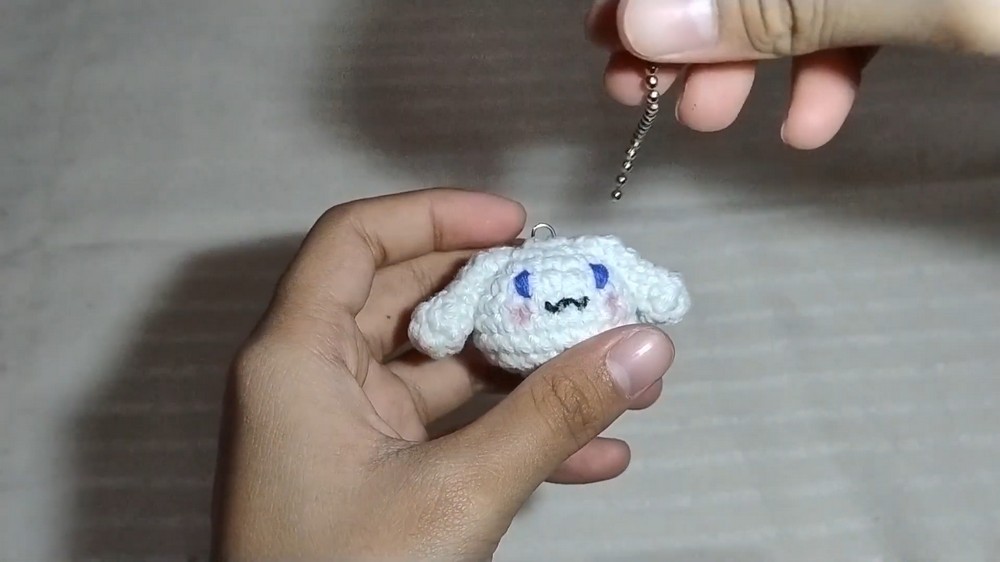
You can also turn the finished piece into a bag accessory by adding a keychain ring to the top of the head, or give him a tiny pastel blue or pink bow near one ear.
Pattern Abbreviations & Terminology
The pattern uses these terms:
- MR = Magic Ring
- sc = Single Crochet
- inc = Increase (2 sc in the same stitch)
- dec = Decrease (Invisible decrease recommended: single crochet 2 stitches together through the front loops only)
- st(s) = Stitch(es)
- sl st = Slip Stitch
- FO = Fasten Off
- (…) x = Repeat the sequence inside the parentheses the indicated number of times
- […] = Total number of stitches at the end of the round
How to Crochet the Cinnamoroll Amigurumi
Crochet the Head
Work the head in continuous rounds. Do not join with a slip stitch at the end of each round.
Round 1: Create a Magic Ring, 6 sc into the MR. [6 sts]
Round 2: Inc in each st around. [12 sts]
Round 3: (1 sc, inc) repeat 6 times. [18 sts]
Round 4: (2 sc, inc) repeat 6 times. [24 sts]
Round 5: (3 sc, inc) repeat 6 times. [30 sts]
Rounds 6–10: Sc in each st around for 5 rounds. [30 sts]
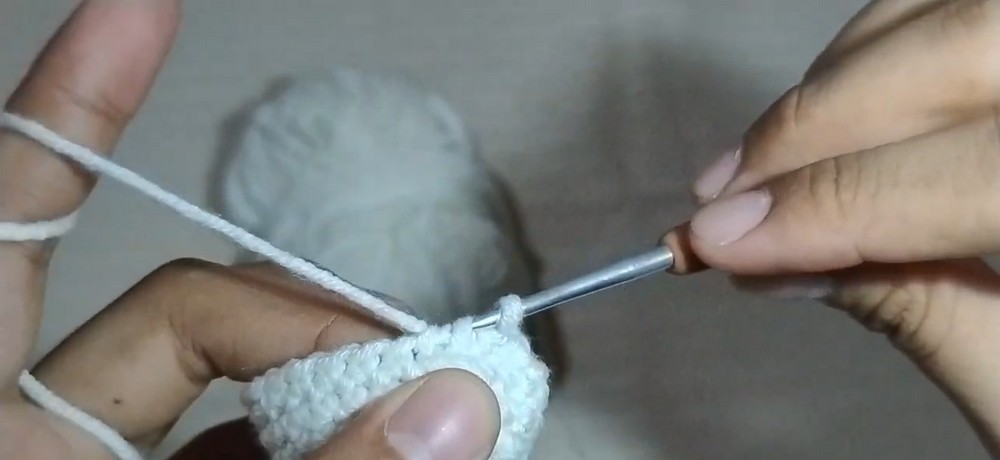
Round 11: (3 sc, dec) repeat 6 times. [24 sts]
Round 12: (2 sc, dec) repeat 6 times. [18 sts]
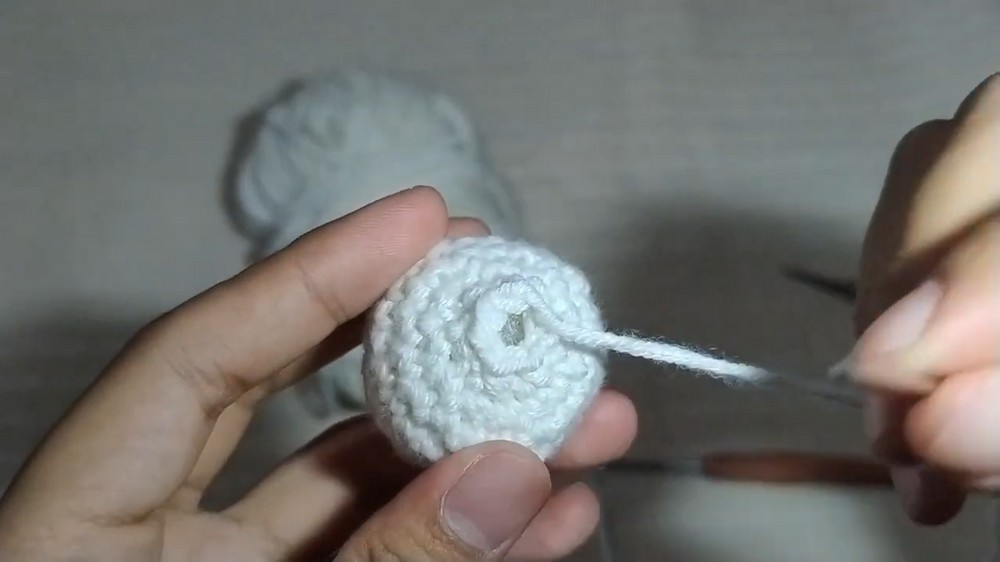
Stuffing: Begin stuffing the head firmly with polyfill. Shape the filling into a nice, slightly wide oval as you stuff.
Round 13: (1 sc, dec) repeat 6 times. [12 sts]
Round 14: Dec 6 times. [6 sts]
Finishing: FO, leaving a tail. Thread the tail onto your tapestry needle, weave it through the front loops of the remaining 6 stitches, and pull tight to close the hole. Hide the yarn tail inside the head.
Shape Check Before Closing
The stuffing stage is where the final look of the head is established. Add the polyfill firmly enough to give the piece a rounded, slightly wide oval shape, rather than leaving the center loose or flat.
As you reduce from 18 stitches to 12 and then 6, keep checking that the stuffing remains evenly distributed. This helps the head retain its shape while the opening closes.
Crochet the Ears
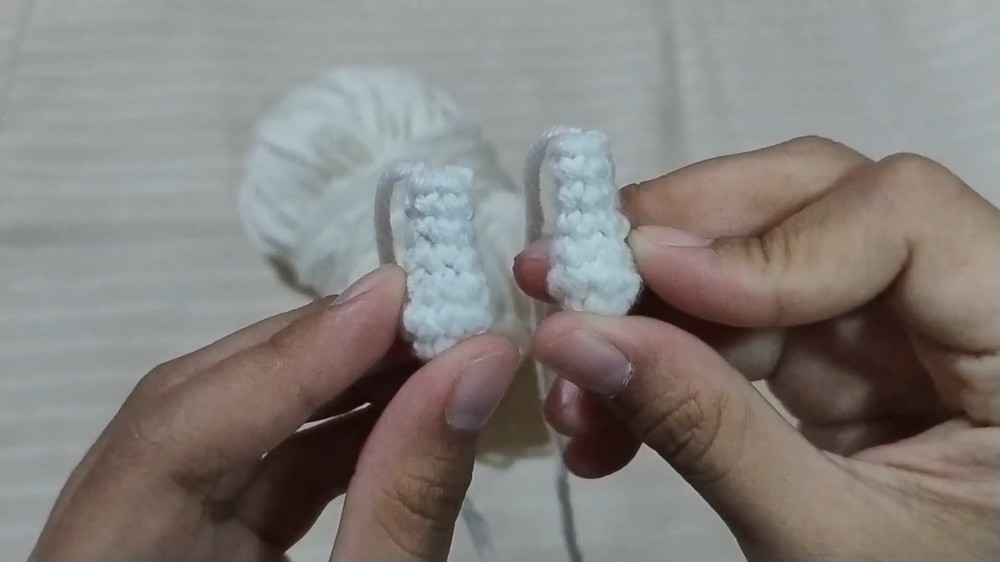
Make 2 ears and work them in continuous rounds. Do not stuff the ears; leaving them unfilled keeps their floppy shape.
Round 1: Create a Magic Ring, 6 sc into the MR. [6 sts]
Round 2: (1 sc, inc) repeat 3 times. [9 sts]
Rounds 3–8: Sc in each st around for 6 rounds. [9 sts]
Round 9: 1 dec, 7 sc. [8 sts]
Rounds 10–12: Sc in each st around for 3 rounds. [8 sts]
Finishing: Flatten the open edge of the ear. Crochet 4 sc across both layers to close the top. FO, leaving a long tail for sewing.
Attach the Ears
Pin the flat tops of the ears to the sides of the head around Rounds 5–7. Cinnamoroll’s ears sit somewhat low and point outwards before flopping down.
Sew the ears securely into place using their long yarn tails and a tapestry needle.
Add the Facial Features
Eyes: Using light blue yarn, or safety eyes if you prefer, embroider two oval shapes between Rounds 7 and 8, spacing them about 5 stitches apart.
Mouth: Using a tiny piece of black or blue thread, embroider a small “w” shaped mouth right between and slightly below the eyes.
Blush: Using pink yarn, embroider small horizontal lines just below and slightly to the outside of each eye.
Facial Placement Check
Before securing the embroidery completely, check the face from the front rather than judging each feature separately. The eyes should sit between Rounds 7 and 8 with about 5 stitches between them, while the mouth stays centered just below.
This quick check is especially useful on a small 3–4 inch amigurumi because even a small shift in placement can noticeably change the expression.
Finish the Amigurumi
Final Polish: Weave in any remaining loose ends into the body to hide them and snip off the excess.
Your Cinnamoroll amigurumi is ready as a small plushie, desk companion, or customized keychain. For a bag accessory, attach a keychain ring to the top of the head; for a different finish, add a tiny pastel blue or pink bow near one ear.