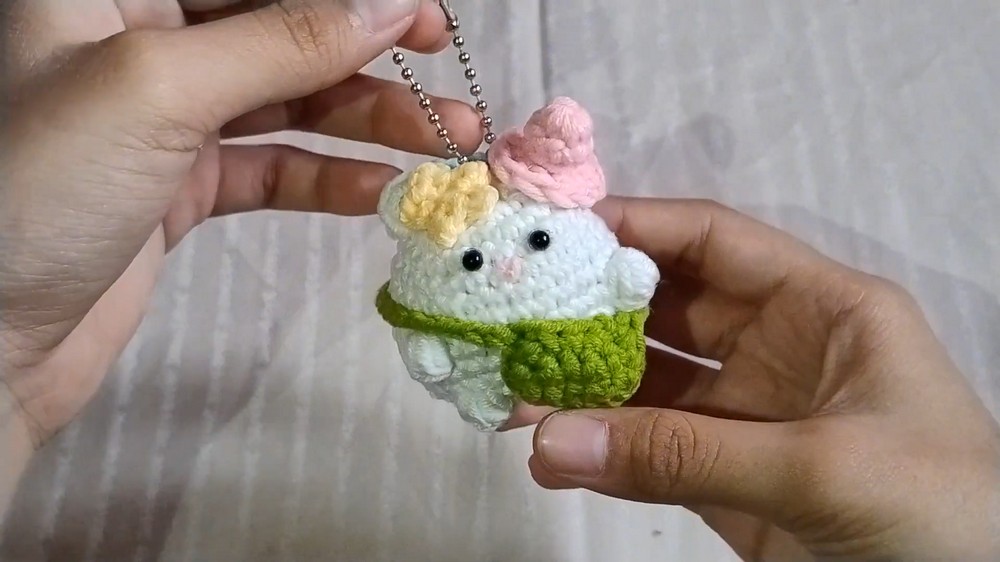
Make a tiny crochet bear with a round, chubby shape, a sweet little hat, flower, and bag-a fun amigurumi pattern that comes together in just a few small pieces.
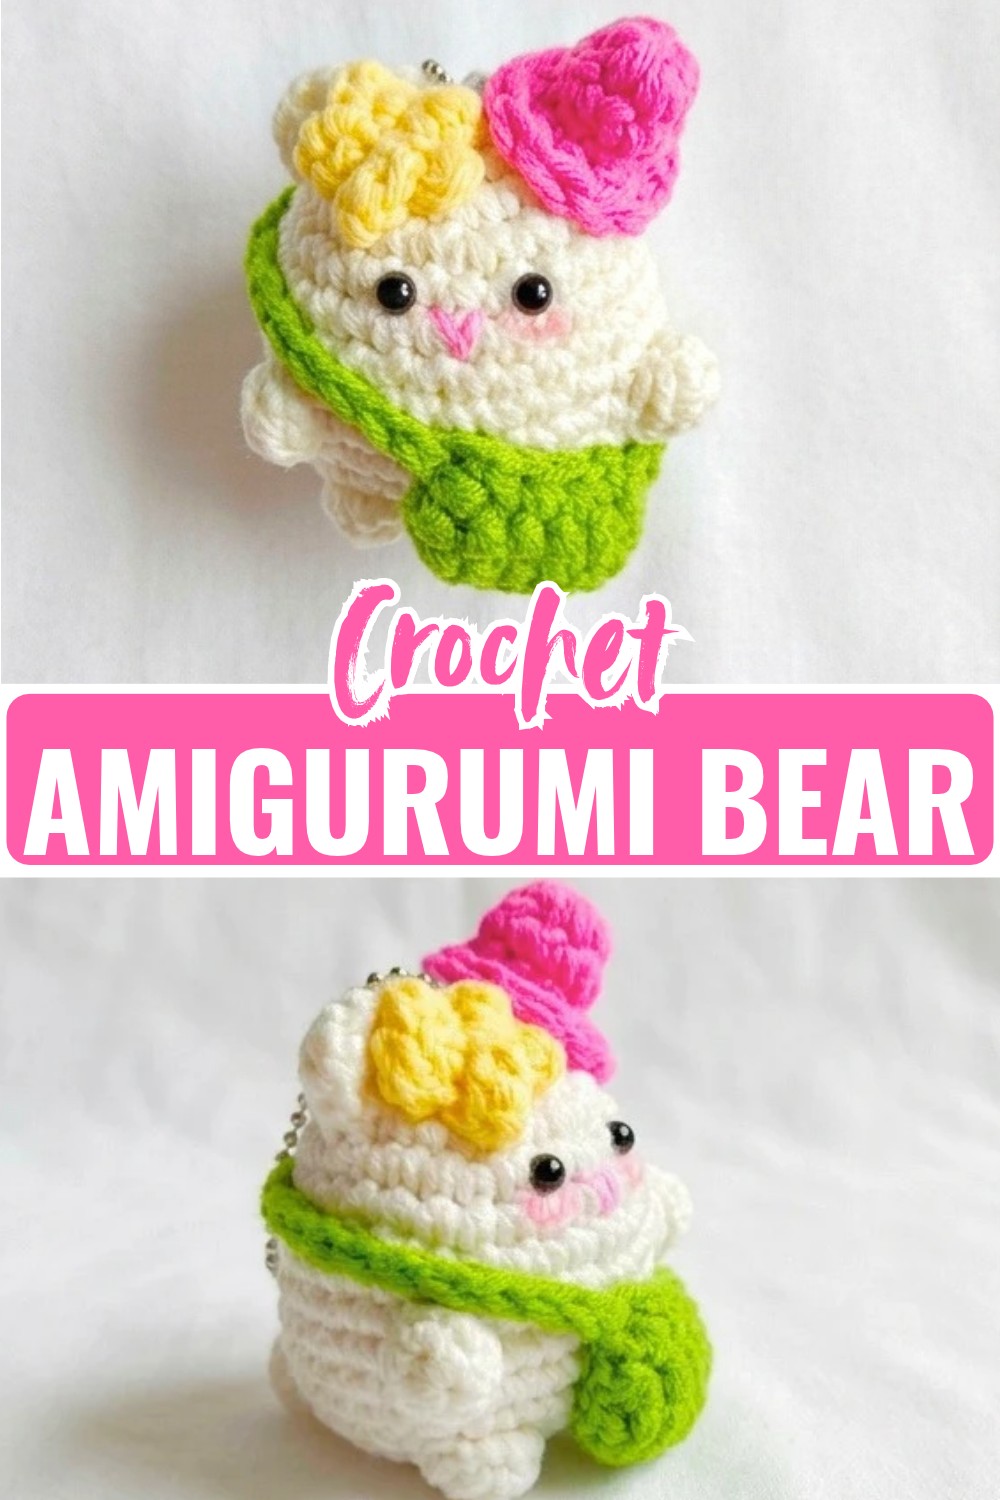
This tiny crochet bear packs plenty of personality into just a few inches. Its rounded body, little ears, pink hat, flower, and miniature bag give the finished amigurumi a playful look, while the small size makes it especially fun to customize.
You’ll begin with the crochet bear’s body and work the shaping in a continuous spiral, then make each accessory separately before bringing everything together. Along the way, the tutorial keeps the important details-such as safety-eye placement, firm stuffing, stitch counts, and finishing-clear so your little crochet bear keeps its round, chubby shape.
Credit Riyal Crochet
Materials & Tools Needed
Yarn
Use light worsted or DK weight yarn in the following colors:
- Main Color: White or Cream for the bear
- Pink: For the hat
- Green: For the bag
- Yellow or Light Blue: For the flower
Crochet Hook
Use a 2.5 mm crochet hook, or choose a hook size appropriate for your yarn.
Safety Eyes
Use 4 mm or 5 mm black safety eyes.
Stuffing
You’ll need fiberfill or toy stuffing for the bear’s body and a small amount for the hat.
Embroidery Thread
Use black or brown embroidery thread for the nose and mouth details.
Tools
Keep a tapestry/yarn needle, scissors, and stitch marker nearby.
Optional
A keychain ring can be added if you want to turn the finished bear into a bag charm or keychain.
Finished Size & Customization
Depending on your yarn and hook, the completed bear will be approximately 2.5 to 3 inches tall.
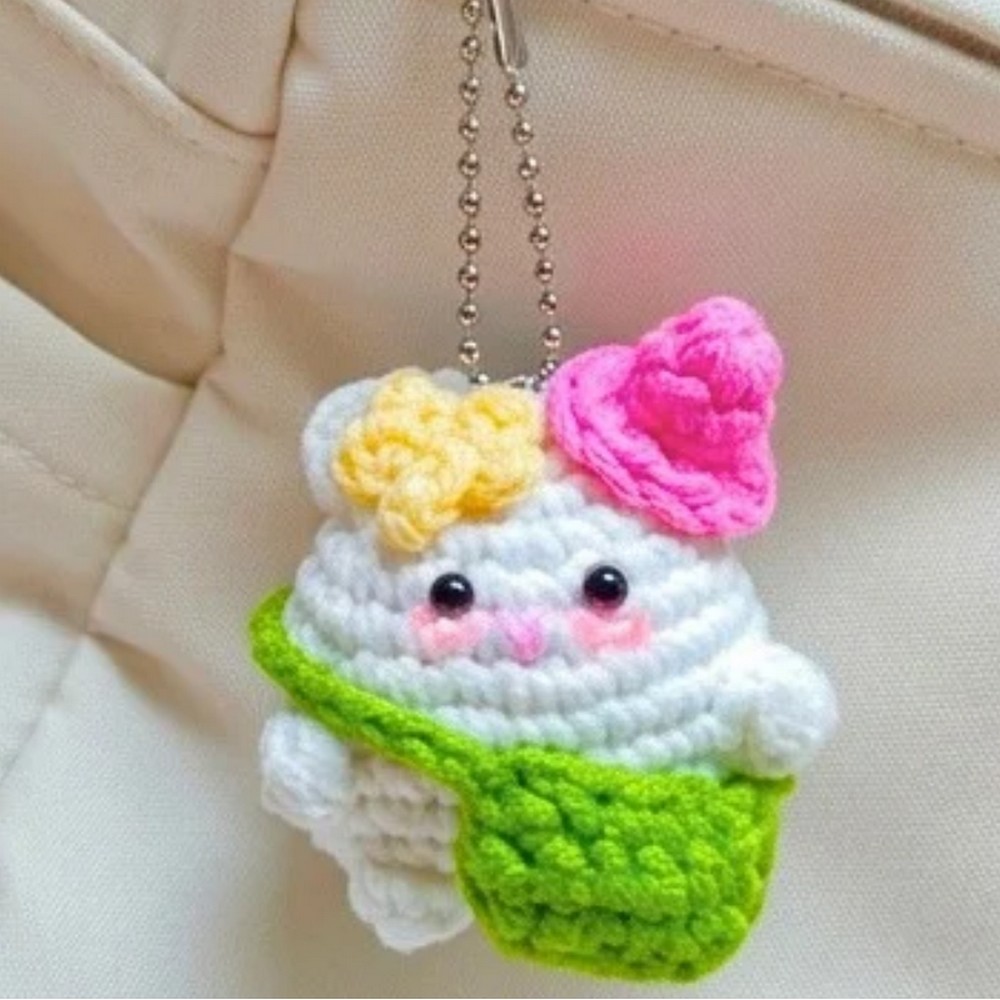
The small size makes this bear easy to personalize. Change the main yarn color to create different bear-inspired looks, such as brown for a grizzly or black and white for a panda. For extra character, you can also add blush to the cheeks using real makeup or pink chalk.
Pattern Abbreviations & Terminology
The pattern uses US crochet terminology:
- MR = Magic Ring
- ch = chain
- sc = single crochet
- dc = double crochet
- inc = increase (2 sc in the same stitch)
- dec = decrease (sc 2 stitches together; invisible decrease recommended)
- sl st = slip stitch
- FO = Fasten off
- [ ] = Total stitch count for the round
How to Crochet the Bear Body
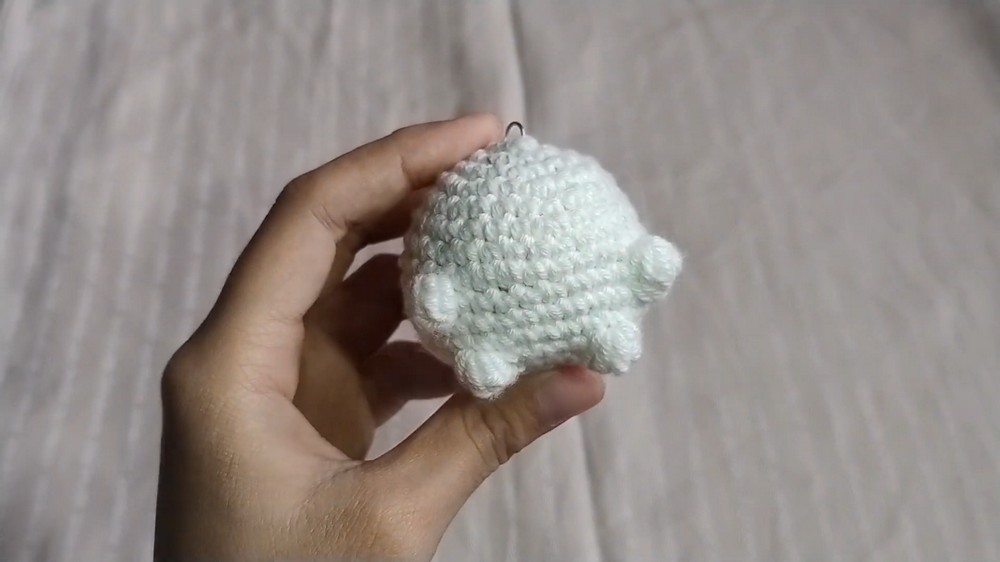
The body is worked from the bottom upward in a continuous spiral. The increases gradually widen the shape, the middle rounds maintain the bear’s rounded body, and the decreases bring the top closed.
Round 1: 6 sc in MR [6]
Round 2: 6 inc [12]
Round 3: (1 sc, inc) x 6 [18]
Round 4: (2 sc, inc) x 6 [24]
Round 5: (3 sc, inc) x 6 [30]
Rounds 6–12 (7 rounds): 1 sc in each stitch around [30]
Round 13: (3 sc, dec) x 6 [24]
Round 14: (2 sc, dec) x 6 [18]
Face & Stuffing: Insert the safety eyes between Rounds 9 and 10, spacing them about 4–5 stitches apart. Stuff the body firmly with fiberfill.
Round 15: (1 sc, dec) x 6 [12]
Round 16: 6 dec [6]
Finishing: FO, leaving a long tail. Thread the tail onto a tapestry needle, weave it through the front loops of the remaining 6 stitches, pull tight to close the hole, and hide the yarn tail inside the body.
Keep the Body Round
The stitch counts increase evenly through the first five rounds and then remain at 30 stitches through Rounds 6–12. Keep an eye on these counts as you work, because the decrease rounds at the top rely on the body having the correct number of stitches.
The firm stuffing is also important here. Fill the body well enough to support its rounded shape while avoiding a loose, collapsed finish.
Make the Ears
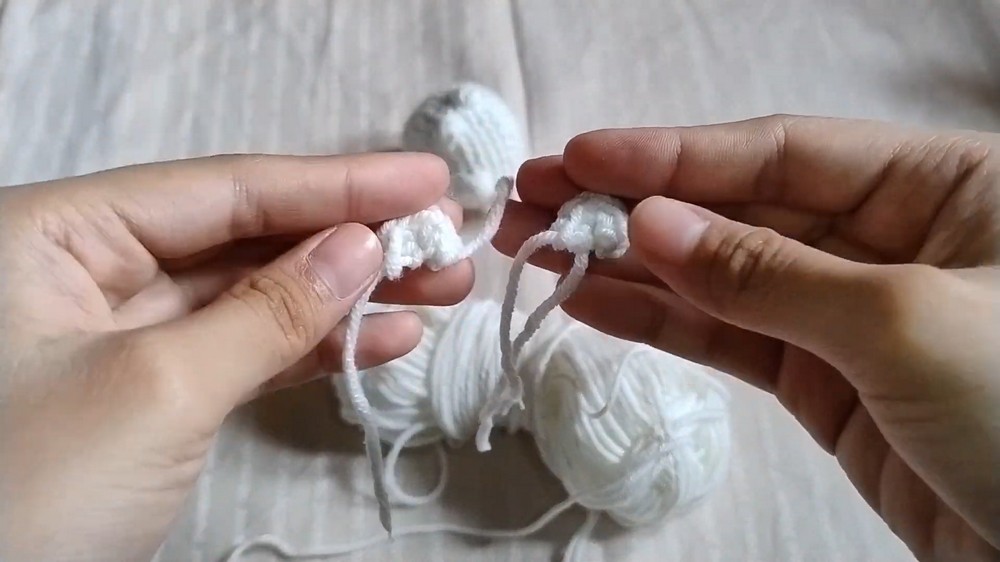
Make 2 ears using the Main Color.
Round 1: 6 sc in MR [6]
Finishing: Do not join. FO, leaving a long tail for sewing. Slightly fold the piece to create a semi-circle cup shape.
The long yarn tail will be used later when the ears are attached to the bear.
Crochet the Mini Hat
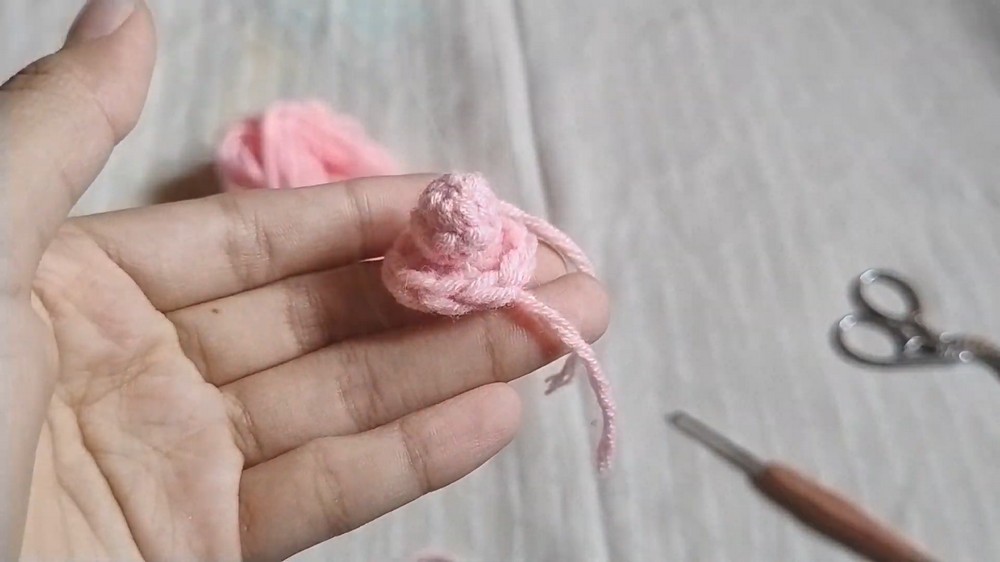
Switch to Pink yarn for the hat. The increases gradually widen this tiny piece into its conical shape.
Round 1: 4 sc in MR [4]
Round 2: (1 sc, inc) x 2 [6]
Round 3: (1 sc, inc) x 3 [9]
Round 4: (2 sc, inc) x 3 [12]
Finishing: sl st in the next stitch to finish the round cleanly. FO, leaving a long tail for sewing. Add a tiny pinch of stuffing inside the hat so it holds its conical shape.
Give the Hat Its Shape
Only a tiny amount of stuffing is needed. The purpose is simply to help the hat keep its conical form when it is placed on the bear’s head.
Make the Flower
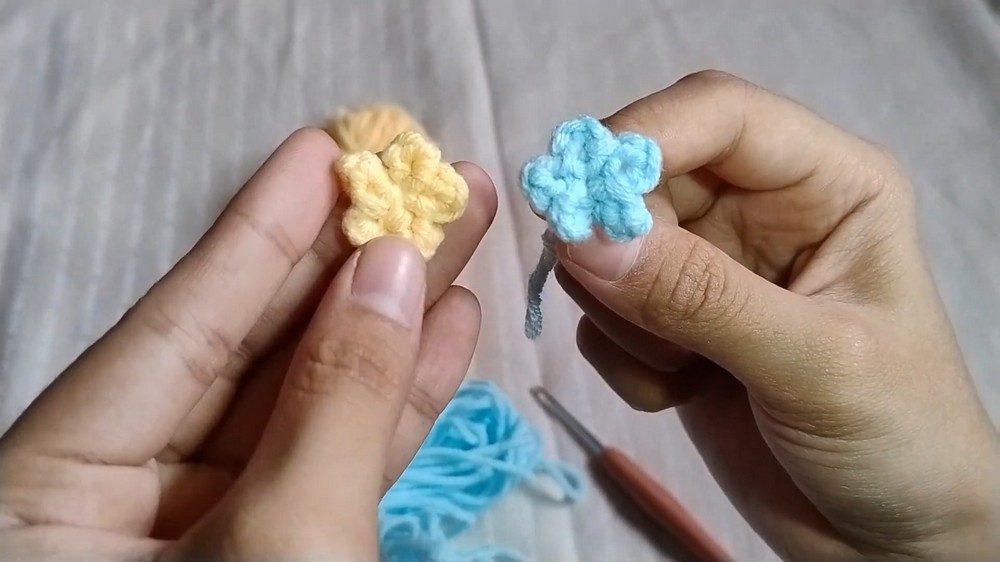
Use Yellow or Light Blue yarn for the flower.
Round 1: Create a MR. Work the following sequence into the ring 5 times: (ch 2, 1 dc, ch 2, sl st).
Finishing: Pull the magic ring closed tightly to form the 5 petals. FO, leaving a tail to attach it to the bear.
The five repeated petal sections form the small flower shape, so pull the center closed firmly after completing the round.
Crochet the Mini Bag
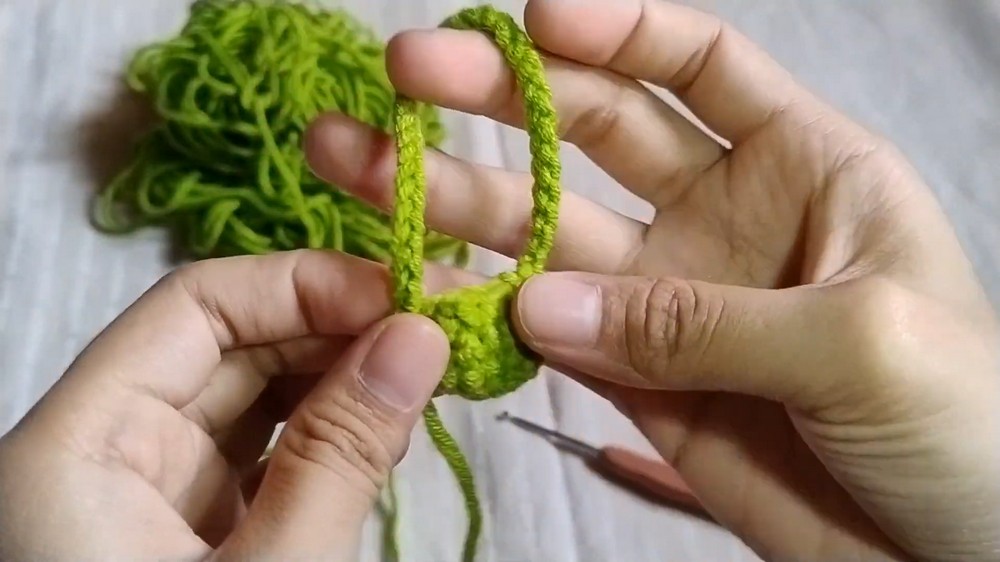
Use Green yarn for the bag.
Round 1: Ch 6. Starting in the 2nd ch from the hook: 4 sc, 3 sc in the last ch. Rotate your work to crochet along the opposite side of the foundation chain: 3 sc, inc in the last ch. [12]
Rounds 2–3: 1 sc in each stitch around [12]
Strap: Ch 15 (or until the chain is long enough to drape diagonally across your bear’s body).
Finishing: Sl st to the opposite edge of the bag to secure the strap. FO and weave in the loose ends inside the bag.
Check the Strap Length
The 15-chain strap is the starting measurement, but the important check is how it sits across the bear. If needed, continue the chain until it is long enough to drape diagonally across the body as intended.
Assemble the Bear
Embroider the Face
Using black or brown embroidery thread, stitch a small “v” or straight line for the nose right between the eyes.
Keep the nose centered between the safety eyes so the facial features stay balanced on the small head.
Attach the Ears
Pin the two ears symmetrically on the top corners of the head, around Rounds 3–5. Sew them securely in place.
Attach the Hat
Position the mini pink hat slightly off-center on top of the bear’s head. Sew the edges cleanly to the main body.
Attach the Flower
Sew the flower right next to the hat or tuck it beside one of the ears.
Add the Bag
Drape the green bag’s strap diagonally across the bear’s body. If desired, tack the strap down with a hidden stitch so it does not fall off.
Add the Optional Keychain
If you want to use the bear as a keychain or bag charm, attach the metal keychain ring to the top center of the head.
Your tiny bear is now dressed and ready to go, with its face, ears, hat, flower, and miniature bag all securely in place.