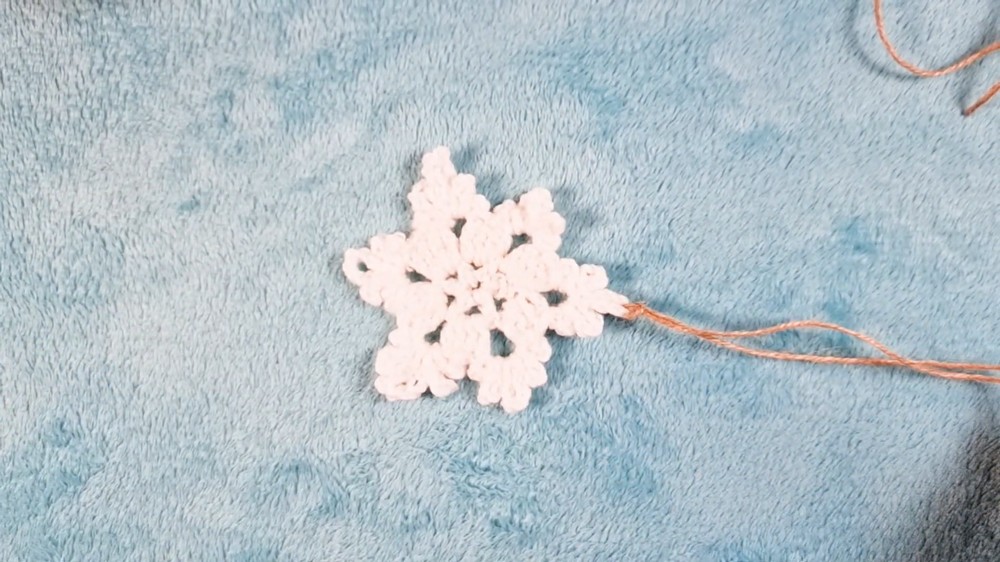
A delicate crochet snowflake ornament with six graceful points, layered chain loops, and a simple white finish-perfect for adding handmade detail to a Christmas tree.
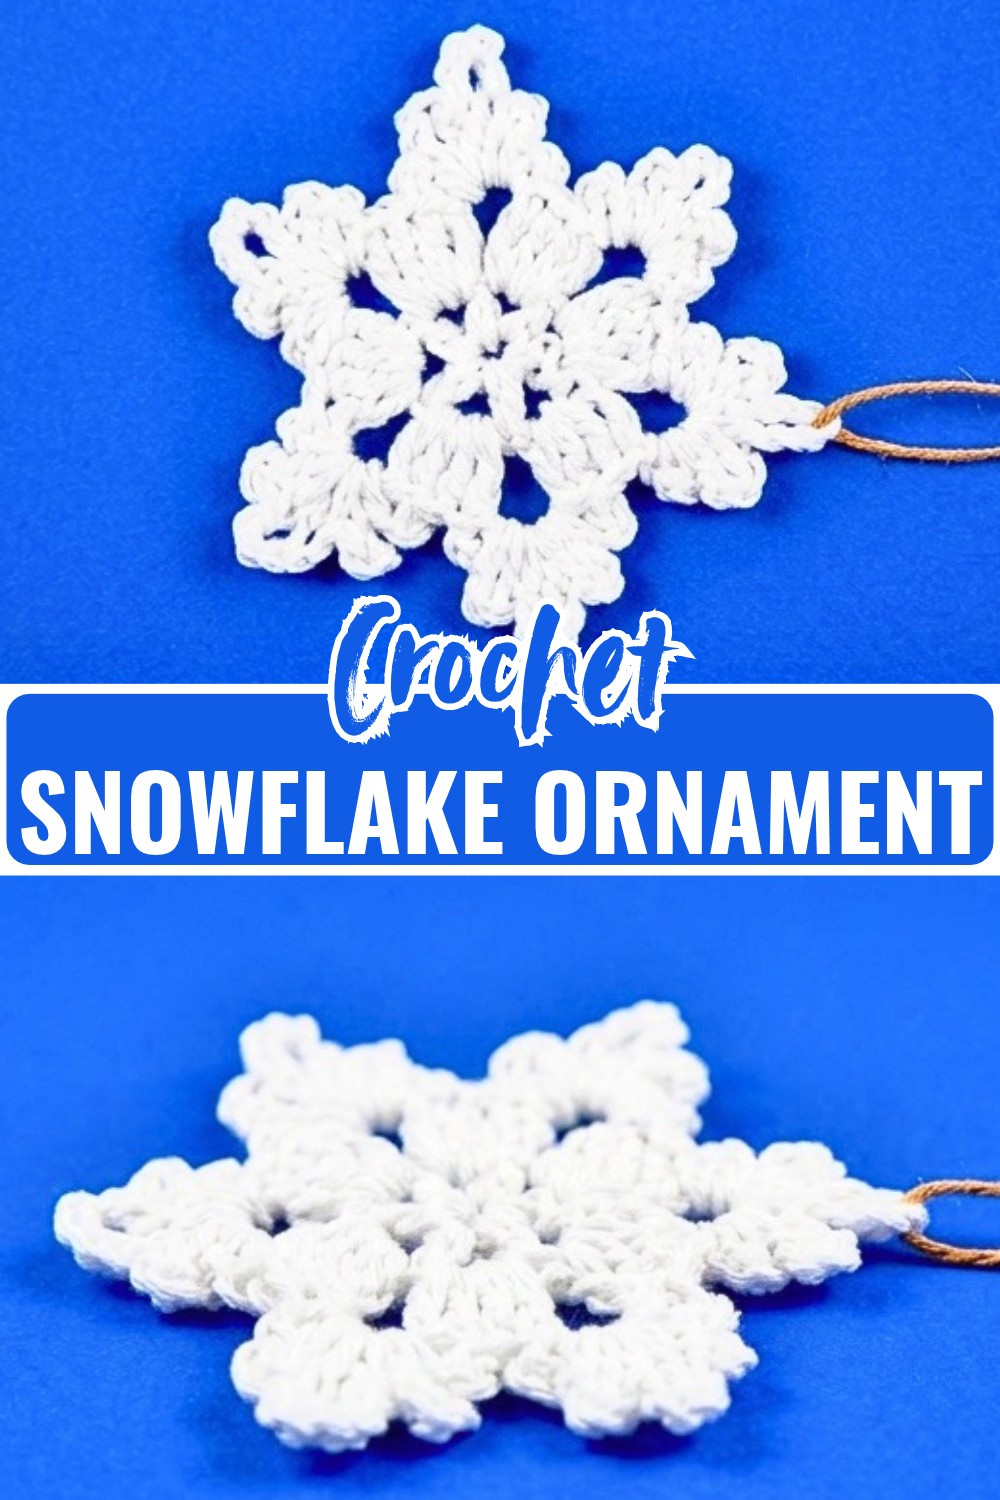
White crochet snowflakes have a light, delicate look that works beautifully among Christmas tree branches. This design creates six balanced points around a small circular center, with the long ch-7 loops giving the finished ornament its distinctive snowflake shape.
The pattern uses a Magic Circle, double crochet clusters, chain spaces, and slip stitches, with each round building on the six gaps from the previous round. You’ll also learn where to work each point, how to keep the loops positioned neatly, and how to shape the finished crochet snowflake so it lies flat.
Credit Goga Hook
Materials & Tools Needed
- White yarn: White yarn is used for the snowflake.
- Crochet hook: 2.5 mm crochet hook.
- Threading needle: A yarn needle for weaving in the finished ends.
- Scissors: For cutting the yarn after fastening off.
- Ornament hook or string: Use either option to hang the finished snowflake on the Christmas tree.
Pattern Abbreviations
This pattern uses standard US crochet terminology.
- MR: Magic ring/magic circle
- ch: Chain
- sl st: Slip stitch
- dc: Double crochet
- sp/gap: Chain space
- st(s): Stitch(es)
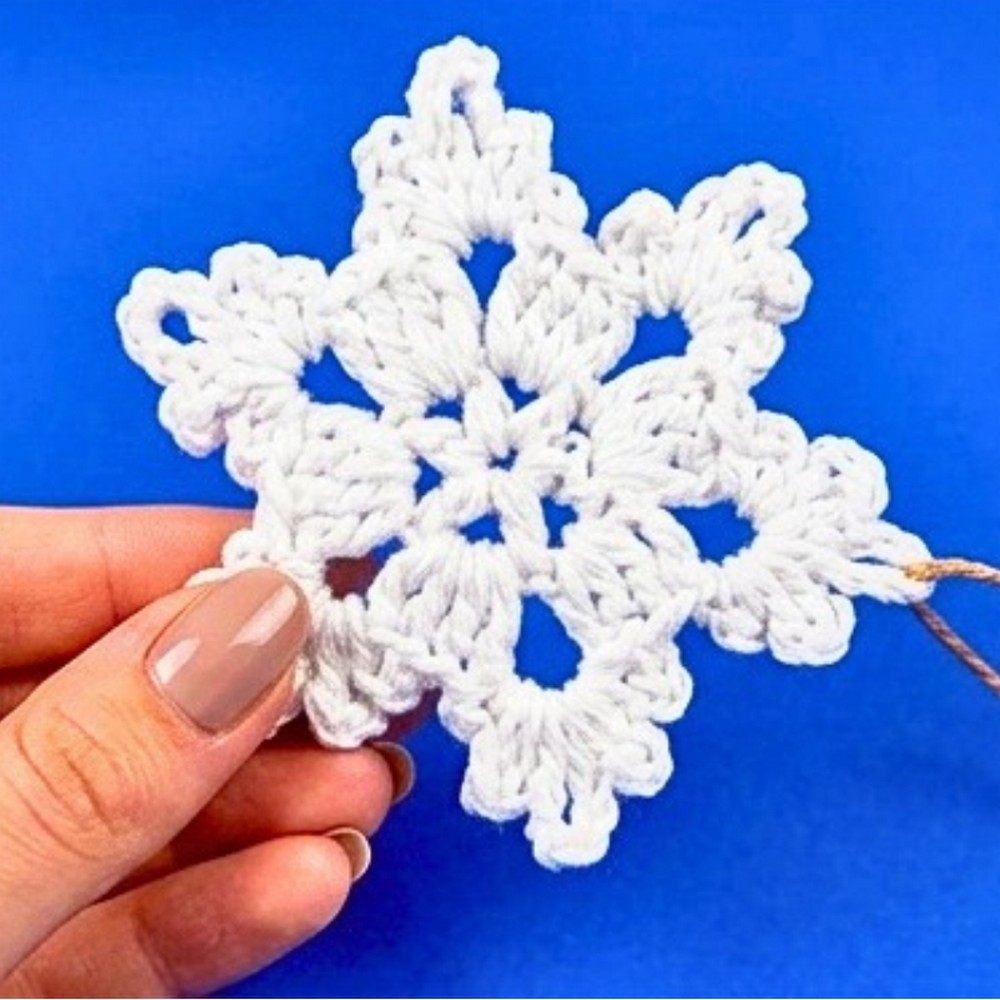
A Simple Starting Option for the Magic Circle
The tutorial begins with a Magic Circle. If this technique feels difficult, you can substitute it by chaining 4 and slip stitching to the first chain to form a starting loop.
This gives you an alternative way to create the small center needed for Round 1 while keeping the rest of the pattern the same.
How to Crochet the Snowflake Ornament
Round 1: Create the Circular Base
Begin by making a Magic Circle. The first round creates six evenly spaced ch-2 gaps, which will later hold the double crochet clusters and eventually become the foundation for the six snowflake points.
Round 1: Create a Magic Circle. Ch 5, counting this as the first dc and a ch-2 space. Work 1 dc into the center of the Magic Circle, then ch 2. Repeat (1 dc into the Magic Circle, ch 2) 4 more times to create 5 gaps in total. The initial ch-5 counts as the 6th gap. Pull the Magic Circle tightly closed, then insert the hook into the 3rd chain of the starting ch-5 and sl st to join. Stitch Count: 6 dc posts, 6 ch-2 gaps.
What to check: Before moving on, make sure the center is pulled closed, and the six gaps are distributed around the circle. These gaps are important because each one will receive a cluster in Round 2 and a snowflake point in Round 3.
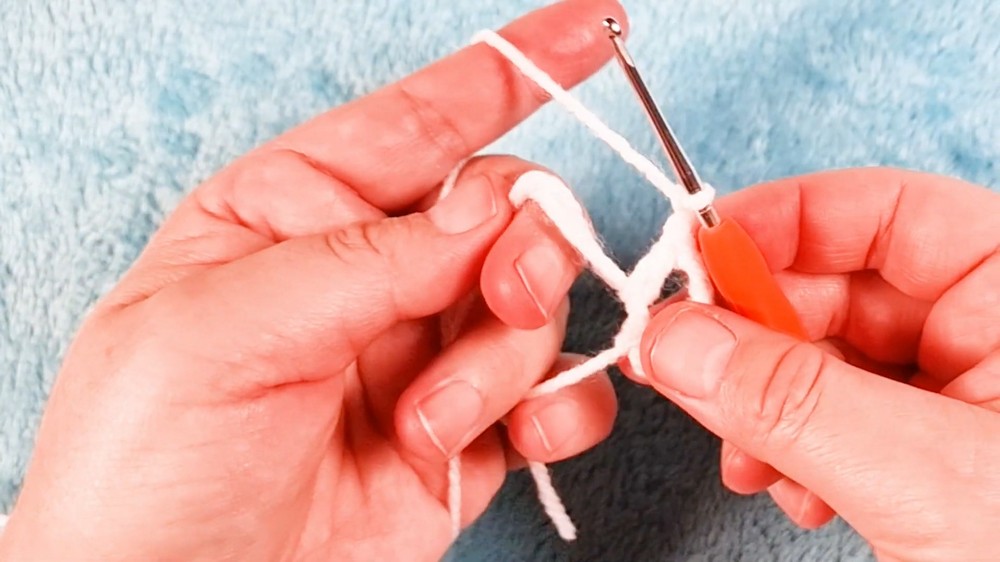
Round 2: Build the Snowflake Body
Round 2 fills each of the six gaps with a four-double-crochet cluster. The ch-2 spaces between the clusters preserve the six sections that will be used for the points.
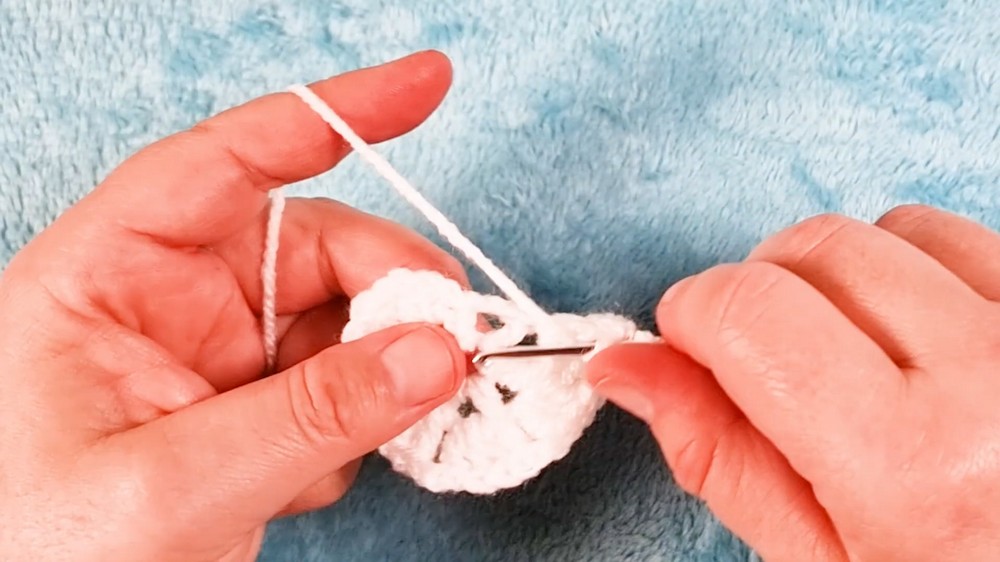
Round 2: Ch 3, counting as the first dc, then work 3 more dc directly into the first gap to make a 4-dc cluster. Ch 2, then work 4 dc into the next gap, followed by ch 2. Repeat the (4 dc in the gap, ch 2) sequence in all remaining gaps around the circle. Sl st into the top of the initial ch-3 to join. Stitch Count: 24 dc, six 4-dc clusters, 6 ch-2 gaps.
As you work around, keep each group of four dc inside its own ch-2 gap. The six open spaces should remain easy to identify because Round 3 will be worked directly into them.
Round 3: Form the Six Snowflake Points
Turn your work around so you are working directly into the first ch-2 gap.
Each point uses the same five-part sequence. The ch-7 section creates the tallest part of the point, while the shorter ch-5 and ch-3 sections step the shape back toward the center.
Round 3: In the first ch-2 gap, ch 3 and sl st into the same gap; ch 5 and sl st into the same gap; ch 7 and sl st into the same gap; ch 5 and sl st into the same gap; ch 3 and sl st into the same gap.
Move to the next point: Ch 1, then sl st into the next ch-2 gap to position yourself for the following point.
Repeat the point: In the new gap, repeat (ch 3, sl st; ch 5, sl st; ch 7, sl st; ch 5, sl st; ch 3, sl st).
Continue: Repeat the ch-1 transition and complete the same point sequence across all 6 gaps around the snowflake.
Finish the round: After completing the final ch-3 and sl st in the 6th gap, ch 1, then sl st into the very first gap to securely join the round.

Snowflake Point Check
Before fastening off, look at all six points together rather than checking them individually.
Each point should have the same sequence of chain loops: ch 3 → ch 5 → ch 7 → ch 5 → ch 3
The longest ch-7 loop should form the tall middle section of each point. If one point looks noticeably different, check that you completed the same sequence in its ch-2 gap before moving on.
Finishing the Snowflake
Fasten Off
Work your yarn through the final loop, cut the excess yarn while leaving a tail, and pull the tail tight to secure the final stitch.
Shape the Points
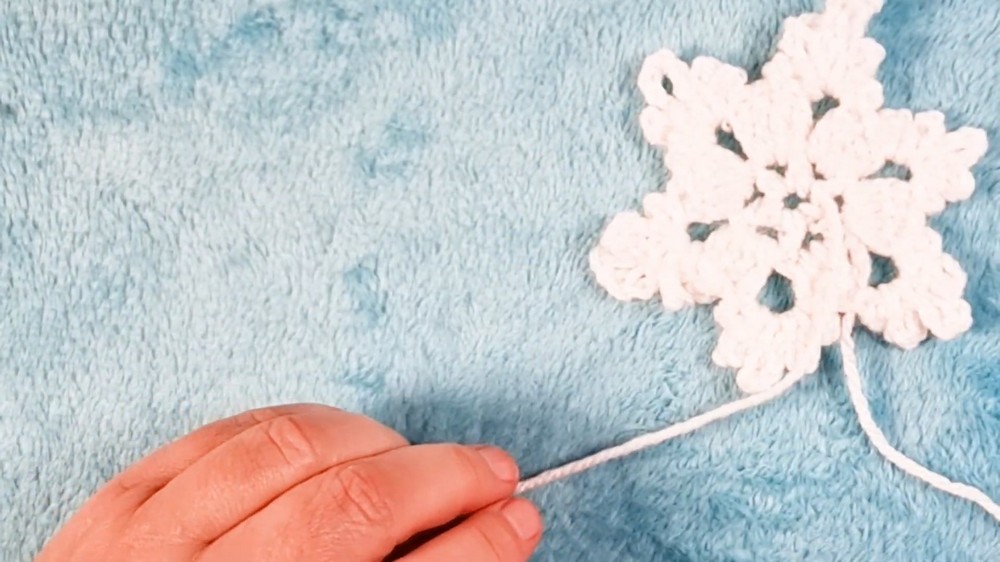
Use your fingers to gently flatten and shape the delicate snowflake points so they sit neatly and evenly.
The chain loops can naturally look slightly uneven immediately after crocheting. Gentle finger shaping helps reveal the six-pointed form before you finish the ends.
Weave in the Ends
Thread the yarn tail onto a threading needle and securely weave the ends under the stitches of the first and second rounds. This step is especially important because the snowflake can undo itself if the ends are not secured properly.
After the ends are woven in securely, trim away the remaining excess yarn.
Add the Hanger
Attach an ornament hook or a loop of string to the top of one of the longest points—the ch-7 loop.
Once the hanger is attached, the snowflake is ready to hang on your Christmas tree as a delicate handmade decoration.