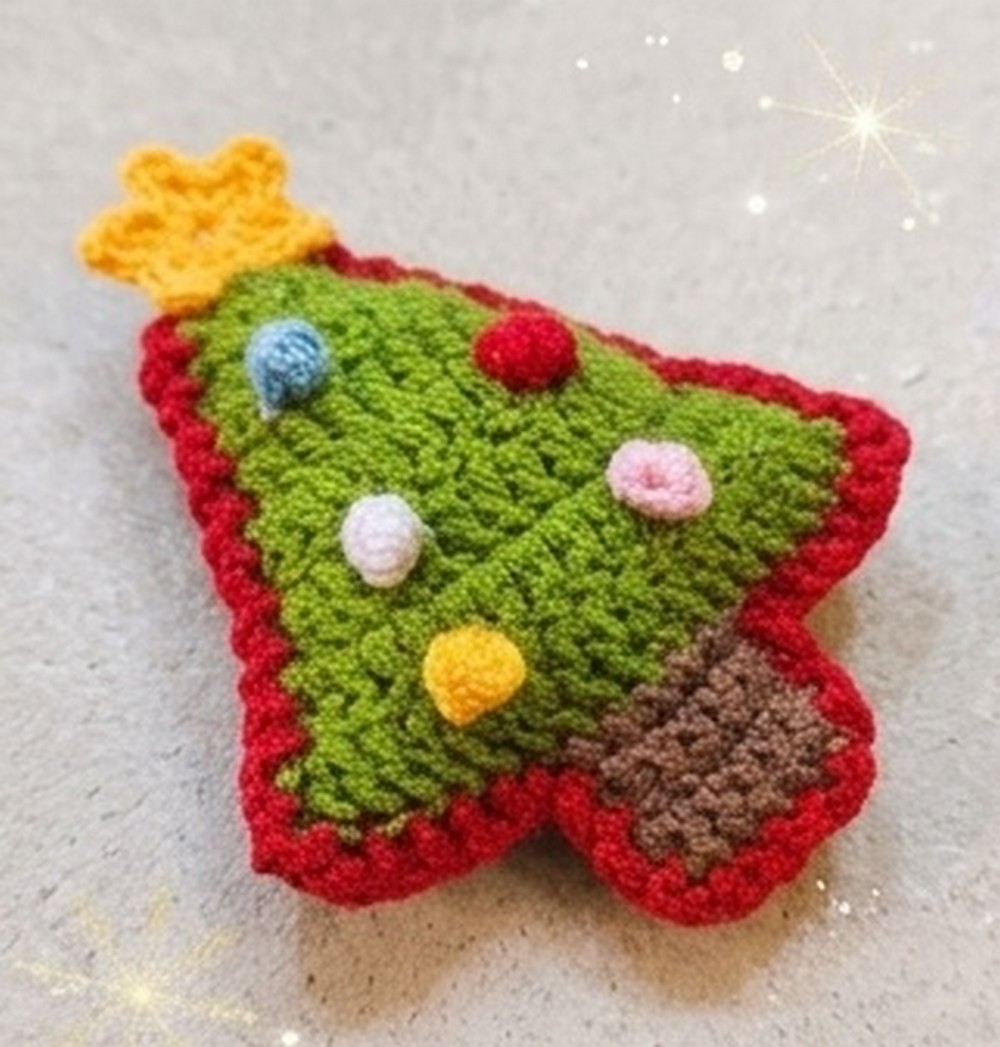
Turn simple crochet panels into stuffed Christmas tree decor with textured red edging, tiny colorful ornaments, and star detail for festive holiday display.
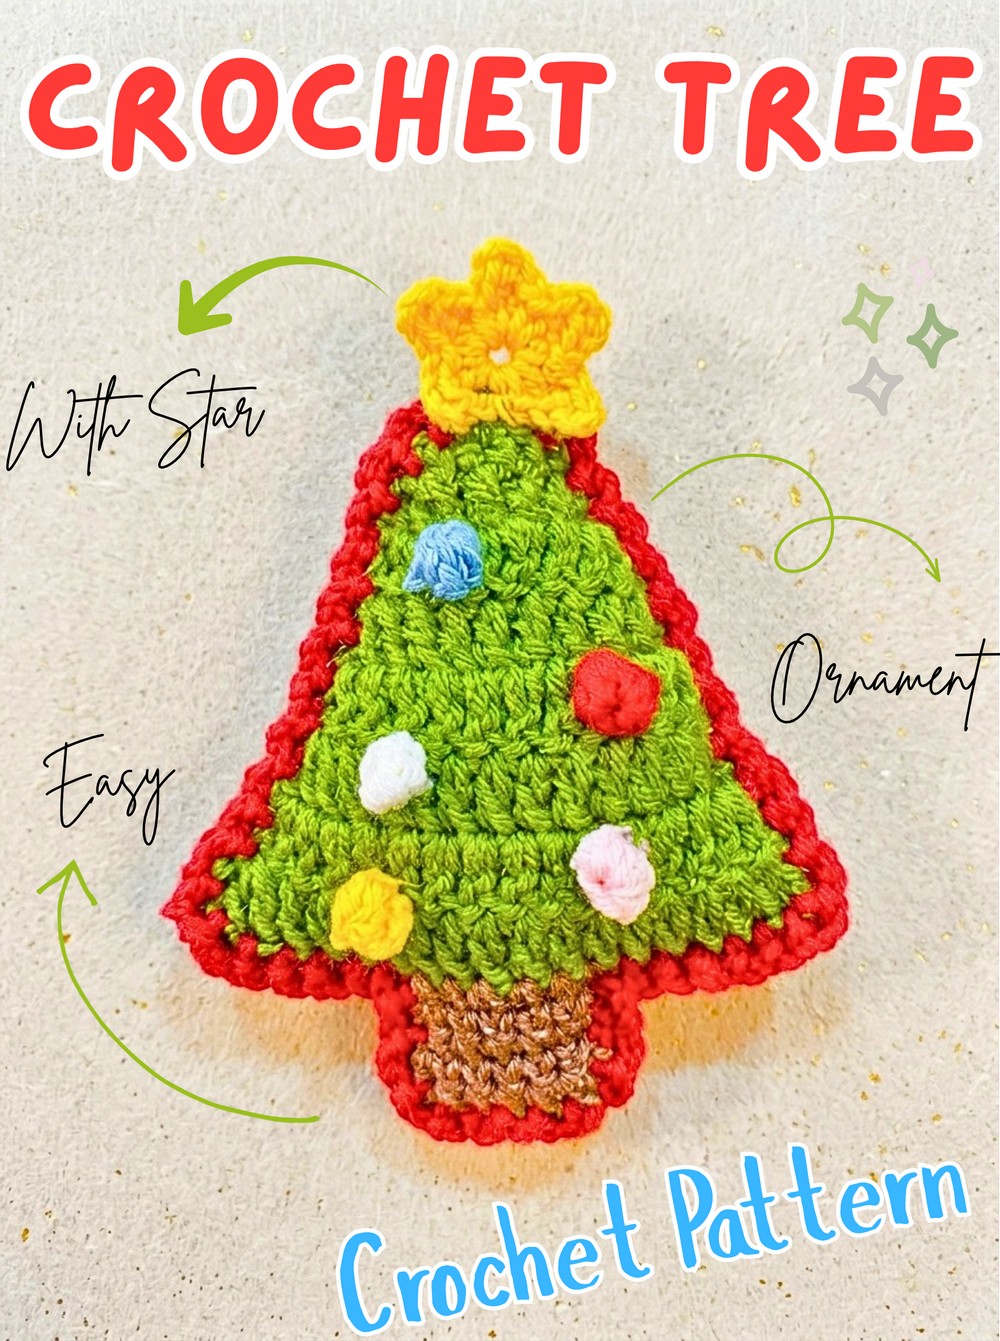
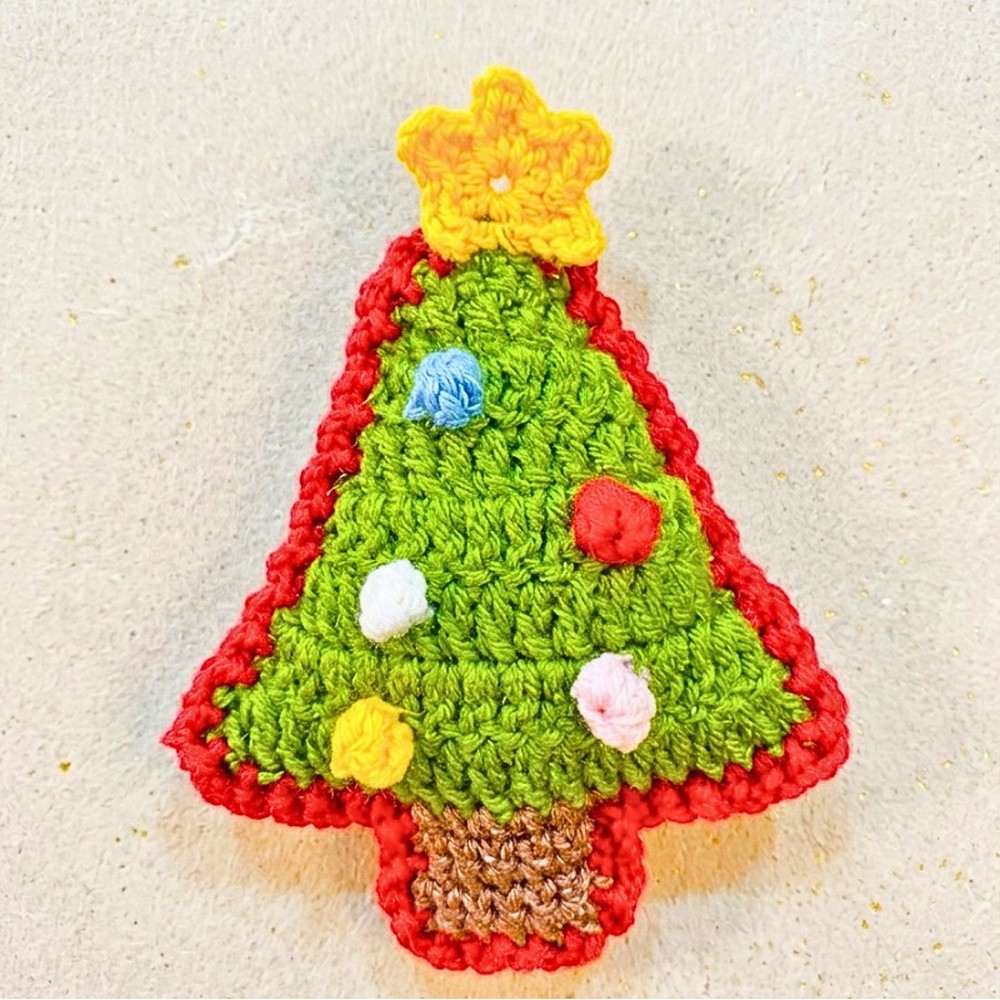
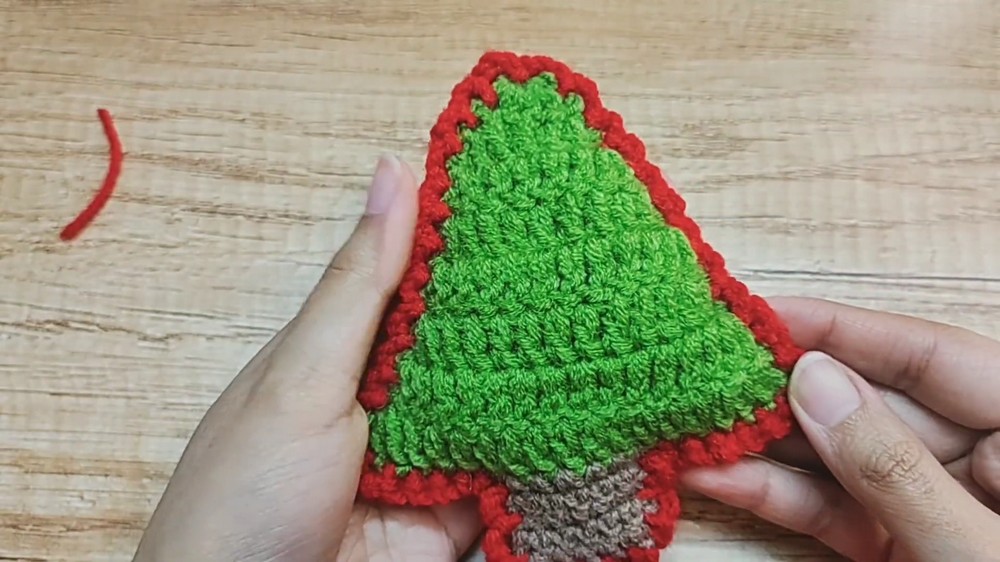
This stuffed crochet Christmas tree has simple triangular shaping, defined red edging, and colorful mini balls scattered across its front for cheerful holiday character. Its padded shape gives it dimension, while star detail at its top completes its classic crochet Christmas-tree look.
Two matching green panels form the tree, then brown trunk, red border, stuffing, star, and tiny crochet ornaments bring everything together. Keep panel edges aligned during joining, center trunk carefully, and leave enough of border open for stuffing before closing tree completely.
Credit YarnIt Crochet
Materials & Tools Needed
- Yarn: Acrylic yarn in Green for tree, Brown for trunk, Red for border, Yellow for star, and assorted colors such as Blue for decorative balls
- Crochet Hooks: 3.0 mm hook for tree and border; 2.5 mm hook for star and ornaments
- Fiberfill: For stuffing tree and trunk
- Yarn Needle / Tapestry Needle: For attaching star and hiding yarn tails
- Scissors
- Craft Glue: For attaching decorative mini balls
Finished Size & Customization Ideas
Tutorial creates a mini stuffed Christmas tree. For a larger tree, continue the green panel pattern beyond Round 8 by adding more rows. Each additional row begins and ends with an increase, with 1 dc worked in every stitch between increases.
For flat decor, make two identical panels and leave them unstuffed. They can be used separately as flat appliqués or ornaments.
For hanging, thread yarn or cord through top hole in star to create simple hanging loop. This turns finished tree into soft holiday ornament suitable for seasonal display.
Pattern Abbreviations
- MR: Magic Ring
- ch: Chain
- st(s): Stitch(es)
- sl st: Slip Stitch
- sc: Single Crochet
- dc: Double Crochet
- inc: 2 dc worked in same stitch, unless noted as sc increase
- Picot Stitch: Ch 2, insert hook into V at top of previous stitch, then make 1 sc
- Unfinished dc puff: Yarn over, insert hook into ring, pull up loose loop; repeat 5 times total, then pull through all loops
Christmas Tree Panels
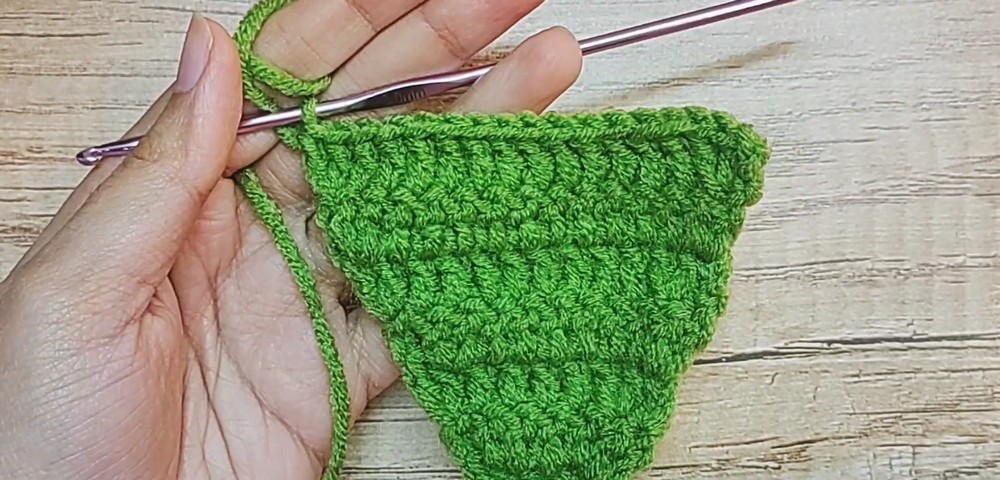
Make 2 identical panels using Green yarn and 3.0 mm hook.
Round 1: Make MR, ch 2, work 4 dc into MR, pull ring closed, turn work. (4 sts)
Round 2: Ch 2, inc in first st (2 dc in same st), 1 dc in each of next 2 sts, inc in last st, turn. (6 sts)
Round 3: Ch 2, inc in first st, 1 dc in each of next 4 sts, inc in last st, turn. (8 sts)
Round 4: Ch 2, inc in first st, 1 dc in each of next 6 sts, inc in last st, turn. (10 sts)
Round 5: Ch 2, inc in first st, 1 dc in each of next 8 sts, inc in last st, turn. (12 sts)
Round 6: Ch 2, inc in first st, 1 dc in each of next 10 sts, inc in last st, turn. (14 sts)
Round 7: Ch 2, inc in first st, 1 dc in each of next 12 sts, inc in last st, turn. (16 sts)
Round 8: Ch 2, inc in first st, 1 dc in each of next 14 sts, inc in last st. (18 sts)
Finish Panel: Ch 1, cut yarn, and fasten off.
Make second panel by repeating all rounds above. Both panels should match in size and shape before moving on.
Tree Trunk
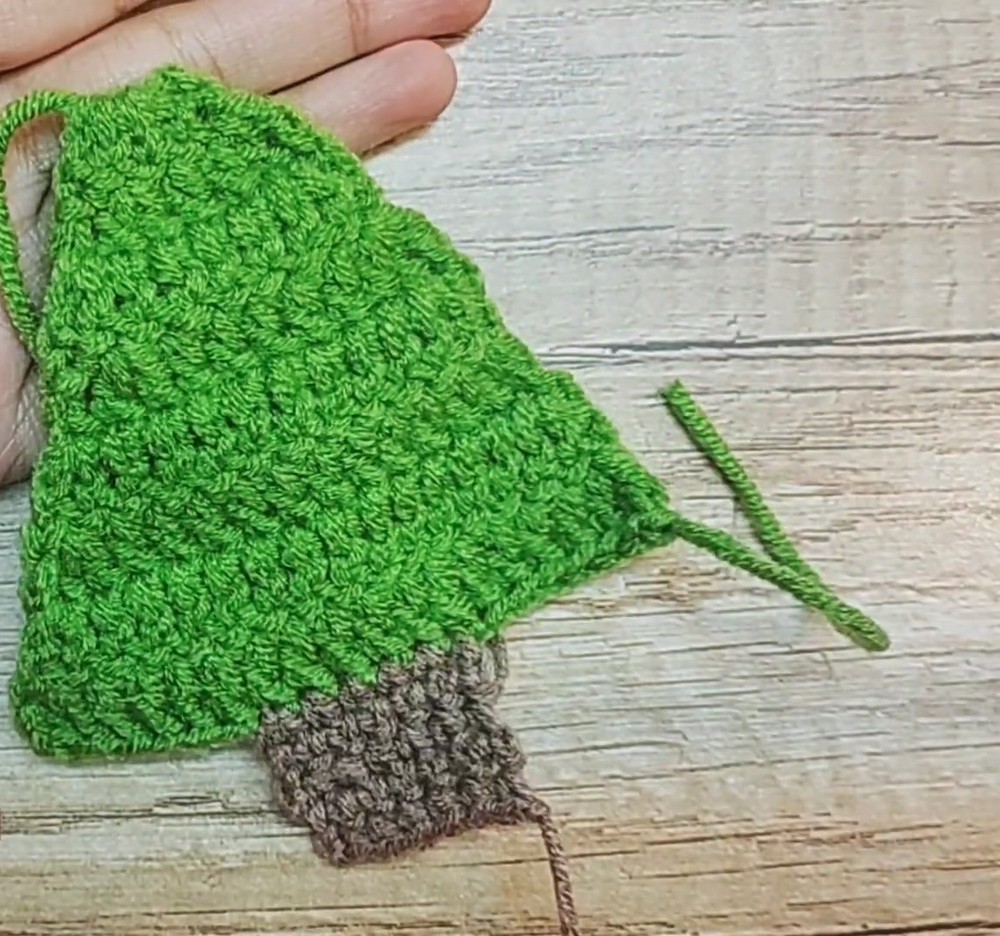
Use Brown yarn and 3.0 mm hook, working onto bottom edge of one green panel.
Step 1: Locate center of bottom edge at Round 8. With 18 stitches, skip first 6 stitches on right side and attach Brown yarn to 7th stitch.
Row 1: Ch 1, sc in same st where yarn was attached, 1 sc in each of next 5 sts. (6 sts) This leaves 6 stitches unworked on left side, keeping trunk centered.
Row 2: Ch 1, turn, 1 sc in each of 6 sts. (6 sts)
Rows 3–5: Ch 1, turn, 1 sc in each of 6 sts. (6 sts)
Finish Trunk: At end of Row 5, ch 1, cut yarn, and fasten off.
Repeat Parts 1 and 2 for second identical green panel with matching brown trunk.
Centering Check
Before joining panels, compare both trunks from bottom edge upward. Matching trunk position on both panels will help edges line up neatly during border work and keep finished tree balanced.
Join Panels and Add Red Border
Use Red yarn, or preferred border color, with 3.0 mm hook.
Step 1: Place both identical tree panels directly on top of each other, matching edges.
Step 2: Insert hook through corresponding stitches of front and back panels near bottom corner of green section. Pull Red yarn through both layers.
Step 3: Ch 3.
Step 4: Insert hook into next stitch through both panels, pull up loop, and make sl st.
Step 5: Repeat ch 3, sl st in next st through both panels around entire tree perimeter. As you work, tuck loose yarn tails inside space between panels.
Step 6: At top point, ch 3, insert hook through top loop of both panels, and make sl st.
Step 7: When only few inches remain before complete closure, pause border work and stuff tree firmly with fiberfill. Fill brown trunk fully as well.
Step 8: Continue ch 3, sl st around remaining opening until tree is completely closed.
Step 9: Ch 1, cut yarn, and fasten off. Use tapestry needle to hide final tail inside stuffed tree.
Keep stuffing firm enough to give tree visible dimension, but avoid overfilling. Too much fiberfill can push green panels apart and make border spacing harder to control.
Star Ornament
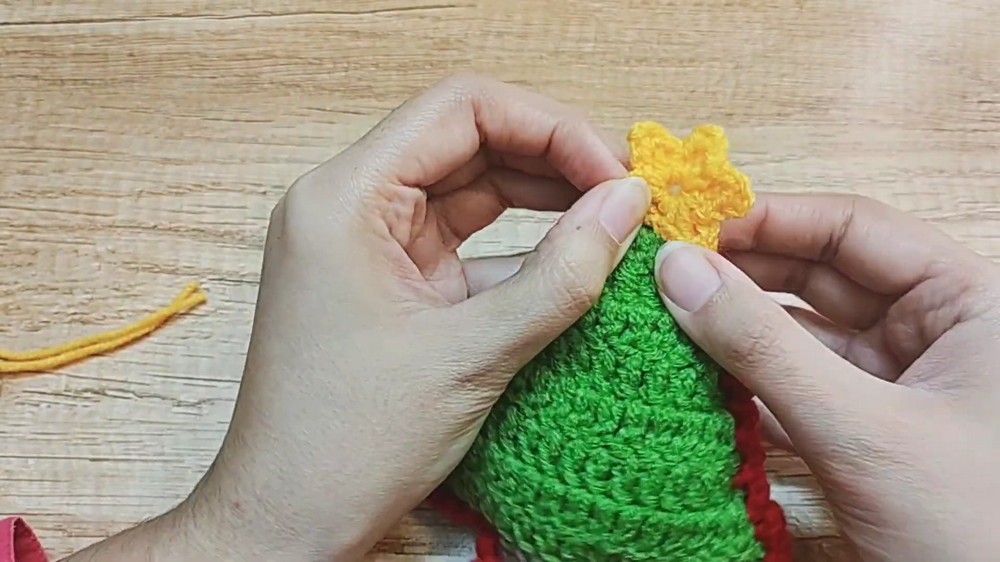
Use Yellow yarn and 2.5 mm hook.
Step 1: Make MR.
Step 2: Work this sequence into MR: [1 sc, ch 1, 1 dc, ch 2, picot stitch (1 sc into top V of dc), ch 1].
Step 3: Repeat Step 2 exactly 5 times inside MR to create five points.
Step 4: Pull MR tightly closed.
Step 5: Sl st into first sc to join.
Step 6: Fasten off, leaving long yarn tail for sewing star onto tree.
Decorative Mini Balls
Make multiple balls in assorted colors using 2.5 mm hook.
Step 1: Make MR.
Step 2: Ch 2.
Step 3: Yarn over, insert hook into MR, and pull up loose loop. Keep loop on hook. Repeat yarn over and pull up loop until action has been completed 5 times total.
Step 4: Yarn over and pull through all loops on hook.
Step 5: Ch 2, then sl st into MR.
Step 6: Pull MR tightly closed.
Step 7: Ch 1, cut yarn, remove hook, and tie both remaining tail ends into 2 tight knots at back to secure round shape. Trim tails short.
Ornament Placement
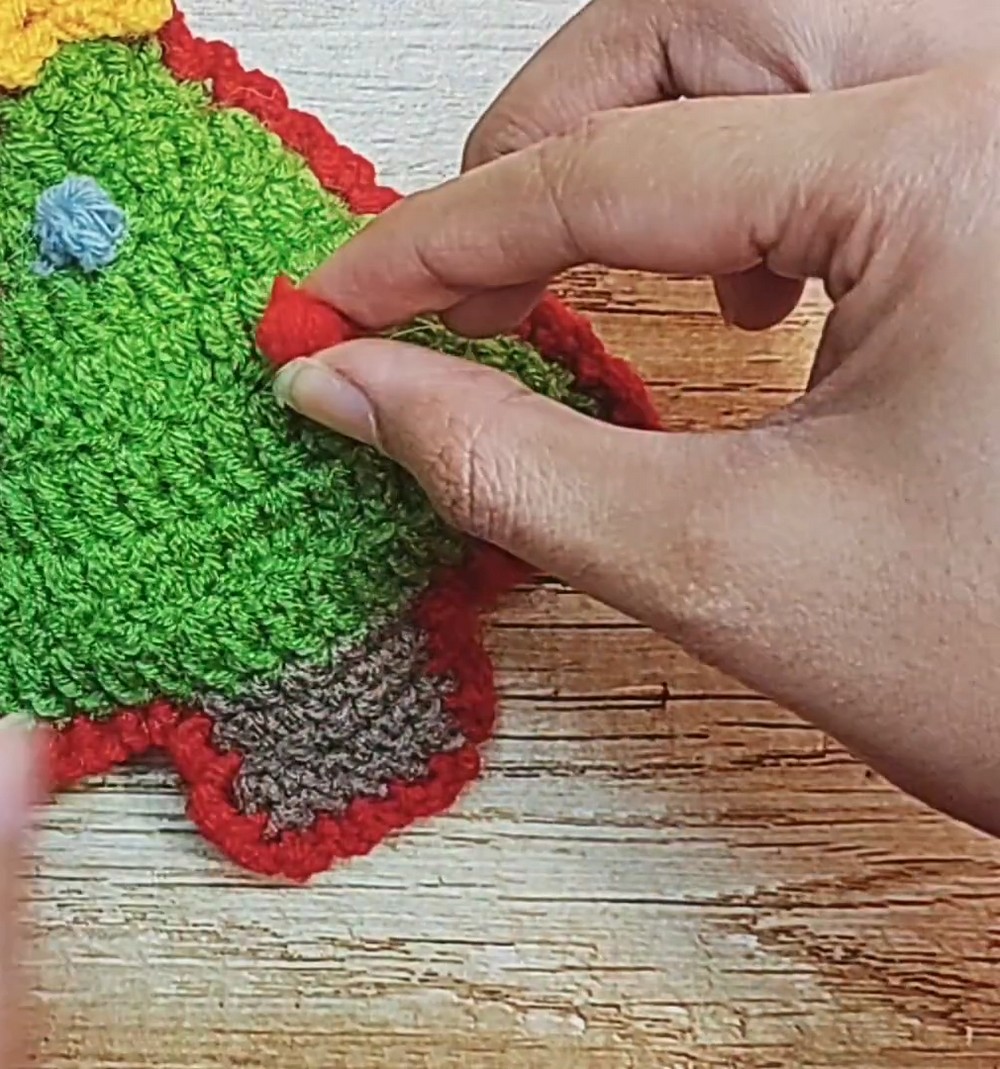
Spread mini balls across front of tree rather than clustering every color together. Different colors can be mixed freely, while leaving some green space visible helps red border, star, and ornaments remain visually distinct.
Assembly
Attach Star
Thread long Yellow star tail onto tapestry needle. Sew star securely to very top point of stuffed tree. Hide remaining tail completely inside tree.
Attach Decorative Balls
Use craft glue to attach colorful mini balls across front of tree. Position knotted backs directly against glued surface so knots remain hidden. Allow glue to dry completely before handling or hanging finished tree.
Flat or Stuffed Display Options
For stuffed holiday decor, keep both panels together and use fiberfill during border closure for padded dimension.
For flat appliqué-style decoration, skip stuffing and close panels with same red border technique. Flat panels can then be used separately as ornaments or attached to other seasonal decor.