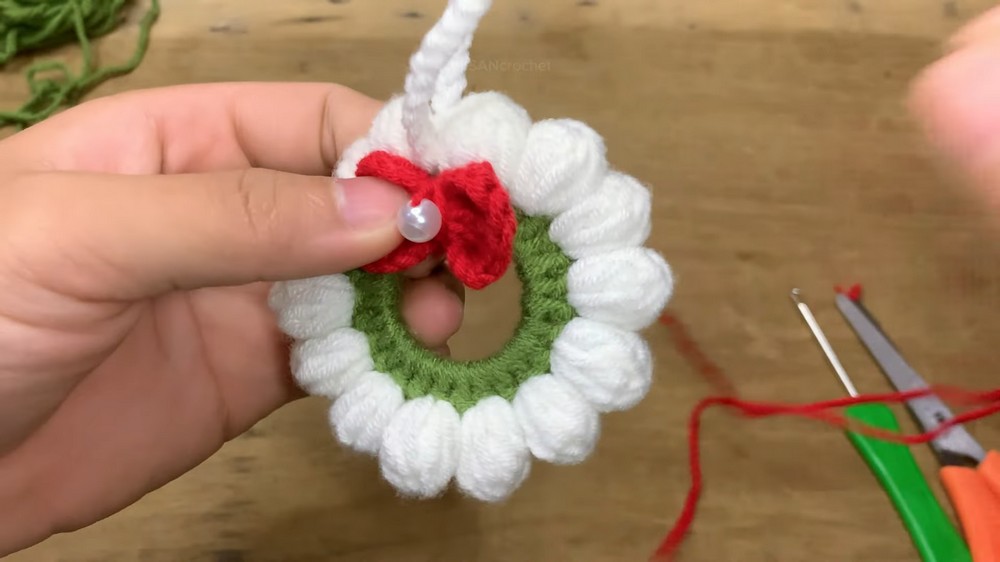
Turn a simple ring into a snowy crochet Christmas wreath with a fluffy white popcorn border, hanging loop, and red bow at the bottom.
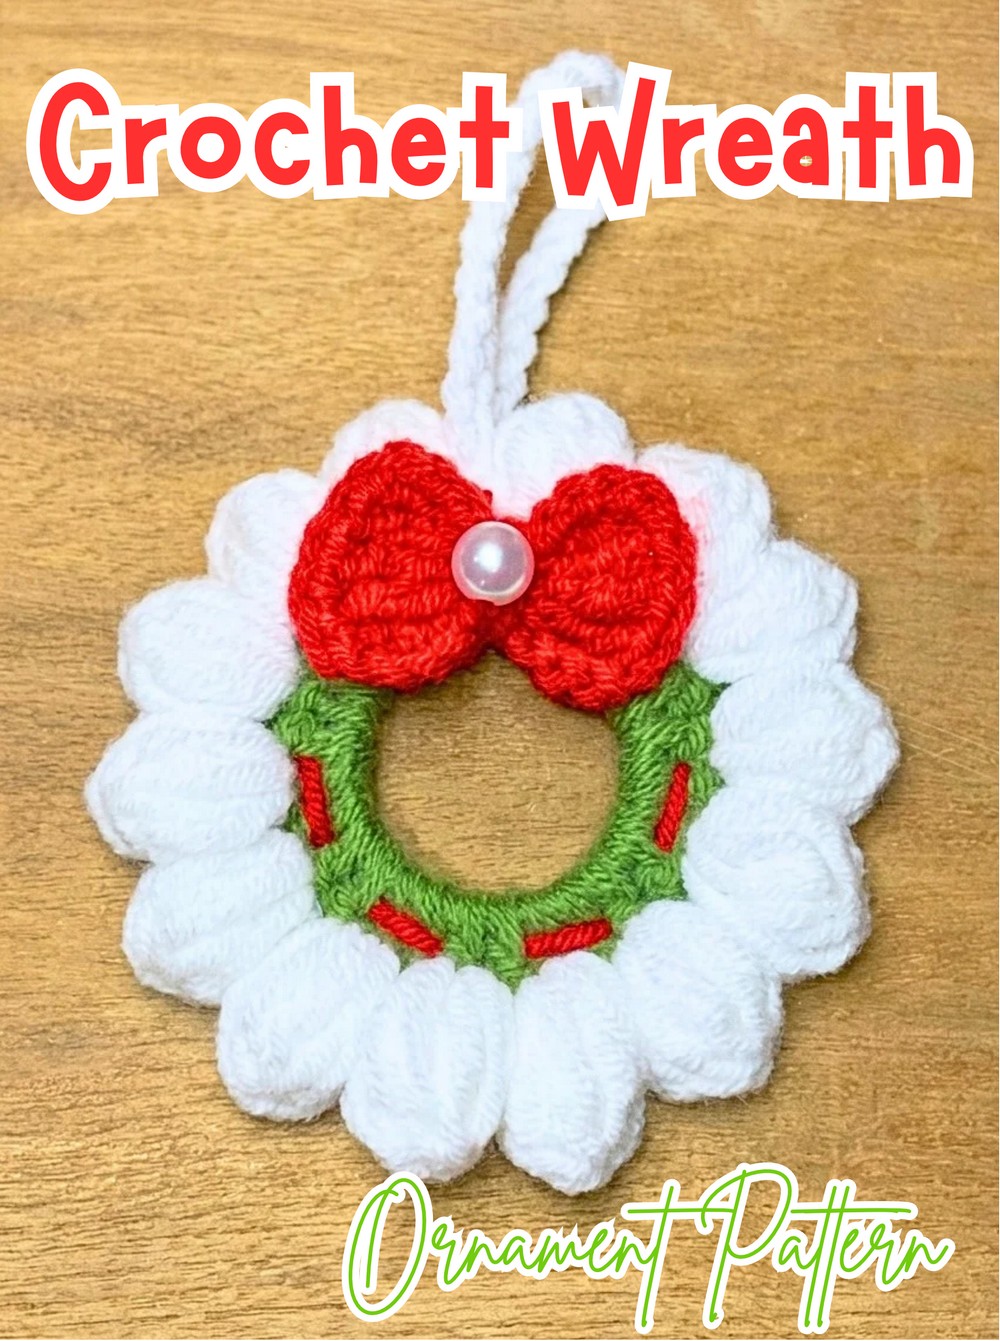
A small ring and a little yarn are all it takes to create this cheerful crochet Christmas wreath ornament. The Green crochet base gives the wreath its shape, while the White popcorn border adds a snowy, textured edge that makes the ring look much more festive.
The wreath is built in just a few simple stages: crochet the Green base evenly around the ring, add the repeating White popcorn border, then finish it with a hanging loop and handmade Red bow. The base stitch count matters here, so the pattern shows exactly what to watch for before you move around the wreath.
Credit SASAN
Why You’ll Love This Pattern
- Quick to make: The wreath uses a simple base round and one repeating popcorn border, so you can finish it without working through lots of rounds.
- Great for holiday decorating: The finished wreath is small enough for a Christmas tree, wall display, gift wrapping, or other seasonal decorations.
- Easy to customize: Change the ring size, yarn colors, bow color, or added embellishments to give each wreath its own look.
- The popcorn border adds texture: The fluffy White stitches make the simple circular base look like a snowy Christmas wreath.
- Perfect for making multiples: Once you understand the repeating border, you can crochet several wreaths using the same basic pattern for a coordinated holiday display.
- Beginner-friendly techniques: The pattern mainly uses chains, slip stitches, double crochet, and a modified popcorn stitch, with the stitch count providing a clear guide around the ring.
Materials & Tools Needed
- Yarn: Medium-weight yarn in Green for the wreath base, White for the popcorn border, and Red for the bow.
- Ring Base: A solid crafting ring. If you do not have one, you can make a simple yarn ring by wrapping yarn around your fingers several times to form a thick loop.
- Crochet Hook: A size appropriate for your yarn; a 4.0mm hook is recommended.
- Yarn Needle: For sewing on the bow and weaving in ends.
- Scissors

Finished Size & Customization Ideas
The finished wreath size depends mainly on the diameter of your ring and the thickness of your yarn, so changing either one will change the overall dimensions.
You can make a larger or smaller wreath by choosing a different ring size and adjusting your yarn weight. One important rule stays the same: the Green base round must contain an even number of stitches. The tutorial uses 28 dc stitches.
For extra decoration, change the bow color, sew a tiny bell into the center, or add small beads to the Green base to resemble miniature wreath ornaments.
Pattern Abbreviations & Terminology
- ch: Chain
- sl st: Slip Stitch
- dc: Double Crochet
- tr: Treble Crochet
- MR: Magic Ring
Modified Popcorn Stitch: Yarn over, insert the hook into the stitch, and pull up a loop to the height of a ch-2. Yarn over and pull through two loops. Repeat this process 4 more times in the same stitch until 6 loops are on the hook. Yarn over and pull through all 6 loops, then use a sl st/ch 1 to close the popcorn.
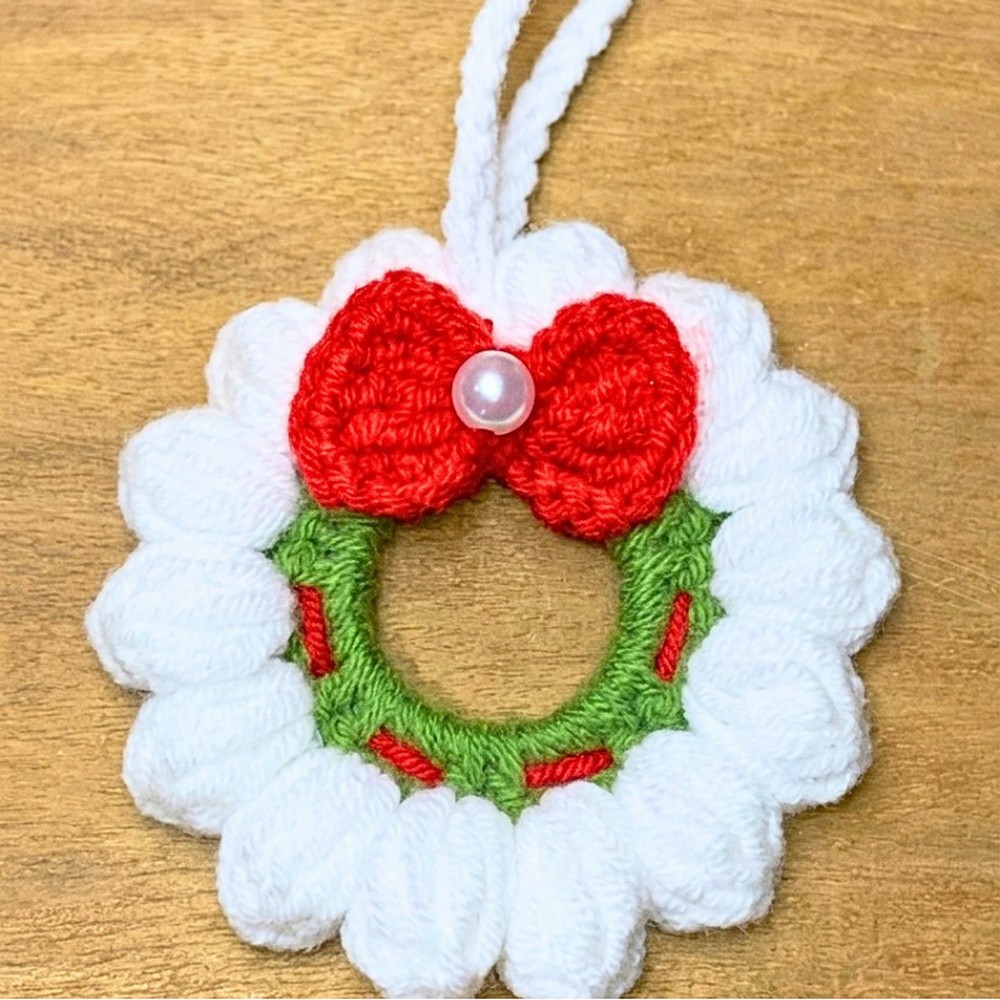
Crochet the Green Wreath Base
Step 1: Start with your ring. Make a slip knot on the hook and attach the Green yarn directly to the ring with a sl st.
Round 1: Ch 2, then work dc stitches evenly around the entire ring. Keep the stitches spread consistently around the ring rather than crowding them together or leaving large gaps. Make an even number of dc stitches; the tutorial uses 28 dc.
The even stitch count is important because the White border alternates between popcorn stitches and the spaces between them. If your stitch count is odd, the repeating border will not line up correctly at the end.
Step 2: Sl st into the top of the first stitch to join the round.
Step 3: Fasten off and cut the Green yarn.

Add the White Popcorn Border
Attach the White yarn with a sl st into the first dc of the Green base.
Round 2: Ch 2. In the next stitch, work the modified popcorn stitch by repeating (yarn over, insert hook into the stitch, pull up a loop to the height of the ch 2, yarn over, pull through two loops) 5 times in the same stitch until 6 loops are on the hook; yarn over and pull through all 6 loops, sl st to close the popcorn, ch 3, then sl st into the next stitch. Repeat (ch 2, popcorn in next st, close popcorn, ch 3, sl st in next st) all the way around the wreath.
Keep the popcorn stitches consistent in height as you work. The ch-3 sections between them create the small open spaces that separate the fluffy White bumps around the wreath.
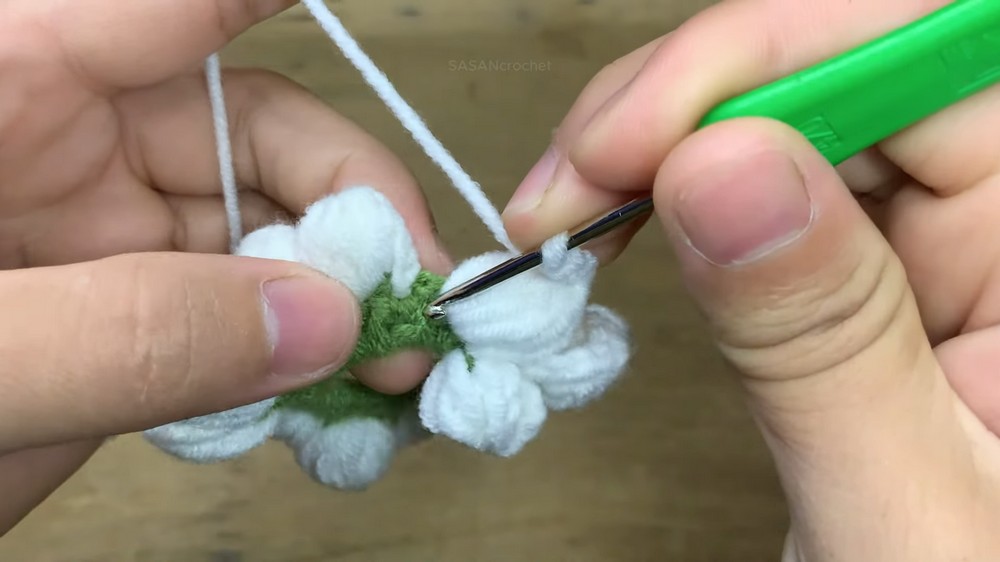
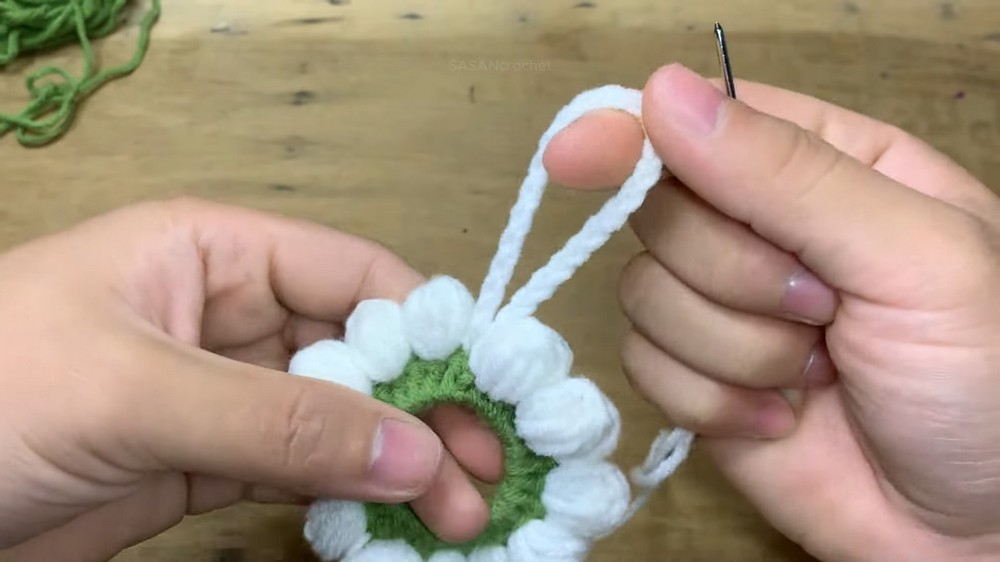
Hanging Loop: After completing the popcorn border around the entire ring, chain a long strand to form the hanging loop and sl st back into the base to secure it. Fasten off and weave in the White yarn ends.
Position the loop at the top of the wreath before adding the bow so you know exactly which side will be the top.
Crochet the Red Bow
Step 1: With Red yarn, create a MR.
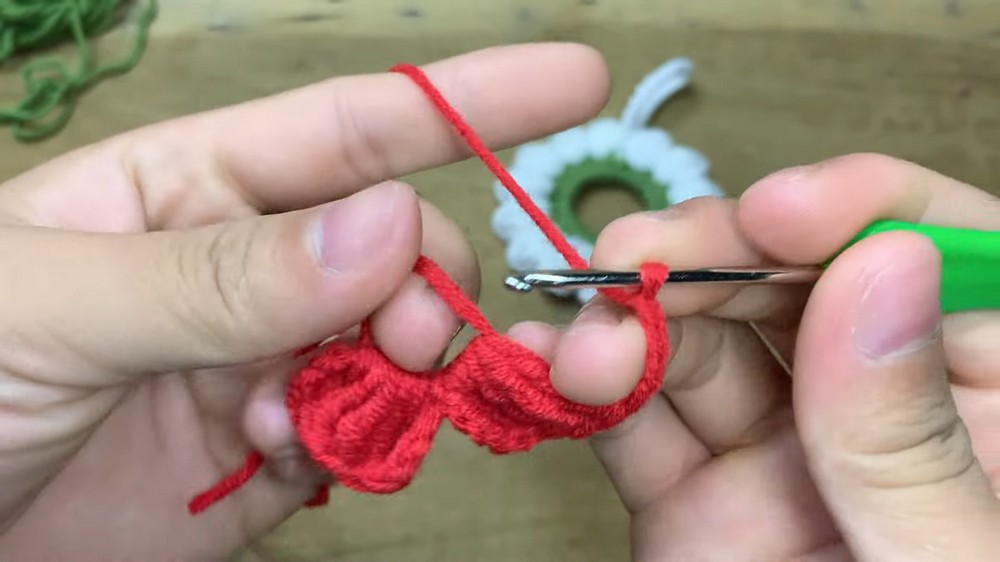
First Half of Bow: Ch 4, work 5 tr into the MR, ch 4, then sl st into the MR.
Second Half of Bow: Ch 4, work 5 tr into the MR, ch 4, then sl st into the MR.
Step 2: Pull the MR tail tightly to close the center. Wrap the yarn tail firmly around the middle of the bow several times to form the center knot. Tie off securely at the back, leaving a long tail for sewing.
The two groups of treble stitches form the bow loops, while the wrapped center pulls them together into a defined little bow.
Attach the Bow
- Thread the long Red yarn tail from the bow onto a yarn needle.
- Find the bottom center of the wreath, directly opposite the hanging loop.
- Position the Red bow there, allowing it to sit across both the Green base and the White popcorn border.
- Sew the bow securely into place through the crocheted layers.
- Weave in any remaining loose ends and trim the excess yarn.
Checking the bow against the hanging loop before sewing helps you find the true bottom center, especially if your stitches around the ring are slightly uneven.