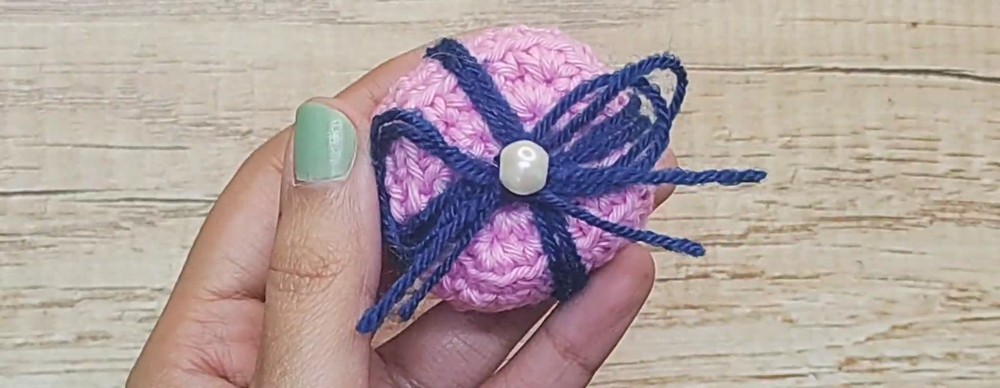
Crochet mini gift boxes with crisp cube shaping, strategic decreases, and contrasting yarn bows for festive ornaments, garlands, keychains, or holiday displays.
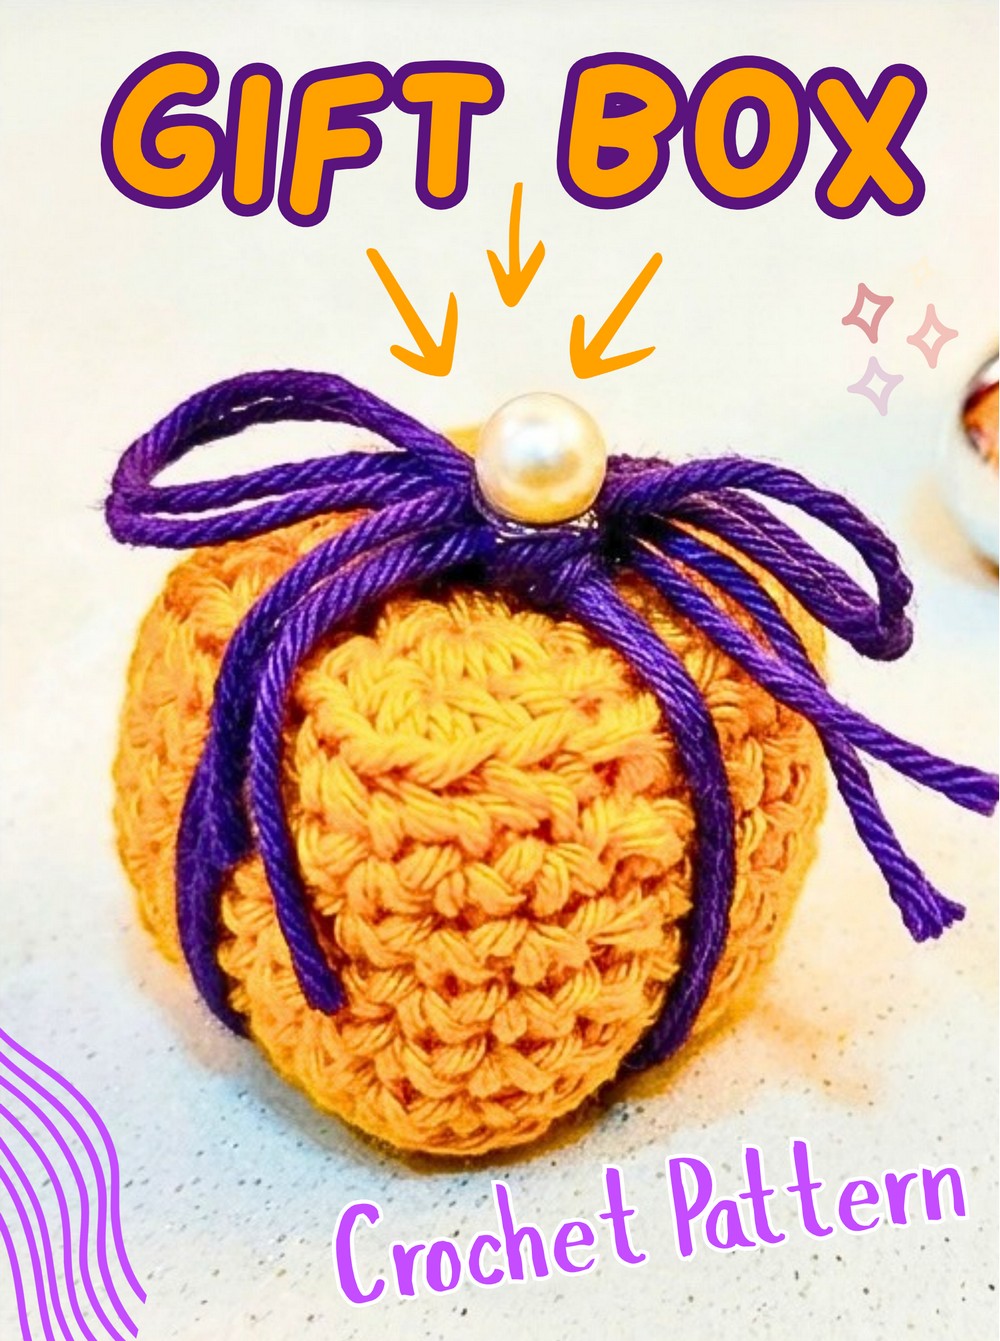
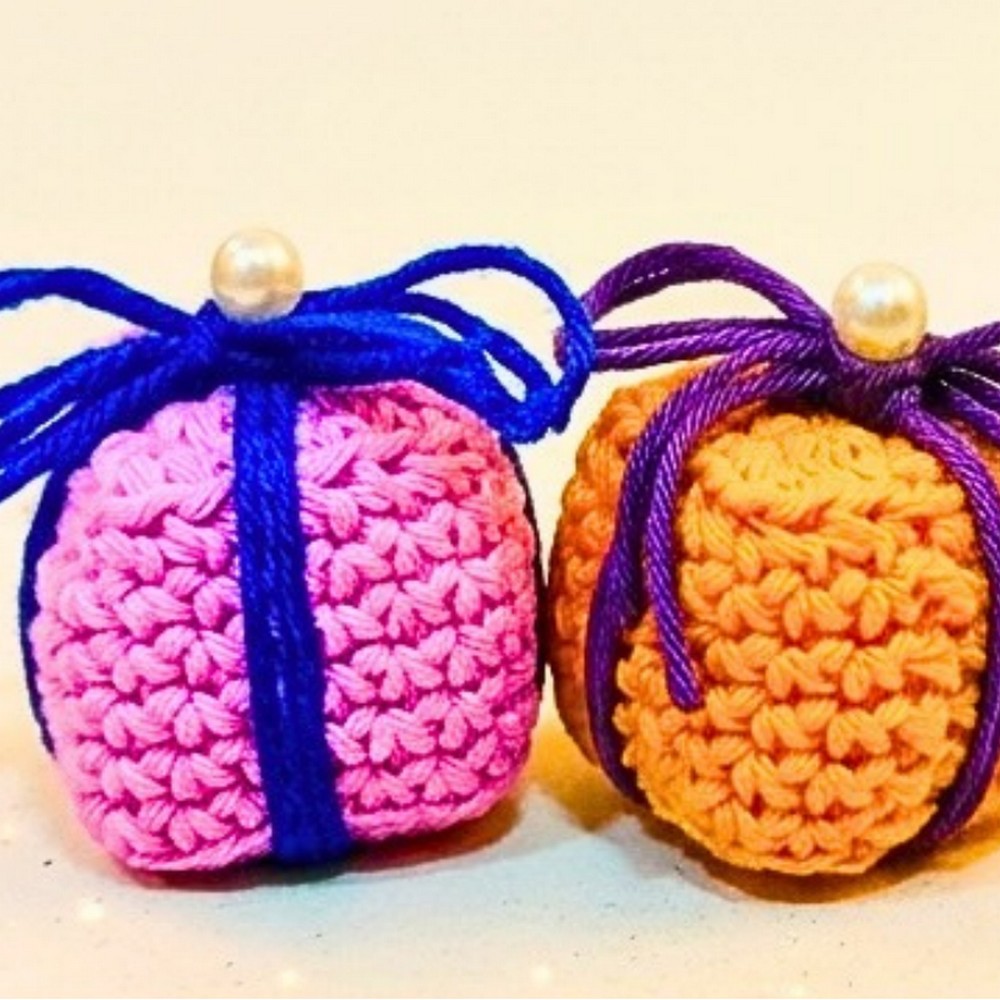
Mini crochet gift boxes bring classic wrapped-present charm into tiny handmade decor, with crisp square sides, defined corners, and contrasting yarn ribbon wrapped around each cube. Their small size makes them especially useful for crochet Christmas displays, ornaments, garlands, and keychain accessories.
Cube crochet shape comes from four marked corners, followed by BLO rounds that create an edge and straight side walls. Keep markers positioned carefully during increases and decreases, then stuff firmly before closing the bottom so corners stay defined instead of becoming rounded.
Credit YarnIt Crochet
Materials & Tools Needed
- Yarn: Cotton yarn in main box color, plus contrasting color such as dark blue for ribbon
- Stuffing: Scrap yarn or fiber filling
- Crochet Hook: 3.5 mm, or size suitable for chosen yarn
- Stitch Markers: 4; bobby pins, safety pins, or scrap thread can also work
- Tapestry / Yarn Needle: For closing bottom and hiding yarn tail
- Scissors
Finished Size & Customization Ideas
Finished box measures approximately 1.5-2 inches, depending on yarn weight. Its compact cube shape works well for Christmas tree ornaments, keychain accessories, or festive garlands.
For extra sparkle, try metallic or sparkly yarn for ribbon. Add small crochet loop or metal ornament hook at top for hanging.
Small embroidered details can also be added onto side panels before stuffing, giving each gift box its own decorative style.
Pattern Abbreviations
- MR: Magic Ring
- ch: Chain
- st(s): Stitch(es)
- sl st: Slip Stitch
- sc: Single Crochet
- 3 sc in same st: 3-single-crochet increase used to form each corner
- sc3tog: Single Crochet 3 Together, worked across 3 stitches as decrease
- BLO: Back Loop Only
- Both loops: Work hook under both front and back loops of stitch
Round Note: At end of every round except final round, join with sl st into first sc, then ch 1. Ch 1 does not count as stitch.
Top of Cube Pattern
Round 1
Create MR, work 8 sc inside ring, pull yarn tail to close ring tightly, join with sl st to first sc, ch 1. (8 sts)
Round 2
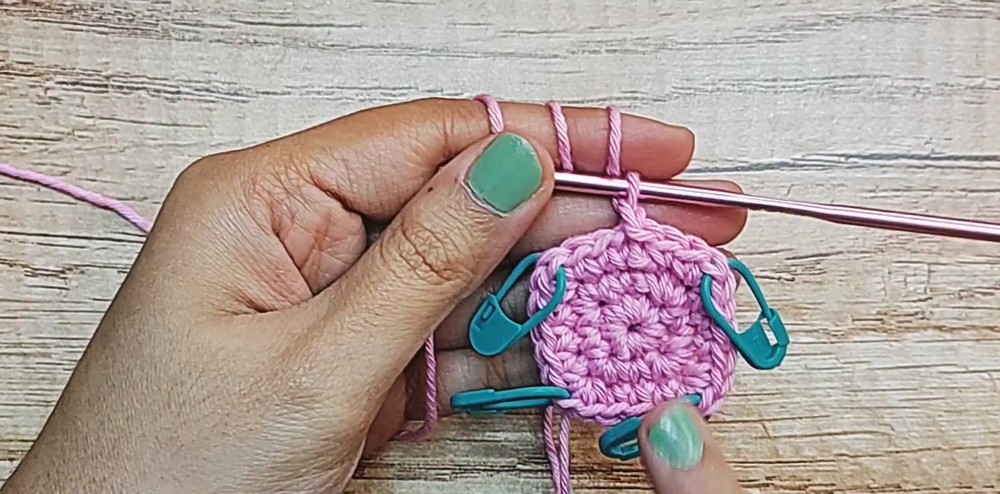
1 sc in first st; in next st, work 3 sc in same st and mark middle, second sc, with stitch marker to establish first corner; repeat [1 sc in next st, 3 sc in same st, mark middle sc] 3 times total; join with sl st to first sc, ch 1. (16 sts)
You should now have 4 marked corner stitches. Keep each marker in its middle corner stitch, since these points guide shaping during next round.
Round 3
1 sc in each of first 2 sts; work 3 sc in marked corner st and move marker to new middle sc; repeat [1 sc in each of next 3 sts, 3 sc in next marked st, move marker to middle sc] 3 times total; work 1 sc in final st; join with sl st to first sc, ch 1. (24 sts)
Four corner increases now create square foundation for cube walls. Check marker positions before moving on.
Sides of Cube
Round 4 -Forming Edge
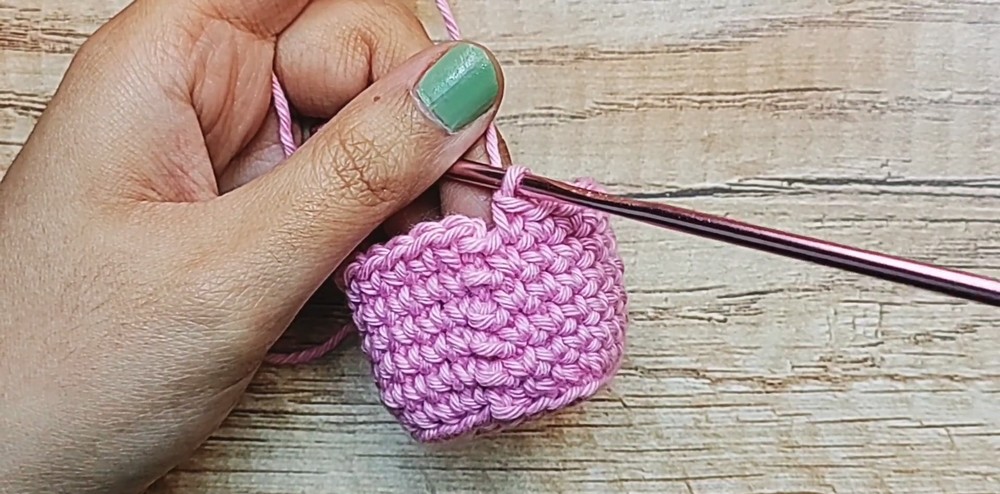
Working BLO throughout, 1 sc in every stitch around; join with sl st to first sc, ch 1. (24 sts)
Stitch markers can be removed during this round because corner shaping has already been established. Working BLO creates defined edge where top and side sections meet.
Rounds 5-9 – Side Walls
Working through both loops normally, 1 sc in every stitch around; join with sl st to first sc, ch 1 at end of each round. (24 sts each round)
Five rounds are worked here. Including Round 4, side section contains 6 rounds total.
Keep stitch count at 24 throughout. Consistent tension helps side walls remain even and gives cube its structured shape.
Bottom of Cube
Bottom Marker Setup
Before Round 10, identify four bottom corners with stitch markers.
Skip first 4 sts and place marker in 5th st; skip 5 sts and mark 6th st; repeat twice more until 4 marked stitches are positioned with exactly 5 unmarked stitches between each marker.
Check marker spacing before beginning decrease round. Even placement helps all four corners close at similar rates.
Round 10 – First Bottom Decrease
Working BLO throughout, 1 sc in each of first 3 sts; stop one stitch before marker; work sc3tog over next 3 sts, using stitch before marker, marked stitch, and stitch after marker, then mark newly formed sc3tog; repeat [1 sc in each of next 3 sts, sc3tog over next 3 sts and mark decrease] 3 times total; join with sl st to first sc, ch 1. (16 sts)

Stuff Cube
Firmly stuff cube with fiber filling or scrap yarn before opening becomes too small.
Push stuffing gently into each corner so finished shape remains sharp and square. Add enough filling to support cube walls without forcing stitches apart.
Round 11 – Final Decrease
Working through both loops, skip first st; make 1 sc in second st, then work sc3tog over next 3 sts, using stitch before marker, marked stitch, and stitch after marker; move marker to first sc worked in this round; repeat [1 sc in next st, sc3tog over next 3 sts] around; final sc3tog uses last stitch, corner, and first skipped stitch; join with sl st to first st. (8 sts)
This final decrease closes remaining opening. Take care with first skipped stitch, since it becomes part of final decrease sequence.
Finishing Cube
Fasten off, leaving long yarn tail.
Thread tail onto tapestry needle and weave through loops of remaining 8 stitches. Pull firmly to cinch opening completely flat.
Secure with small knot, then hide yarn tail safely inside cube.
Check all four corners after closing. If one side looks softer or less defined, gently adjust stuffing from outside before hiding final tail.

Add Contrasting Yarn Ribbon
Use contrasting dark blue yarn, or another chosen color.
Step 1: Double yarn strand to create thicker, more visible ribbon. Cut generous length with both ends equal.
Step 2: Wrap doubled yarn around finished cube, crossing ribbon flat underneath and bringing ends upward along adjacent sides to imitate wrapped gift parcel.
Step 3: Tie secure, neat bow at center of top.
Step 4: Trim trailing ribbon ends to preferred length.
For hanging ornament, add small crochet loop or metal ornament hook at top after ribbon has been secured.

Decorating & Display Ideas
Use several box colors with different ribbon shades for mixed Christmas displays. Metallic ribbon yarn can give miniature boxes festive sparkle, while embroidered side details can make each box look like its own tiny wrapped present.
Finished cubes can be displayed individually, grouped together as miniature presents, added to festive garlands, or adapted with hanging loops for Christmas tree decoration.