
This sweet crochet bunny combines soft white yarn, floppy ears, and a colorful tulip into one charming handmade companion, with step-by-step guidance for each crocheted piece.

Soft white yarn, long bunny ears, and bright tulip petals give this crochet bunny its gentle, playful character. Beginners can approach crochet more confidently by working through separate pieces before joining them into one finished figure.
This crochet pattern guides you through shaping the head and body, crocheting matching ears and arms, and creating tulip flower with a supported stem. Follow each section to prepare pieces for assembly and finish your handmade bunny.
Credit Chikorita Crochet
Materials & Tools
- White Yarn: For the bunny’s head and body.
- Pink or Colored Yarn: For tulip petals and decorative accents.
- Accent Yarn: For cheeks or additional facial details, if desired.
- Crochet Hook: Approximately 2.0–2.5 mm, depending on yarn thickness.
- Fiberfill Stuffing: To shape the head, body, and optional cheeks.
- Craft Wire: Approximately 20 cm for supporting the tulip stem.
- Yarn Needle: For joining pieces and hiding yarn tails.
- Stitch Markers: To track round beginnings and stitch counts.
- Scissors: For trimming yarn.

Wire safety: Keep wire ends covered and securely enclosed inside the crocheted stem. Avoid leaving sharp ends exposed, especially if the finished toy will be handled by children.
Finished Size & Customization
This small amigurumi bunny suits a desktop display, workspace decoration, or handmade keychain-style charm. Final dimensions depend on yarn weight, hook size, and stitch tension.
For a personalized finish, use pastel yarn for the bunny or tulip petals. Adjust the craft wire length to change how upright or flexible the flower appears, while keeping all wire ends safely concealed.
Pattern Abbreviations
- MR: Magic Ring
- ch: Chain
- sc: Single Crochet
- hdc: Half Double Crochet
- dc: Double Crochet
- inc: Increase; work 2 sc in the same stitch
- dec: Decrease; work 2 sc together
- dec3 / tr-dec: Triple Decrease; work 3 stitches together into 1
- BLO: Back Loop Only
- sl st: Slip Stitch
- Rnd / Row: Round or Row
Step-by-Step Crochet Pattern
1. Head (White Yarn)
Work in continuous spiral rounds unless joining with a sl st.
R1: 6 sc into MR (6)
R2: 6 inc (12)
R3: [1 sc, inc] × 6 (18)
R4: [1 sc, inc, 1 sc] × 6 (24)
R5: [3 sc, inc] × 6 (30)
R6–R9: 30 sc (4 rounds) (30)
R10: 7 sc, 7 inc, 1 dec, 7 inc, 7 sc (43)
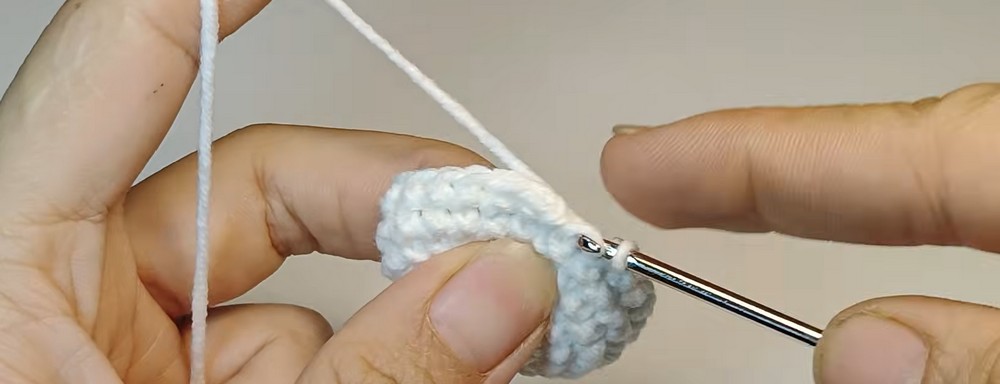
(Creates cheek fullness)
R11: 5 sc, 1 dec, 29 sc, 1 dec, 5 sc (41)
R12–R14: 41 sc (3 rounds) (41)
R15: 5 sc, 7 dec, 1 dec3, 7 dec, 5 sc (25)
R16: [3 sc, dec] × 5 (20)
R17: [1 sc, dec, 1 sc] × 5 (15)
Insert safety eyes between R9 and R10, spaced about 7–8 stitches apart centered over the nose area.
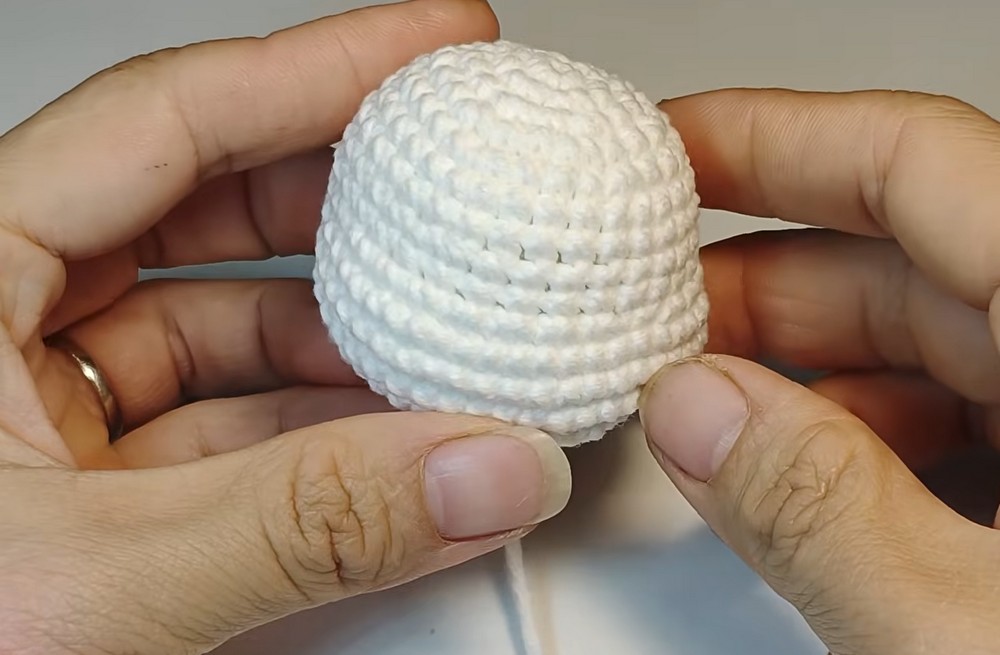
Stuff the head firmly with fiberfill, ensuring cheeks are evenly rounded.
Fasten off and leave a tail for securing if needed.
2. Body (White Yarn)
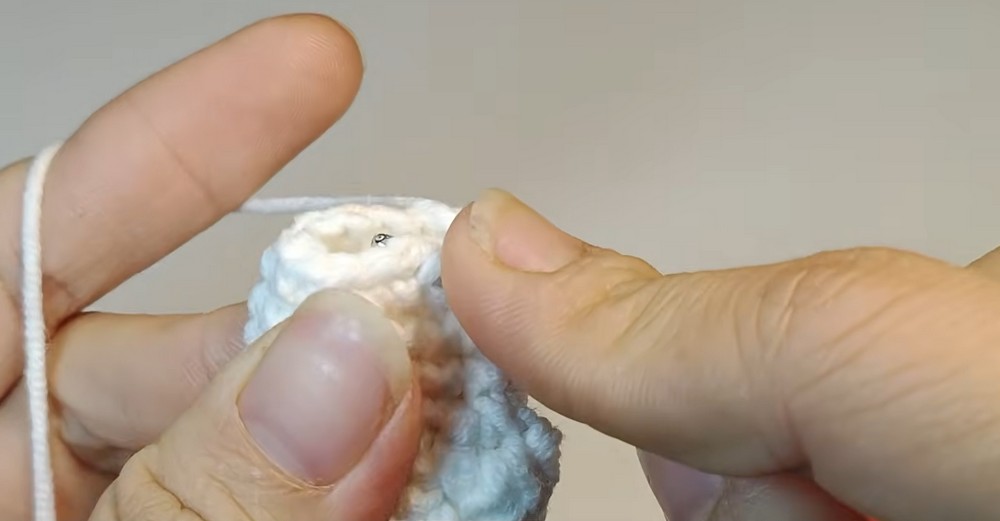
R1: 6 sc into MR (6)
R2: 6 inc (12)
R3: [3 sc, inc] × 4 (20)
(Worked as standard 4-corner oval/rounded base expansions)
R4: [2 sc, inc, 2 sc] × 4 (24)
R5–R6: 24 sc (2 rounds) (24)
R7: [2 sc, dec, 2 sc] × 4 (20)
R8–R10: 20 sc (3 rounds) (20)
R11: [3 sc, dec] × 4 (16)
R12: 1 dec, 14 sc (15)
Stuff firmly with fiberfill. Fasten off, leaving a long yarn tail for sewing to the head.
3. Legs (Make 2, White Yarn)
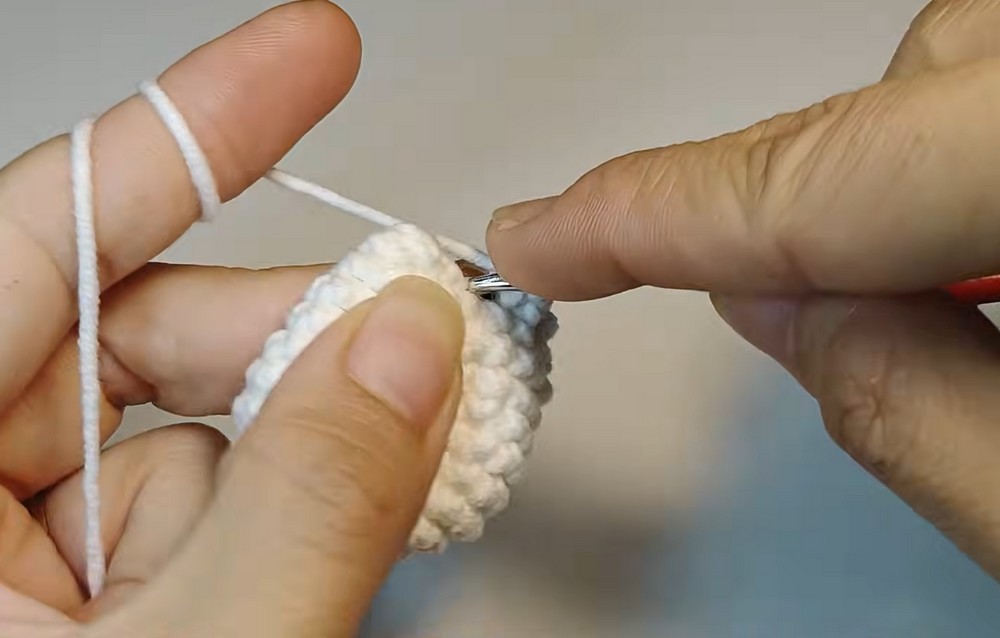
R1: 6 sc into MR (6)
R2: 6 inc (12)
R3: [1 sc, inc] × 6 (18)
R4: BLO: 18 sc (18)
(Creates flat bottom edge of the foot)
R5: 18 sc (18)
R6: 6 sc, 3 hdc-dec, 6 sc (15)
R7: 6 sc, 1 dec3, 6 sc (13)
R8–R10: 13 sc (3 rounds) (13)
R11: [1 sc, dec] × 4, 1 sc (9)
Stuff the foot firmly and the upper leg lightly. Fasten off, leaving a long tail for sewing.
4. Arms (Make 2, White Yarn)
R1: 6 sc into MR (6)
R2–R7: 6 sc (6 rounds) (6)
Do not stuff (or stuff only the bottom tip very lightly). Flatten the opening and fasten off, leaving a tail for attachment.
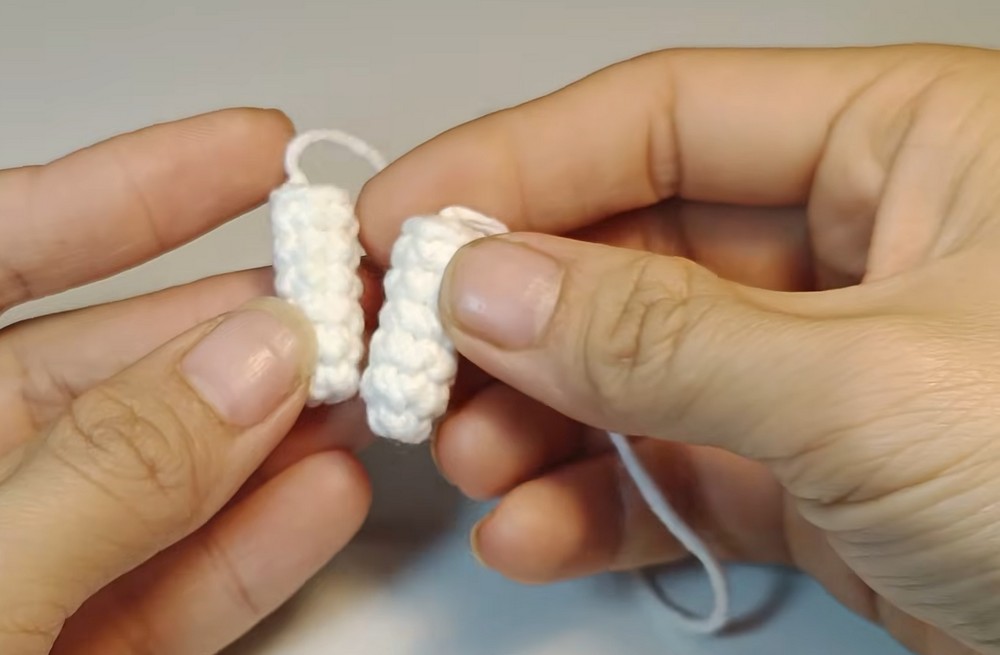
5. Wired Ears (Make 2, White Yarn)
Take ~20 cm of thin craft wire and fold it into an elongated U-shape matching the ear’s length.
Foundation: Ch 19, turn.
R1: Starting in 2nd ch from hook, hold wire along the edge and crochet stitches over the wire:
5 sc, 4 hdc, 5 dc, 3 hdc, 3 sc in the final ch.
Rotate around to the opposite side of the chain:
3 hdc, 5 dc, 4 hdc, 5 sc.
R2: 37 sc around the entire outer perimeter, encasing the wire securely.
Fasten off, weave in ends, and leave excess bottom wire to insert into the head.
6. Collar / Frill
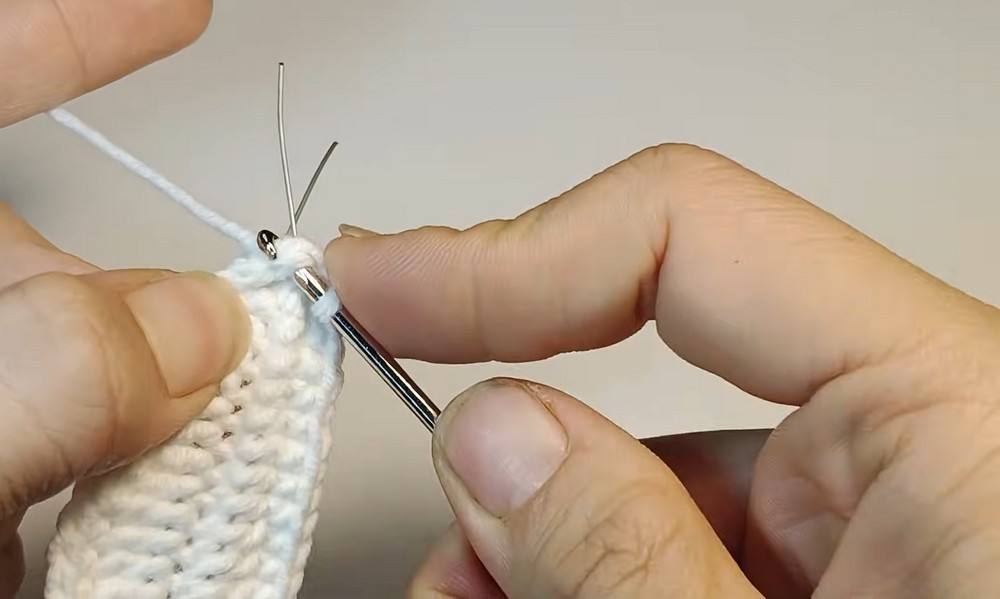
R1: Ch 30.
R2: Starting in 2nd ch from hook: 27 sc, 3 sc in the corner turning point; rotate down bottom loops: 28 sc.
R3: [1 sc, 1 inc, 1 sc, 1 hdc, 8 dc, 1 hdc, 1 sc, 3 sl st, 1 sc, 1 hdc, 8 dc, 1 hdc, 1 sc, 1 inc] × 2.
Fasten off and weave in ends.
7. Tulip Flower (Pink or Red)
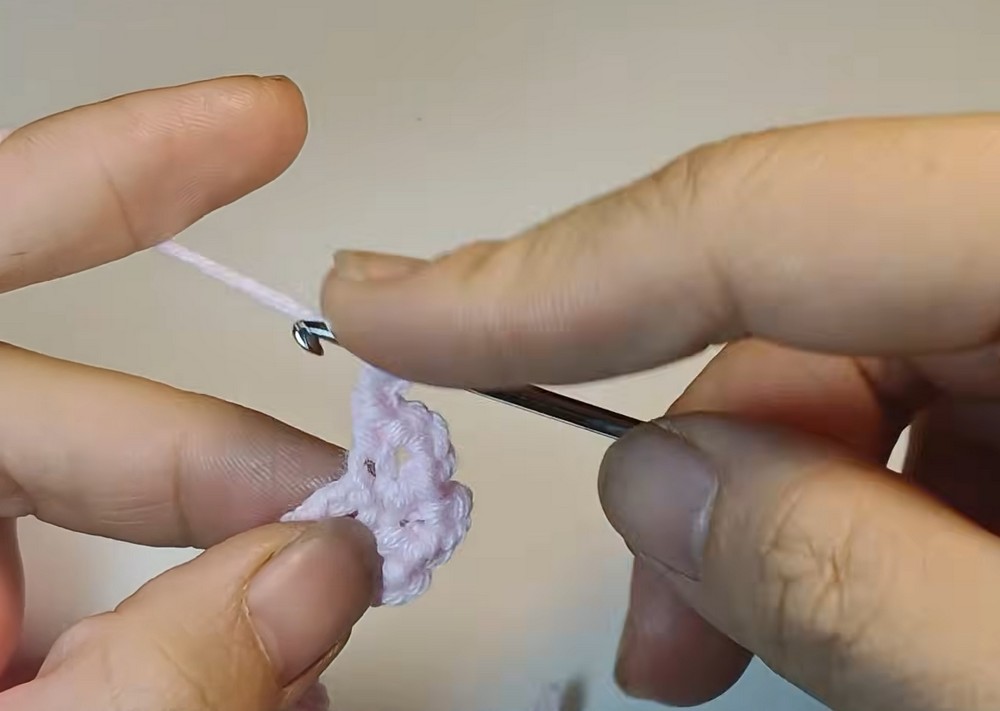
R1: 6 sc into MR (6)
R2: 6 inc (12)
R3: [1 sc, inc] × 6 (18)
R4–R10: 18 sc (7 rounds) (18)
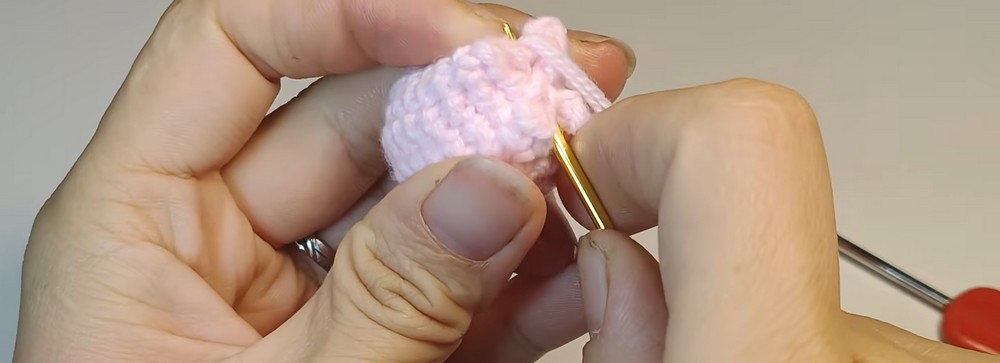
Fasten off with a long tail. Stuff cylinder lightly.
Closing Petals: Pinch top opening flat into two halves and take a stitch through the center; then pinch perpendicular corners together toward the center and secure with stitches to form a cross (+), creating 4 plump tulip petal points.
8. Tulip Leaf (Light Green)
Foundation: Ch 8.
Working around both sides of chain:
Side 1: 1 sl st, 1 sc, 1 hdc, 2 dc, 1 hdc, 1 sc, ch 2.
Side 2 (opposite loops): 1 sc, 1 hdc, 2 dc, 1 hdc, 1 sc, 2 sl st.
Fasten off, leaving a tail to attach to the flower base.
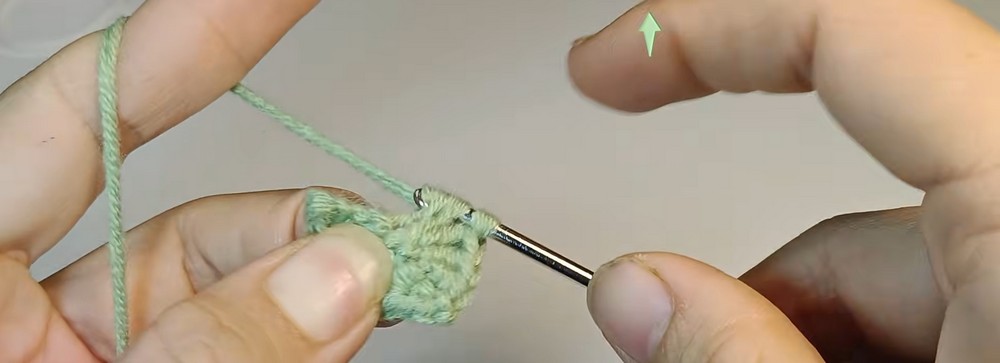
9. Head Garland / Ribbon
R1: Ch 25.
R2: 1 sc in 2nd ch from hook, [ch 3, 1 sc in next st] × 24.
Fasten off and trim tails.
Assembly Steps
Head to Body: Align neck stitches (both 15 st) and sew together securely, adding extra stuffing to neck area before closing if needed.
Ears: Poke the wire ends into the top of the head between R3 and R4, then sew the ear base flat onto the head.
Legs: Sew legs onto the lower sides of the body so the bunny can sit upright.
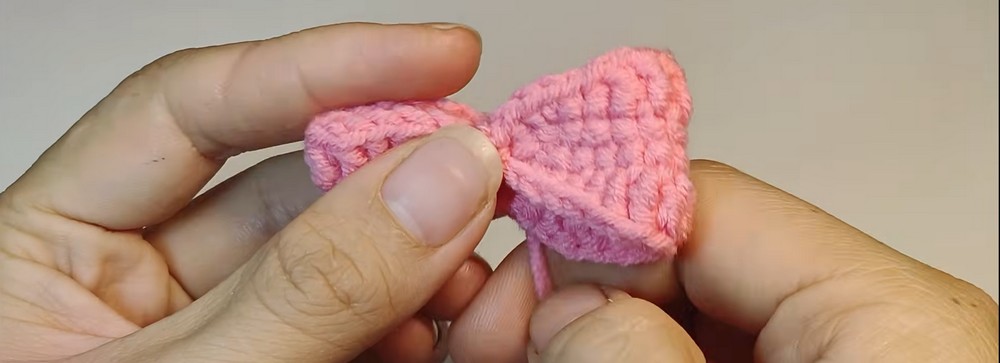
Collar & Headband: Wrap collar around the neck and tack with thread; wrap garland over the head between ears.
Arms & Tulip: Sew the arms to the sides of the body at shoulder level, positioned forward to clasp around the finished tulip and leaf.
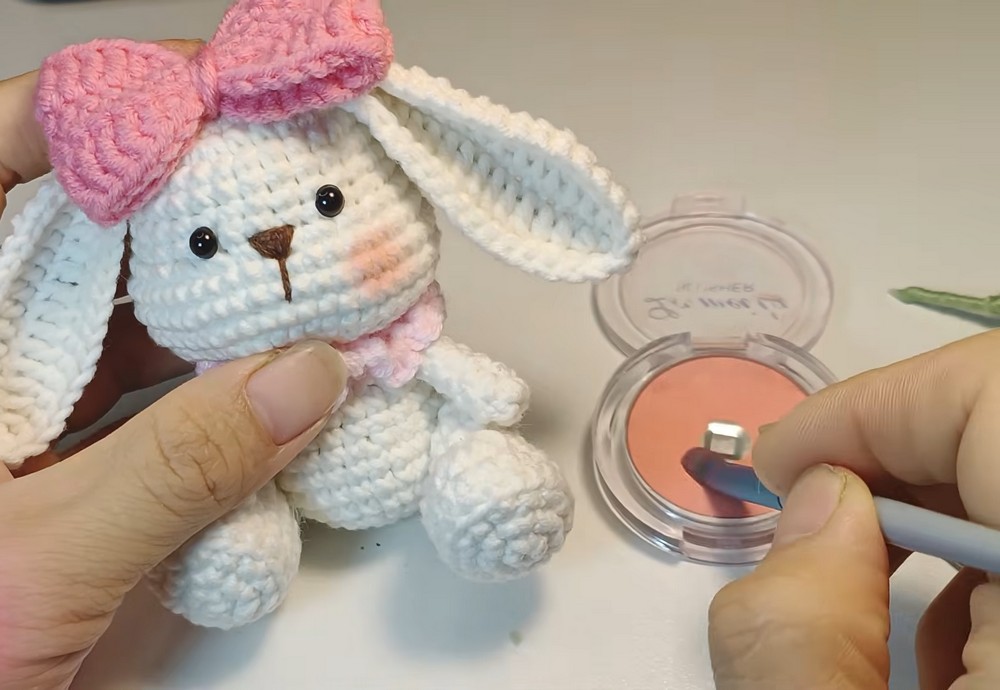
Finishing Details: Embroider a small pink nose between the eyes and apply powder blush to the cheeks.



One Comment