
Want a sweet Valentine’s Bunny to crochet? This palm-sized cream bunny holds a pink heart and flower, making a charming handmade gift or seasonal decoration.

Soft cream yarn, a tiny pink heart, and a flower tucked against one ear give this crochet Bunny an especially sweet look. Its small size makes it easy to display on a shelf, gift with a Valentine’s treat, or keep as a cheerful little handmade companion.
Starting with two simple ears and legs, you’ll gradually bring the crochet pieces together into the bunny’s head and body before adding the arms, heart, flower, and embroidered face. The tutorial keeps the joining points clear so you can see where each piece connects, while the finished crochet design can also be enlarged with thicker yarn and a 5.0 mm hook.
Credit Crochet with ice
Materials & Tools Needed
- Yarn: Medium/Worsted weight yarn in:
- Cream for the bunny
- White for the flower
- Brown for the embroidered eyes and nose
- Green for the flower stem
- Pink for the heart
- Yellow for the flower center
- Crochet Hook: 3.5 mm
- Stuffing: Polyfill or toy stuffing
- Tools: Scissors, sewing needle or hot glue gun for attachments, and a stitch marker
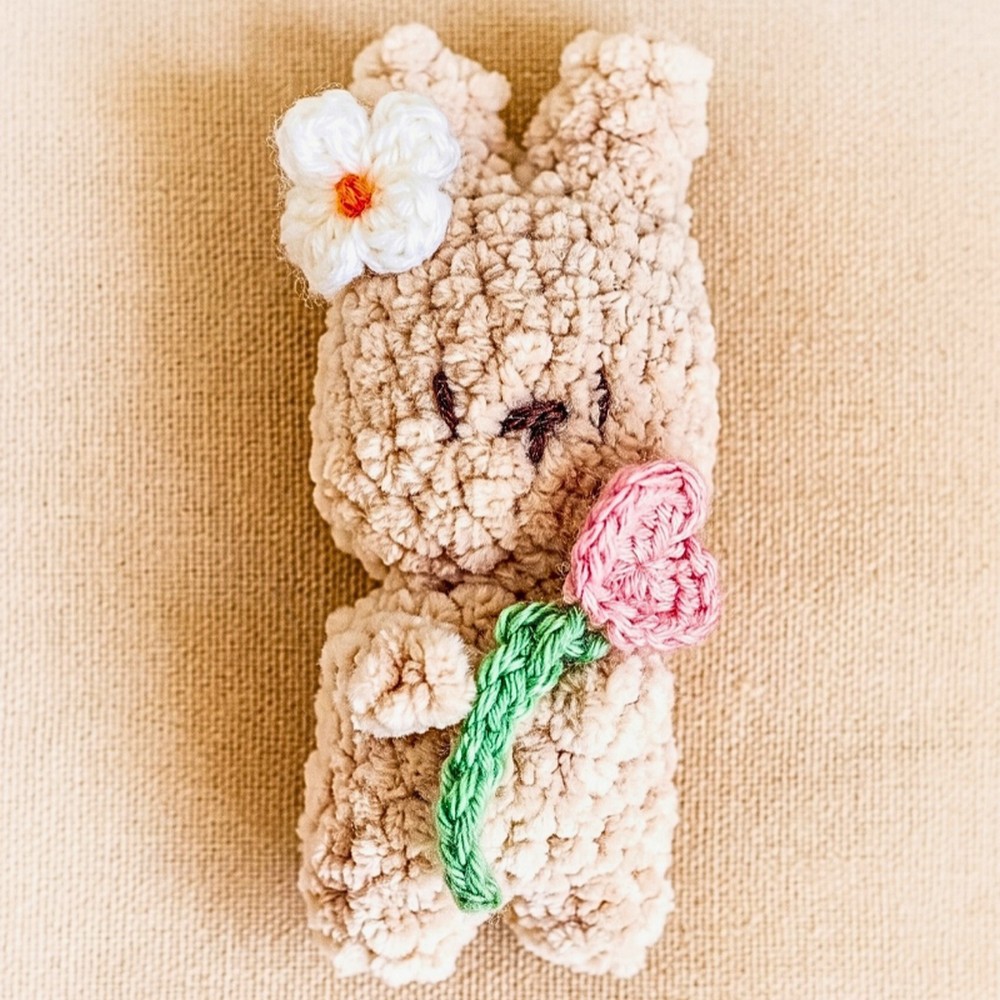
Finished Size & Customization
With a 3.5 mm hook and standard amigurumi yarn, the bunny comes out miniature and palm-sized. For a larger, chunkier version, switch to a 5.0 mm hook and thicker plush or velvet yarn.
Pattern Abbreviations
- MR – Magic Ring
- sc – Single Crochet
- hdc – Half Double Crochet
- dc – Double Crochet
- inc – Increase
- dec – Decrease
- sl st – Slip Stitch
- ch – Chain
- st(s) – Stitch(es)
- [ ] – Stitch count at the end of the round
Crochet Valentine’s Bunny Pattern
Ears – Make 2
Work both ears in Cream yarn. Keep the first ear’s yarn tail available for finishing, but leave the working yarn attached to the second ear because it continues directly into the head.
Rnd 1: Make a MR, work 6 sc into the ring, pull tight to close. [6]
Rnd 2: 6 sc around. [6]
Rnd 3: 6 sc around. [6]
Fasten off and cut the yarn on the first ear only. Leave the second ear attached.
Join the Ears and Shape the Head
The ear join is the point that creates the bunny’s two-eared silhouette. Insert your hook into any stitch of Rnd 3 on the first ear and make a sl st to connect it to the second ear.
Rnd 4: Sc into the same stitch where the joining sl st was made, sc in the remaining 5 sts of the first ear, sc into the side of the joining sl st, sc in the 6 sts of the second ear, then sc into the other side of the joining sl st. [14]

You should now have both ears connected with a small bridge between them. Keep the work oriented so the ear join remains easy to identify as you continue.
Rnd 5: 2 sc, 2 inc, 5 sc, 2 inc, 3 sc. [18]
Rnd 6: 18 sc around. [18]
Rnd 7: 18 sc around. [18]
Rnd 8: 3 sc, 2 dec, 6 sc, 2 dec, 3 sc. [16]
Rnd 9: 8 dec. [8]
Fasten off, leaving a yarn tail. Stuff the head firmly enough to hold its shape without stretching the stitches. The ears can remain lightly stuffed if you want them to stay softer and flatter.
Joining note: The tutorial’s Rnd 8 is intended to finish with 16 stitches. If your ear join was worked slightly differently and your count shifts, adjust the placement only enough to finish with the stated 16 stitches.

Legs – Make 2
Work both legs in Cream yarn.
Rnd 1: Make a MR, work 6 sc into the ring, pull tight to close. [6]
Rnd 2: 6 sc around. [6]
Fasten off the first leg. Leave the working yarn attached to the second leg, since it will be used to join the legs and begin the body.
Join the Legs and Crochet the Body
Insert your hook into any stitch of Rnd 2 on the first leg and make a sl st to connect it to the second leg. As with the ears, this joining point becomes part of the stitch count, so work carefully around both pieces.
Rnd 3: Sc into the same st where the joining sl st was made, sc in the remaining 5 sts of the first leg, sc into the side of the joining sl st, sc in the 6 sts of the second leg, then sc into the other side of the joining sl st. [14]
The two legs should now sit side by side with the body beginning directly above them.
Rnd 4: 14 sc around. [14]
Rnd 5: 14 sc around. [14]
Rnd 6: 14 sc around. [14]
Rnd 7: 7 dec. [7]
Fasten off, leaving a long tail for sewing. Stuff the body firmly while checking that the two legs remain evenly positioned.
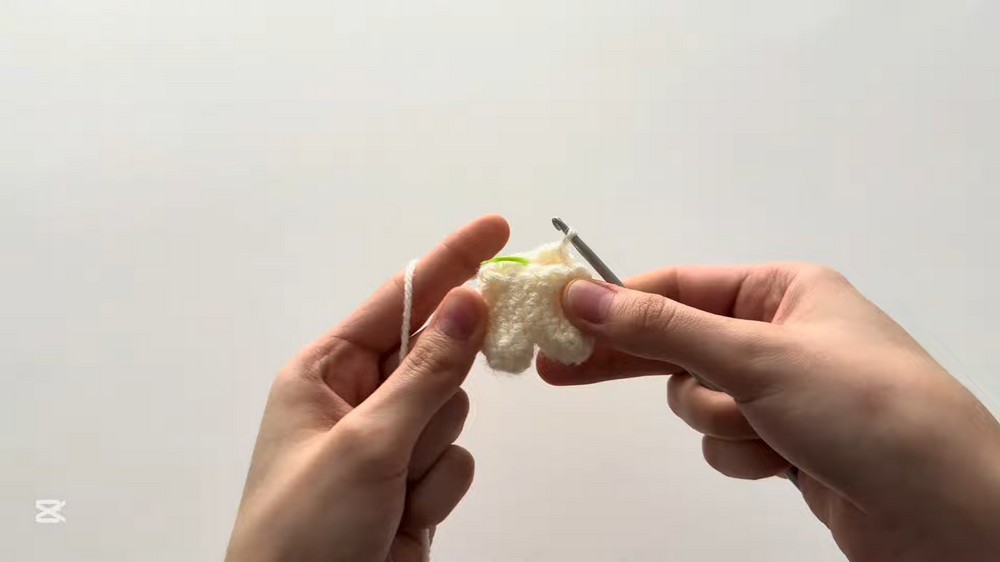
Arms – Make 2
Use Cream yarn.
Row 1: Ch 3, starting in the 2nd ch from the hook, work 1 hdc in the next ch and 1 hdc in the final ch. [2 hdc]
Fasten off, leaving a tail long enough to sew each arm to the body.

Flower
Use White yarn for the petals.
Five-Petal Flower
All five petals are crocheted into the same magic ring, so there is no need to make five separate petal pieces.
Petals: Make a MR, then repeat (ch 2, 2 dc into the ring, ch 2, sl st into the ring) four more times for a total of 5 petals.
Pull the magic ring tightly closed and fasten off.
Flower Center
Cut a piece of Yellow yarn and tie two knots directly on top of one another in the center of the strand. Pull both yarn ends through the center hole of the flower until the knot sits visibly on top as the flower center.

Flower Stem
Use Green yarn.
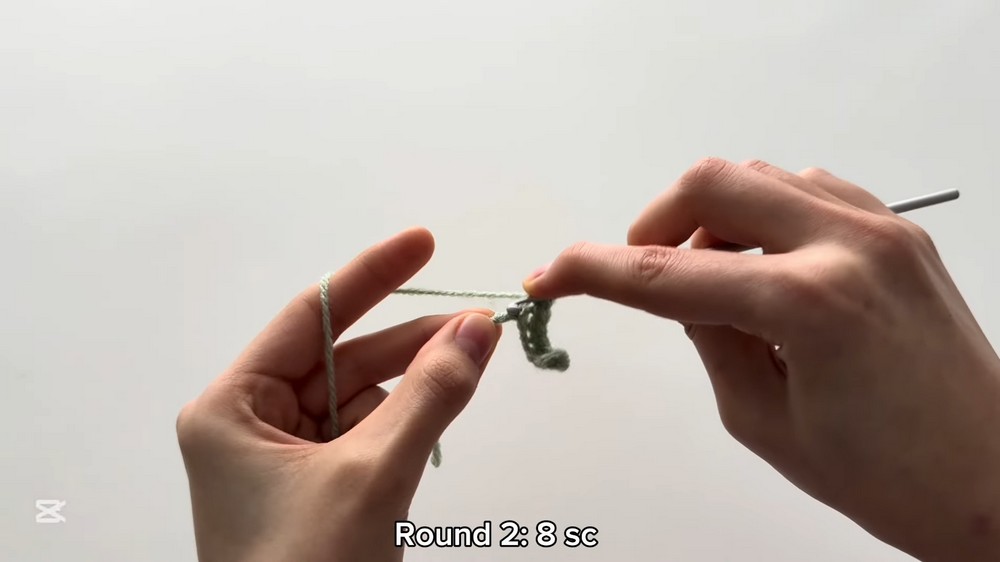
Row 1: Ch 9, starting in the 2nd ch from the hook, work 8 sc down the chain.
Fasten off, leaving a sewing tail.
Pink Heart
Use Pink yarn.
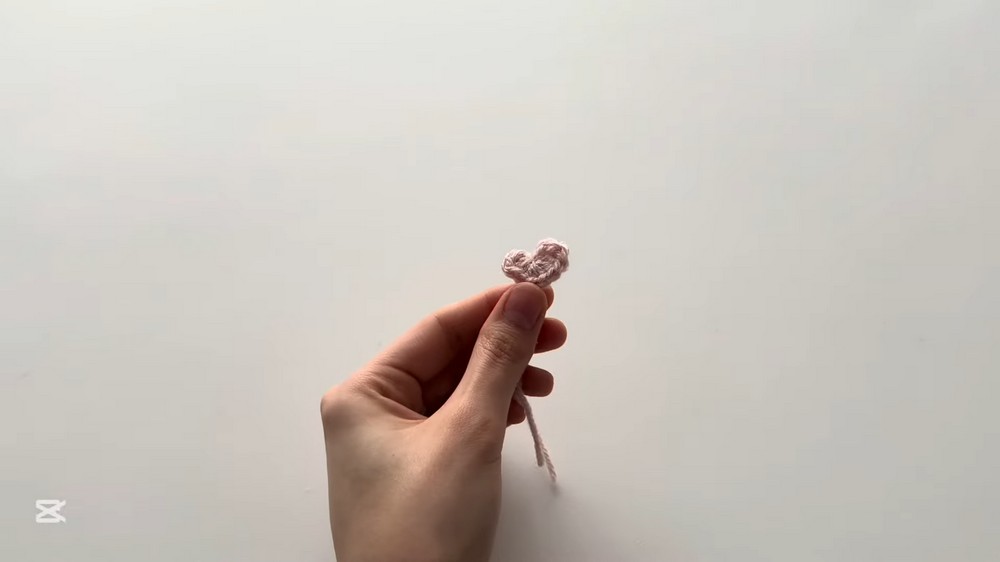
Rnd 1: Make a MR, ch 2, work 2 dc, 2 hdc, 1 dc, 2 hdc, 2 dc into the ring, then ch 2 and sl st into the ring.
Pull the magic ring tight. The stitches should gather into a small heart shape with the center dip visible at the top. Fasten off, leaving a tail for sewing.
Assembly
1. Add the Stem to the Heart
Lay the green stem vertically against the back of the pink heart. Sew it securely in place with a yarn needle, keeping the stem centered so the heart will sit neatly against the bunny.
2. Sew the Head to the Body
Use the long tail left from the body. Position the base of the head against the top of the body and whipstitch around the join, passing through one stitch of the body and the corresponding stitch of the head.
Work around the entire opening before tightening the final stitches. This gives the bunny a secure neck join without pulling one side higher than the other.
3. Attach the Arms
Sew one arm to each side of the body where the neck meets the body. Check the height of the first arm before attaching the second so they sit evenly.
Leave the excess yarn on the second arm available for the next step rather than weaving it in immediately.
4. Let the Bunny Hold the Heart and Flower
Place the heart and green stem diagonally or horizontally across the bunny’s belly, depending on the look you want from the finished piece.
Using the remaining yarn tail from the arms, pass the needle through the inner tip of one hand, behind the green stem, and into the inner tip of the other hand. Pull gently but firmly so both hands close together around the stem. Tie off securely.
The hands should hold the stem without pulling the arms too tightly against the body.
5. Sew on the Flower
Position the white flower on the front side of one bunny ear. Sew through the flower and ear several times until it feels secure.
Keep the flower slightly visible from the front rather than placing it too close to the edge of the ear.
6. Embroider the Face
Thread the needle with Brown yarn.
For the eyes, embroider two short vertical lines about one stitch tall, leaving a few stitches between them. Keep them at approximately the same height for a balanced expression.
For the nose, embroider a tiny T shape between the eyes.
Once the facial embroidery is secure and the remaining tails are hidden, gently reshape the head, ears, arms, and heart so the bunny sits neatly and the decorative pieces remain visible.



One Comment