Give your winter decorating a handmade touch with this rounded crochet snowman, complete with a ribbed beanie, a fluffy pom-pom, a carrot nose, a striped scarf, and button details that bring the character together.
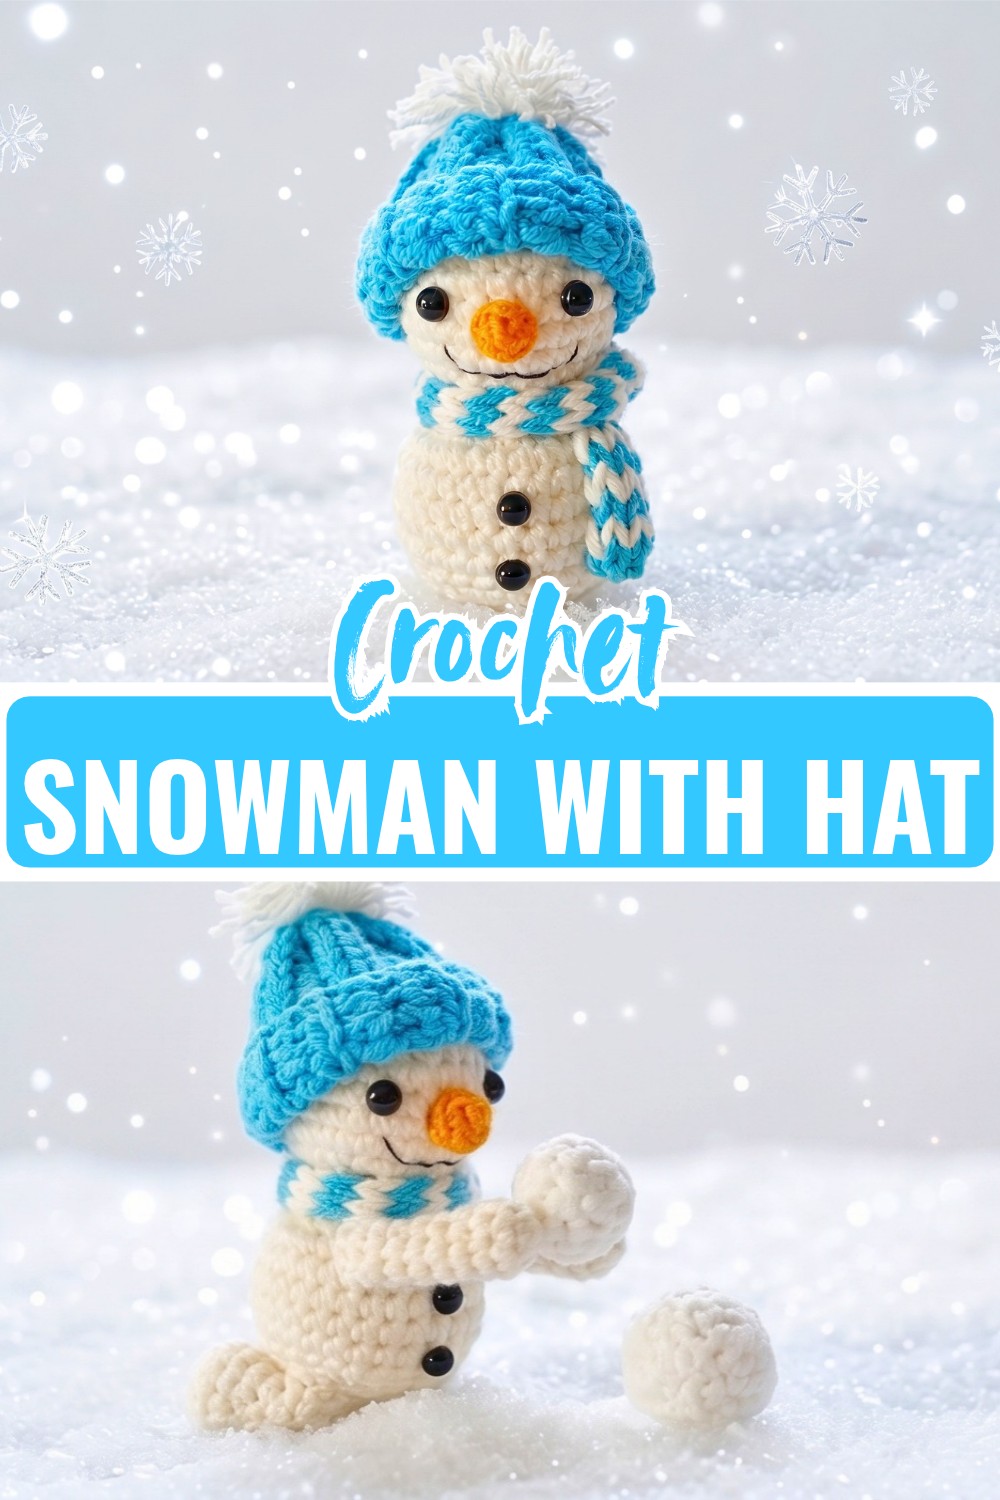
A snowman does not need a complicated construction to have plenty of personality. Here, the body and head are crocheted as one continuous piece, with a narrow section between the two rounded areas that naturally forms the snowman’s neck. Once the white shape is stuffed and closed, the hat, scarf, carrot nose, and facial details give it the finished crochet character.
The shaping is worth following carefully because the crochet pattern briefly decreases to create the neck before increasing again for the head. The hat also has its own construction sequence: it begins as a flat ribbed rectangle, then the short edges are joined, and the top is cinched. Taking a moment to understand these transitions before working them makes the assembly much easier and helps the finished snowman keep its proportions.
Credit Ada’s Handmade
Materials & Tools
- Fine or sport-weight cotton yarn:
- White: body and pom-pom
- Red, pink, or blue: beanie
- Orange: carrot nose
- Red and white: striped scarf
- 2.0–2.15 mm crochet hook, or size appropriate for your yarn
- Fiberfill stuffing
- Black 4 mm safety eyes or beads
- Black 4 mm beads for buttons
- Yarn needle
- Scissors
- Glue gun, if using glued facial details
- Tweezers, if helpful when positioning small pieces
Pattern Abbreviations
- MR: Magic Ring
- sc: Single Crochet
- inc: Increase, 2 sc in the same stitch
- dec: Decrease
- ch: Chain
- dc: Double Crochet
- BLO: Back Loop Only
- FLO: Front Loop Only
- sl st: Slip Stitch
- st(s): Stitch(es)

Steps: Crochet the Snowman Body and Head
Work the entire main piece in White yarn using continuous rounds. Do not join at the end of each round unless specifically stated.
Use a stitch marker to identify the beginning of each round.
Round 1: Work 6 sc into a MR. (6 sts)
Round 2: Work 1 inc in each stitch around. (12 sts)
Round 3: Repeat (1 sc, 1 inc) around. (18 sts)
Round 4: Repeat (2 sc, 1 inc) around. (24 sts)
Rounds 5–8: Work 1 sc in each stitch around for 4 rounds. (24 sts each round)
At this point, the first rounded section has reached its full width. The next two rounds begin narrowing it.
Round 9: Repeat (2 sc, 1 dec) around. (18 sts)
Round 10: Repeat (1 sc, 1 dec) around. (12 sts)

Important Shape Check
The stitch count has now reduced from 24 to 12 stitches. This is not the end of the snowman. The narrow area forms the transition between the two rounded sections, so do not stuff or close the piece here.
Round 11: Work 1 inc in each stitch around. (24 sts)
This sudden increase is intentional and begins forming the second rounded section.
Rounds 12–16: Work 1 sc in each stitch around for 5 rounds. (24 sts each round)
Round 17: Repeat (2 sc, 1 dec) around. (18 sts)
Before closing the piece, begin adding fiberfill.

Stuffing Tip
Add the stuffing gradually and shape the snowman as you go. The narrow section between the two rounded areas should remain visibly smaller than the surrounding sections. Avoid packing the stuffing so tightly that the neck transition disappears.
Round 18: Repeat (1 sc, 1 dec) around. (12 sts)
Round 19: Work 6 dec around. (6 sts)
Fasten off, leaving a yarn tail. Weave the tail through the front loops of the remaining 6 stitches, pull firmly to close the opening, and hide the yarn end inside.
Make the Ribbed Beanie
The hat is worked separately in the chosen accent color.
Foundation: Ch 14.
Row 1: Starting in the third chain from the hook, work 12 dc across, then ch 2 and turn. (12 sts)
Rows 2–11: Working in BLO, work 12 dc across, ch 2, and turn at the end of each row. (12 sts each row)
The repeated BLO rows create the ribbed texture that allows the hat to stretch around the snowman’s head.

Shape the Hat
Once the rectangle is complete:
- Fold the ribbed piece in half so the short edges meet.
- Sew or weave the short edges together with a yarn needle.
- You should now have a small tube.
- Weave yarn through the stitches around the top edge.
- Pull the yarn to cinch the top closed.
- Secure the closure firmly.
- Turn the hat right side out.
- Fold the lower edge upward to create the brim.
Hat Construction Tip
Make sure the ribbing runs vertically before you close the hat. If the rectangle becomes twisted during assembly, the ribs will not line up properly around the finished beanie.
Add the Pom-Pom
Use White yarn for the pom-pom.
- Wrap the yarn around your fingers approximately 15 times.
- Carefully remove the bundle while keeping the loops together.
- Tie another strand tightly around the center.
- Pass the securing yarn tails through the top of the hat.
- Tie them securely on the inside.
- Cut through the loops.
- Trim the ends evenly until the pom-pom has a neat round shape.
Pom-Pom Tip
Do not worry if the first trimming leaves the pom-pom slightly uneven. Trim a little at a time rather than cutting a large amount away, especially when working with a small hat.
Crochet the Carrot Nose
Use Orange yarn.
Round 1: Work 4 sc into a MR. (4 sts)
Round 2: Work 1 sc in each stitch around. (4 sts)
Fasten off, leaving a short tail for shaping and attachment.
The nose can be lightly shaped with the yarn tail before it is attached to the face.

Make the Striped Scarf
The scarf uses Red and White yarn.
Foundation: Ch 62 with Red yarn.
The scarf uses a two-color technique to create a striped appearance. Work across the foundation while alternating the Red and White strands according to the desired stripe placement, then continue until the scarf measures approximately 12–15 cm long.
Fasten off and trim the ends.

Color-Change Tip
Keep the unused color close to the work rather than pulling it tightly across the scarf. The scarf needs enough flexibility to wrap comfortably around the snowman’s neck.
Add the Face
Once the body is stuffed and closed, add the facial details.
Smile
Use black embroidery thread to stitch a small curved smile on the face.
Carrot Nose
Position the orange nose centrally above the smile and secure it with sewing or a small amount of craft glue.
Eyes
Place the two 4 mm black eyes or beads on either side of the nose.
Before permanently attaching them, check that they are at the same height. Even a one-stitch difference can be noticeable on a small face.
Add the Buttons
Place two 4 mm black beads vertically on the lower rounded section of the snowman.
Keep the spacing even and position the buttons along the center line of the body.
Placement Tip
Use the nose and smile as your visual center line. Looking at the snowman from the front while positioning the buttons helps keep the entire design aligned.
Dress the Snowman
Wrap the striped scarf around the narrow neck section.
Cross the ends and secure them with a simple knot.
Place the finished beanie over the head, adjusting the folded brim so it sits evenly.
The hat should cover the upper part of the head without hiding the eyes or pressing down heavily on the facial details.
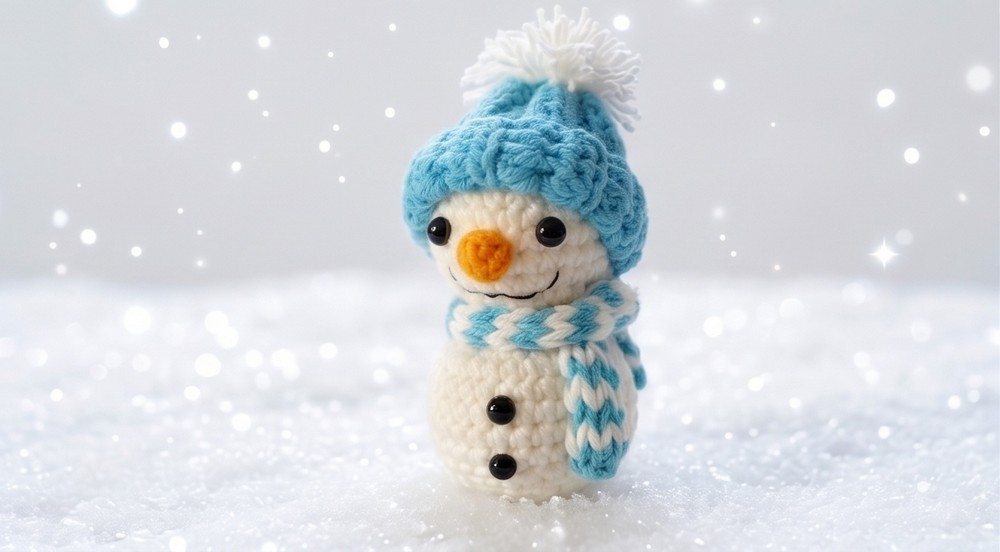
Finishing & Shape Check
Before calling the snowman finished, take a moment to check the overall proportions:
- The head should remain rounded and full.
- The neck should retain its narrower shape.
- The hat should sit level rather than leaning.
- The pom-pom should be securely attached.
- The eyes should be evenly positioned.
- The carrot nose should be centered.
- The buttons should form a straight vertical line.
- The scarf should sit around the neck rather than the widest part of the body.
If the body looks slightly uneven after stuffing, gently redistribute the fiberfill from the outside rather than adding more immediately.

Final Thoughts
The charm of this snowman comes from the combination of simple shaping and carefully placed accessories. The body establishes the rounded silhouette, while the ribbed beanie, pom-pom, striped scarf, carrot nose, and buttons provide the recognizable winter details.
Once the main shape is understood, the construction becomes quite manageable: crochet and stuff the body, make the hat and accessories separately, then bring everything together with careful placement. The result is a small handmade snowman with plenty of character and a distinctly cozy winter feel.