Need a tiny crochet bee for keys or bags? This cheerful pattern combines simple color changes, a compact body, little wings, and easy finishing details for a lightweight handmade charm.
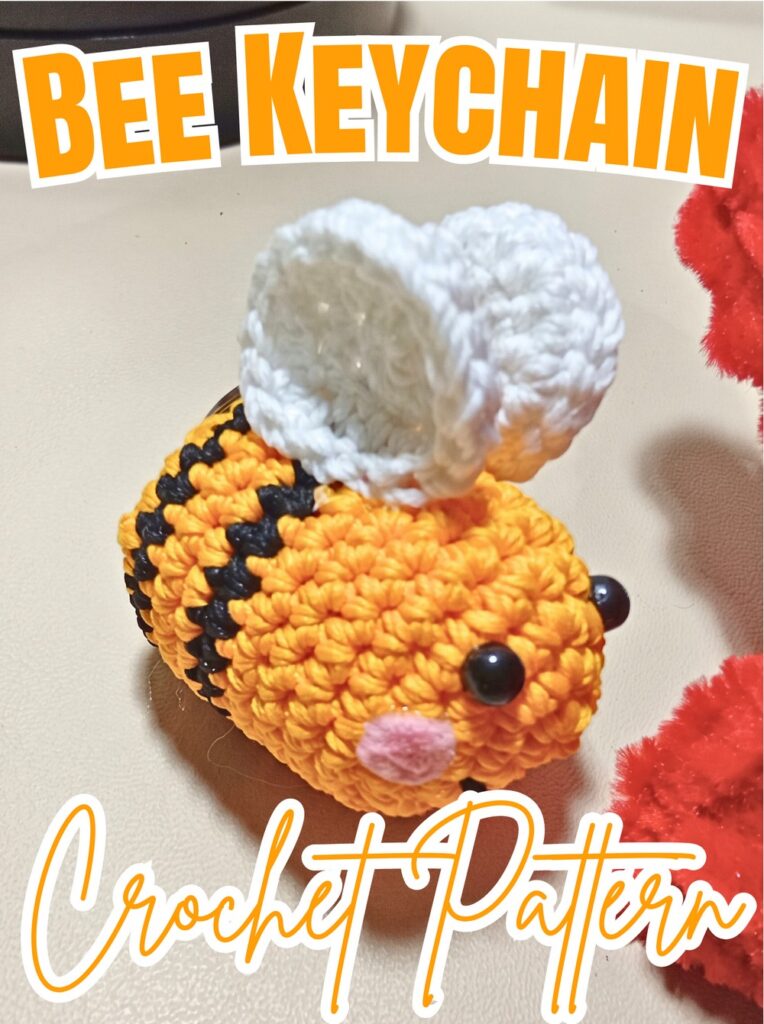
Bright stripes and tiny wings make this crochet bee an easy way to add handmade character to everyday accessories. For beginners, small amigurumi can feel fiddly when color changes, stuffing, eye placement, and finishing all come together, but each part here stays compact and manageable.
This crochet tutorial shows how to build the striped bee body in continuous rounds, add fiberfill while shaping the final rounds, make two simple wings, and finish the face and keychain hardware. You’ll also find practical guidance for eye placement, wing positioning, and adapting the crochet bee into a larger plush version. Let’s start with the body.
Credit ghazi craft
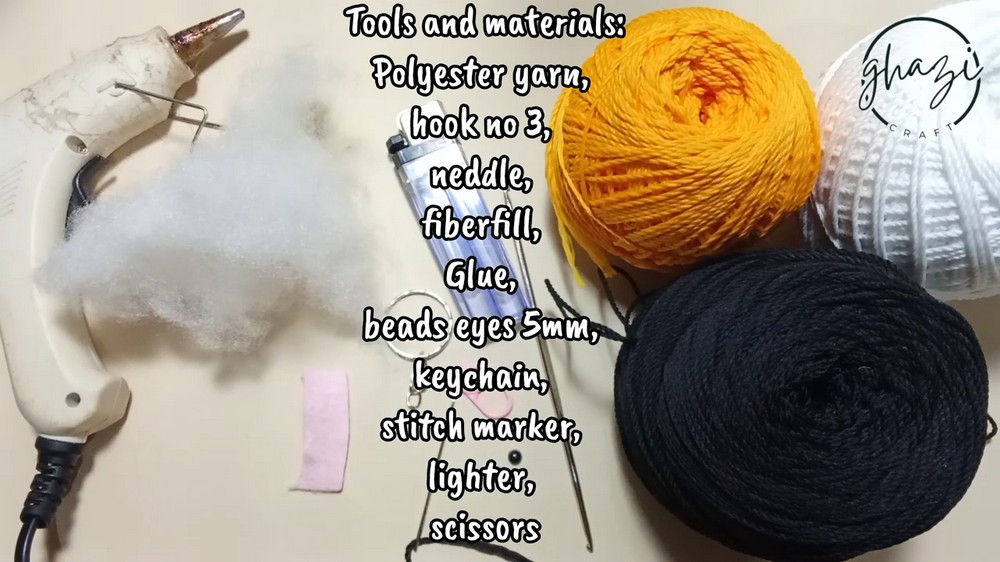
Materials & Tools
- Yarn: Polyester yarn in yellow, black, and white or cream for wings
- Crochet Hook: 2.5 mm to 3.0 mm crochet hook
- Notions:
- 5 mm bead eyes or safety eyes
- Fiberfill stuffing
- Yarn needle
- Scissors
- Glue
- Keychain hardware
Finished Size & Customization
Finished Size: Approximately 2–3 inches long, making it lightweight for a bag charm or keychain.
Customization Ideas:
- Use chunky velvet or chenille yarn with a 4.0 mm hook for a larger, plushier bee.
- Add a tiny amount of pink blush powder to the cheeks for a sweeter expression.
Pattern Abbreviations & Terminology
- MR: Magic Ring
- Sc: Single Crochet
- Hdc: Half Double Crochet
- Inc: Increase – 2 single crochet worked into same stitch
- Dec: Decrease – invisible single crochet decrease worked over 2 stitches
- Sl st: Slip Stitch
- (…) × 6: Repeat instructions inside parentheses 6 times

Step-by-Step Crochet Instructions
Step 1: Start the Yellow Bee Body
Teaching focus: Begin with yellow yarn and establish small rounded base that will gradually become bee’s compact body.
- Make MR.
- Work 6 Sc into ring.
- Rnd 1: 6 sts.
Check your start: Keep center of magic ring pulled closed so first round forms a compact base rather than leaving an open hole.
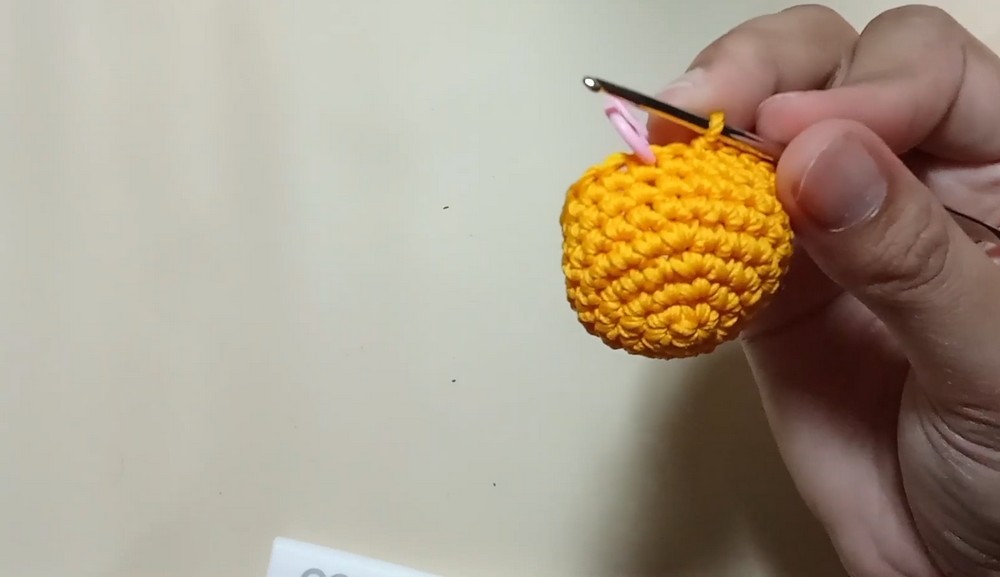
Step 2: Build the Body Width
Teaching focus: Increases expand the first rounds evenly, creating rounded lower section before straight body begins.
- Rnd 2: Work Inc in each stitch around – (Inc) × 6. 12 sts
- Rnd 3: Work (Sc, Inc) × 6. 18 sts
Then stabilize the new width:
- Rnd 4: Sc in each stitch around. 18 sts
- Rnd 5: Sc in each stitch around. 18 sts
Result check: After Rnd 5, body should have a rounded base with an even 18-stitch circumference.
Step 3: Add First Black Stripe
Teaching focus: Color changes create bee’s recognizable striped body while keeping stitch count unchanged.
Switch to Black Yarn.
- Rnd 6: Sc in each stitch around. 18 sts
- Rnd 7: Sc in each stitch around. 18 sts
Keep same stitch count throughout both rounds.
Helpful tip: When changing color, keep tension consistent so black stripe does not become noticeably tighter or wider than surrounding yellow sections.
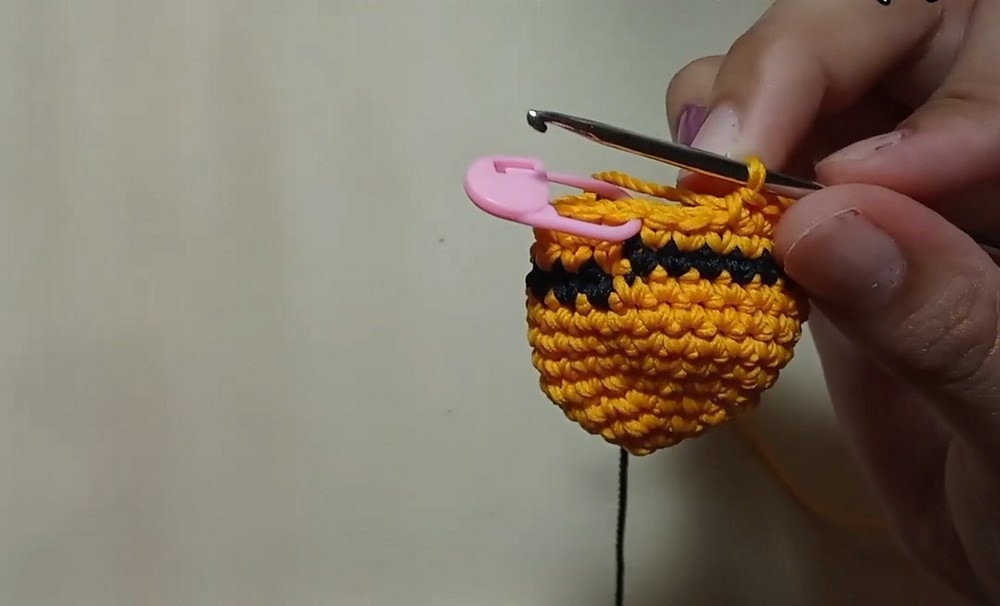
Step 4: Return to Yellow
Teaching focus: Alternating yarn colors builds bee pattern without changing body shape.
Switch to Yellow Yarn.
- Rnd 8: Sc in each stitch around. 18 sts
- Rnd 9: Sc in each stitch around. 18 sts
Visual check: Yellow section should sit evenly between black stripes, with body maintaining compact cylindrical shape.
Step 5: Create Second Black Stripe
Teaching focus: Continue color sequence before preparing face and final shaping.
Switch to Black Yarn.
- Rnd 10: Sc in each stitch around. 18 sts
- Rnd 11: Sc in each stitch around. 18 sts
Then switch back to Yellow Yarn for final body round.
- Rnd 12: Sc in each stitch around. 18 sts
Step 6: Place the Eyes Before Closing the Body
Teaching focus: Add facial hardware while opening is still accessible, making placement easier than trying to position eyes after final closure.
Insert and secure 5 mm safety or bead eyes between Rnd 9 and Rnd 10.
Leave approximately 2–3 stitches of space between them.
Placement check: Look at bee from front before securing eyes completely. Both eyes should sit at similar height and spacing.
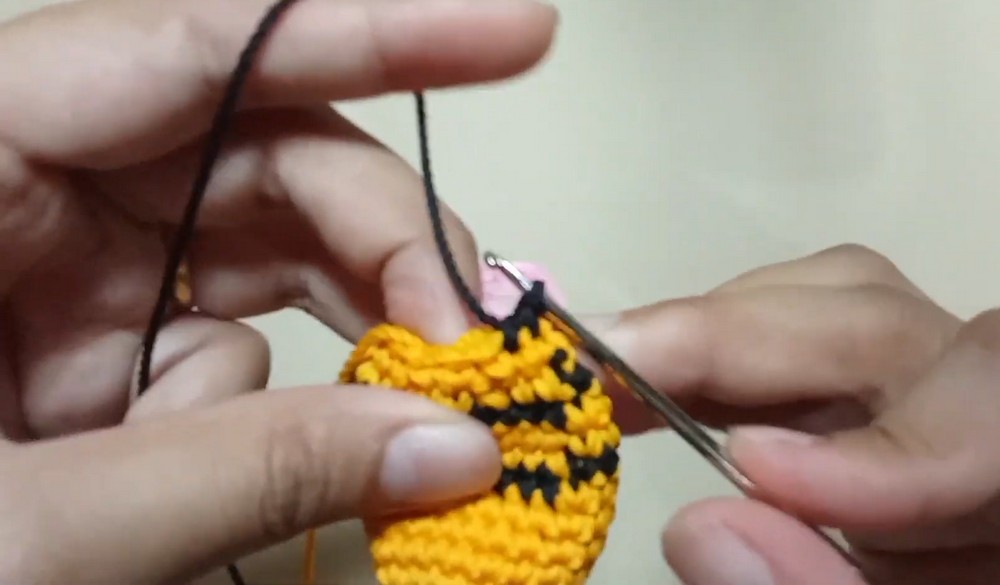
Step 7: Begin Body Decreases and Stuffing
Teaching focus: Decreases reduce body opening while stuffing gives bee its rounded volume.
- Rnd 13: Work (Sc, Dec) × 6. 12 sts
Begin stuffing body firmly with fiberfill.
Add stuffing gradually rather than filling everything at once. This makes it easier to distribute fiberfill evenly as opening becomes smaller.
Shape check: Body should feel firm and rounded without becoming so tightly stuffed that stitches stretch apart.
Step 8: Close the Bee Body
Teaching focus: Final decreases bring remaining opening down to a small point that can be closed neatly.
- Rnd 14: Work (Dec) × 6. 6 sts
Fasten off, leaving short tail.
Thread yarn needle through front loops of remaining 6 stitches and pull tightly to close opening completely.
Secure and hide remaining yarn end inside body.
Finishing check: Opening should be fully closed with no visible hole or loose stuffing.
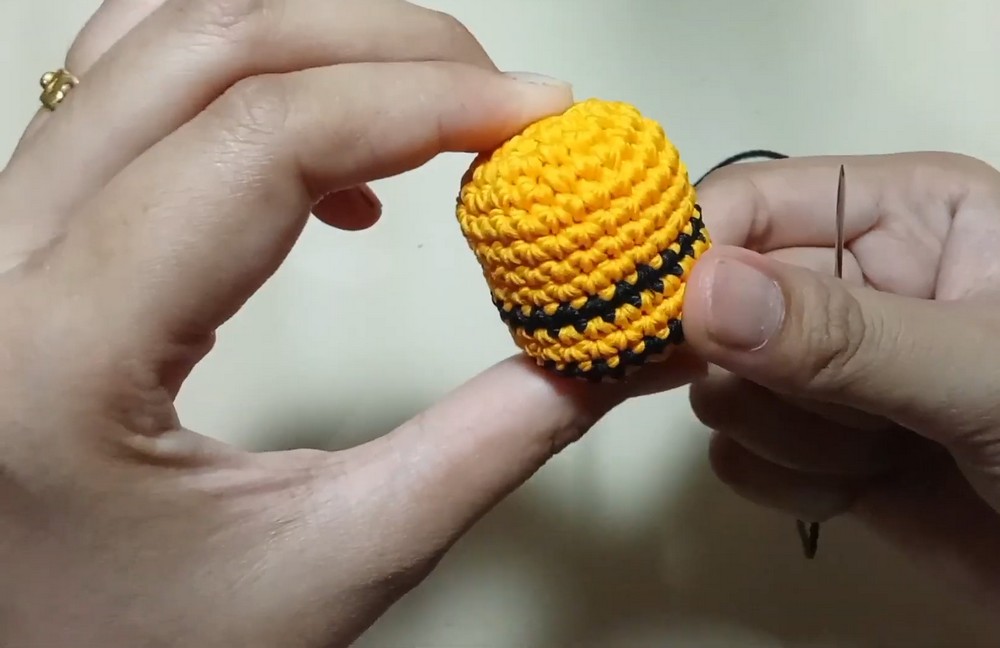
Step 9: Make Two Simple Wings
Teaching focus: Each wing begins as a tiny circular piece, keeping construction simple while providing enough surface for attachment.
Make 2 wings using white or cream yarn.
For each wing:
- Create MR.
- Work 6 Sc into ring.
- Pull tail tightly to close center.
- Join with Sl st to first stitch.
- Fasten off, leaving a longer tail for sewing.
Shape check: Each wing should remain small and circular rather than stretched out.
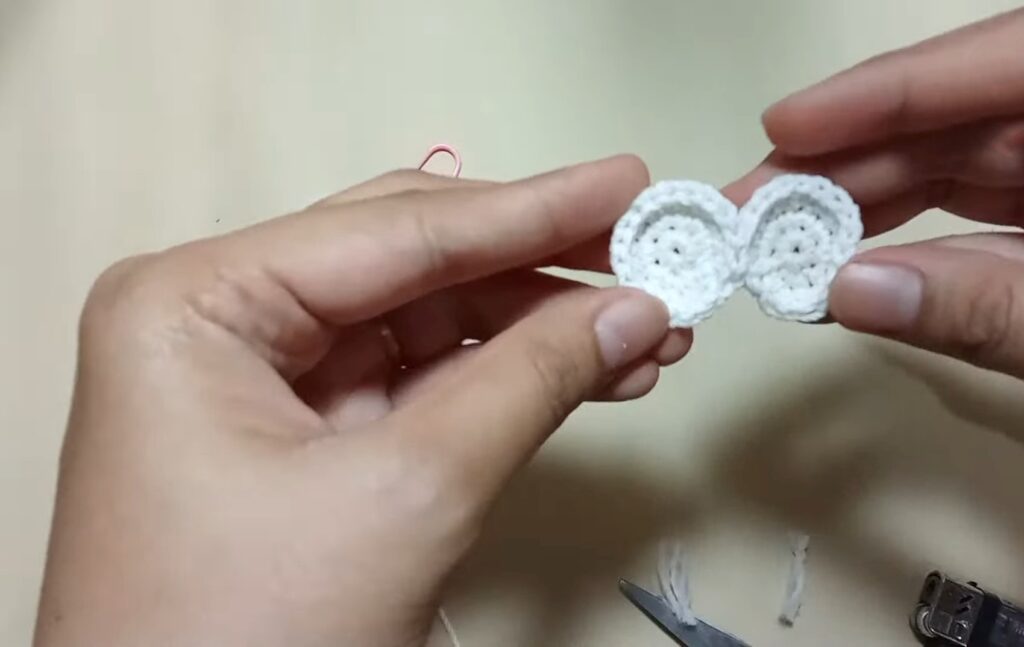
Step 10: Position and Attach Wings
Teaching focus: Wing placement gives bee its recognizable silhouette, so check position before permanent attachment.
Place two circular wings side by side on upper back of bee, around Rnd 6 to Rnd 8.
Secure wings by either:
- Sewing them firmly in place, or
- Using glue as appropriate for your materials.
Helpful tip: Position both wings at similar height and distance from center so bee hangs evenly when used as a charm.
Step 11: Add Optional Smile
Teaching focus: A tiny embroidered expression can change finished character without altering body structure.
Using black thread or embroidery floss, stitch a small smile underneath eyes if desired.
Keep stitches tiny to suit bee’s 2–3 inch finished size.
Detail check: Look at face from a short distance before securing final thread. Small expression should remain centered beneath eyes.
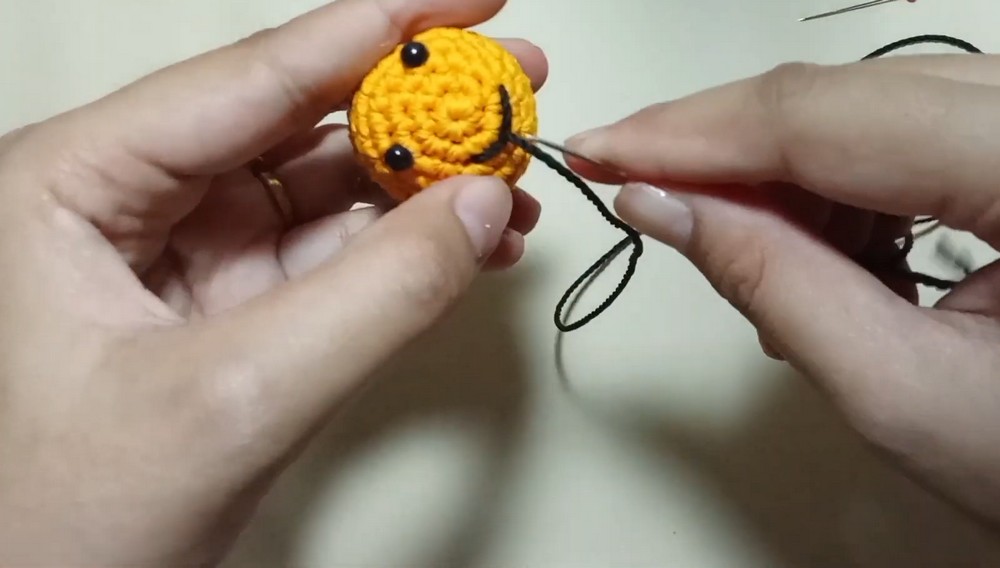
Step 12: Attach Keychain Hardware
Teaching focus: Finish with hardware after decorative pieces are secure so final attachment point can be checked against finished body.
Secure metal jump ring and keychain hardware to the top crown of bee’s head.
Check that attachment is firm before placing bee on keys or bag.
Final check: Bee should hang securely without pulling stitches loose, while wings and facial details remain firmly attached.
Finished Crochet Bee Keychain
Your tiny bee is ready to become a lightweight bag charm, keychain, or handmade gift. Yellow-and-black stripes give it classic bee character, while small wings and optional blush or smile details let you personalize its expression.
For a different look, try pastel yarn or increase yarn thickness and hook size for a larger plush bee.