
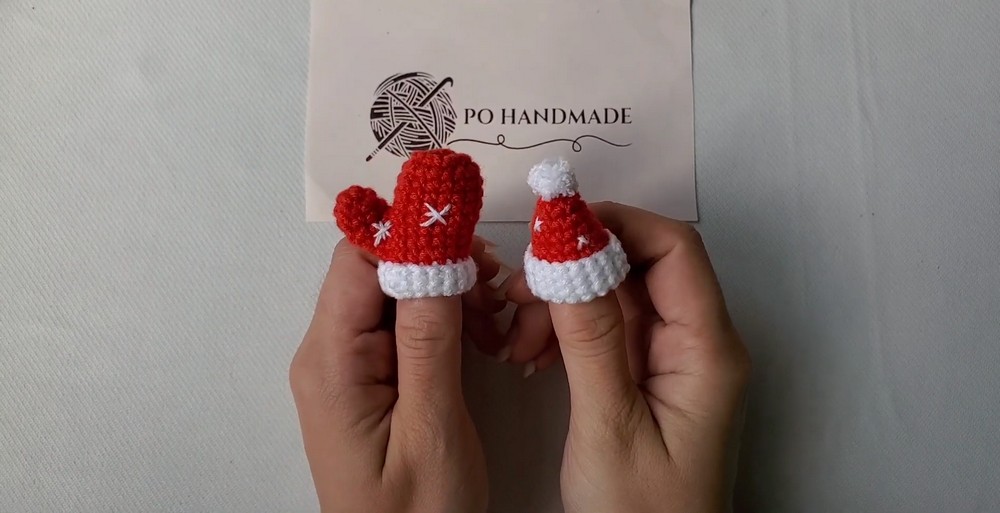
Need tiny Christmas accessories with recognizable winter details? This crochet glove and hat set combines a folded white cuff, fluffy pom-pom, and snowy red accents.

Tiny enough for a keychain, ornament, or holiday garland, this crochet Christmas glove and hat set brings two familiar winter shapes into miniature form. The red-and-white color combination keeps them instantly festive, while the folded cuffs and hat brim give the crochet pieces a finished seasonal look.
Both pieces use simple amigurumi-style rounds, but the crochet glove has one important shaping moment where the thumb is joined directly to the main body. You’ll also see where the stitch counts change, how the hat expands before its white brim, and how to finish both crochet pieces with a small pom-pom and embroidered snow details.
Credit Po Handmade
Materials & Tools
- Medium/DK-weight yarn in Red and White
- Crochet hook appropriate for your yarn, typically 2.5–3.0 mm
- Yarn or tapestry needle
- Stitch markers
- Scissors
- Optional keychain rings or ornament hooks
Finished Size & Customization
These are miniature pieces designed for small accessories and seasonal decorations.
Use them as individual keychain charms, tree ornaments, or bag charms, or make several and string them together as a Christmas garland. For a larger home-decoration version, switch to chunky blanket yarn and a larger hook, such as 5.0 or 6.0 mm.
Abbreviations
- MR: Magic Ring
- ch: Chain
- sc: Single Crochet
- inc: Increase – 2 sc in the same stitch
- dec: Decrease – single crochet 2 stitches together
- FLO: Front Loops Only
- sl st: Slip Stitch
- st(s): Stitch(es)
- [ ]: Stitch count at the end of the round
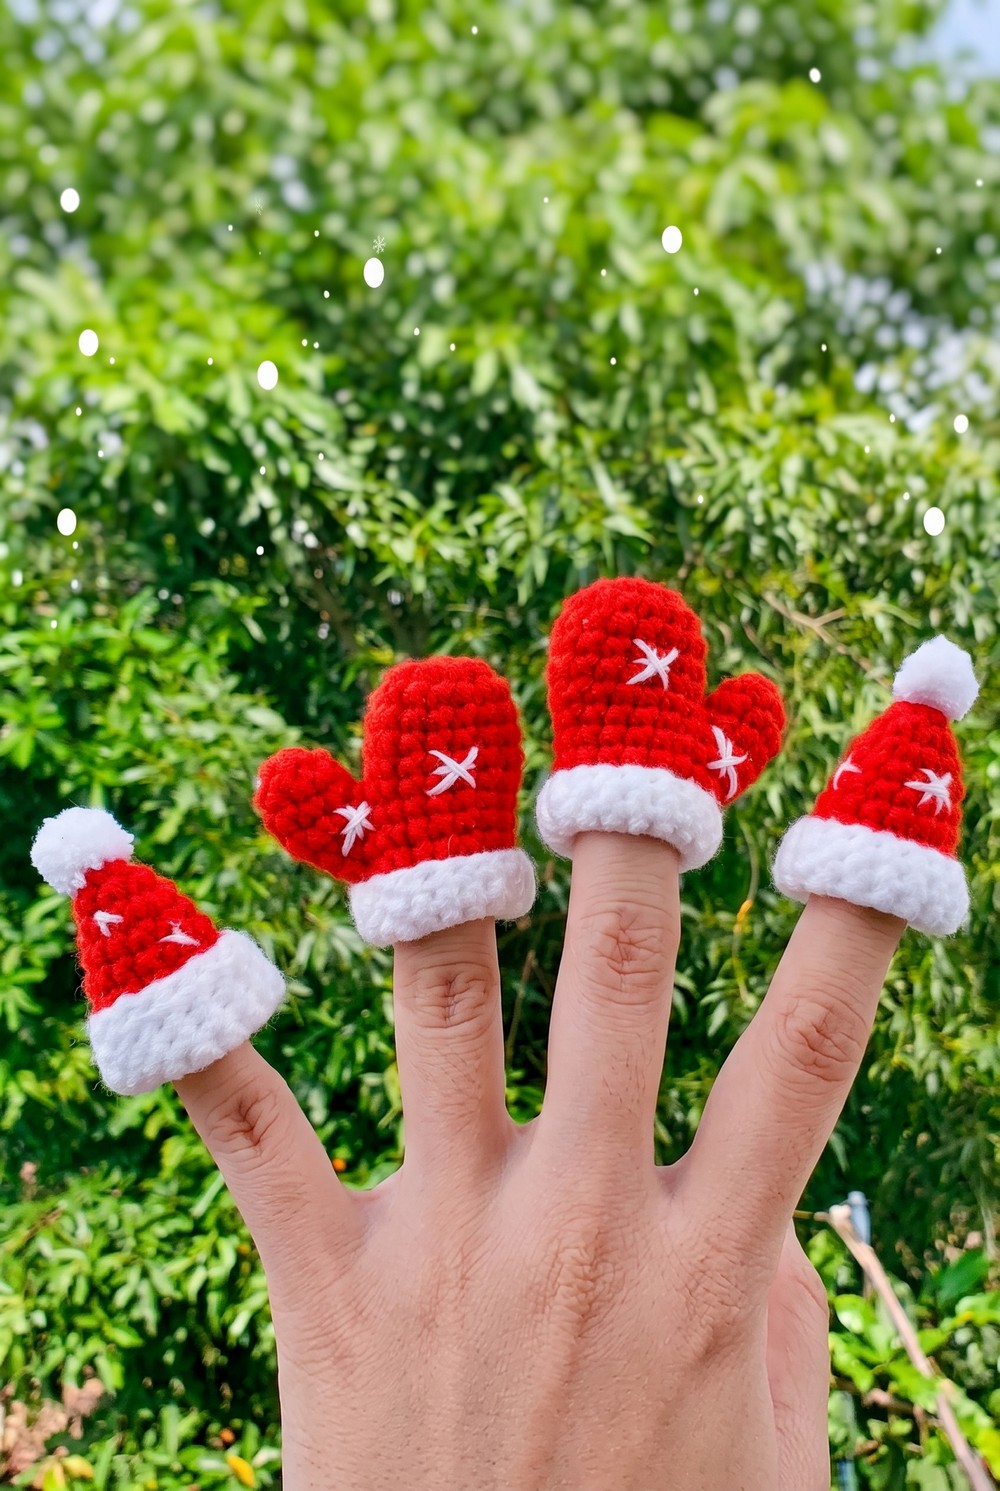
Part 1: Crochet the Christmas Glove
The glove is worked in two initial pieces: a tiny thumb and the main glove body. They are joined during Round 7, so the thumb becomes part of the glove rather than being sewn on separately.
Make the Thumb
Work the thumb in Red yarn.
Round 1: Make a MR, ch 1, work 6 sc into the ring, pull the ring closed, and sl st to the first stitch to join (6 sts).
Round 2: Ch 1, (2 sc, 1 inc) x2, then sl st to join (8 sts).
Round 3: Ch 1, sc in each stitch around, then sl st to join (8 sts).
Fasten off and cut the yarn. Weave the tail into the inside of the thumb.
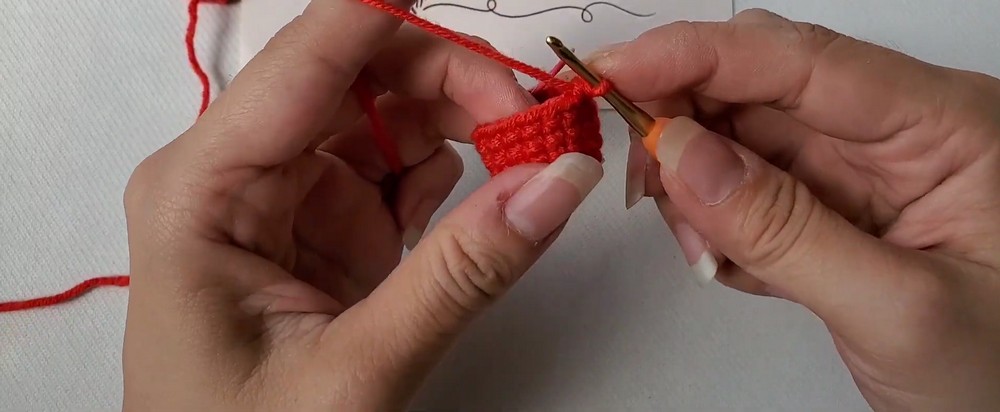
Thumb Check
The thumb should now be a short, narrow tube with 8 stitches around the opening. Keep its shape intact while you prepare the main glove because these stitches will be used directly during the joining round.
Crochet the Main Glove Body
Continue with Red yarn.
Round 1: Make a MR, ch 1, work 8 sc into the ring, pull tight, and sl st to join (8 sts).
Round 2: Ch 1, work 8 inc, then sl st to join (16 sts).
Rounds 3–6: Ch 1, sc in each stitch around, then sl st to join (16 sts per round).
At this point, you should have a small straight-sided red tube. The opening should still be wide enough to accommodate the thumb during the next round.
Join the Thumb
Round 7 changes the simple tube into a recognizable glove shape. Work carefully here because the thumb stitches become part of the same continuous round.
Round 7: Ch 1, work 7 sc, 1 dec, 6 sc on the main body; pick up the thumb and work 2 sc, 1 dec, 3 sc across the thumb; place 1 final sc into the gap/slip-stitch area between the body and thumb to close the opening and prevent a hole; sl st to the first stitch to join (22 sts).
That final sc in the gap is important. Without it, the meeting point between the two pieces can leave a visible opening.
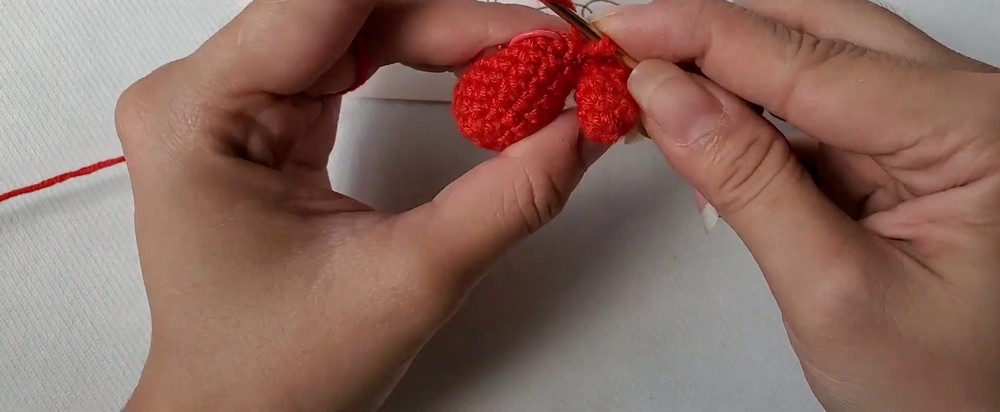
Joining Check
Pause after Round 7 and look at the glove from the outside. The thumb should now project from one side of the body while the rest of the stitches continue around the glove. If you see a large hole where the pieces meet, check that the extra sc was worked into the gap.
Round 8: Ch 1, 6 sc, 1 dec, 9 sc, 1 dec, 3 sc, then sl st to join (20 sts).
Round 9: Ch 1, 14 sc, 2 dec, 2 sc, then sl st to join (18 sts).
Round 10: Ch 1, 14 sc, 1 dec, 2 sc, then sl st to join (17 sts).
The decreasing gradually narrows the glove body. By the end of Round 10, you should have 17 stitches, which becomes the stitch count for the white cuff.
Change to White
At the final slip stitch of Round 10, drop the Red yarn and pull through with White yarn. Cut the Red yarn.
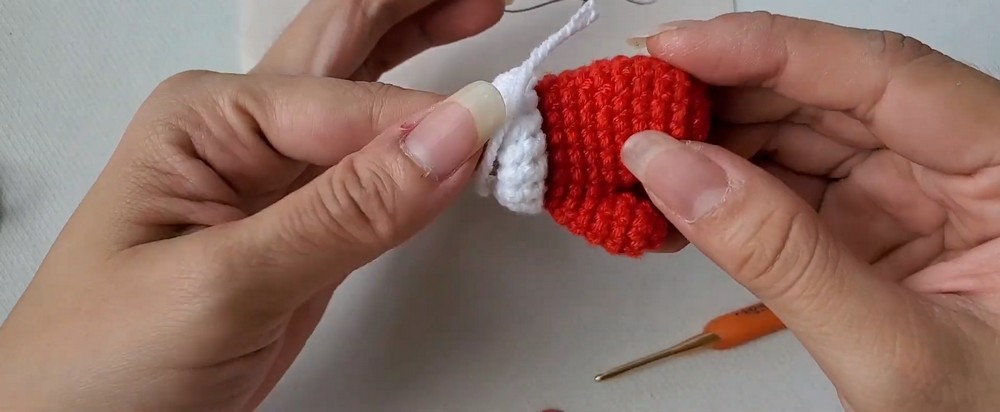
Crochet the White Glove Cuff
Rounds 11–15: Ch 1, sc in each stitch around, then sl st to join (17 sts per round).
The five white rounds create the cuff. Keep the stitch count at 17 throughout rather than increasing or decreasing.
Fasten off with a short tail and weave in the ends.
To create the classic winter-glove appearance, fold the white cuff outward and upward. The fold should remain visible rather than being sewn flat.
Part 2: Crochet the Christmas Hat
The hat begins with a narrow top and gradually widens as the rounds progress. Once the red crown reaches its final stitch count, the yarn changes to white for the brim.
Crochet the Red Hat
Work in Red yarn.
Round 1: Make a MR, ch 1, work 6 sc into the ring, pull tight, and sl st to join (6 sts).
Round 2: Ch 1, (1 sc, 1 inc) x3, then sl st to join (9 sts).
Round 3: Ch 1, (1 sc, 1 inc, 1 sc) x3, then sl st to join (12 sts).
Round 4: Ch 1, sc in each stitch around, then sl st to join (12 sts).
Round 5: Ch 1, (3 sc, 1 inc) x3, then sl st to join (15 sts).
Round 6: Ch 1, sc in each stitch around, then sl st to join (15 sts).
Round 7: Ch 1, (2 sc, 1 inc, 2 sc) x3, then sl st to join (18 sts).
The stitch count has now increased from 6 to 18 stitches, creating the wider lower portion of the red hat.

Change to White
At the final slip stitch of Round 7, change from Red to White yarn. Cut the Red yarn.
Form the White Hat Brim
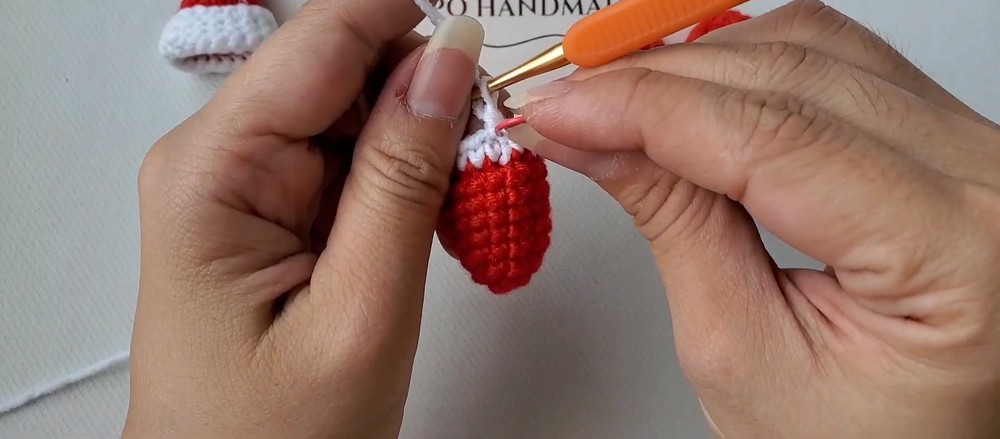
The first white round is worked through the front loops only, which creates a defined edge where the brim begins.
Round 8: Ch 1, working in FLO, sc in each stitch around, then sl st to join (18 sts).
Rounds 9–12: Ch 1, work sc in each stitch around through both loops normally, then sl st to join (18 sts per round).
Fasten off and weave in the ends.
Fold the white section upward to form the hat’s winter brim.
Brim Check
The white section should now sit as a distinct band beneath the red crown. If the fold feels uneven, gently straighten the stitches before adding the pom-pom.
Finish the Christmas Details
Make the Mini Pom-Pom
Wrap White yarn around your index finger approximately 10 times.
Carefully slide the loops off your finger without disturbing their shape. Tie a separate short piece of yarn tightly around the center using a double knot.
Cut through the loops on both sides of the tied center. Trim the fibers gradually until you have a small, dense, round pom-pom.
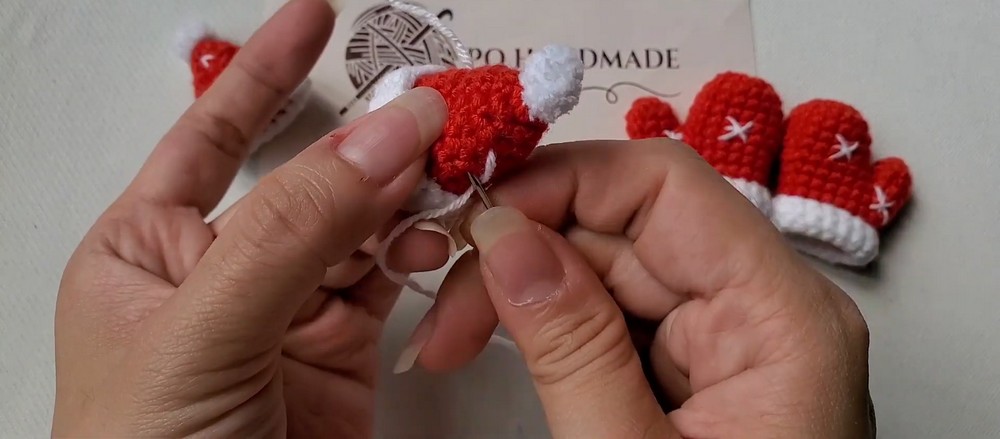
Use a yarn needle to sew the pom-pom securely to the top of the Christmas hat at Round 1.
Add Snowy Embroidery
Thread a yarn needle with 2 strands of White yarn.
Add a few simple snow details to both the red glove and red hat:
- Large snowflake: Stitch a small asterisk/star shape spanning approximately 2 stitches.
- Small snowflake: Add a simple cross or plus sign slightly offset from the larger snowflake.
Keep the embroidered marks small so they remain decorative rather than overwhelming the miniature pieces.
Tie off the embroidery on the inside and hide the yarn tails securely.






One Comment