Get the free crochet pattern for a festive holiday cat collar featuring handmade poinsettia motifs, rich red popcorn petals, and green embroidered leaves.
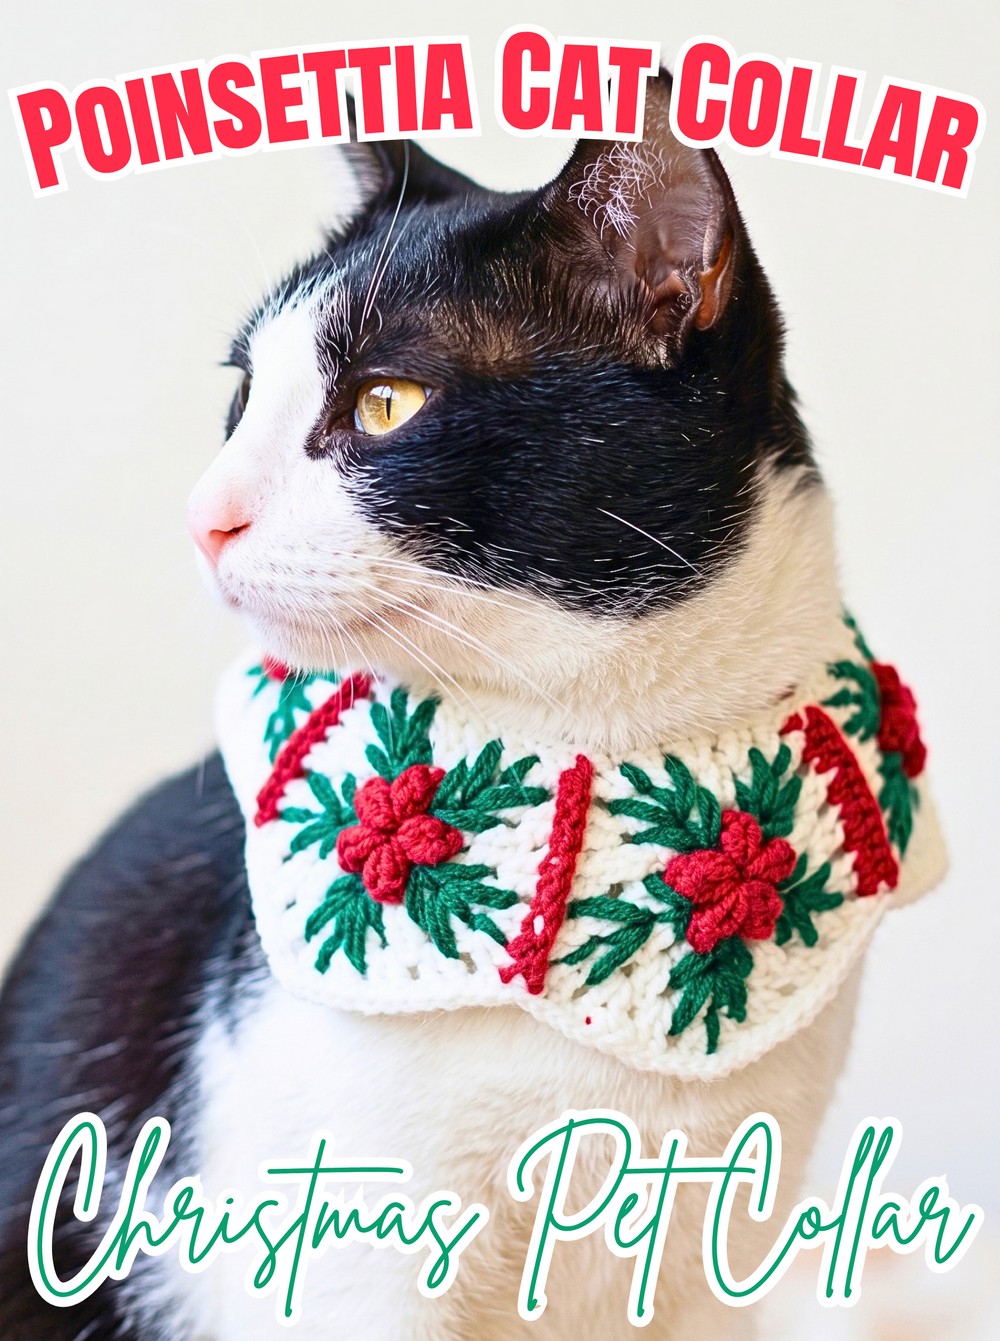
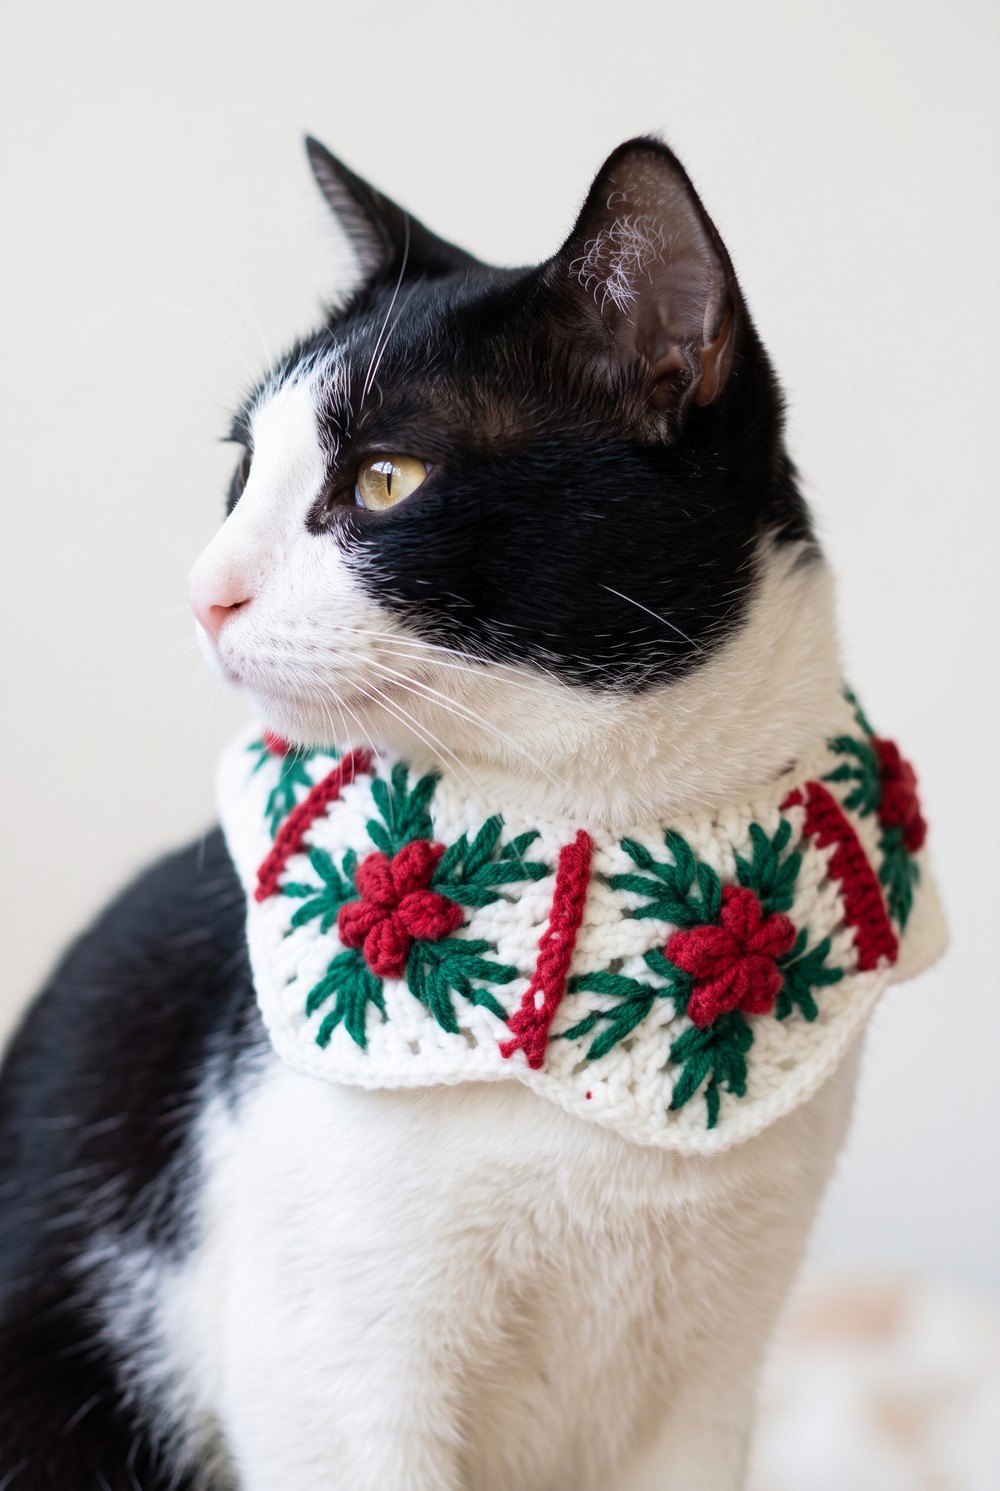
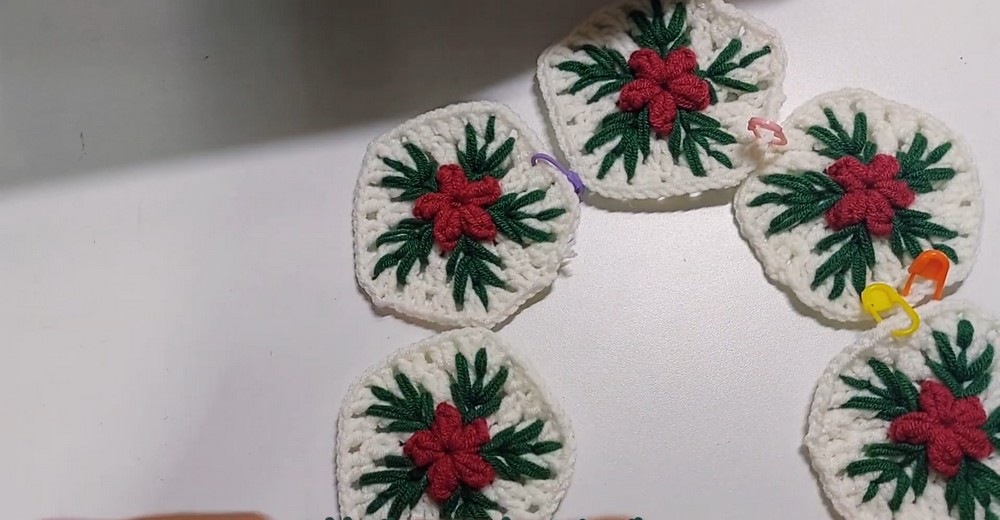
Christmas colors and poinsettia-inspired flowers come together in this festive crochet cat collar. Five white pentagon motifs create the main crochet collar, while red popcorn petals form the center of each flower and green stitched leaves add a little extra greenery between them.
The crochet collar is assembled motif by motif, so you can finish each flower before joining them into the curved neckline. This guide also covers the embroidery, joining, top edging, and tie ropes, with simple sizing adjustments for smaller cats and kittens.
Credit Nida Catty Official
Materials & Tools Needed
- Yarn: 4-ply cotton yarn in Red, White, and Green.
- Crochet Hook: Size 3/0, approximately 2.2 mm or 2.3 mm.
- Yarn Needle: For embroidery and weaving in yarn ends.
- Stitch Markers: Helpful for keeping track of important spaces while crocheting.
- Scissors: For cutting yarn.
- Measuring Tape: For checking the finished size and tie length.
Finished Size & Customization
The completed collar measures approximately 10 to 11 inches across the main body, not including the ties.
For a smaller cat or kitten, make 3 or 4 motifs instead of 5. You can also use a lighter 3-ply yarn for a smaller, lighter collar.
The bow ties can be adjusted independently by changing the starting and ending chain counts. More chains create longer tie ropes, while fewer chains make a shorter bow.
Pattern Abbreviations & Terminology
- MR: Magic Ring
- ch: Chain
- sl st: Slip Stitch
- sc: Single Crochet
- dc: Double Crochet
- popcorn: Popcorn Stitch, worked with 3 or 4 dc
- sp: Space
Make the Poinsettia Motifs
Make 5 complete motifs before joining them together.
Inner Flower – Red Yarn
Round 1: Start with a magic ring. Ch 3 (counts as the first dc), work 2 more dc into the ring, drop the loop from your hook, insert your hook into the top of the starting ch-3, grab the dropped loop, and pull it through to create the first 3-dc popcorn. Ch 2. Work a 4-dc popcorn into the ring by making 4 dc, dropping the loop, inserting the hook into the first dc, and pulling the dropped loop through; ch 2. Repeat this popcorn-and-ch-2 sequence 4 times in total. Pull the magic ring tight and join with a sl st to the top of the first popcorn. Fasten off the Red yarn.
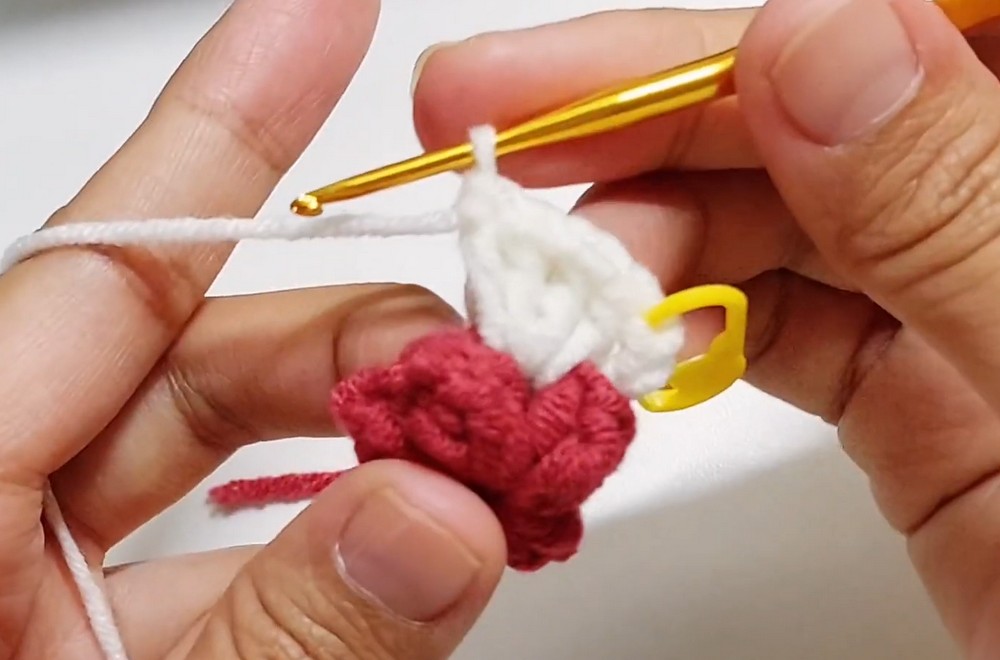
Stitch count: 5 popcorn petals separated by 5 ch-2 spaces.
The five popcorns form the red flower petals, so keep the petals evenly spaced around the center as you work. These ch-2 spaces are important because the White yarn will be attached there for the pentagon base.
Pentagon Base – White Yarn
Round 2: Attach White yarn to any ch-2 space. Ch 4 (counts as 1 dc + ch 1). In the next ch-2 space, work a corner: (2 dc, ch 1, 2 dc), then ch 1. Repeat [(2 dc, ch 1, 2 dc) in the next sp, ch 1] 3 more times. In the final space, which is the same space where you attached the yarn, work (2 dc, ch 1, 1 dc). Join with a sl st to the 3rd ch of the starting ch-4. Stitch count: 5 corner shells.
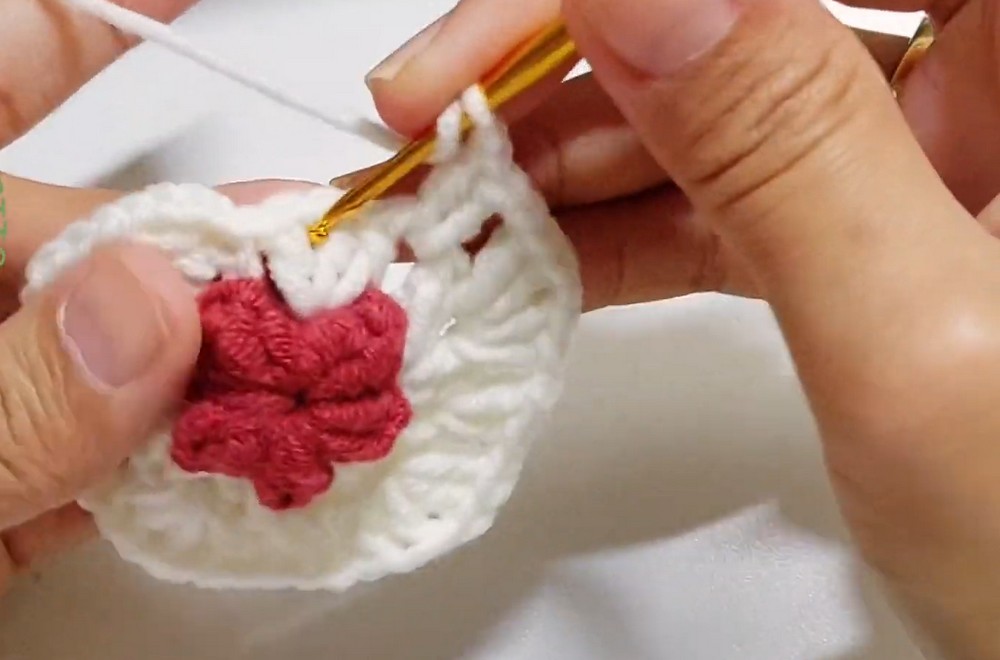
Round 3: Ch 3 (counts as 1 dc), 1 dc in the same space, ch 1. In the next corner space, work (2 dc, ch 1, 2 dc), then ch 1. In the next edge space, work 2 dc, ch 1. Repeat [(2 dc, ch 1, 2 dc) in corner, ch 1, 2 dc in edge sp, ch 1] 3 more times. In the last corner space, work (2 dc, ch 1, 2 dc), ch 1. Join with a sl st to the top of the starting ch-3.
Round 4: Ch 4 (counts as 1 dc + ch 1), 2 dc in the next edge space, ch 1. In the corner space, work (2 dc, ch 1, 2 dc), ch 1. Work [2 dc, ch 1] in each of the next 2 edge spaces. Repeat [(2 dc, ch 1, 2 dc) in corner, ch 1, 2 dc in next edge sp, ch 1, 2 dc in next edge sp, ch 1] 3 more times. In the last corner, work (2 dc, ch 1, 2 dc), ch 1. In the final edge space, work 1 dc and join with a sl st to the 3rd ch of the starting ch-4. Fasten off the White yarn.
At this point, the red flower should sit neatly inside the growing white pentagon. If an edge looks uneven, check that your stitches are being placed into the intended corner and edge spaces before continuing.
Embroider the Greenery
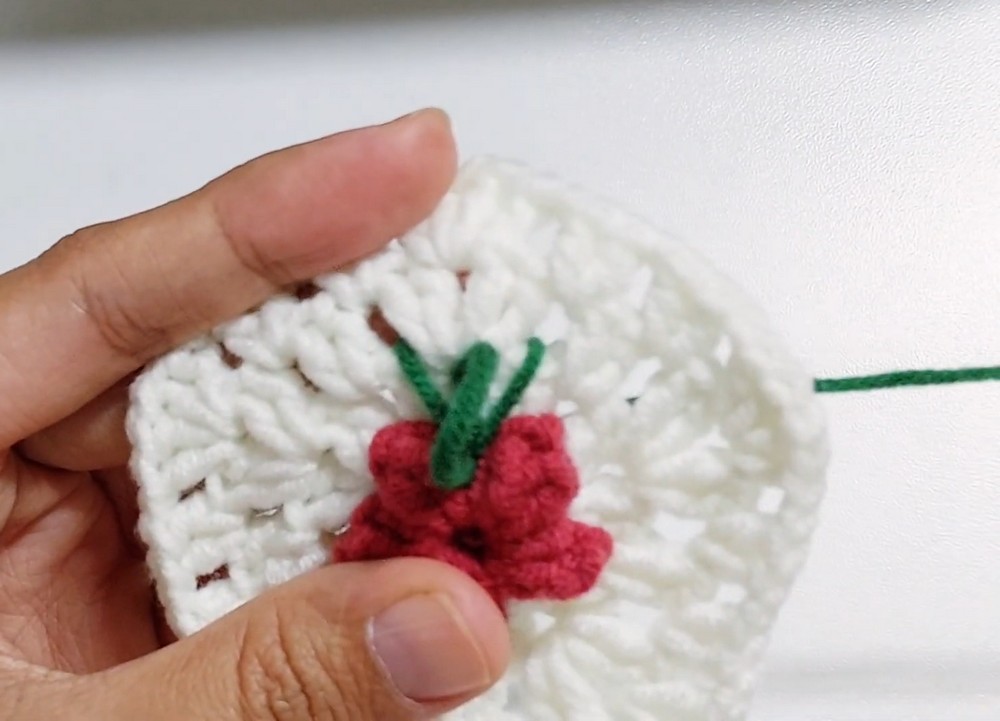
- Thread the yarn needle with a long strand of Green yarn.
- Look for the dips between the red popcorn petals. These spaces give you a natural guide for placing the greenery.
- Sew straight stitches branching outward from the center to form the pine-needle or leaf effect.
- Follow the tutorial’s 3-stitch leaf cluster between each petal: one longer center stitch with two shorter stitches beside it.
- Secure the Green yarn firmly on the back of the motif and trim the excess.
Complete the greenery on all 5 motifs before moving on to assembly. Keeping the embroidery placement similar on each flower will help the finished collar look balanced when the motifs are joined.
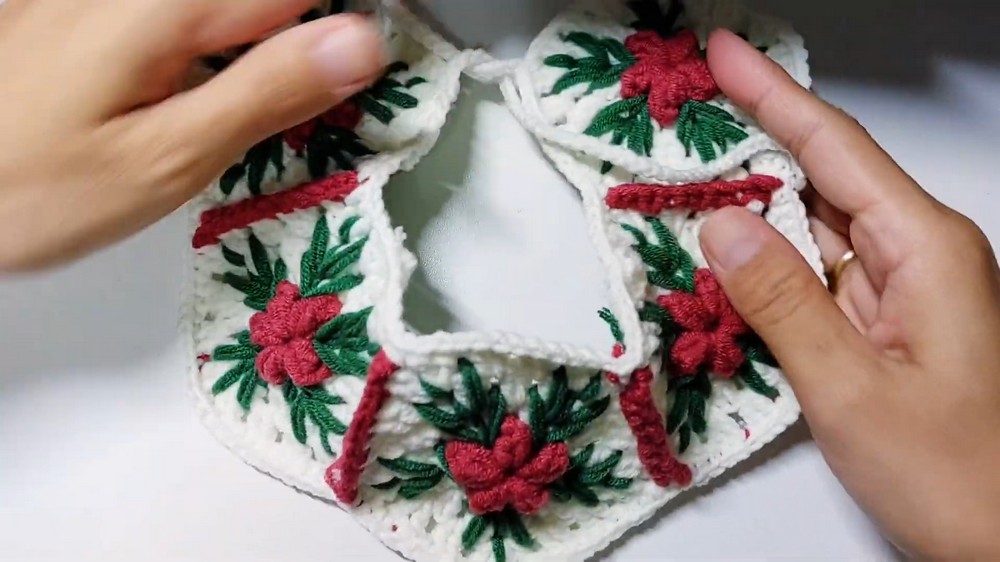
Join the Poinsettia Motifs
- Place two finished motifs side-by-side with their edges aligned.
- Using Red yarn, work single crochet stitches through both motifs along one flat edge to join them together.
- Fasten off the Red yarn once the edge is joined.
- Repeat the same joining method until all 5 motifs are connected in a row.
The pentagon shapes naturally create a gentle curve as they are joined, giving the collar its neckline shape.
Add the White Edging and Tie Ropes
First tie and top edge: With White yarn, chain 40 for the first tie. Add more chains if you want a longer bow. Once the chain reaches the desired length, connect it to the top right corner of the joined collar. Work single crochet stitches evenly across the entire top edge of the joined motifs to give the neckline a neat finished edge.
Second tie: When you reach the opposite top corner, do not fasten off. Chain another 40, or match the number used for the first tie, to create the second tie rope. Fasten off and trim the yarn.
Optional bottom edging: Attach White yarn to the bottom outer edge and work single crochet stitches evenly across the bottom line to frame the collar with a clean finish.

Final Finishing Check
Weave in all remaining yarn tails securely, paying particular attention to the back of the embroidered motifs and the points where the motifs were joined. If you want the pentagons to look especially crisp, lightly block the finished collar so the shapes settle flat.

Before putting the collar on your cat, check that the ties are secure and that no loose yarn ends or decorative parts can easily be caught or chewed. The collar should sit comfortably without restricting normal movement or causing discomfort.