This Crochet Jellycat Amuseabled Acorn is a perfect blend of creativity and charm.
Its adorable acorn design makes it a versatile piece—ideal as a decorative accessory, a playful toy, or even a thoughtful handmade gift. Fun and stylish, it’s a rewarding crochet project for any skill level.

The Crochet Jellycat Amuseabled Acorn stands out with its durability and timeless appeal.
Made with sturdy yarn, it holds its shape while staying soft to the touch. It’s great for home décor, stress-relief squishies, or cozy gifts loved by kids and adults alike. Easy to make and delightful to display!
Credit AnDesign_Craft
In this post, you will find a step-by-step Crochet Jellycat Amuseabled Acorn pattern along with detailed instructions. However, if you encounter any difficulties or mistakes while creating your desired design, feel free to watch the video tutorial provided at the end of the blog post.
Materials and Preparation
To crochet this adorable Jellycat Amuseabled Acorn, you’ll need the following materials:
- Yarn: 4-ply cotton yarn in light brown, dark brown, and any additional accent color (optional).
- Crochet Hook: 3mm crochet hook.
- Additional Tools:
- Scissors.
- Needle for weaving in ends and sewing parts together.
- Stuffing tool (optional, but helpful for polyester filling).
- Polyester fiberfill for stuffing.
- 4mm safety eye beads.

Abbreviations and Notes
Below is a list of abbreviations used throughout the pattern:
- SC: Single Crochet.
- INC: Increase (two single crochets in the same stitch).
- DEC: Decrease (single crochet two stitches together).
- BLO: Back Loop Only.
- Ch: Chain.
- Sl St: Slip Stitch.

Important Notes:
- Work in continuous, joined rounds unless otherwise stated.
- Use a stitch marker to track the first stitch of each round.
- When transitioning between rounds, finish with a slip stitch and begin the next round with a chain one.
- To ensure a clean, fluffy edge, transition to a new color by pulling the new yarn through the last pull of the previous single crochet.
- Customize facial features (eyes, mouth) positioning to your liking.
Gauge, Approximate Size, and Pattern Notes
- Gauge: Not critical for this pattern but aim for tight, neat stitches to prevent stuffing from showing.
- Finished Size: Approximately 8–10 cm (3–4 inches) tall, depending on your tension and yarn thickness.
- Special Techniques:
- Magic Ring: Used to start the acorn body.
- Color Changes: Used when transitioning to the dark brown cap.
- Back Loop Only (BLO): Used for creating texture in the acorn cap.
- A gauge swatch is not strictly necessary, but you can adjust your hook size for desired firmness.
Step-by-Step Pattern
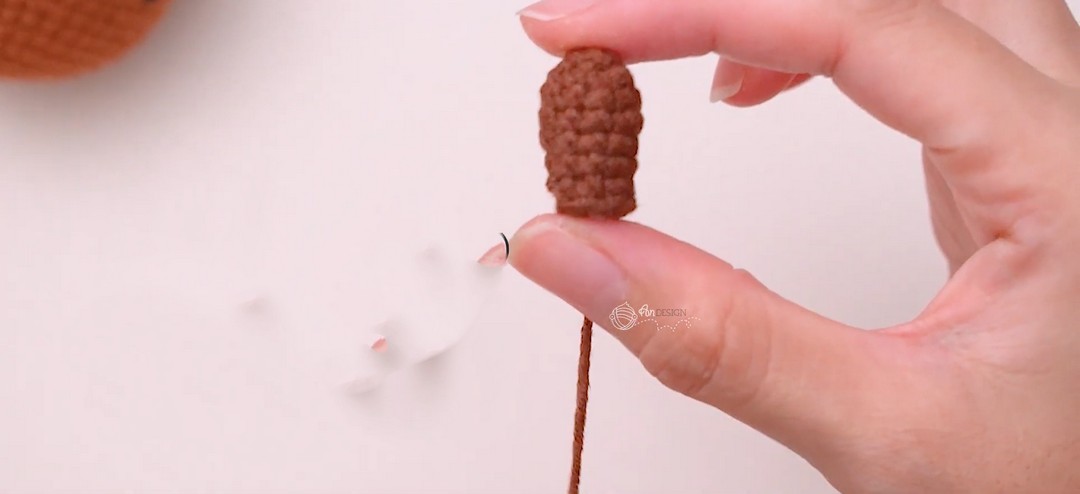
1. Acorn Body
- Round 1: Make a magic ring. Crochet 8 SC into the ring. Pull the ring tight to close. Sl St into the first stitch, and Ch 1 to start the next round. (8 stitches)
- Round 2: INC in every stitch around. (16 stitches)
- Round 3: (1 SC, INC) repeat 8 times. (24 stitches)
- Rounds 4–14: SC in every stitch. (24 stitches per round)
- At the end of Round 10, insert 4mm safety eyes between stitches, with a 5-stitch gap between them.
- Optional: Sew or create facial features before continuing.
- Lightly stuff with polyester filling at this stage.

2. Acorn Cap
- Round 15: Start alternating between light and dark brown yarn for the color transition (cap). Alternate every two SCs. Sl St at the end of the round with dark brown yarn.
- Round 16: Switch to the dark brown yarn entirely. Work in BLO from now on. (1 SC, INC) repeat 8 times. (40 stitches)
- Rounds 17–19: SC in the BLO. (40 stitches per round)
- Round 20: (2 SC, DEC) repeat 8 times. (32 stitches)
- Lightly stuff as you go.

Ribbed Texture:
- Insert the hook into the front loops left from Round 16. (Optional) Work 3 chains and Sl St into the next stitch. Repeat for all front loops to create a flurry texture around the acorn cap.
3. Acorn Stem
- Round 1: Ch 3. SC into the back bump of 2 stitches. Work 3 SC in the last chain, and rotate to work on the other side. SC into the next 2 stitches. Sl St into the first stitch to close. (8 stitches)
- Round 2: SC in every stitch. (8 stitches)
- Round 3: DEC twice. Then SC until the end. (6 stitches)
- Sew this stem to the top of the acorn cap.
4. Legs (Make 2)
- Ch 3. Work into the back bump of these chains:
- SC into the next 2 stitches.
- INC in the last stitch. Rotate your work.
- On the opposite side, SC into the next 2 stitches, and INC in the last stitch. (8 stitches)
- Work in continuous rounds:
- Round 2–4: SC into every stitch. (8 stitches)
- Lightly stuff as needed.
Attach the legs to the bottom of the acorn, leaving a 2-stitch gap between them.
Assembling and Finishing Touches
- Position and sew the legs to the body (Rounds 5–6).
- Attach the stem securely to the top of the acorn’s cap.
- Sew a small, curved mouth between the eyes to complete the cheerful look. Adjust as needed for personalization!

Key to Success
- Use quality, soft yarn for durability and comfort.
- Pay attention to detail for a polished finish.
- Follow the pattern carefully to maintain the playful shape.
- Select vibrant colors to match your personal style or purpose.
Conclusion
Crocheting the Jellycat Amuseabled Acorn is a delightful way to express creativity while crafting something practical and beautiful. Whether for your home or as a personalized gift, this project is enjoyable, versatile, and a must-try for crochet lovers of all levels.


