Want a colorful crochet star keychain with soft stuffing and neat contrasting edges? Follow this step-by-step pattern to shape two matching star pieces and join them into one cute charm.
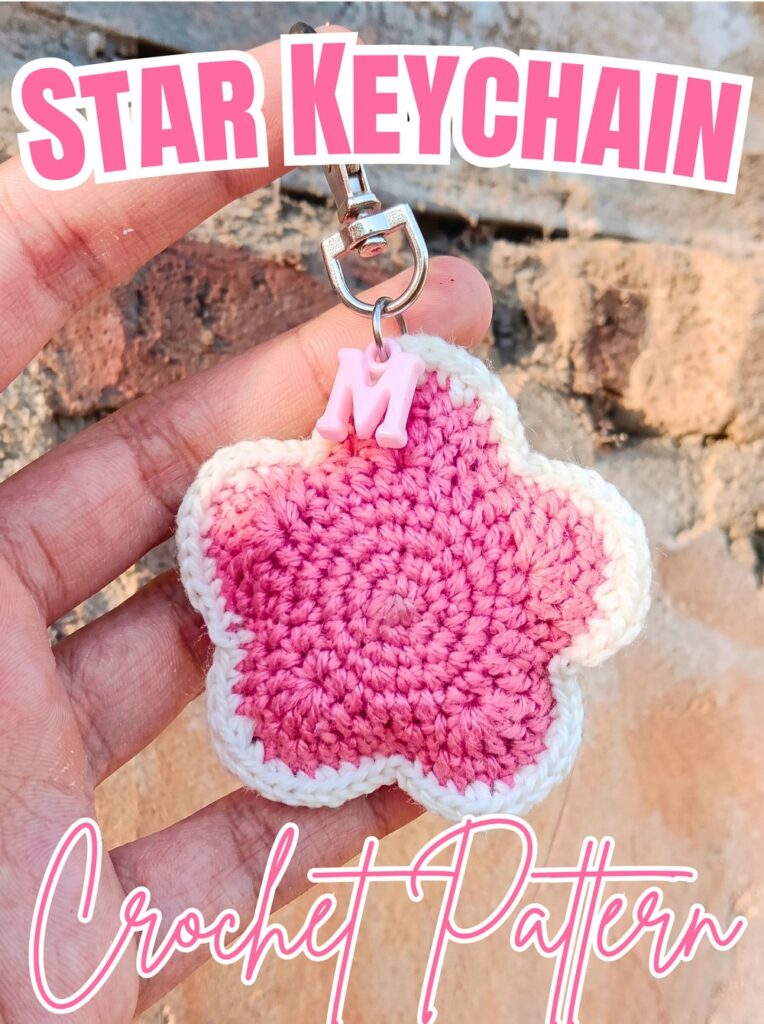
Bright pink yarn paired with crisp white edging gives crochet star keychains a playful finish, while padded centers add softness without making them bulky. Crochet star points need careful shaping, so keeping increases and stitch placement consistent helps each side retain its five-point outline.
This crochet tutorial covers both star panels, point formation, joining stitches, optional color changes, and final stuffing. You’ll also find practical guidance for keeping edges aligned and attaching keychain hardware securely. Let’s get started.
Credit Mariahands
Materials & Tools
- Milk cotton yarn: Primary color, such as pink, for star body.
- Contrasting yarn: White or another color for edging and joining, if desired.
- Crochet hook: Choose a size suitable for your yarn weight.
- Polyester fiberfill: Also called Dacron, for padded center.
- Stitch markers: To mark beginning stitches and track rounds.
- Tapestry needle: For weaving in ends and securing finishing details.
- Scissors: For trimming yarn.
- Keychain ring and clasp: For attaching finished star to keys or bags.
Helpful tip: Use yarns of similar thickness for both colors so joining and border stitches remain even. Check your yarn label for a suitable hook size if your preferred size is not specified.
Finished Size & Customization
Finished star is approximately palm-sized, making it suitable for keys, backpacks, handbags, or small handmade gifts.
- Color combinations: Try pink with white edging, blue with cream, or bright yellow with a contrasting border.
- Personalized face: Add embroidered eyes, blush, and a small smile to create a star plushie.
- Alternative attachment: Use a short crochet loop, strap, or decorative clasp instead of a standard keychain arrangement.
Pattern Abbreviations
- MR: Magic ring.
- ch: Chain.
- sc: Single crochet.
- st: Stitch.
- inc: Increase; work 2 single crochets in one stitch.
- hdc: Half double crochet.
- dc: Double crochet.
- slst: Slip stitch.
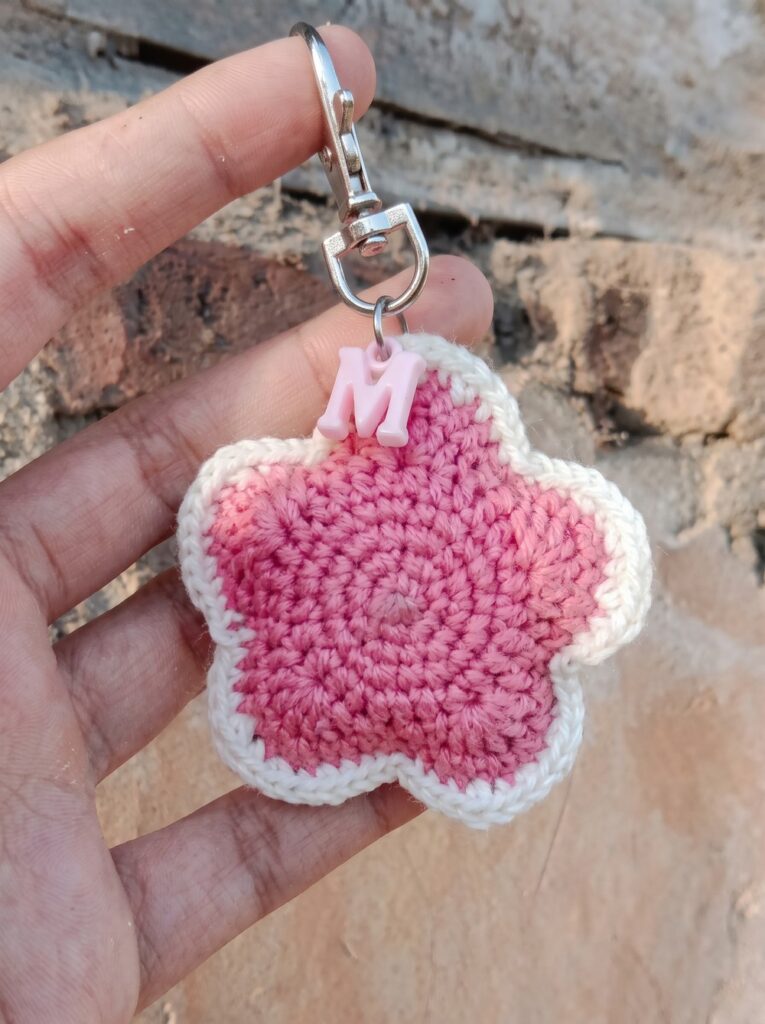
How to Crochet a Star Keychain Step by Step
This design begins with two matching star-shaped panels. Each panel is worked in rounds, with increases creating a wider base and taller stitches shaping five points. Once both panels are ready, they are joined around the edges, stuffed near the final opening, and finished with keychain hardware.
Step 1: Create the First Star Center
With your primary yarn, form a magic ring.
- Round 1: Work 6 sc into the ring. Place a stitch marker in the first stitch. (6 sts)
Pull the starting tail to close the center neatly. Keep your working loop secure while preparing for the next round.
Teaching tip: Check that the magic ring closes completely. Any gap at the center may become more noticeable once the finished star is stuffed.
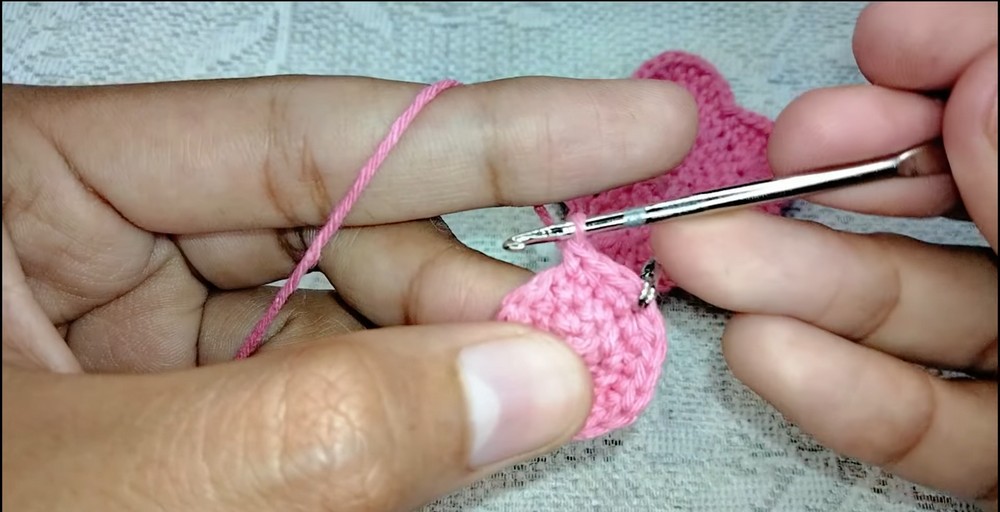
Step 2: Increase the Circle
Expand the center to prepare for the star’s outer shape.
- Round 2: Work 1 inc in every stitch around. (12 sts)
Each stitch from the previous round receives two single crochets. Move your marker to the first stitch of the new round.
Check your work: The piece should lie relatively flat rather than curling tightly into a cup.
Step 3: Continue Increasing
Add another round of increases to widen the panel.
- Round 3: Repeat (1 sc, 1 inc) six times. (18 sts)
Work one single crochet into the next stitch, then two single crochets into the following stitch. Repeat this sequence around.
Why this matters: Evenly spaced increases help keep the center round and provide enough stitches for shaping the outer points.
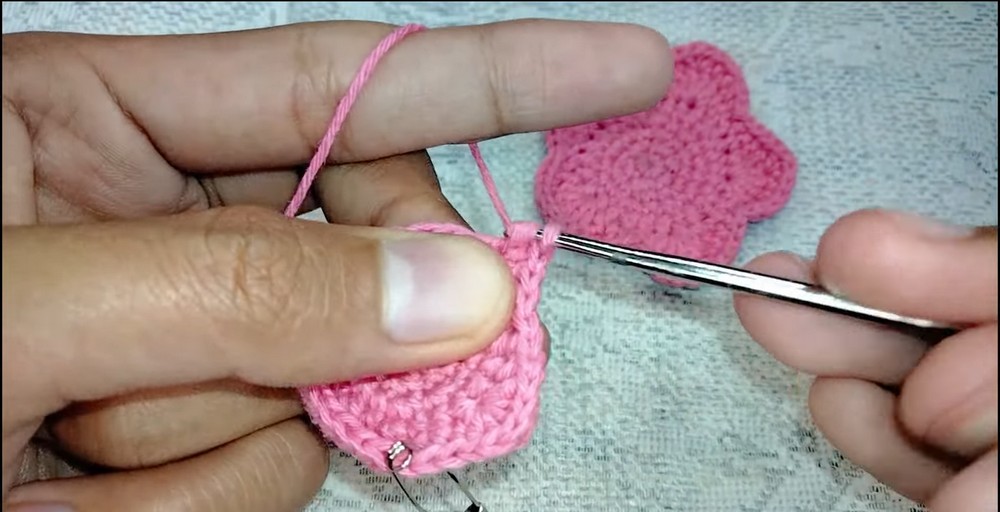
Step 4: Prepare the Outer Edge
The supplied pattern specifies the following instructions:
- Round 4: Repeat (1 inc, 1 sc) eight times. The supplied notes list 27 stitches.
- Round 5: Work 1 hdc in every stitch around. The supplied notes list 27 stitches.
Important pattern check: These Round 4 instructions do not match the stated stitch count. Repeating one increase and one single crochet eight times from 18 stitches produces 24 stitches, not 27. Check the original video for the intended Round 4 repeat before proceeding, then work Round 5 across the verified stitch count.
Once the count is confirmed, maintain consistent tension so the outer edge remains even.
Step 5: Shape Five Star Points
Round 6 creates the recognizable five-point outline.
The supplied point sequence is: (1 sc, 1 hdc, 5 dc in the same stitch, 1 hdc, 1 sc, 1 slst)
The sequence is intended to create five points around the star.
To form each point, work the single crochet and half double crochet first, then place five double crochets into the designated stitch. These taller stitches build the raised tip. Continue with the remaining half double crochet, single crochet, and slip stitch to shape the valley between points.
Teaching tip: Keep the five double crochets together in their designated stitch. Spreading them across several stitches changes the point’s shape.
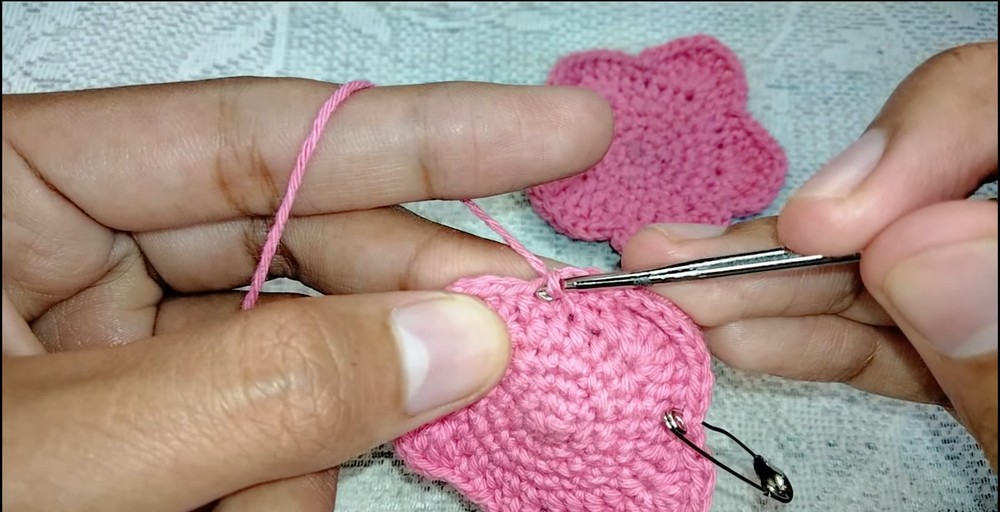
Step 6: Complete the First Panel and Crochet the Second
After finishing the first star panel, fasten off and cut the yarn.
Repeat Rounds 1-6 to create the second panel, following the same verified stitch counts and point placement.
Important: Do not cut the yarn after finishing the second panel. Its working yarn will be used to join both pieces.
Check before joining: Place both panels together and compare their five points. Matching outlines make the joining round easier and help prevent twisting.
Step 7: Align Both Star Panels
Place the two star pieces back-to-back, matching their points and valleys.
Use stitch markers or pins to hold corresponding edges together, particularly near each tip and inner corner.
Begin joining with the working yarn from the second panel. The supplied tutorial starts Round 7 with ch 1.
Teaching tip: Work around the star gradually rather than stretching one panel to fit the other. If points do not align, adjust the pieces before adding joining stitches.
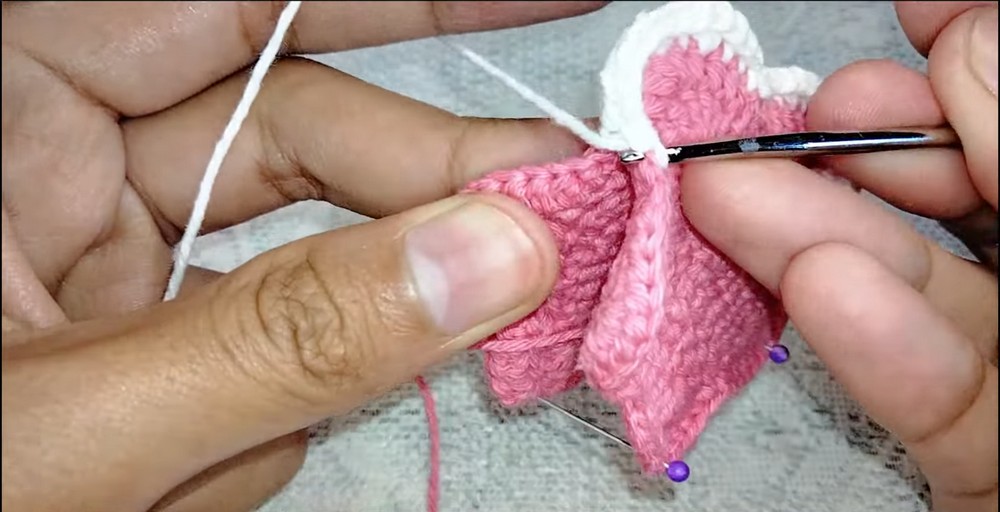
Step 8: Join the Edges
The supplied joining sequence for Round 7 is: (1 sc, 1 hdc, 3 hdc in the same stitch, 3 hdc, 1 sc, 1 slst)
Repeat the intended sequence around the corresponding edges of both panels, following the original video for exact stitch placement.
The three half double crochets in one stitch help create fullness at designated points, while single crochets and slip stitches form transitions around the outline.
Step 9: Add Contrasting Border Color
For a two-tone finish, fasten off the primary yarn and attach contrasting yarn at the edge, as demonstrated in the supplied tutorial.
White edging against pink creates a crisp outline, while other contrasting shades can make the star look brighter or more playful.
Before continuing, check that the new yarn is securely joined and that its starting tail can be woven in later.
Color tip: Keep the yarn tails on the reverse side and secure them neatly so they do not become trapped in visible portions of the border.
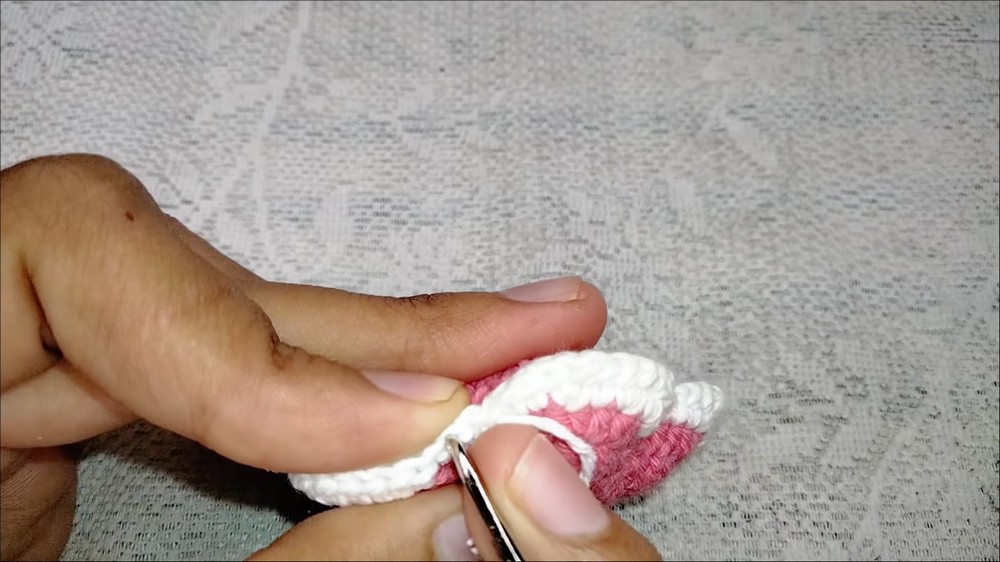
Step 10: Work the Final Border
The supplied Round 8 sequence is: (1 ch, 2 sc, 1 hdc, 2 hdc in same stitch, 2 hdc in same stitch, 2 hdc in same stitch, 1 hdc, 2 sc, 1 slst)
Follow the original video to identify the precise stitches and locations for each part of this sequence. Work around the joined star, keeping the edging consistent with the five-point shape.
Teaching tip: Pay special attention to valleys between points. Excess stitches in these areas can make the outline wavy, while too few can pull the border inward.
Step 11: Add Stuffing Before Closing
When you reach the final point and only a small section remains open, insert a little polyester fiberfill.
Distribute the stuffing toward the center and into the points with your fingers or the blunt end of a suitable tool. Use small amounts so the star remains flexible and its outline stays recognizable.
Result check: Both panels should sit evenly together, with enough filling to create a padded center but not so much that the edges spread apart.
Step 12: Finish the Border and Secure Yarn Ends
Complete the final stitches and fasten off, leaving a short yarn tail.
Use a tapestry needle to weave the tail securely into the joining stitches. Check the entire edge for gaps, loose loops, or uneven points before trimming excess yarn.
Gently shape each tip with your fingers to restore the five-point outline.
Step 13: Attach Keychain Hardware
Attach the keychain ring and clasp securely to the top point of the finished star.
Use a sturdy attachment through a secure section of crochet fabric rather than relying on a loose yarn tail alone. If using a separate crochet loop, reinforce its attachment and check that it can support normal handling.
Final check: Tug gently on the ring, inspect the joining seam, and confirm that no stuffing is visible through the border.
Finishing Touches & Personalization
Your padded star is ready to use as a keychain, bag charm, or small handmade gift.
- Add embroidered facial features for a friendly star character.
- Try a small amount of blush-colored embroidery for cheeks.
- Experiment with seasonal shades for holiday gifts or matching accessories.
- Make several stars in coordinating colors for a matching set.
For accessories intended for young children, avoid small detachable embellishments and ensure all hardware is securely attached.
Tips for Neater Star Points
- Keep stitch counts accurate: Verify the supplied Round 4 count before shaping the points.
- Match both panels: Identical sizing makes joining easier and keeps the star symmetrical.
- Watch your tension: Tight stitches help contain stuffing, but overly tight edging may distort the outline.
- Check each point as you work: Small adjustments are easier before the full border is complete.
- Secure the hardware: Reinforced attachment helps the finished star withstand everyday use.