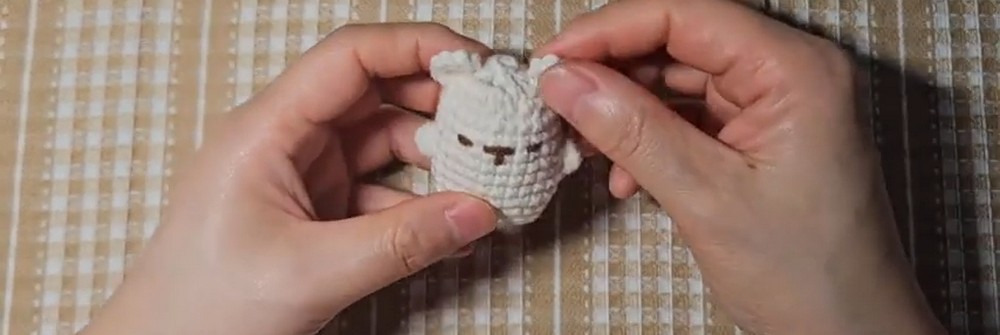
Here, soft yarn and simple stitches come together in a tiny crochet bear, complete with rounded ears, embroidered features, and an optional keychain finish.
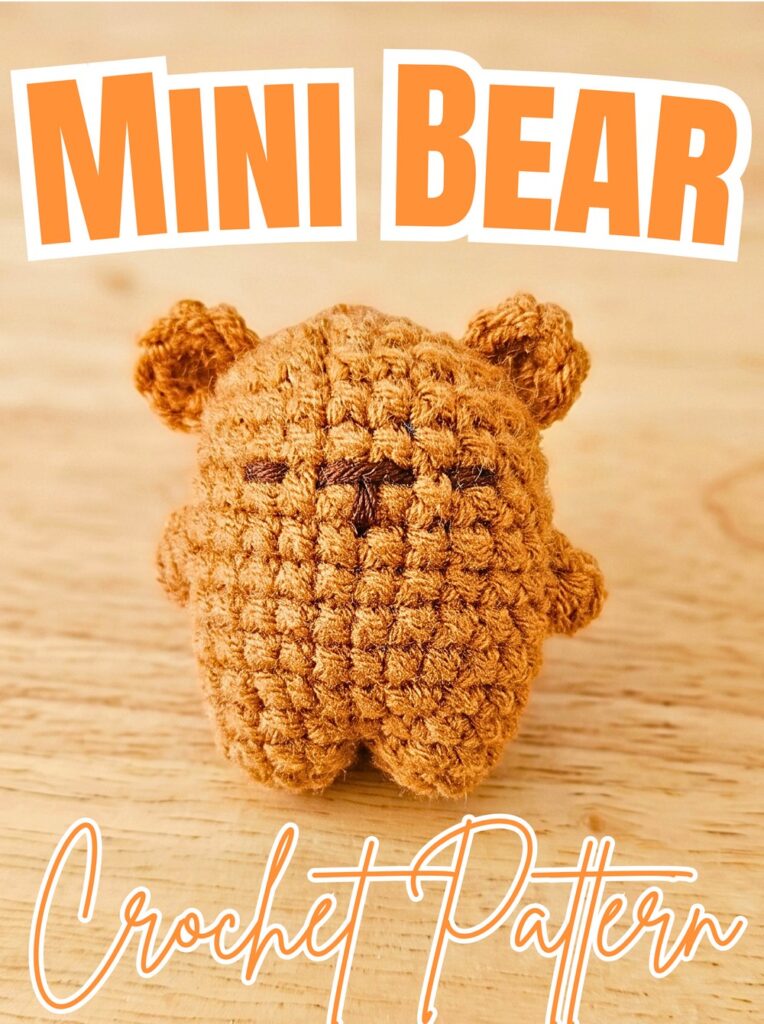
Miniature bears have their own charm, especially when their little ears, tiny arms, and embroidered faces give them personality. Crochet details can be small, so keeping track of stitch counts and shaping each round carefully helps create a neat, recognizable bear.
This crochet pattern guides you through both legs, body, head, ears, and facial embroidery, with practical guidance for joining pieces and closing the stuffed shape. You can also personalize your crochet bear with pastel colors, a tiny scarf, or a keychain ring. Let’s begin.
Credit Eny’s crochet
Materials & Tools
- Main-color yarn: White, beige, brown, or another preferred color.
- Dark brown yarn: For embroidered eyes and nose.
- Crochet hook: 2.0 mm.
- Stitch marker: To track rounds accurately.
- Yarn needle: For sewing ears and weaving in ends.
- Scissors: For cutting yarn.
- Polyester fiberfill: For stuffing body and head.
Finished Size & Customization
Finished bear measures approximately 2.5–3 inches tall, making it suitable for miniature displays, small handmade gifts, or keychain accessories.
- Color variations: Try pastel pink, cream, gray, or traditional brown.
- Extra details: Add a tiny ribbon, bow, or scarf around its neck.
- Keychain option: Attach a suitable keychain ring securely at top of head after finishing.
Helpful tip: Yarn thickness and personal tension affect finished size. Keep stitches tight and even so stuffing remains inside fabric.
Pattern Abbreviations
- R: Round
- st(s): Stitch(es)
- ch: Chain
- sc: Single crochet
- inc: Increase; work 2 single crochets into one stitch.
- dec: Decrease; crochet 2 stitches together.
- dc: Double crochet

Step-by-Step Crochet Mini Bear Pattern
Work each leg separately before connecting both pieces to form body. Continue upward through body and head, then close opening, attach ears, and embroider facial details.
Step 1: Crochet First Leg
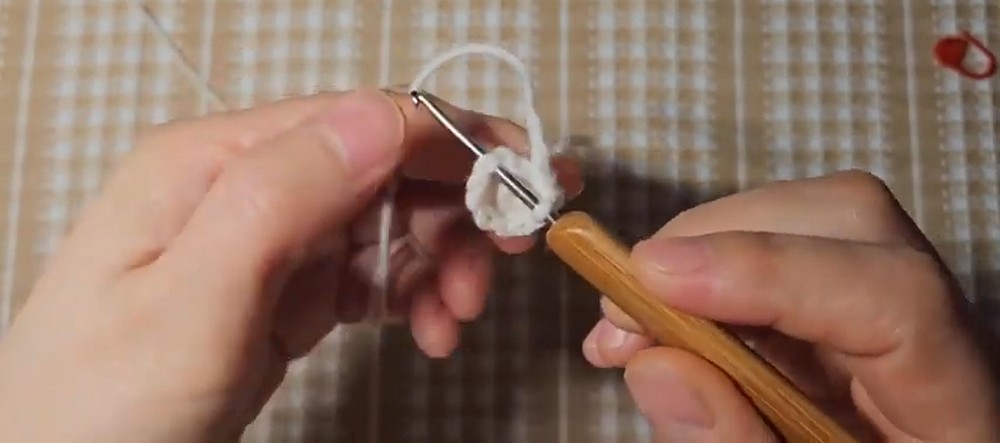
Begin with main-color yarn and create magic ring.
- R1: Work 6 sc into magic ring. (6 sts)
- R2: Repeat (1 sc, 1 inc) three times. (9 sts)
Pull starting yarn tail to close center of magic ring securely.
Fasten off first leg completely, leaving no working yarn attached. Keep this piece ready while you crochet second leg.
Teaching tip: Count stitches after each round. First leg should have 9 stitches at end of R2, giving both legs matching proportions.
Step 2: Make Second Leg
Repeat same instructions for second leg:
- R1: Work 6 sc into magic ring. (6 sts)
- R2: Repeat (1 sc, 1 inc) three times. (9 sts)
Unlike first leg, do not fasten off second leg. Its working yarn will continue into body construction.
Check before joining: Both legs should have matching stitch counts and similar size. If one looks noticeably larger, check tension before continuing.
Step 3: Join Legs and Begin Body
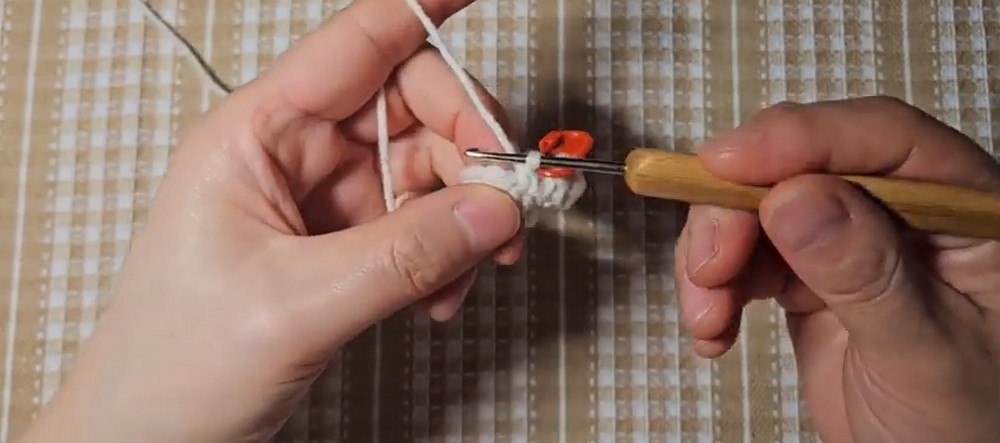
Position both legs beside each other and follow joining arrangement shown in supplied tutorial. Using working yarn from second leg, crochet around both pieces to establish body.
- R3: Join legs and work a total of 18 sc. (18 sts)
Keep legs aligned while crocheting around their connecting area. Avoid pulling joining stitches too tightly, because uneven tension can distort their placement.
Important: Your supplied notes specify 18 sc for this joining round but do not detail exact hook insertion points for joining both legs. Follow original video for precise placement.
Step 4: Shape Body With Increases
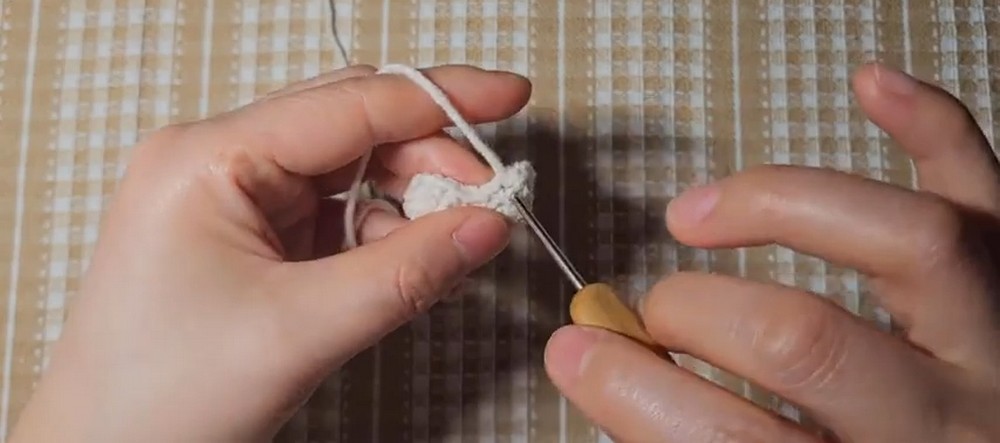
With legs joined, widen body gradually to create its rounded shape.
- R4: Repeat (1 sc, 1 inc, 1 sc) six times. (24 sts)
- R5: Work 24 sc. (24 sts)
- R6: Work 24 sc. (24 sts)
Place stitch marker at beginning of each round and move it forward as you progress.
Teaching tip: Keep R5 and R6 even, without adding extra increases. These rounds establish body width before arm details are added.
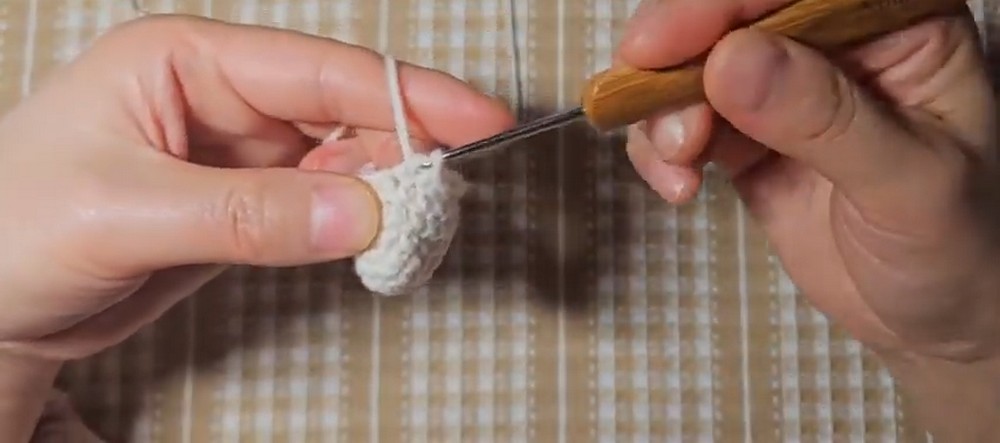
Step 5: Add Small Bobble Arms
Round 7 creates two raised arm details directly within body rather than as separate pieces.
- R7: Work 5 sc.
- In next stitch, work 4 incomplete dc together to form first arm bobble.
- Work 12 sc.
- In next stitch, work 4 incomplete dc together to form second arm bobble.
- Work final 5 sc. (24 sts)
To make each bobble, yarn over, insert hook into specified stitch, yarn over again, and pull up a loop. Complete each double crochet only partway, leaving its final loop on hook. Repeat until four incomplete double crochets are ready, then yarn over and draw through all remaining loops together.
Check your work: Both bobbles should sit on opposite sides of body. Keep their height and tension similar for balanced arms.
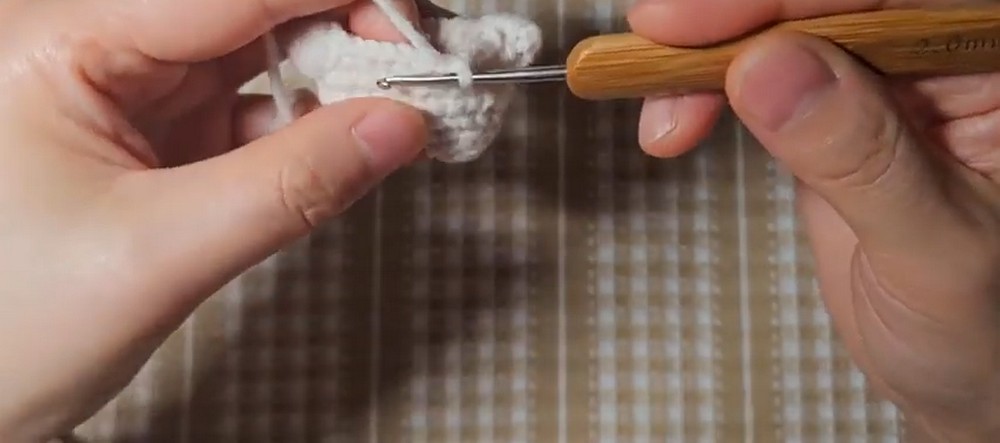
Step 6: Continue Body and Head
Continue working straight rounds to extend upper body into head.
- R8: Work 24 sc. (24 sts)
- R9: Work 24 sc. (24 sts)
- R10: Work 24 sc. (24 sts)
- R11: Work 24 sc. (24 sts)
Use your fingers to gently shape fabric as you work. Since body and head form one continuous piece, consistent tension helps maintain smooth contours.
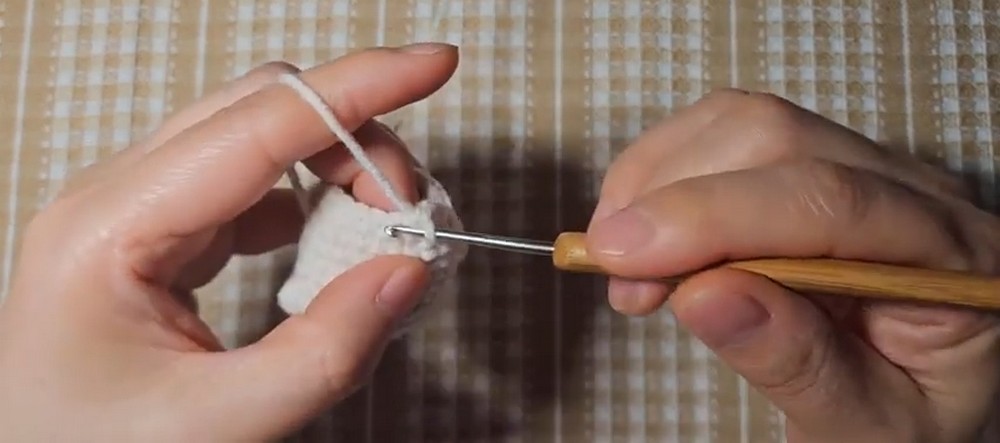
Step 7: Begin Closing Head
Start decreasing stitches to narrow upper portion of bear.
- R12: Repeat (1 sc, 1 dec, 1 sc) six times. (18 sts)
- R13: Repeat (1 sc, 1 dec) six times. (12 sts)
At this stage, opening should be noticeably smaller.
Helpful tip: Use an invisible single-crochet decrease if familiar with technique; otherwise, follow standard decrease method. Keep decreases evenly spaced to avoid uneven shaping.
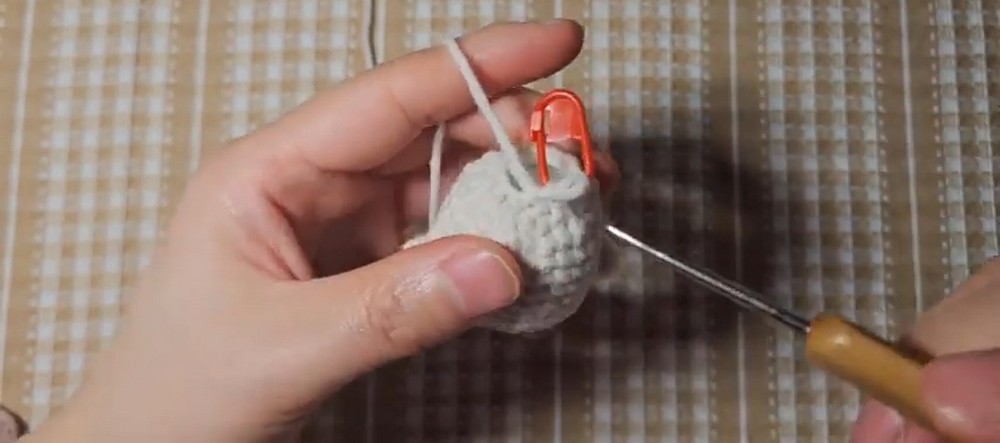
Step 8: Stuff Body Before Closing
Add polyester fiberfill through remaining opening before final round.
Distribute stuffing throughout body and head, gently pushing small amounts into lower body and sides. Add more until bear feels firm while retaining some flexibility.
Avoid packing stuffing into one large lump, because uneven filling can create bumps or leave legs and head poorly shaped.
Result check: Bear should hold its shape, with no obvious empty sections and no stuffing showing through stitches.
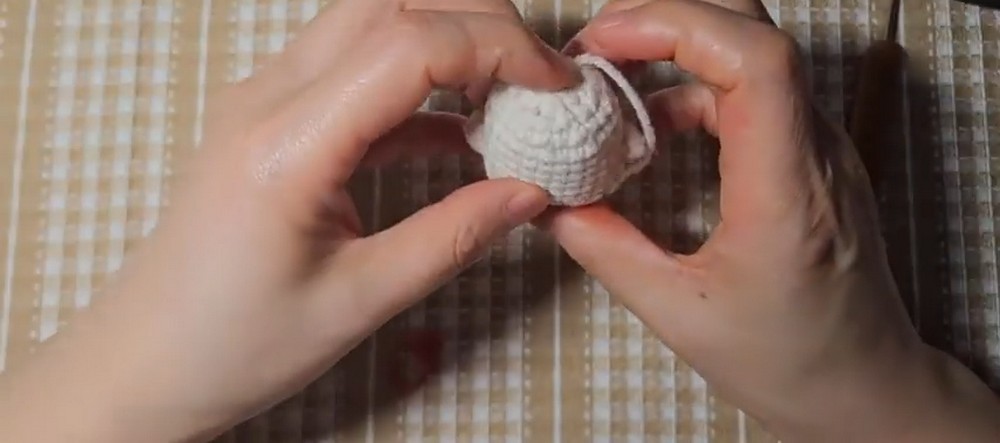
Step 9: Close Final Round
- R14: Work 6 dec. (6 sts)
Fasten off, leaving a yarn tail long enough for closing.
Thread tail through yarn needle and pass it through front loops of remaining 6 stitches. Pull yarn gently until opening closes completely, then secure tail inside body.
Finishing tip: Draw opening closed gradually. Pulling too forcefully can distort top of head or cause yarn to break.
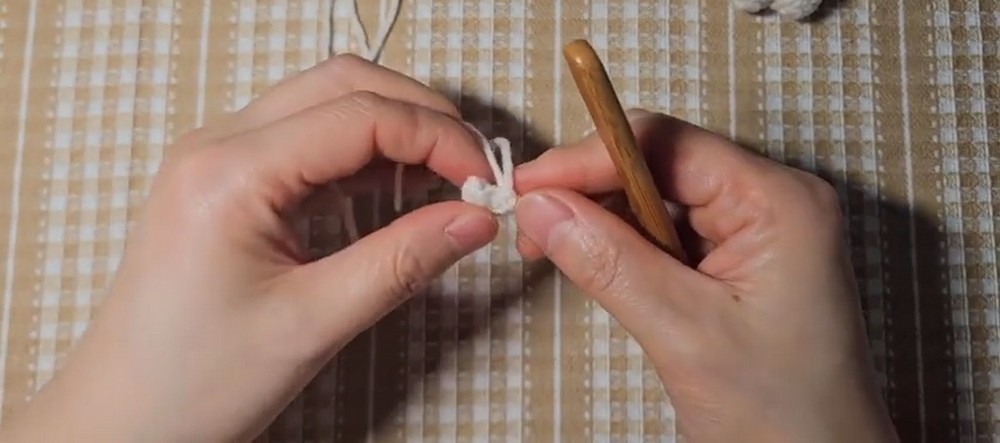
Step 10: Crochet Both Ears
Make two matching ears using main-color yarn.
For each ear:
- R1: Work 6 sc into magic ring. (6 sts)
Fasten off, leaving a long yarn tail for sewing.
Keep ears unstuffed unless original design indicates otherwise. Their small size allows them to sit close to head without adding unnecessary bulk.
Step 11: Position and Sew Ears
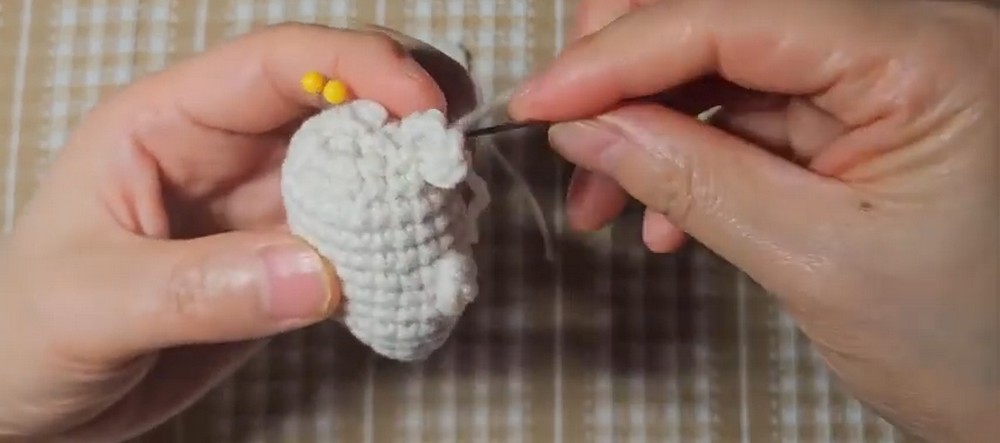
Place both ears on top portion of head, between R3 and R4 when counting downward from top closing round, as specified in supplied tutorial.
Use pins or temporary yarn markers to hold each ear in position before sewing.
Thread remaining ear tail through yarn needle and stitch ear securely to head. Repeat for second ear, checking that both ears sit at similar height and angle.
Teaching tip: View bear from front before securing final stitches. Small placement adjustments can make a noticeable difference to its expression.
Step 12: Embroider Eyes and Nose
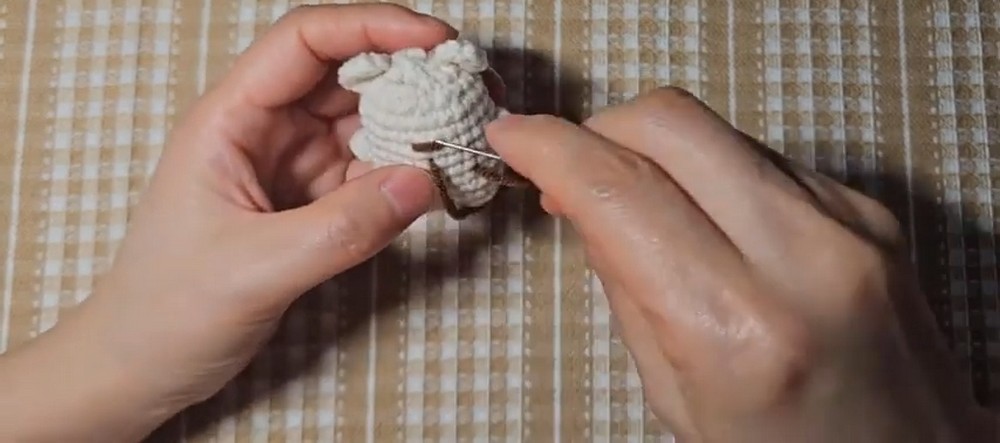
Use dark brown yarn and yarn needle to add facial features.
- Eyes: Embroider two short vertical stitches.
- Nose and muzzle: Add a small horizontal nose detail centered between R6 and R7 of head, following supplied tutorial.
Keep both eyes aligned and leave balanced spacing between them. Work small stitches first, then add yarn only where necessary to create desired definition.
Result check: Look at face from straight ahead. Eyes should appear balanced, while nose remains centered between them.
Step 13: Finish and Personalize Bear
Weave remaining yarn ends securely into body and trim excess yarn.
For extra personality, add a small ribbon, bow, or scarf around neck. For keychain use, attach suitable hardware securely at top of head, ensuring attachment is strong enough for intended use.
Your mini bear is now complete, with joined legs, integrated bobble arms, shaped head, sewn ears, and embroidered facial features.
Tips for a Neater Mini Bear
- Track every round: Small amigurumi pieces can lose their shape quickly when increases or decreases are missed.
- Maintain tight stitches: A 2 mm hook helps create compact fabric, but consistent tension remains important.
- Check symmetry early: Compare legs, bobble arms, and ear placement before finishing each section.
- Stuff gradually: Adding small amounts makes it easier to distribute filling evenly.
- Secure finishing details: If bear will be used as a keychain, check all sewn parts and attachment points regularly.
For a gift intended for very young children, embroidered facial features are preferable to small detachable components. Keychain hardware and decorative accessories should also be kept away from children who might put small objects in their mouths.