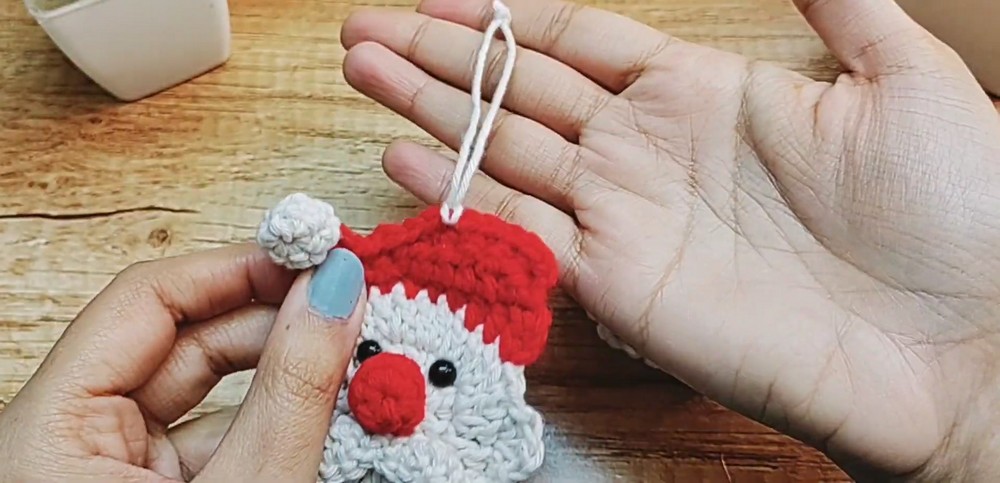
Create a mini crochet Santa ornament with scalloped beard, floppy red hat, tiny mustache, and dimensional details for trees, gifts, garlands, or keychains.
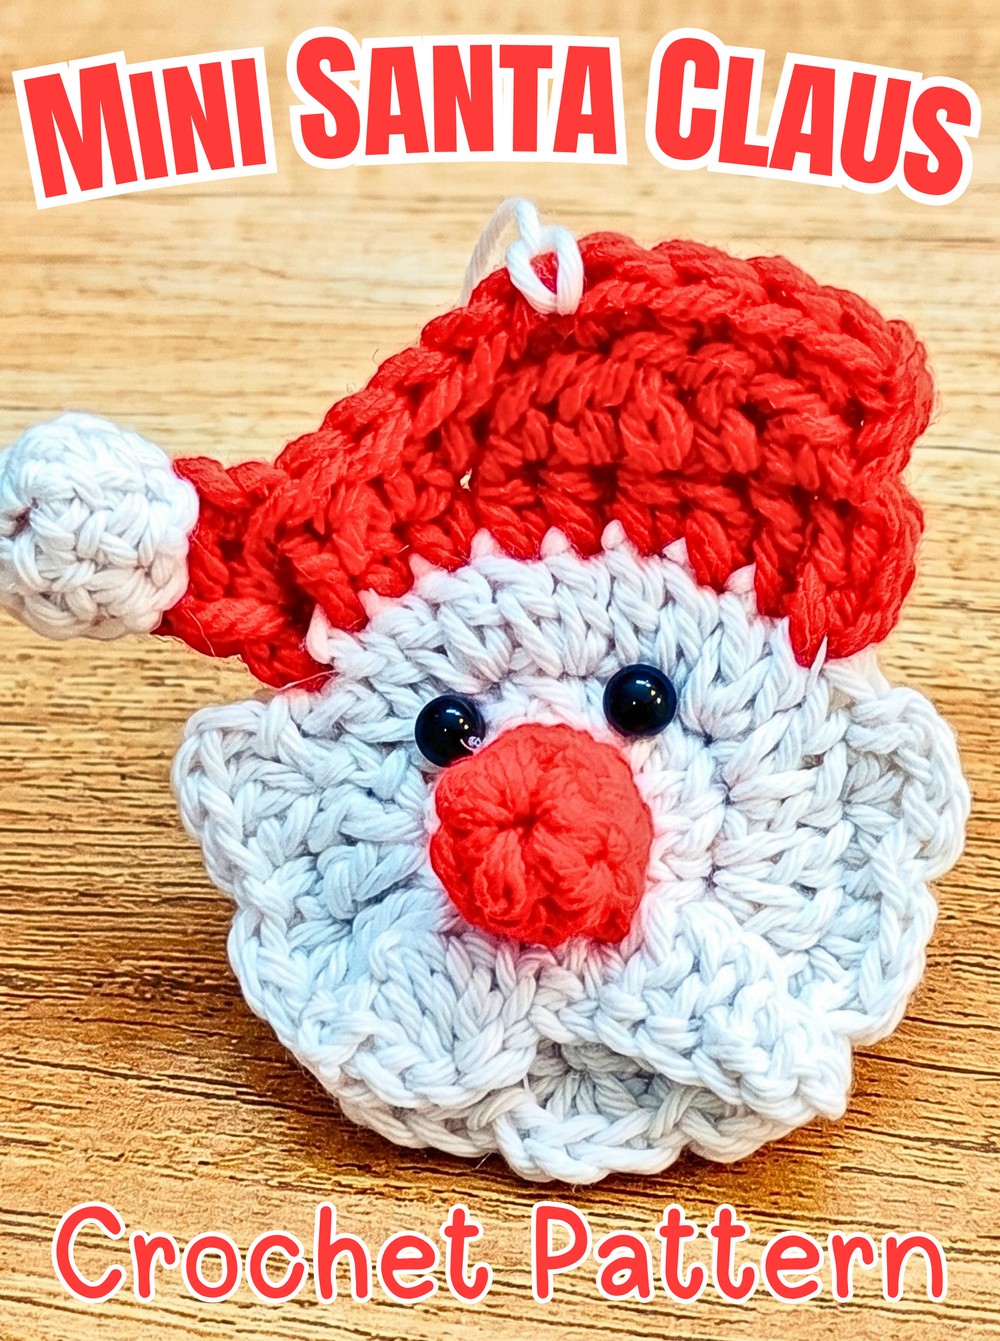
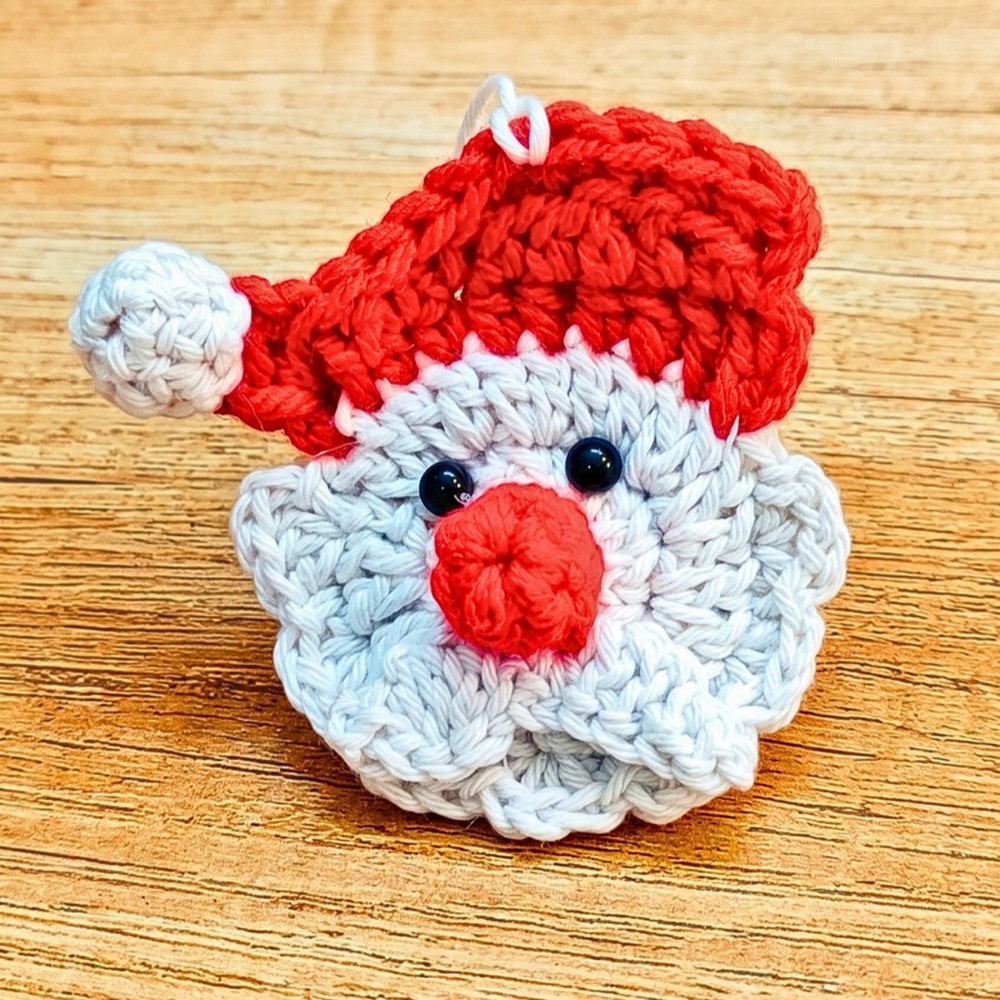
Scalloped white beard, bright red hat, tiny mustache, and rounded nose give this mini crochet Santa ornament plenty of character despite its small size. Layered crochet circles create his face and back, while shaped details bring his familiar holiday expression to life.
Begin with two matching white circles, then join both layers while forming beard scallops around bottom edge. Red yarn shapes hat across top, followed by separate mustache, nose, and pom-pom crochet pieces. Careful placement during assembly keeps eyes, nose, mustache, and hat balanced on such a small surface.
Credit YarnIt Crochet
Materials & Tools
- 4-ply cotton yarn in White and Red
- Acrylic yarn as an alternative
- 3.5 mm crochet hook, or size suitable for chosen yarn
- Small safety eyes or black beads
- Scissors
- Yarn needle for weaving in ends
- Extra white thread for hanging loop
Finished Size & Customization
This tutorial creates a miniature Santa designed for Christmas tree decorating. Finished size can be changed by using different yarn weights with matching hook sizes.
Mini Santa faces can also be:
- Strung together into festive holiday garlands
- Attached to gifts as decorative toppers
- Turned into keychains
- Used as small seasonal decorations
Pattern Abbreviations
MR – Magic Ring
ch – Chain
sl st – Slip Stitch
sc – Single Crochet
hdc – Half Double Crochet
dc – Double Crochet
st(s) – Stitch(es)
inc – Increase, 2 stitches worked into same stitch
Face & Back Base – Make 2
Round 1: With White yarn, make MR, ch 2 (does not count as stitch), work 12 dc into MR, pull tail tightly to close circle, join with sl st to first dc. (12 sts)
Round 2: Ch 2, work 2 dc in first st and 2 dc in every stitch around, join with sl st to first dc. (24 sts)
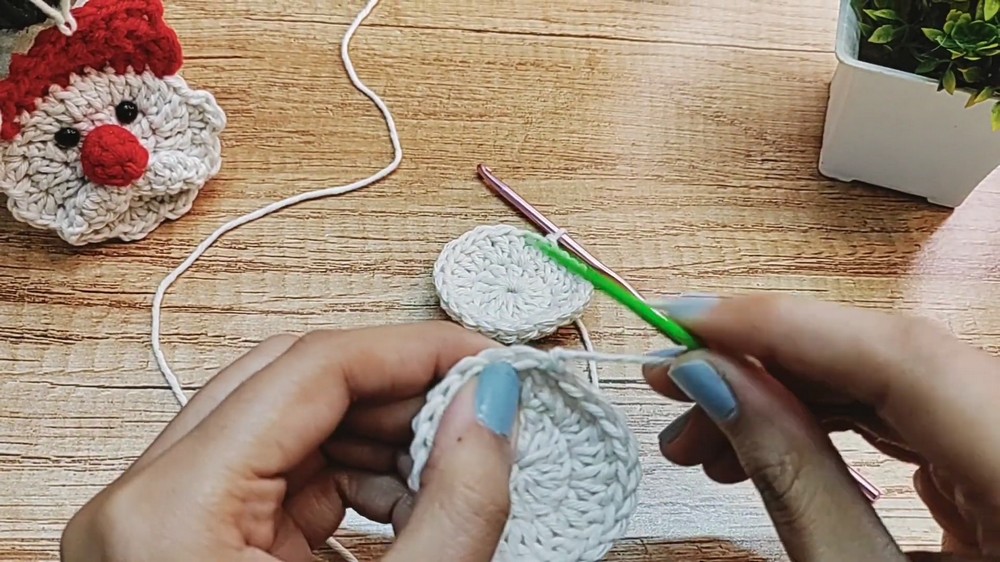
Fasten off and cut yarn after first circle. Make second identical circle, but do not cut yarn. Continuing from second circle is important because next section joins both circles directly.
Join Circles & Form Beard
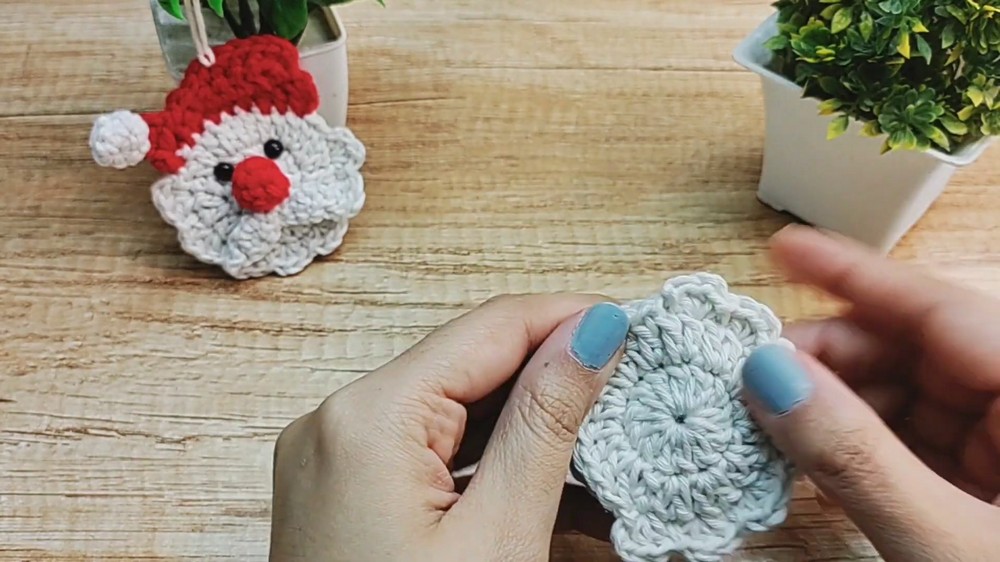
Place both circles together with wrong sides facing each other so yarn tails remain hidden inside. From this point, work through corresponding stitches of both circles at same time.
Joining and Beard: Ch 2, working through both layers, work [1 dc, 1 hdc, 1 dc] into first st, then 1 sl st in next st; repeat this combination 7 times to create 7 beard scallops, finishing seventh scallop with sl st; cut White yarn and fasten off.
Keep both layers aligned while working around edge. Each stitch must pass through both circles so beard edge also serves as secure joining point. Avoid catching only one layer, since that can leave part of back circle loose.
Santa Hat
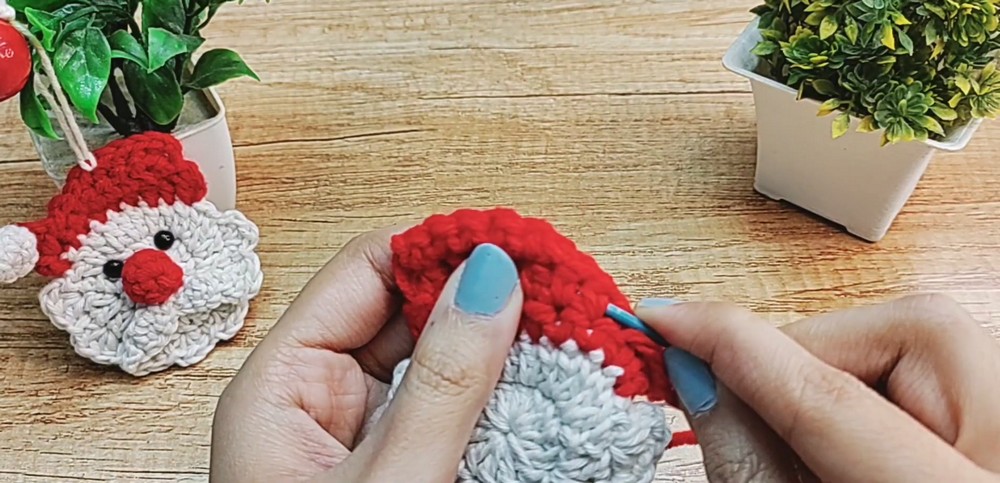
Switch to Red yarn and attach it in next stitch immediately following final White sl st, working through both circles.
Row 1: Ch 2, working along top edge, make 1 dc in each of next 3 sts, 1 hdc in each of next 3 sts, 1 sc in each of next 2 sts, then 1 sl st in next st; ch 1 and turn. (9 sts used)
Row 2: Make 1 sc in each of first 3 sts, 1 hdc in each of next 2 sts, 1 dc in each of next 2 sts, 1 hdc in next st, and 1 sc in last st; ch 1 and turn.
Row 3 – Hat Tip: Make 1 sc in each of next 5 sts, then 1 sl st in each of next 4 sts.
Row 4 – Fold-Over Tail: From current position, ch 5, skip first ch, then starting in second ch from hook make 1 sc, followed by 1 hdc in each of remaining 3 chains.
To anchor floppy hat tail, locate last remaining unused stitch on base circles, insert hook through both layers of that stitch, and make 1 sl st; ch 1, cut Red yarn, and weave in end.
Hat shaping depends on keeping stitch order unchanged through each row. Shorter stitches near hat tip help create curved, drooping shape rather than leaving top edge flat.
Mustache
Use White yarn.
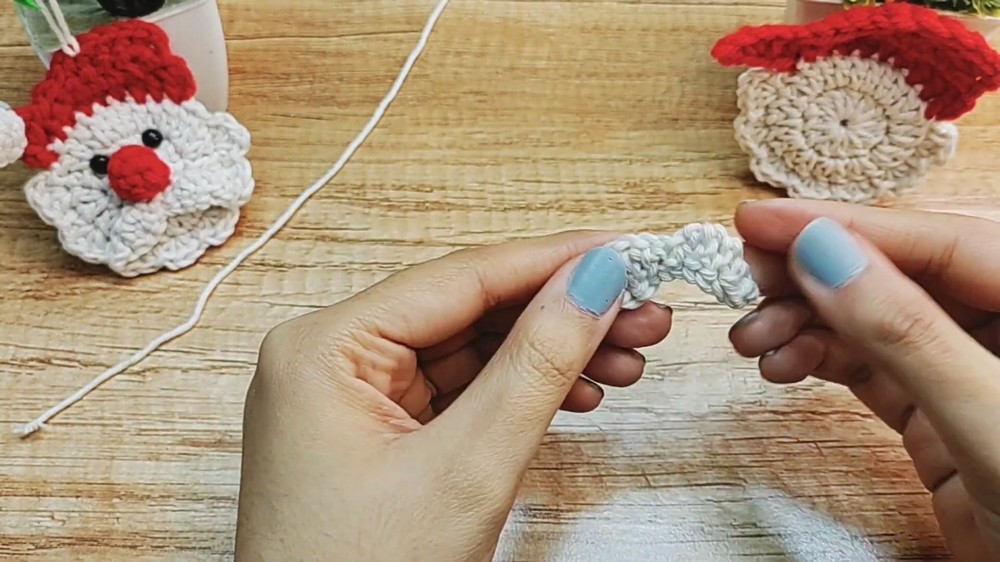
Mustache: Make slip knot and ch 12; starting in second ch from hook, work 1 sc, 1 hdc, 1 dc, 1 dc, 1 sc, 1 sl st, 1 sc, 1 dc, 1 dc, 1 hdc, 1 sc down chain; fasten off, leaving tail, tie a few knots on back to secure shape, and weave in ends.
Mustache should remain loose enough to keep its individual curves visible. Knots on back help hold its shape before attachment.
Nose & Hat Pom-Pom – Make 2
Make one small sphere in Red for nose and one in White for hat pom-pom.
Round 1: Make MR, work 6 sc into ring, pull to close, join with sl st to first sc, ch 1. (6 sts)
Round 2: Work 1 sc in each st around. (6 sts)
Round 3: Work 1 sc in each st around. (6 sts)
For finishing, cut yarn leaving tail. Push beginning tail inside small opening. Thread finishing tail onto needle, pass needle through front loops of next 2–3 stitches, pull tightly to close opening, and fasten off.

Assemble Santa Face
Mustache & Nose
Position mustache horizontally across face, just below red hat line, and attach securely. Place Red nose directly over center point of mustache, then sew or glue it in place.
Eyes
Place safety eyes or sew black beads just above mustache, keeping them close together on either side of nose. Because face is small, check spacing before permanently securing both eyes.
Hat Pom-Pom
Attach White ball securely to drooping tip of Red hat.
Hanging Loop
Fold piece of White string or thread in half. Feed folded loop through center stitch at very top of Red hat, pass two loose ends through folded loop, and pull firmly to create lark’s head knot. Tie two loose ends together with standard knot to form hanging loop.
Small Santa Details Check
Before placing ornament on tree, check that both face layers are joined securely, beard scallops are evenly formed, hat tail is anchored, and nose, mustache, eyes, and pom-pom are firmly attached. If using safety eyes or small beads, make sure attachment is secure before giving ornament to young children.