Looking for a tiny handmade accessory with a sweet, delicate look? This crochet star keychain combines five pointed corners with pretty openwork in the center.
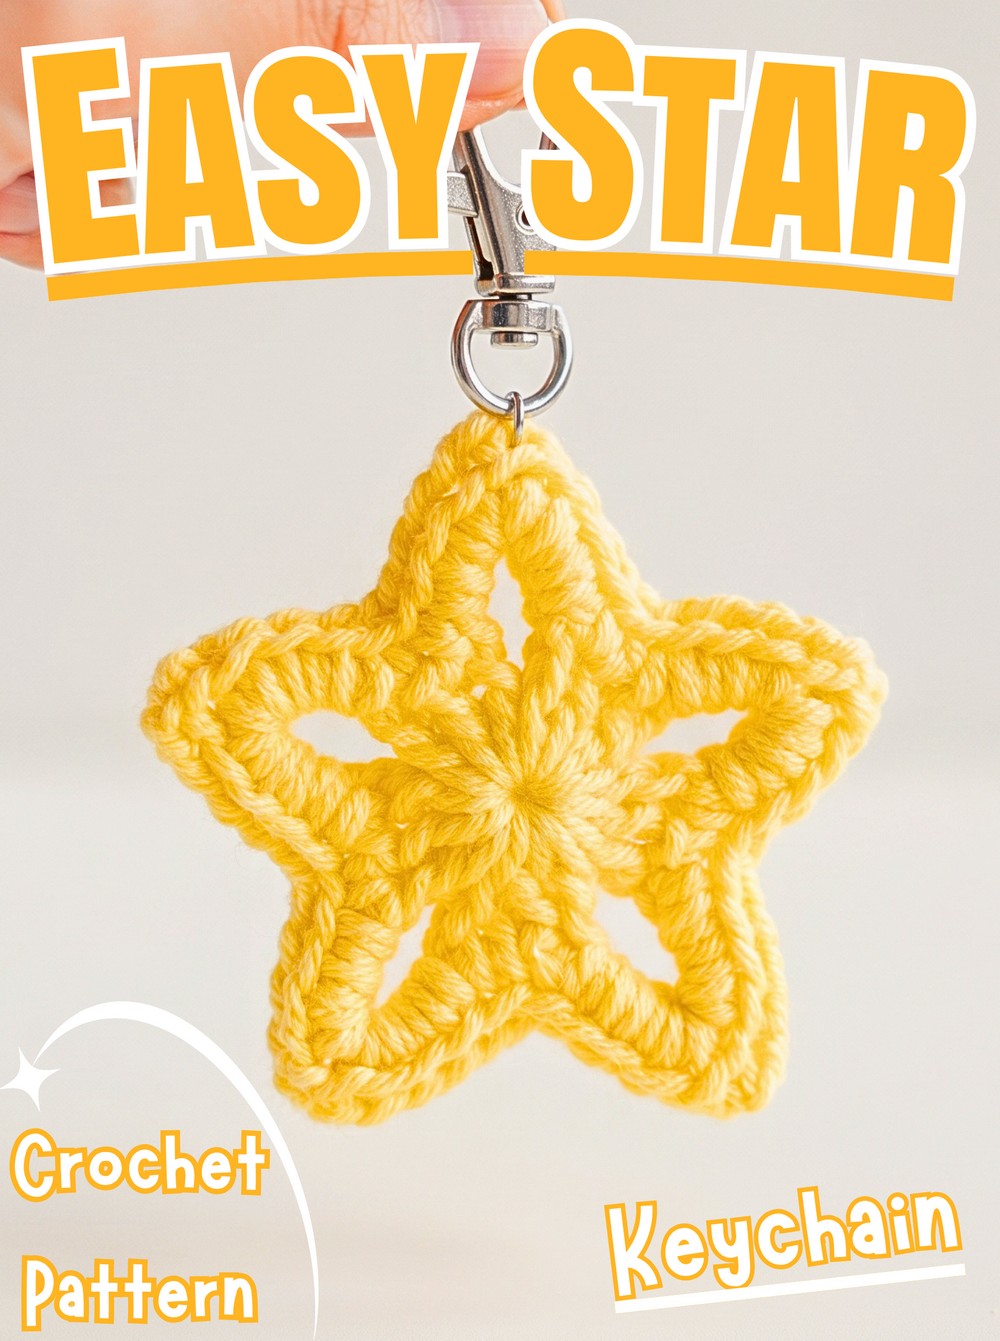
Soft light blue and off-white make this little crochet star look fresh, gentle, and eye-catching. Its five pointed corners give it a classic star shape, while the open spaces in the middle create a delicate lace-like design that makes the charm feel light and special.
This crochet star can decorate a handbag, hang from your keys, or become a thoughtful little handmade gift. Cotton yarn holds its shape well, and beginners can build the crochet star design one round at a time using a magic ring, basic stitches, and chain spaces. Join two matching panels at the end to create a neat charm, and optionally stuff it for a puffier finish.
Credit 小师妹手作
Materials & Tools Needed
- Yarn: 2 mm hollow cotton yarn or similar sport-to-DK weight cotton yarn. Choose light blue and off-white, or any colors you like.
- Crochet hook: 3.5 mm
- Yarn needle: For joining the two star panels and weaving in loose ends
- Scissors: For cutting yarn
- Keychain ring or clasp: Optional, for turning your finished star into a bag charm or keychain
- Polyester fiberfill: Optional, if you want a slightly padded star
Crochet Abbreviations
- MR: Magic ring
- ch: Chain
- sc: Single crochet
- dc: Double crochet
- sl st: Slip stitch
- st(s): Stitch(es)
- yo: Yarn over
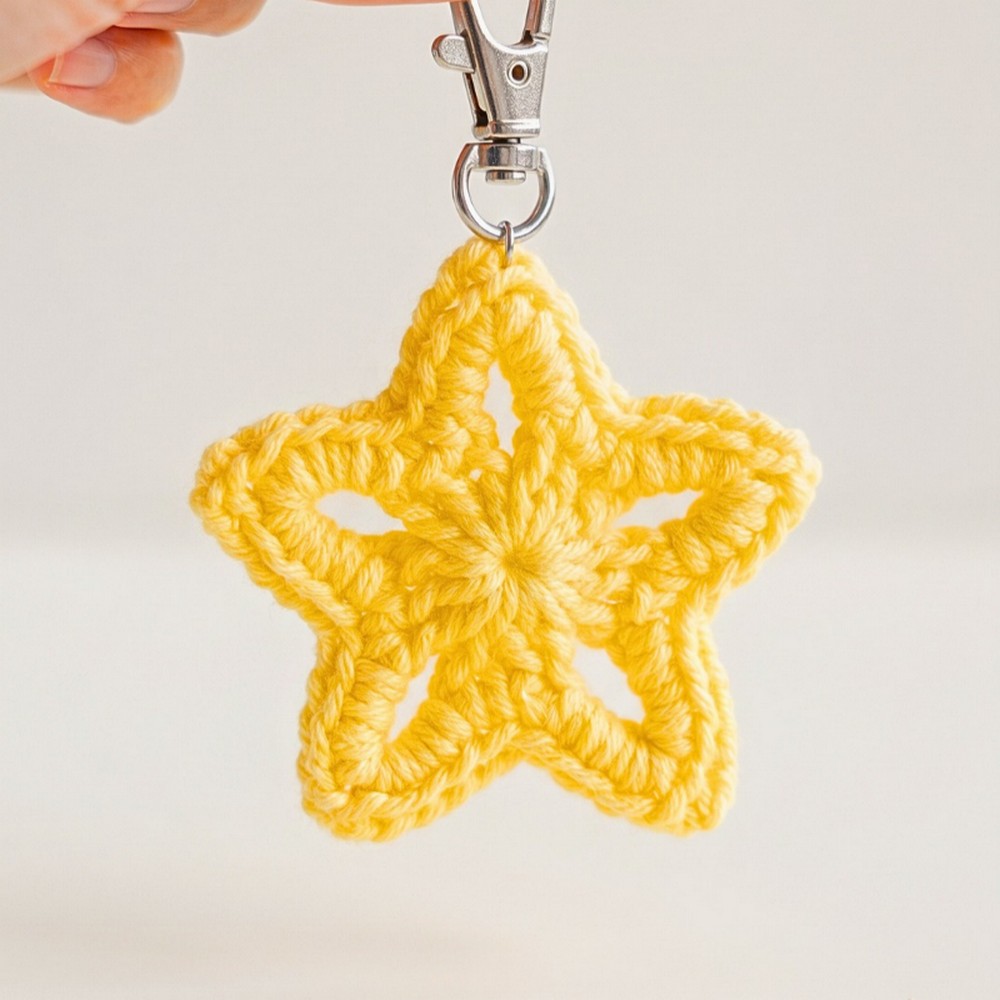
The openwork center comes from the chain-5 spaces made in the first round. In the next round, single crochet stitches shape those spaces into five pointed corners while keeping the center airy.
Step-by-Step Star Pattern
Part A: Make Two Star Panels
You will crochet two matching star motifs and sew them together. You can use the same color for both panels or choose contrasting shades for a two-color effect.
Round 1: Form the five-pointed base
Start with a magic ring. Chain 3; this starting chain counts as your first double crochet.
Work 2 dc into the center of the magic ring, giving you 3 dc in total when the starting chain is included. Chain 5 to form the first open space.
Repeat the following sequence four more times: work 3 dc into the magic ring, then chain 5. You should now have five groups of 3 dc, with a chain-5 space after each group.
Pull the yarn tail to close the magic ring tightly, then join with a sl st into the top of the starting chain-3.
You should see five open chain spaces around the center. These spaces will become the star’s five points in the next round.

Round 2: Shape the star points
Chain 1 and make 1 sc into the same stitch where you joined.
Skip the next stitch, then make 1 sc into the following stitch. In the next chain-5 space, work 3 sc, ch 3, and 3 sc. The chain-3 section creates the tip of one star point.
Continue around the motif using this sequence:
- Make 1 sc in the next dc stitch.
- Skip the next dc stitch.
- Make 1 sc in the following dc stitch.
- In the next chain-5 space, work 3 sc, ch 3, and 3 sc.
Repeat around all five sections until each chain space has been shaped into a point. Join and fasten off securely.
Check your shape: Each star point should have a chain-3 tip, with 3 sc on either side of that tip in its original chain space. If a point looks uneven, check that you worked the same stitch sequence into every chain-5 space.
Make a second identical panel. On this second panel, leave a yarn tail approximately 6–8 inches long so you can use it to sew the pieces together.

Part B: Join the Star Panels
Lay the two panels back-to-back, aligning the five points and matching corresponding stitches around their edges.
Thread the long tail from the second panel onto your yarn needle. Sew the panels together using a whipstitch or secure overcast stitch, working through the inner loops of corresponding stitches as described in the pattern.
Continue carefully around each point so the two layers stay aligned. Before closing the final section, you can add a tiny pinch of polyester fiberfill if you want a padded star. Leave it unstuffed for a flatter, hollow charm.
Finish sewing the edges, secure the yarn, and weave the remaining tail inside the star.

Part C: Attach the Keychain Ring
Choose the star point that will sit at the top. Secure your keychain ring, lanyard strap, or clasp through that point.
Make sure the attachment passes through a sturdy section of crochet rather than catching only a loose strand. Secure it firmly and gently tug the hardware to check that it stays in place.

Color & Style Ideas
- Light blue and off-white: A soft, delicate combination that suits pastel bags and everyday accessories.
- Bright colors: Try yellow, pink, lavender, or turquoise for a playful charm.
- Padded star: Add a small amount of fiberfill before closing the seam for a fuller, three-dimensional look.
- Flat star: Leave out the stuffing to preserve the openwork design and keep the charm lightweight.
For a neat finish, keep your tension even in both panels and line up all five points before sewing. This helps the star retain its shape and gives the openwork center a balanced appearance.