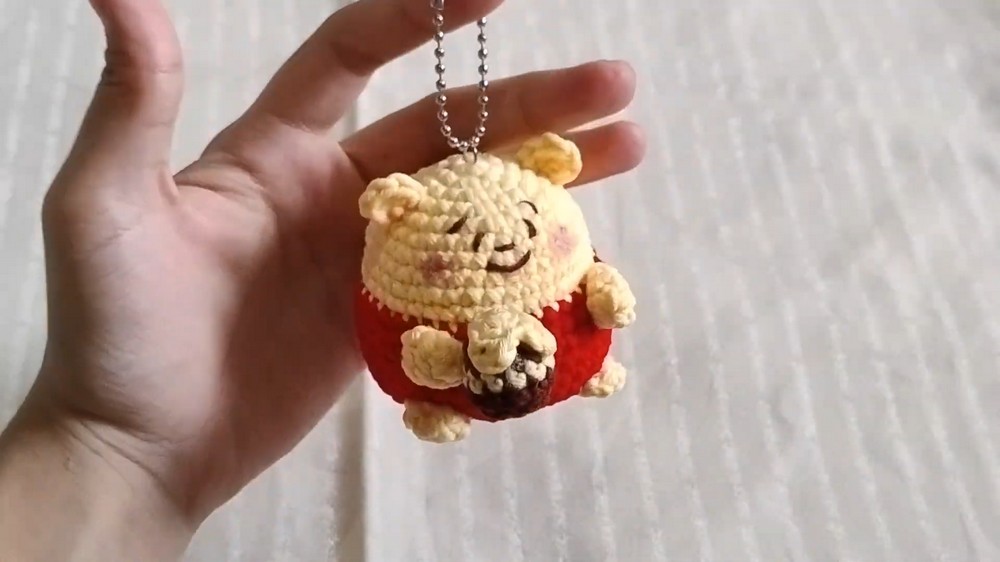
Looking to make a tiny Winnie the Pooh crochet keychain? This beginner-friendly amigurumi pattern shows you how to create his chubby body, sleepy face, and tiny honey pot.
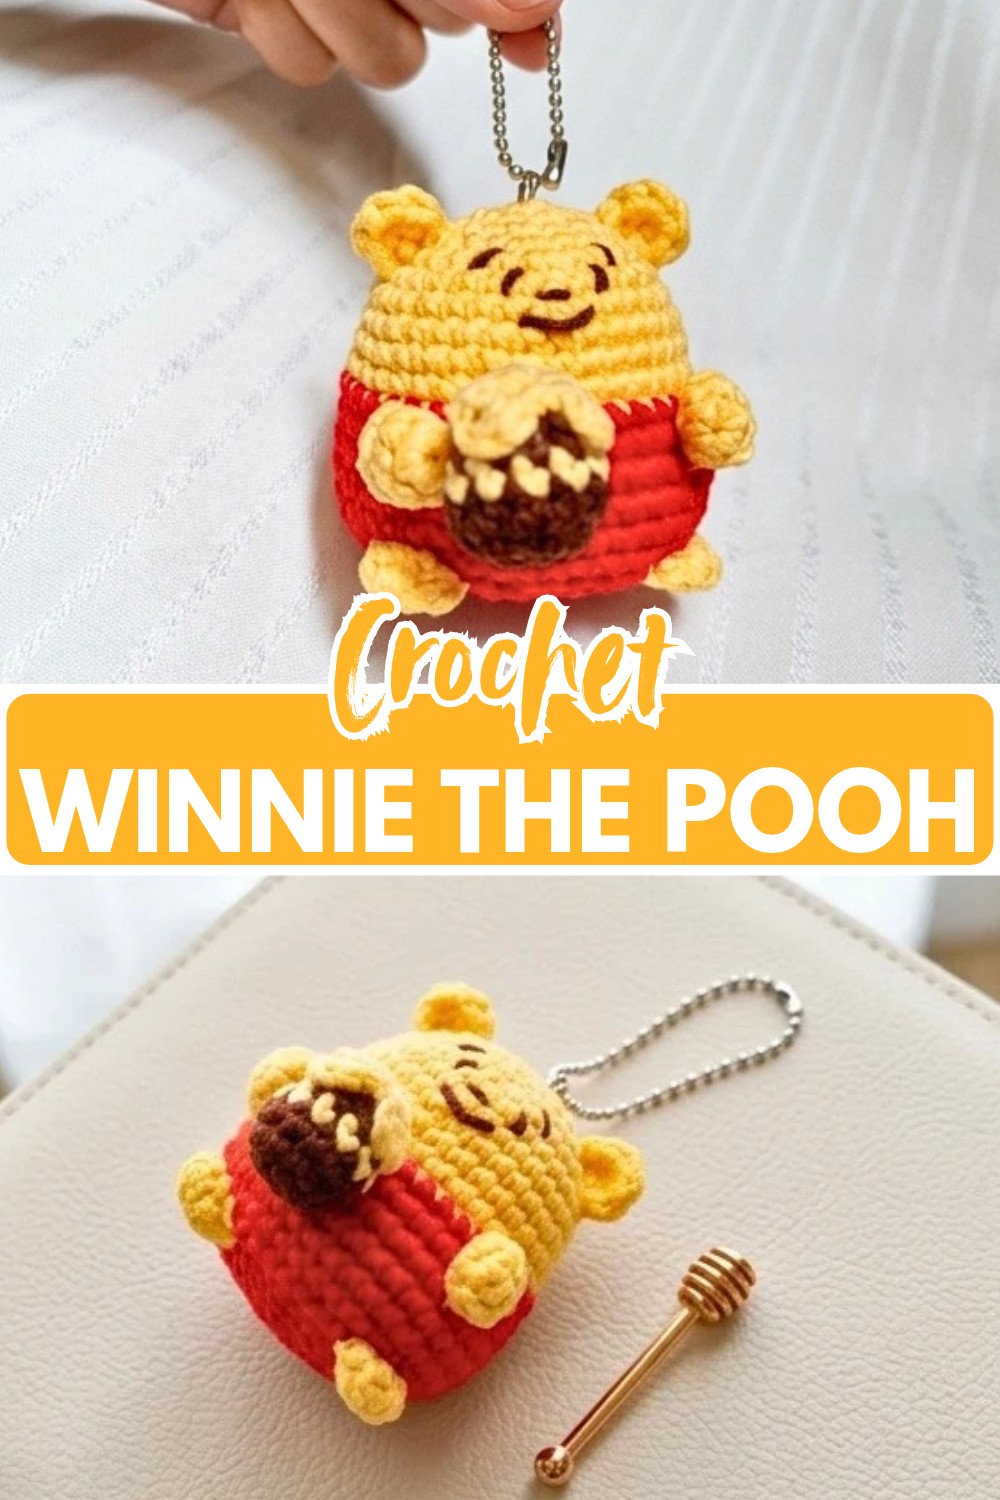
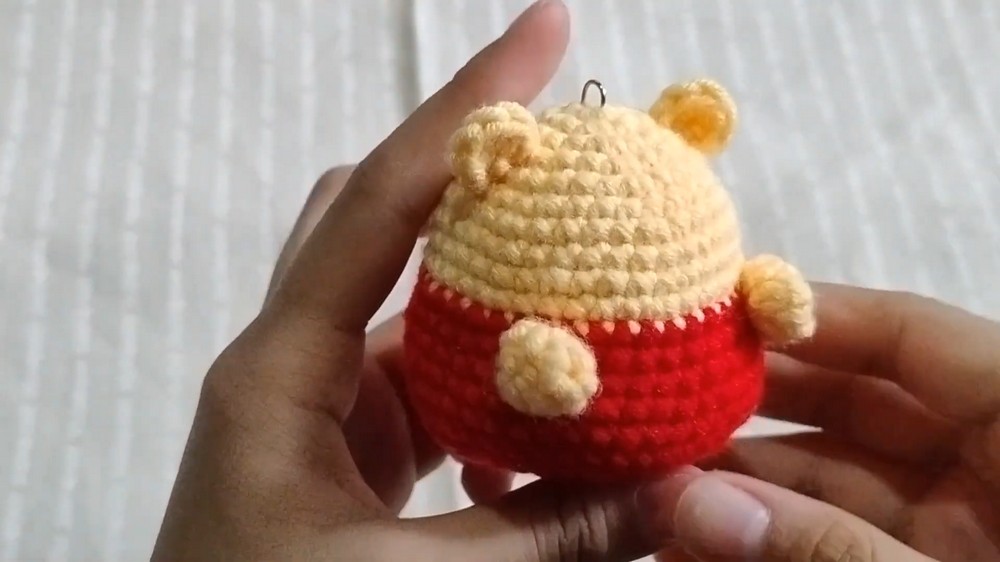
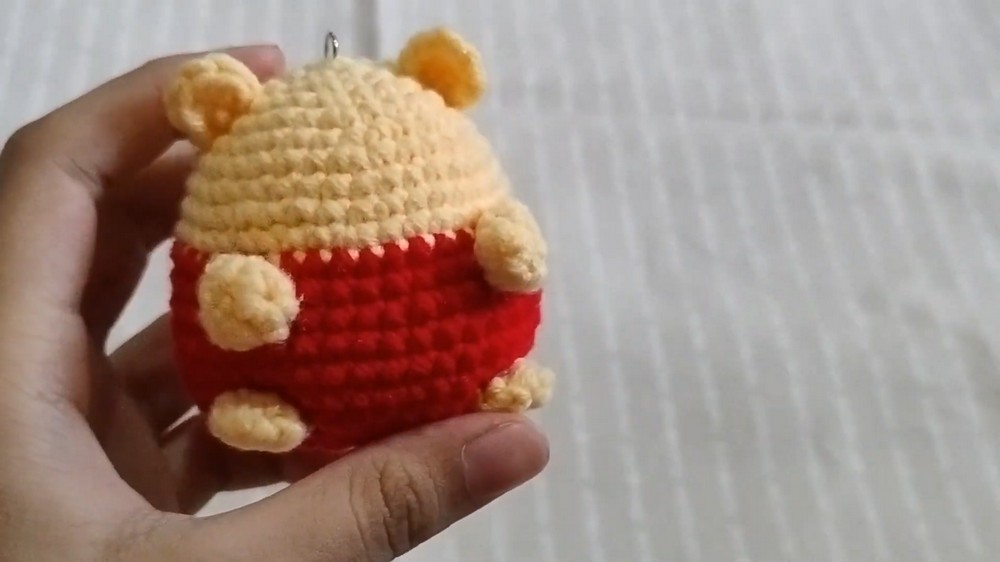
This mini crochet Winnie the Pooh brings together a rounded yellow body, a bright red shirt, tiny ears and feet, and a little honey pot for a character-filled finish. At just a few inches tall, it makes a sweet crochet keepsake, bag charm, or small gift.
The crochet pattern takes you through the body first, including the color change from yellow to red, followed by the small ears, feet, hands, honey pot, and honey spill. You’ll also get clear guidance for the stitch counts, stuffing point, face embroidery, and final assembly so each detail lands in the right place.
Credit Riyal Crochet
Materials & Tools Needed
Yarn
Use light yellow, red, and dark brown medium-weight or DK yarn.
- Light Yellow: For the head and body, ears, feet, and hands
- Red: For the body section
- Dark Brown: For the honey container and facial embroidery
Crochet Hook
Use a 2.0 mm crochet hook.
Stuffing
You’ll need Poly-fil or fiberfill to fill the body.
Tools
Keep a yarn needle or tapestry needle and scissors nearby.
Finishing Supplies
For the finishing details, gather a small keychain chain, pink blush, and a cotton swab.
Finished Size & Customization
This pattern creates a mini amigurumi that measures approximately 2.5 to 3 inches tall, depending on your yarn tension.
For a larger, softer version, swap the 2.0 mm hook for a 4.0 mm or 5.0 mm hook and use thicker plush or chenille yarn. If you prefer a little desk companion rather than a keychain accessory, simply leave out the keychain hardware.
Pattern Abbreviations & Terminology
The pattern uses the following crochet abbreviations:
- MR = Magic Ring
- sc = Single Crochet
- inc = Increase (2 single crochets in the same stitch)
- dec = Decrease (single crochet 2 stitches together)
- slst = Slip Stitch
- ch = Chain
- [ ] = Total number of stitches at the end of the round

Crochet the Head and Body
Start with Yellow Yarn. The head and body are worked as one continuous piece, with increases building the rounded upper section before the red section begins.
R1: 6 sc in a magic ring [6]
R2: inc in every stitch [12]
R3: (1 sc, inc) repeat around [18]
R4: (2 sc, inc) repeat around [24]
R5: (3 sc, inc) repeat around [30]
R6: 1 sc in each stitch around [30]
R7: (4 sc, inc) repeat around [36]
R8 – R9: 1 sc in each stitch around [36] (2 rounds total)
R10: (5 sc, inc) repeat around [42]
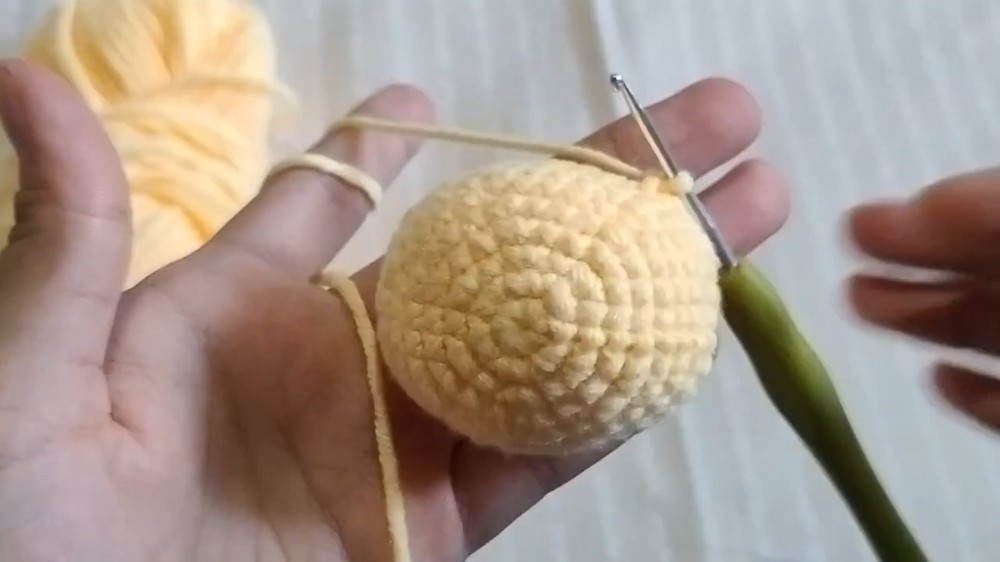
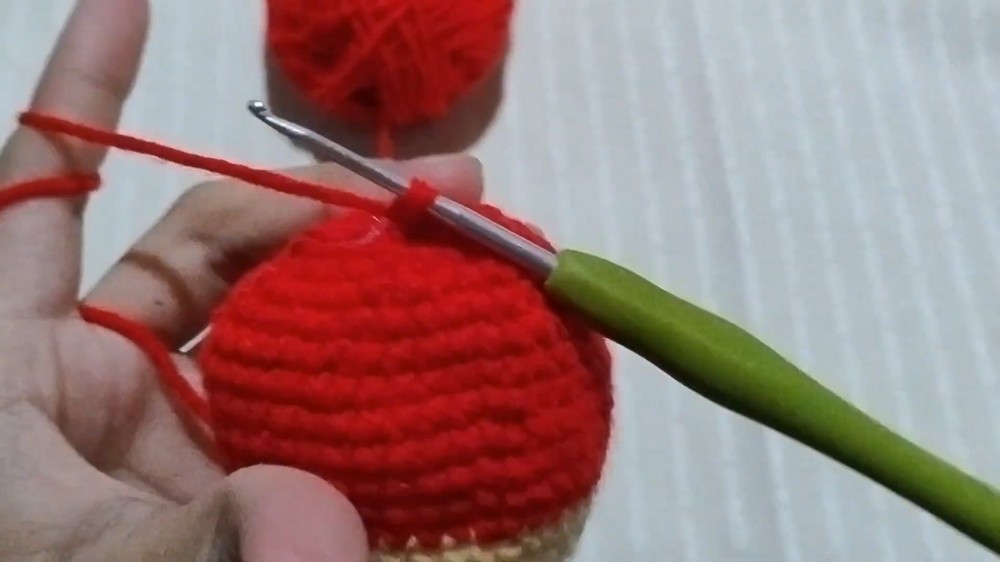
R11: Change color to Red Yarn, 1 sc in each stitch around [42]
R12 – R16: 1 sc in each stitch around [42] (5 rounds total)
R17: (5 sc, dec) repeat around [36]
R18: (4 sc, dec) repeat around [30]
R19: (3 sc, dec) repeat around [24]
Stuffing: Stop and firmly stuff the body with poly-fil.
R20: (2 sc, dec) repeat around [18]
R21: (1 sc, dec) repeat around [12]
R22: dec around [6]
Finishing: Cut the yarn, weave the tail through the front loops of the remaining 6 stitches using a needle, pull tight to close the hole, and hide the yarn tail inside the body.
Place the Face Before Closing the Body
The safety-eye instructions are not included in the supplied pattern, so no eye placement should be added here. The facial details for this version are created later with dark brown yarn through surface embroidery.
Keep the Color Change Clean
The transition happens at R11, where the yellow section ends and the red section begins. Keep the stitch count at 42 as you work across the color change so the shirt section follows the rounded body evenly.
Make the Ears
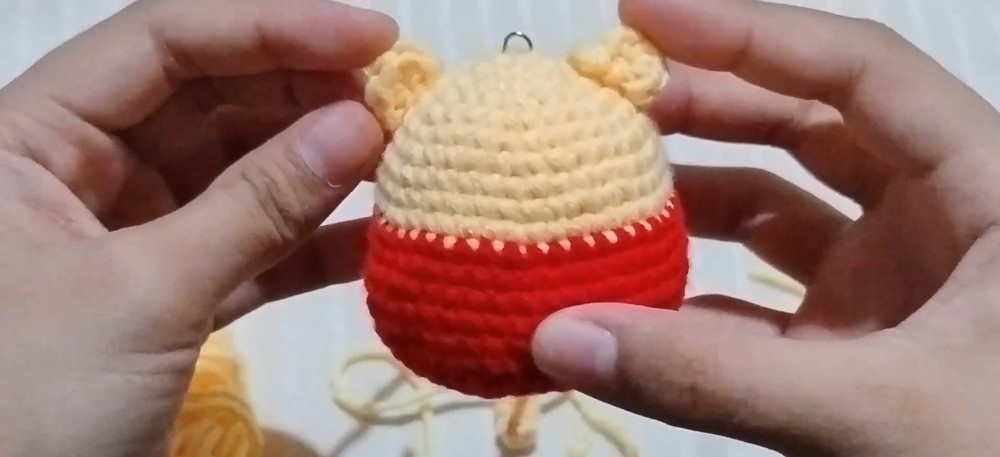
Make 2 ears using Yellow Yarn.
R1: 6 sc in a magic ring [6]
Finishing: Do not join. Cut the yarn, leaving a long tail for sewing.
The long tail will be used to attach each ear to the body during assembly.
Make the Hands
Make 2 hands using Yellow Yarn.
R1 – R3: 6 sc in a magic ring [6]
For these three rounds, R1 begins with 6 sc in the MR, followed by 1 sc around for R2 and R3 to form the small tube.
Finishing: Cut the yarn and tie off.
Make the Feet
Make 2 feet using Yellow Yarn.
R1: 4 sc in a magic ring [4]
R2: inc in every stitch [8]
Finishing: Cut the yarn, leaving a long tail for sewing.
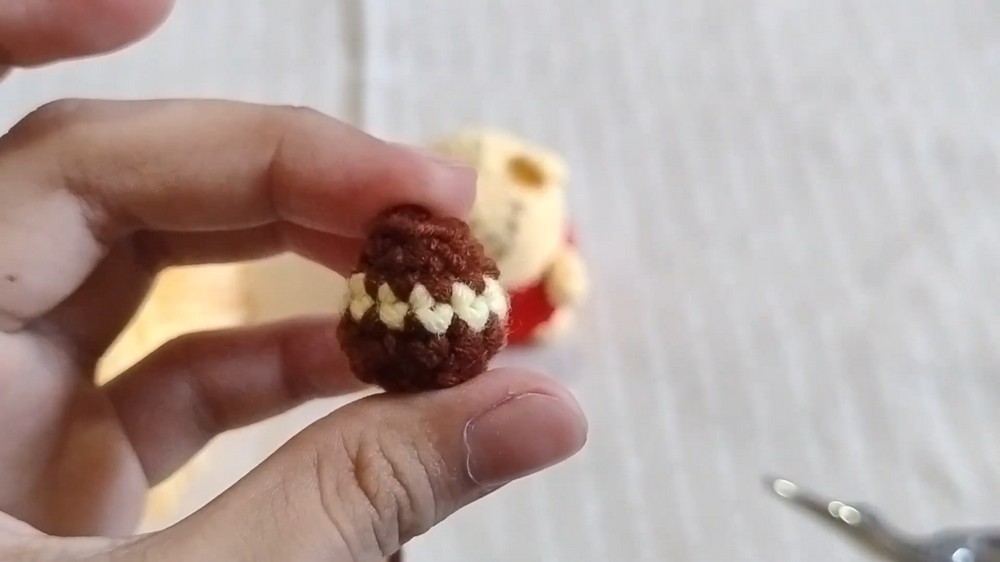
Crochet the Honey Container
Start with Brown Yarn.
R1: 6 sc in a magic ring [6]
R2: inc in every stitch [12]
R3: 1 sc in each stitch around [12]
R4: Change color to Yellow Yarn, 1 sc in each stitch around [12]
R5: Change back to Brown Yarn, 1 sc in each stitch around [12]
R6: dec around [6]
Finishing: Cut the yarn and tie off.
Add the Honey Spill
Use Yellow Yarn.
R1: 5 sc, ch 3, 2 sc, slst.
Finishing: Cut the yarn.
The small chain and stitch sequence creates the separate honey-spill detail that will sit over the top of the brown container.
Troubleshooting
The Body Does Not Look Round
Check the stitch counts before continuing. The body should reach 42 stitches at R10 and remain at that count through R16. If the count changes unexpectedly, check the increase placement before moving into the decrease section.
The Body Feels Too Soft
The pattern calls for the body to be firmly stuffed after R19. Add enough Poly-fil to support the rounded shape before working R20–R22, while still leaving the stitches easy to work.
The Red Section Looks Uneven
Make sure R11 begins with the specified color change and that R12–R16 each maintain 42 sc. Consistent stitch count helps keep the red section even around the body.
The Face Looks Off-Center
The sleepy eyes are embroidered onto R6, with the nose placed between them and the smiling mouth directly underneath. On a small amigurumi, even a slight shift can noticeably change the expression, so check the placement before securing the embroidery.
The Honey Pot Does Not Sit Correctly
First attach the yellow honey spill to the top of the brown container. Then position the completed pot into Pooh’s hands on the front of the belly before allowing the hot glue to set.
The Keychain Hangs at an Angle
Attach the jump ring to the top center of the head. Checking the center point before securing the hardware helps the finished character hang more evenly.
The Small Pieces Are Difficult to Sew
Leave the long yarn tails specified in the pattern on the ears and feet. These tails give you enough yarn to position and secure the pieces without needing to add another strand later.