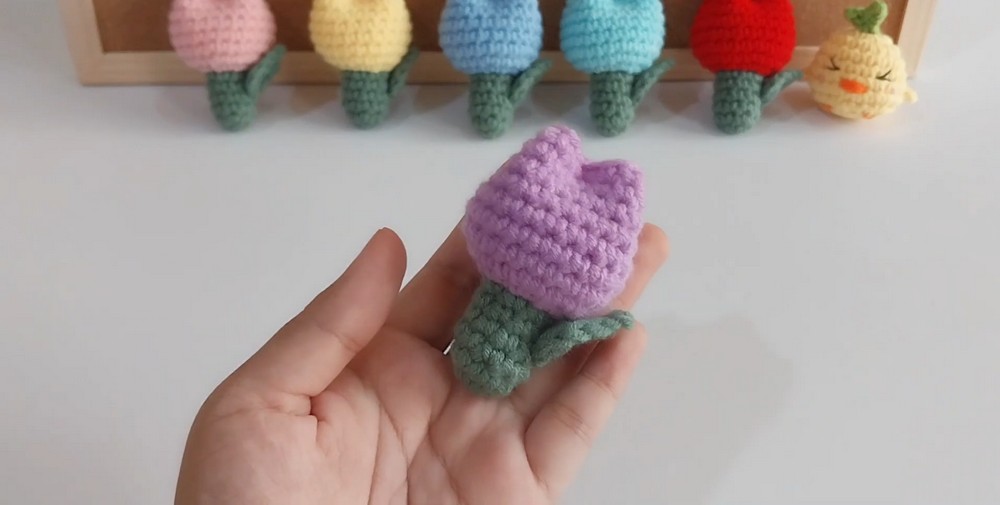
Bring a tiny crochet tulip to life with a stuffed flower bud, wrapped green stem, and shaped leaf that can become part of a bouquet, pot, or keychain.

Tiny details give this crochet tulip its flower-like shape, from the gradually widened rounds of the bud to the folded top that creates the recognizable petals. A little fiberfill keeps the head rounded, while a yarn-covered floral wire gives the finished crochet flower a sturdy stem that can be positioned in a small arrangement.
The flower head is worked in continuous spirals before the leaf is crocheted separately and attached to the wrapped stem. Along the way, you’ll find guidance for adjusting the bud height, placing the wire securely, shaping the top closure, and positioning the leaf so the finished tulip looks balanced.
Credit Tedzukurida
Materials & Tools
- Yarn: Milk cotton yarn or another light/DK weight yarn in two colors:
- Color A: Flower color such as Pink, Yellow, or Purple
- Color B: Stem and Leaf color such as Green
- Crochet Hook: 3.00-3.50 mm
- Tapestry/Yarn Needle: For sewing and weaving in ends
- Stitch Markers
- Scissors
- Floral Wire: For the stem
- Fiberfill Stuffing: A small amount for the flower bud
- Glue: Hot glue or fabric glue for securing the yarn on the stem
Finished Size & Customization
The mini tulip flower head typically measures about 2–3 inches, while the total height depends on the length of the floral wire stem. A typical finished height is around 6–8 inches.
Make several tulips in pastel shades and arrange them into a handmade bouquet. For a desk decoration, place 3–5 tulips into a small terracotta pot filled with brown crochet “soil.”
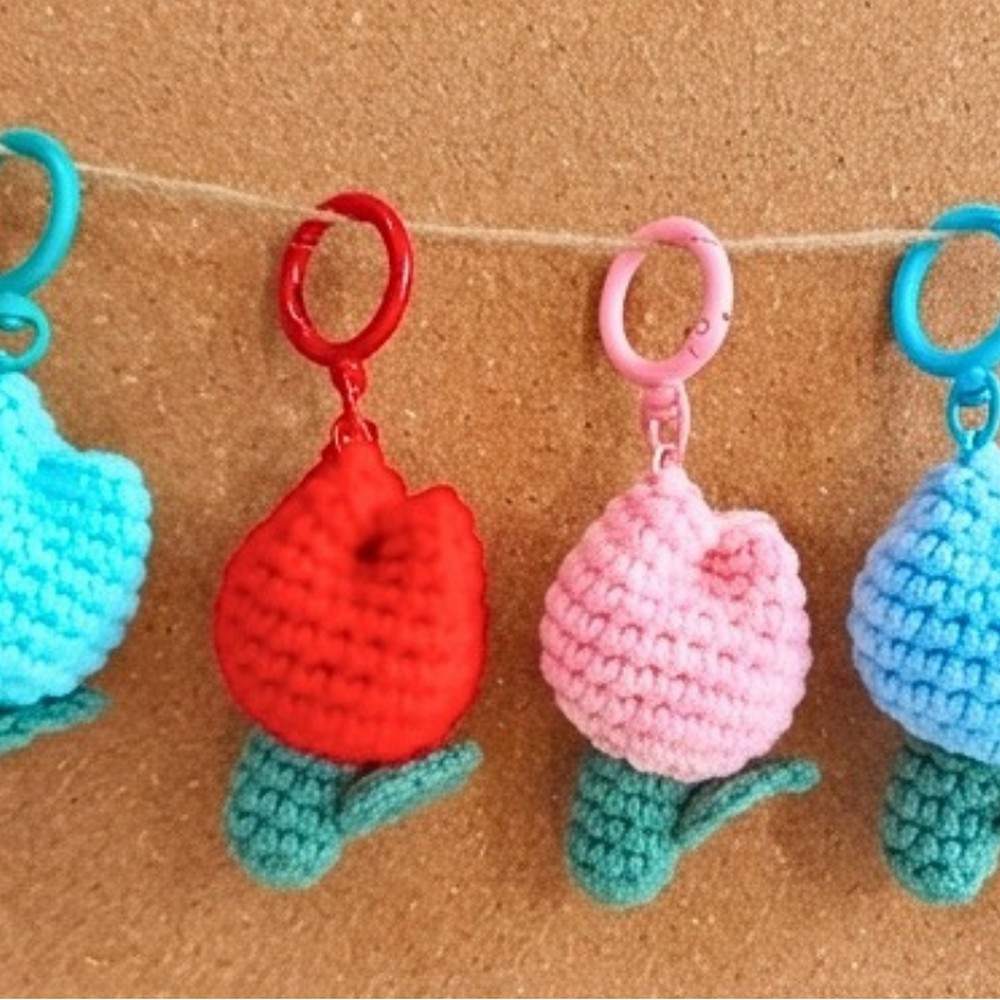
For a keychain version, skip the wire stem, sew the bottom shut, and attach a keychain ring to the tulip head.
Pattern Abbreviations
US crochet terms are used throughout.
- MR: Magic Ring
- ch: Chain
- sc: Single Crochet
- hdc: Half Double Crochet
- dc: Double Crochet
- inc: Increase – 2 sc in the same stitch
- dec: Decrease – sc 2 stitches together
- sl st: Slip Stitch
- st(s): Stitch(es)
- Rnd: Round
- FO: Fasten Off
Crochet the Tulip Flower Head
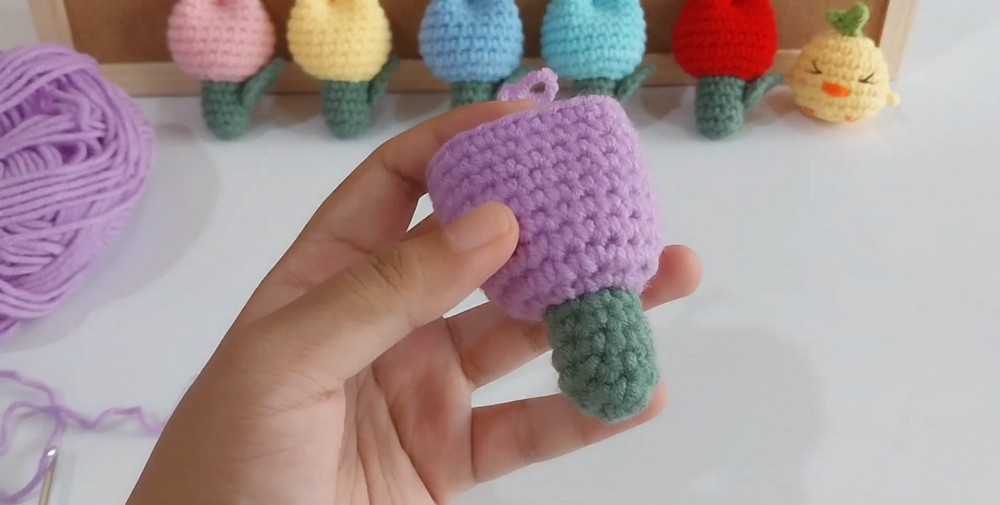
Use Color A for the flower.
Work in continuous spirals. Do not join at the end of each round unless specified.
Rnd 1: Start with a MR, make 6 sc into the ring. Pull tight to close. [6 sts]
Rnd 2: Make 1 inc in each st around. [12 sts]
Rnd 3: (1 sc, 1 inc) repeat 6 times around. [18 sts]
Rnd 4: (2 sc, 1 inc) repeat 6 times around. [24 sts]
Rnds 5–12: Work 1 sc in each st around for 8 rounds. [24 sts per round]
Finishing the Head: Sl st into the next stitch to even out the round. FO, leaving a long tail, about 8–10 inches, for sewing the top closed.
Teaching Guide: Adjust the Flower Height
The straight rounds between Rnd 5 and Rnd 12 control how tall the tulip head becomes. If you want a shorter, more compact flower, remove a round or two. For a taller bud, add a round or two.
Keep the stitch count at 24 sts per round during this section. The number of rounds changes the height; it should not be necessary to change the circumference.
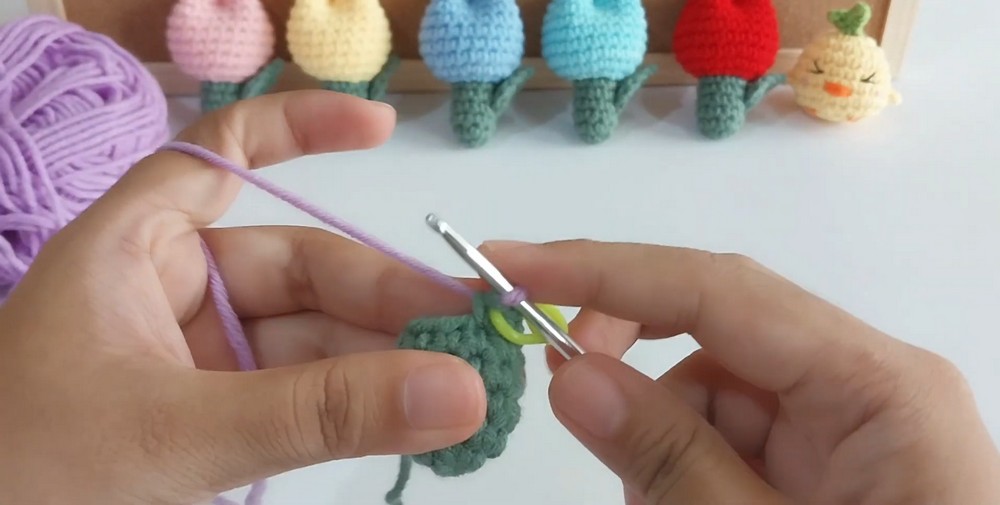
Crochet the Leaf
Use Color B.
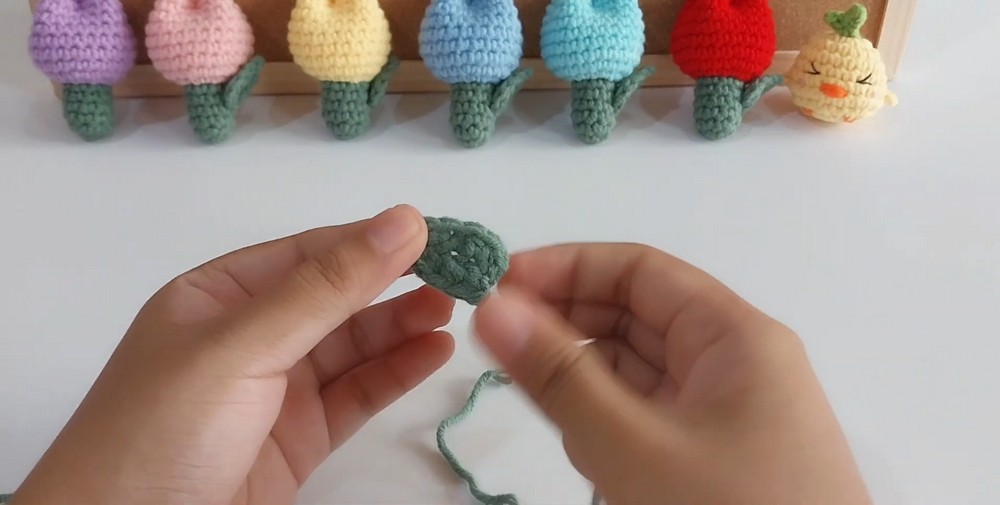
Step 1: Ch 16.
Step 2: Starting from the 2nd ch from the hook, work the following stitches down the chain: 1 sc, 1 hdc, 2 dc, 6 tr, 2 dc, 1 hdc, 1 sc.
Step 3: To turn the corner at the tip of the leaf, ch 1, then work along the opposite side of the foundation chain.
Step 4: 1 sc, 1 hdc, 2 dc, 6 tr, 2 dc, 1 hdc, 1 sc.
Step 5: Sl st into the very first sc to join.
Finishing the Leaf: FO, leaving a long tail for sewing the leaf onto the stem.
Prepare the Yarn-Wrapped Stem
Take the floral wire and bend one tip down slightly using pliers to create a tiny loop. This helps prevent the wire from poking through the yarn.
Apply a small dab of glue to the top of the wire.
Take Color B yarn and begin wrapping it tightly around the wire from the top downward. Continue until the entire wire is covered.
Secure the yarn end with another small dab of glue and trim the excess.
Shape the Tulip Flower Head
Thread the long tail left on the tulip head onto your tapestry needle.
Fill the inside of the tulip halfway with fiberfill stuffing.
Insert the prepared wrapped stem through the very bottom center, through the Magic Ring of the flower head. If needed, add a small drop of glue where the wire meets the MR to help keep it from sliding.
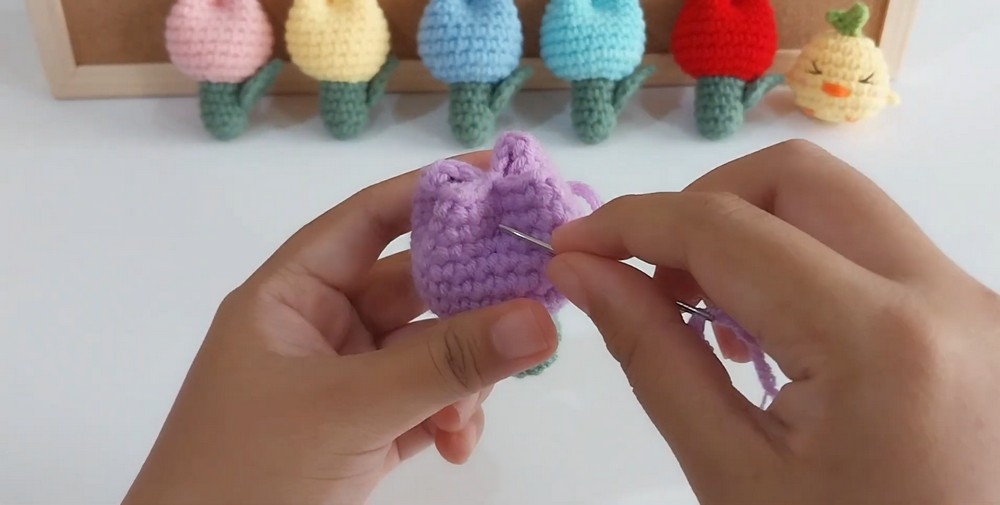
Pinch the top opening of the tulip flat so the edges meet.
Find the exact center point of the opening and sew one stitch straight across the middle, joining the two opposite sides. This divides the opening into two loops and creates the beginning of the folded flower shape.
Next, pinch the two remaining open sides inward toward the center.
Sew a stitch across these two new sides, meeting directly at the center point to create a cross (+) shape. Pull the yarn gently to secure the classic folded tulip appearance.
Tie a small knot to secure the stitching, weave the remaining tail inside the flower head, and snip off the excess.
Teaching Guide: Get the Petal Shape Right
The top closure does more than simply close the flower. The first stitch across the opening creates the central division, while the second stitch across the remaining sides creates the cross-shaped closure that gives the bud its folded petals.
Avoid pulling the sewing thread extremely hard from the beginning. Shape the four sections first, then tighten gently until the tulip holds its form. If the opening looks uneven, reposition the folds before making the final knot.
Attach the Leaf to the Stem
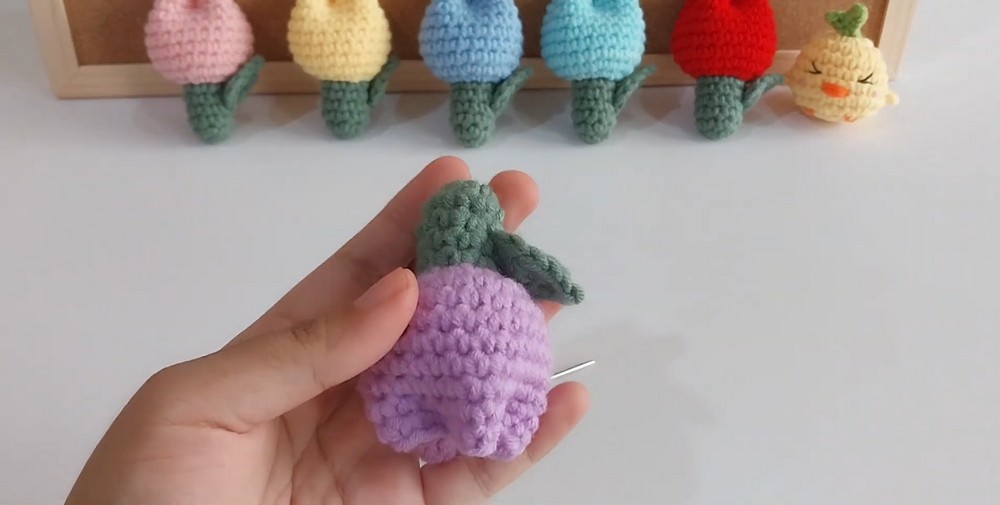
Position the finished leaf about halfway down the stem.
Using the green yarn tail left on the leaf and your tapestry needle, wrap the base of the leaf tightly around the stem.
Sew it securely into place by stitching through the wrapped yarn stem several times.
Tie off and weave the end neatly into the base of the leaf.
Give the stem a final check and gently adjust its position if necessary. The completed mini tulip can now stand alone, join several matching flowers in a bouquet, or be adapted into one of the smaller variations described above.