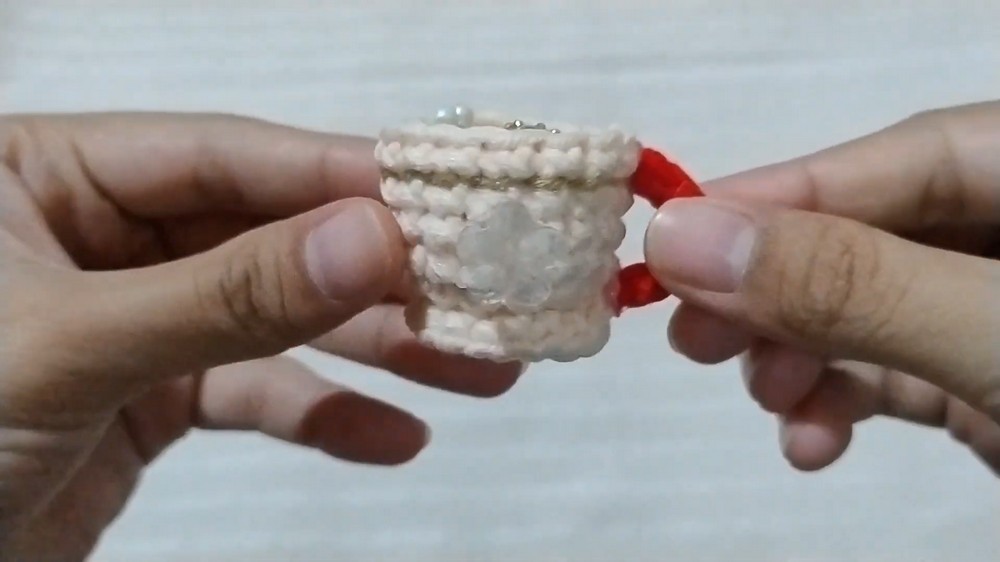
Looking for a tiny festive crochet mug? This Christmas coffee charm combines a creamy cup, brown foam top, and bright red handle for ornaments or keychains.

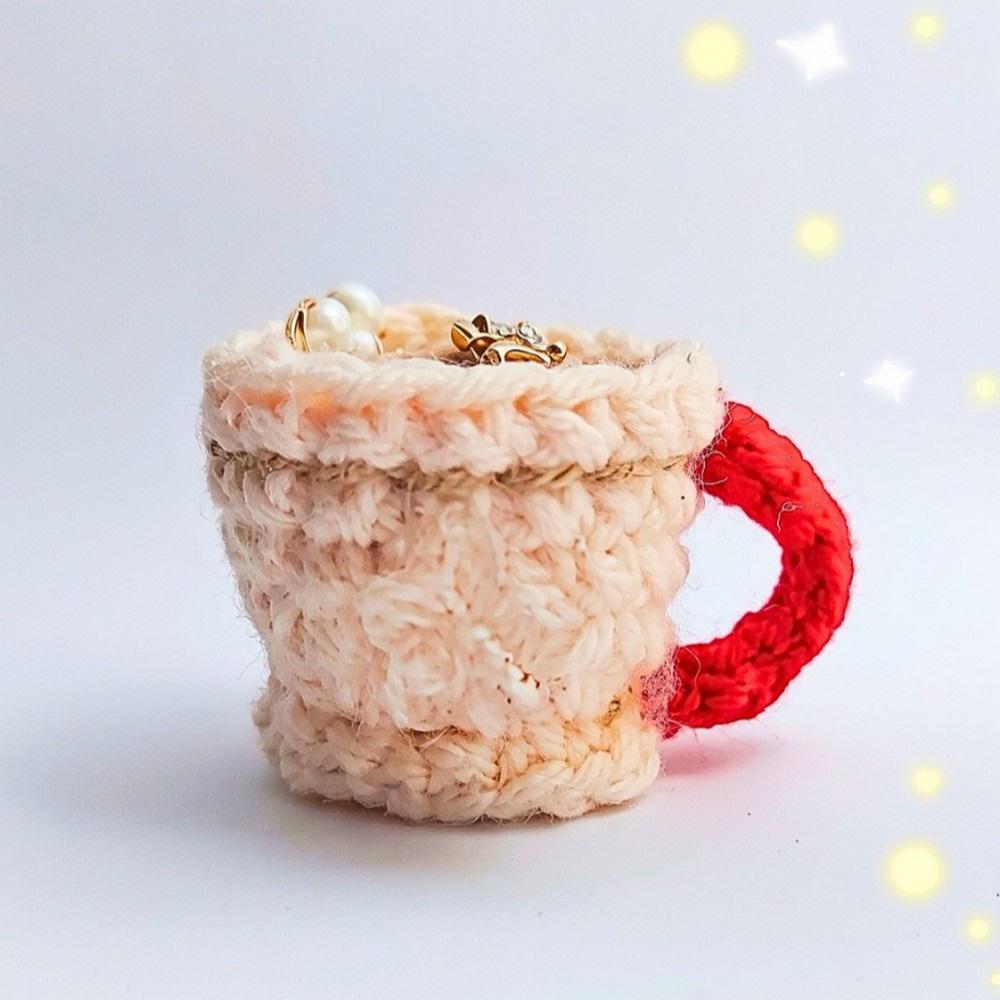
A tiny cup of holiday cheer can be surprisingly charming when it is crocheted in miniature. This little coffee mug features a simple cream or beige body, a brown coffee-foam top, and a bright red handle that gives it an instantly festive look.
Whether you turn it into a Christmas tree ornament, keychain, or small seasonal decoration, the crochet pattern stays compact and approachable. You’ll crochet the cup in the round, make a flat coffee disk, shape the handle with a short chain, then bring everything together with stuffing, sewing, and a few optional decorations.
Credit Riyal Crochet
What Makes This Mug Work
The charm is built from three uncomplicated pieces: a rounded cream or beige cup, a small brown disk for the coffee surface, and a narrow red handle. The cup is shaped with increases first and then kept at the same stitch count, so the body develops without adding complicated shaping.
The coffee disk is deliberately smaller than the cup opening. Once the cup is stuffed, sewing this disk onto the rim gives the miniature mug its recognizable top surface. The red handle is made separately and attached afterward, which makes its placement easier to adjust before securing it.
Finished Size & Easy Ways to Customize It
This pattern creates a miniature amigurumi charm that works well as a Christmas tree ornament, keychain, or small festive decoration.
For a different holiday look, change the mug color or decorate the brown coffee surface with festive embroidery such as candy canes and sprinkles. Small decorative beads or pearls can also be added to imitate foam bubbles or holiday sprinkles.
Materials & Tools
- Cream or beige yarn for the cup body
- Brown or tan yarn for the coffee topper
- Red yarn for the handle and decorative accents
- 2.5 mm crochet hook
- Polyester fiberfill
- Tapestry needle
- Scissors
- Glue gun
- Small decorative beads or pearls, optional

Abbreviations
- ch: Chain
- sc: Single crochet
- inc: Increase – work 2 single crochets in the same stitch
- FLO: Front loop only
- BLO: Back loop only
- R: Round / Row
Crochet the Cup Body
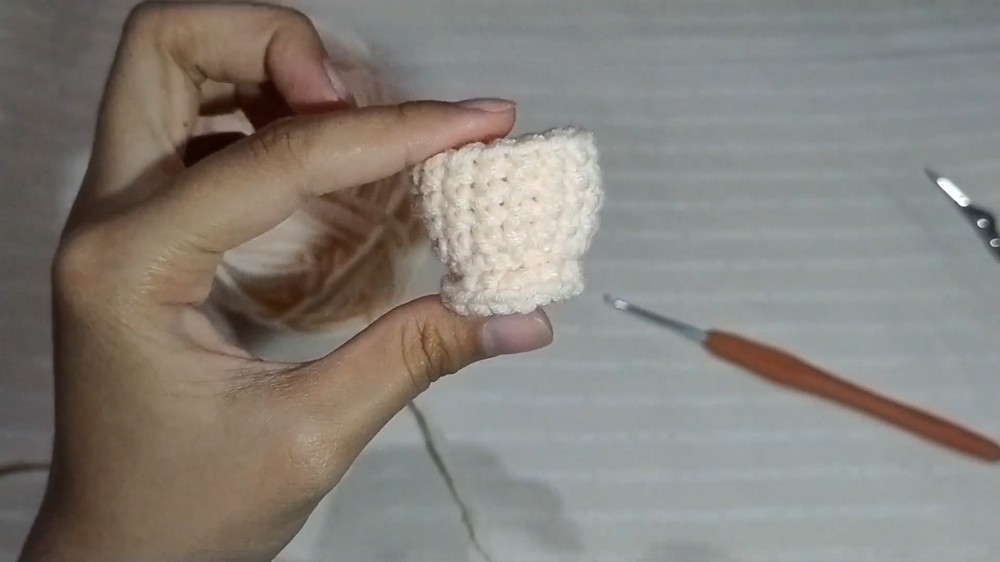
The cream or beige section establishes the entire mug shape. The first two rounds widen the magic ring, while the BLO/FLO transitions in R3 and R4 create the change from the flat base into the sides of the cup. After that, the stitch count stays at 24 for four rounds.
R1: With cream/beige yarn, make a magic ring and work 6 sc into the ring. Total: 6 sts.
R2: Work 1 inc in each stitch around. Total: 12 sts.
R3: Working in BLO, work 1 sc in the first stitch, then 1 inc in the next stitch; repeat around. Total: 18 sts.
R4: Working back into the remaining loops (FLO from R3 base transition), work 2 sc, then 1 inc; repeat around. Total: 24 sts.
R5–R8: Work 1 sc in each stitch around for 4 consecutive rounds. Total: 24 sts per round.
Fasten off at the end of R8, leaving a long tail for sewing.
A Useful Shape Check
At the end of R4, you should have 24 stitches and a wider base ready to support the straight-sided cup. R5–R8 do not add stitches, so these rounds give the mug its small amount of height rather than making it wider.
Make the Coffee Foam Disk
The brown or tan disk sits over the stuffed cup. Its three rounds increase from 6 to 18 stitches, creating a small circular piece that can be sewn securely around the mug’s top.
R1: With brown/tan yarn, make a magic ring and work 6 sc into the ring. Total: 6 sts.
R2: Work 1 inc in each stitch around. Total: 12 sts.
R3: Work (1 sc, 1 inc) repeat around. Total: 18 sts.
Fasten off, leaving a tail for sewing.

Shape the Red Handle
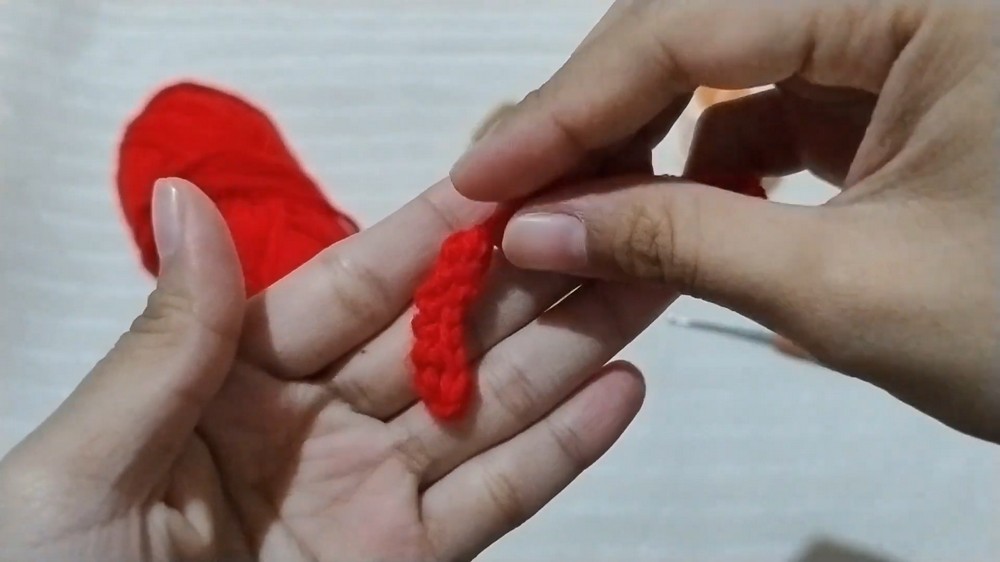
The handle is a simple chain-based strap rather than a crocheted tube. Because it is made separately, you can position it against the mug before permanently attaching it.
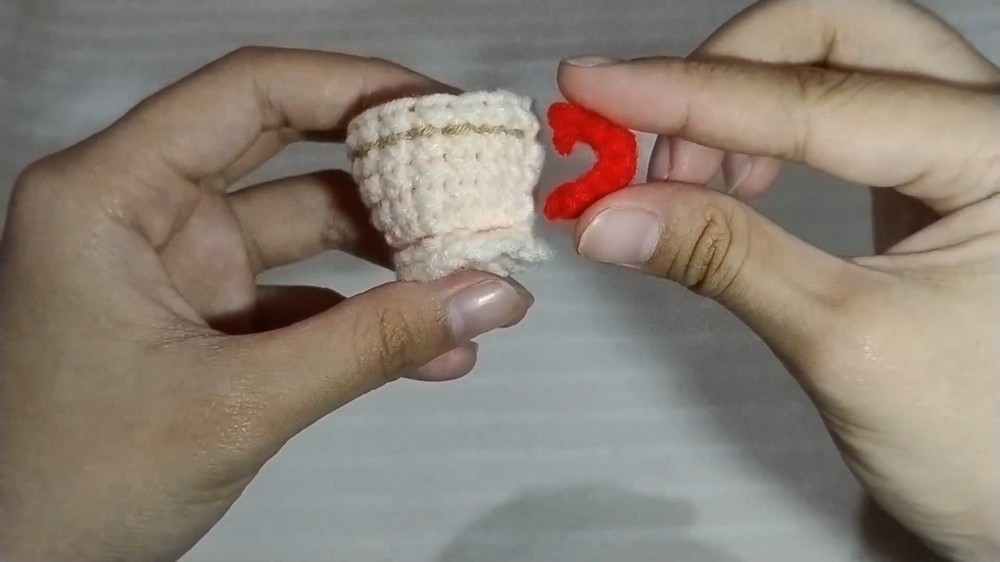
Handle: With red yarn, chain 8 ch, then starting from the second chain from the hook, work 1 sc in each chain down the row. Fasten off and trim tails.
Stuff the Cup Before Closing the Top
Firmly stuff the cream/beige cup with polyester fiberfill.
The stuffing should fill the body so the miniature mug keeps its rounded shape once the coffee disk is attached. Since the top will be covered, this is the stage to make sure the sides are filled evenly rather than trying to adjust the stuffing afterward.

Sew On the Coffee Top
Place the brown coffee disk over the stuffed opening of the cup.
Using the tapestry needle and the yarn tail left on the coffee disk, sew the edge securely to the top rim of the cup. Keep the disk positioned over the opening as you sew so the brown coffee surface remains centered.

Attach the Red Handle
Position the red handle strap on the side of the mug. Once you are happy with its placement, use a glue gun to attach it firmly to the cup.
Because the handle is a short flat strap, check that both ends sit securely against the mug before allowing the glue to set.
Add the Christmas Details
For the final festive touch, glue small white and gold beads onto the brown coffee surface. These can resemble little foam bubbles or holiday sprinkles and add contrast to the otherwise simple miniature cup.
You can also change the decoration according to the occasion by using different yarn colors or adding festive embroidery such as candy canes and sprinkles.