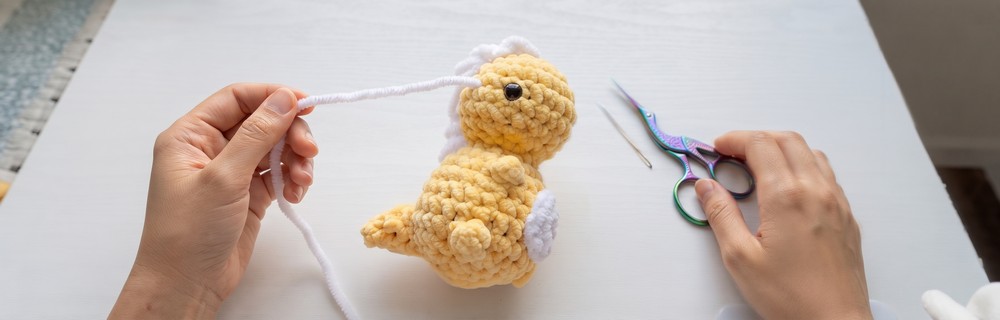
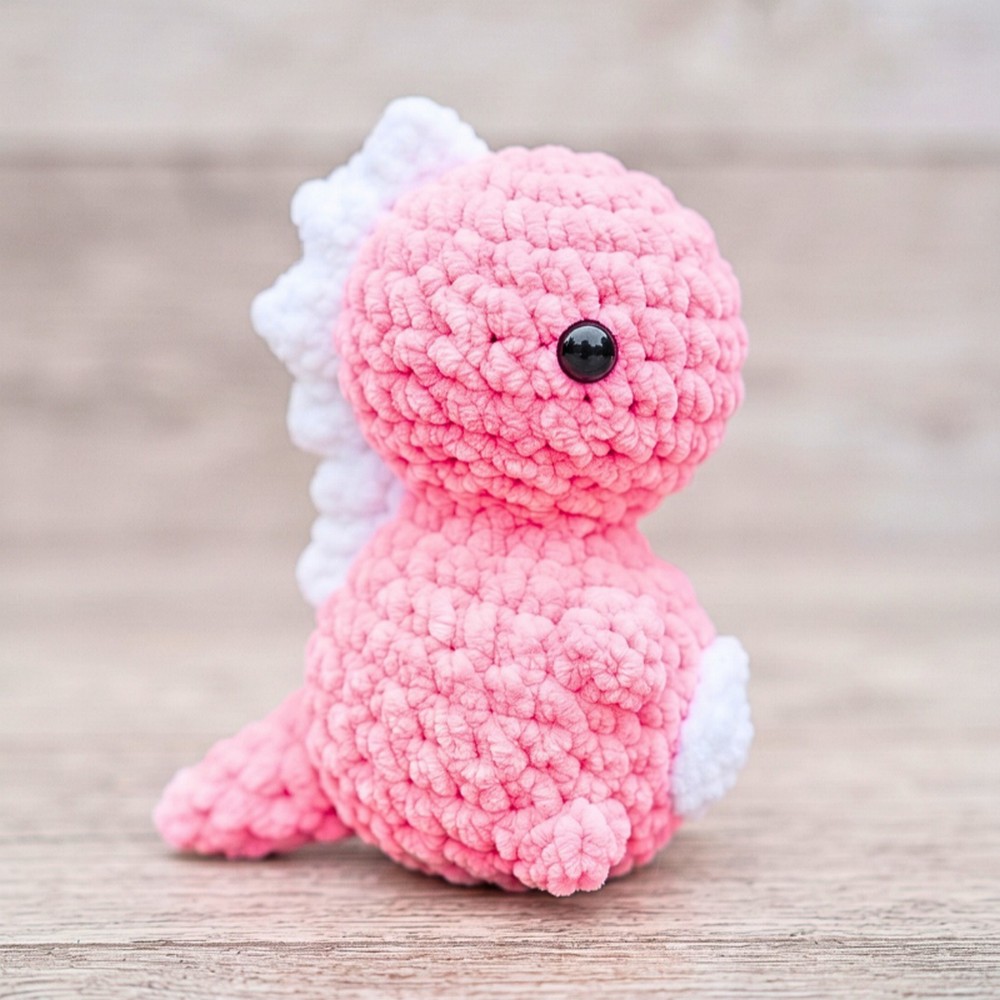
Bring this chunky crochet baby dinosaur to life with bobble-stitch arms and legs, soft plush texture, white belly, and playful back spikes.

A rounded body, oversized safety eyes, and raised bobble limbs give this crochet dinosaur its cuddly character, while the white belly and back spikes add contrast and recognizable dinosaur details. Chunky plush yarn makes the finished crochet piece especially squishy and palm-sized, making it well-suited for handmade displays or gifting.
Start with the crochet head and body as one continuous section, working shaping from the narrow head into a fuller body before adding bobble arms and legs directly into designated rounds. Pay attention to eye placement and stuffing before continuing, then add the tail, belly, and spike strip afterward. Following each stitch count carefully helps keep body proportions consistent and gives later crochet pieces clear placement points.
Credit keilas crochets
Materials & Tools Needed
- Yarn: Soft plush or chenille yarn; tutorial uses Baby Bee Adore-A-Ball in main body color such as yellow, pink, or blue, plus white for belly and spikes
- Hook: 5.75 mm crochet hook
- Eyes: 12 mm safety eyes
- Extras: Polyester fiberfill, sewing needle, scissors, and optional hot glue for belly
Skill Level
Skill Level: Intermediate
This dinosaur is suitable for crocheters who are comfortable with basic amigurumi shaping, increases, decreases, magic rings, and working in rounds. Bobble stitches are used directly within body rounds to form arms and legs, while separate tail, belly, and spike pieces require basic sewing and placement.
Careful stitch counting is helpful, especially around bobble rounds and final decreases. Beginners who already know basic crochet techniques can follow the pattern with extra attention to stitch placement and assembly.
Finished Size & Customization Ideas
Exact dimensions depend on personal tension. With bulky plush yarn and a 5.75 mm hook, the finished dinosaur has palm-sized, chunky proportions.
For a miniature version, substitute worsted-weight acrylic or cotton and use a smaller 3.5 mm hook. This creates a smaller dinosaur suited to keychain-style use.
Color choices can change its personality without altering stitch instructions. Try alternating spike colors, or add small embroidered cheek blush beneath safety eyes for extra character.
Pattern Abbreviations & Terminology
- MR: Magic Ring
- sc: Single crochet
- inc: Increase – 2 sc in same stitch
- dec: Decrease – invisible decrease recommended for amigurumi
- BO: Bobble stitch – used for 3D arms and legs
- ch: Chain
- dc: Double crochet
- sl st: Slip stitch
- FO: Fasten Off
How to make Head & Body
Use main body color. Head and body are worked in one continuous piece.
R1: 6 sc in MR. (6)
R2: 6 inc. (12)
R3: [1 sc, inc] x 6. (18)
R4: [2 sc, inc] x 6. (24)
R5–R7: 1 sc in each stitch around for 3 rounds. (24)
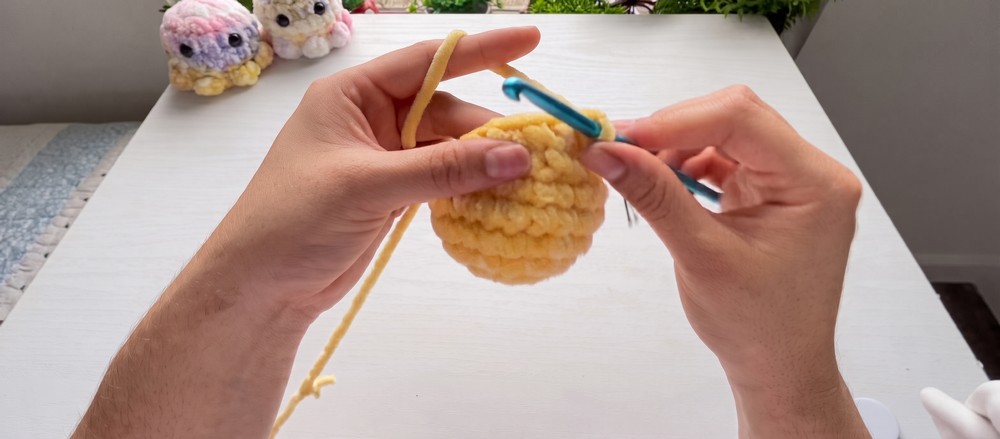
R8: [2 sc, dec] x 6. (18)
R9: [1 sc, dec] x 6. (12)
R10: [2 sc, dec] x 3. (9)
R11: 1 sc in each stitch around. (9)
Eye & Stuffing Check
Stop after R11 to insert 12 mm safety eyes between R6 and R7, with 8 stitches between eyes. Once placement looks even, stuff head firmly before continuing.
Firm stuffing is important here because later increases and bobble stitches will change body shape. Check that eyes remain level and secure before moving forward.
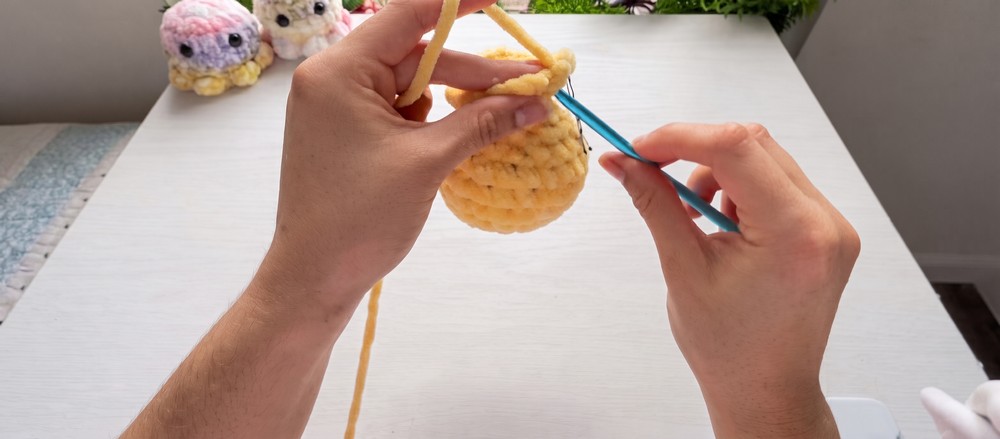
R12: 9 inc. (18)
R13: [2 sc, inc] x 6. (24)
R14: 8 sc, BO, 6 sc, BO, 8 sc. (24) – These two bobble stitches form arms.
R15–R17: 1 sc in each stitch around for 3 rounds. (24)
R18: 8 sc, BO, 6 sc, BO, 8 sc. (24) – These two bobble stitches form legs.
R19: [2 sc, dec] x 6. (18)
R20: [1 sc, dec] x 6. (12)
Before closing the body, finish adding stuffing and check overall firmness. Body should hold its rounded shape without large empty areas.
R21: 6 dec. (6) – Six decreases from 12 stitches leave 6 stitches. Tutorial video text reportedly displays 12 as final count, but stitch calculation gives 6.
Finishing: FO; weave yarn tail through front loops of remaining 6 stitches, pull tightly to close opening, then hide tail inside body.
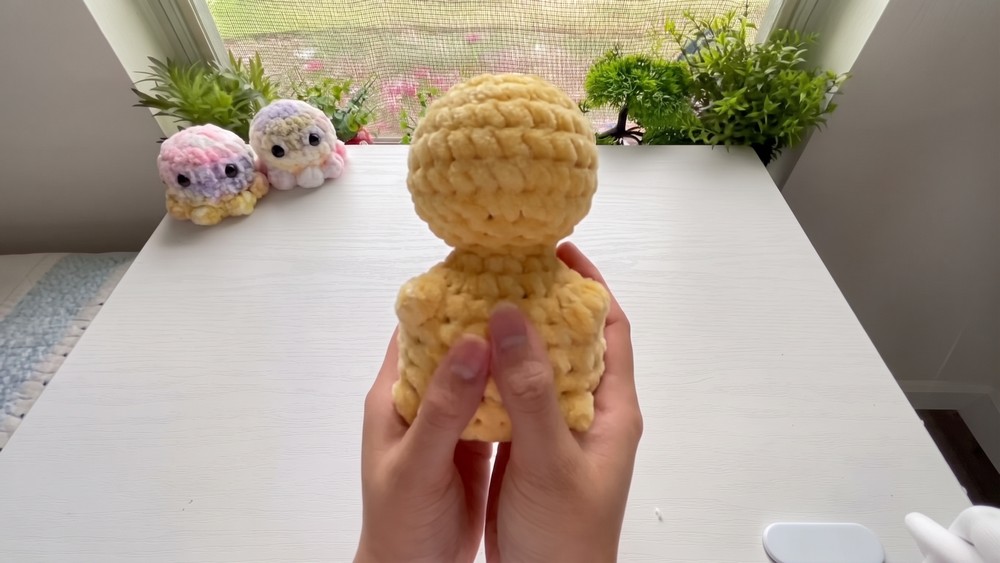
Tail
Use main body color. Tail is intentionally small and tapered, giving lower back support when positioned correctly.
R1: 4 sc in MR. (4)
R2: 1 sc in each stitch around. (4)
R3: [1 sc, inc] x 2. (6)
R4: 1 sc in each stitch around. (6)
R5: [1 sc, inc] x 3. (9)
Finishing: FO, leaving a long yarn tail for sewing.
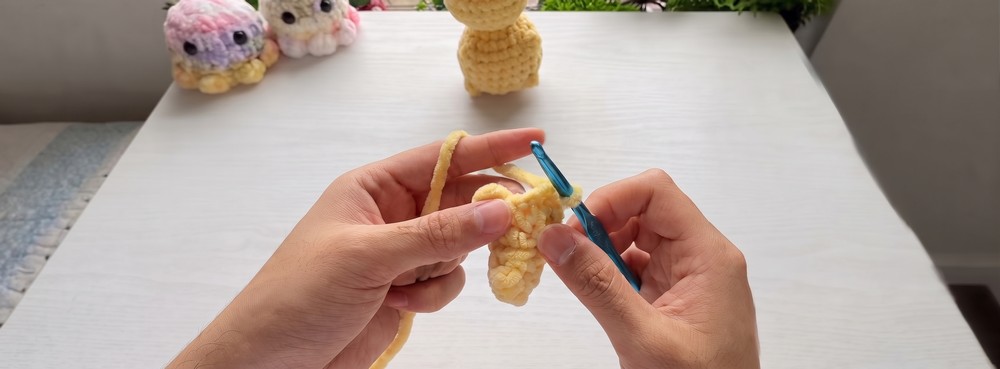
Belly
Change to white yarn for contrasting belly patch.
R1: 6 sc in MR. (6)
R2: 6 inc. (12)
Finishing: FO and leave long yarn tail for sewing, or weave in ends if belly will be attached with hot glue as shown in tutorial.
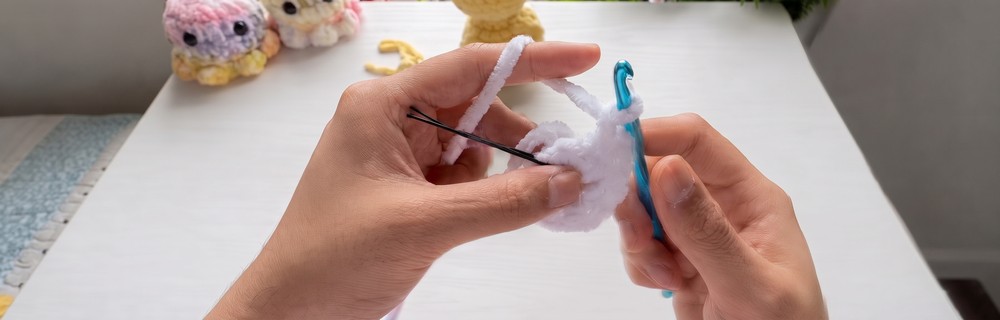
Back Spikes
Use white yarn.
Step 1: Ch 13.
Step 2: Starting in second chain from hook, work [1 sc, 1 dc, 1 sc] all into same stitch.
Step 3: Sl st into next chain.
Step 4: Repeat Steps 2 and 3 all way down chain until end.
Finishing: FO, leaving long tail for sewing.
Keep spike strip flat while working. Repeating same sc-dc-sc combination into each selected chain creates raised points that form continuous dinosaur spikes.
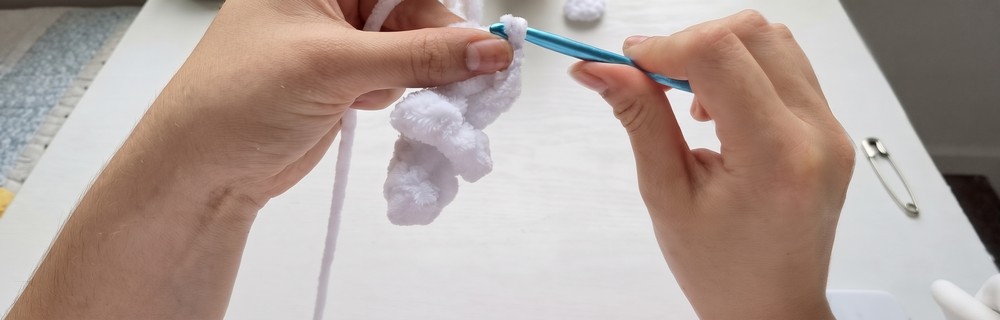
Assembly
Attach Belly
Position white belly patch at front center of body, between arms and legs. Sew securely with long yarn tail, or use hot glue if following tutorial method.
Position Tail for Support
Place tail on lower back of dinosaur. Positioning matters because tail is intended to work like tripod support, helping finished dinosaur sit upright. Pin first, check sitting position, then sew securely with tapestry needle.
Add Back Spikes
Start spike strip at R2, positioned at top of head. Align strip straight down back across head, neck, and body, then sew firmly into place using long yarn tail.
Check alignment before completing sewing. Keeping strip centered helps spikes follow body from head toward lower back without drifting sideways.
Final Finishing
Pull remaining yarn tails through inside of body, hide them securely, then snip excess yarn close to finished surface.
Sitting Position Check
Before trimming final tails, place dinosaur upright on flat surface. Tail should contact surface with body and help maintain balance. If dinosaur leans forward or backward, adjust tail position before completing final stitches.
For market batches, consistent eye spacing, belly placement, and centered spike strips will make multiple dinosaurs look coordinated even when body colors vary.