Need a tiny Halloween accessory that comes together with simple stitches and a clever finishing touch? This mini witch hat hides its best detail until the final step.

The smallest Halloween decorations often leave the biggest impression, and this crochet mini witch hat is one of those charming details. A neatly shaped brim, a pointed cone, and a simple decorative band gradually come together to create a miniature piece that looks polished from every angle. The finishing detail quietly brings the entire crochet witch hat design to life.
Built with easy rounds and clean shaping, this tutorial keeps every step focused and straightforward without losing its festive appeal. The crochet brim forms the foundation, the cone adds its classic silhouette, and the final green strap completes the signature look. By the time the last stitch is finished, every section fits together exactly as the design was meant to.
Meta Title:
Meta Description:
Credit Crochet Lee
What You’ll Be Making
This tutorial walks you through creating a compact crochet witch hat featuring:
- A flat circular brim
- A pointed cone-shaped top
- A separate decorative strap
- An optional attachment for amigurumi characters
Materials & Tools
Materials
- Milk Cotton Yarn 4ply
- Purple (Hat)
- Green (Strap)
Tools
- 2.5 mm crochet hook
- Yarn needle
- Scissors
Stitch Guide
Techniques
- Magic Ring (MR)
- Working in the Round
- Back Loops Only (BLO)
- Front Loops Only (FLO)
Abbreviations & Terminology
- R – Round
- MR – Magic Ring
- sl st – Slip Stitch
- st / sts – Stitch / Stitches
- ch – Chain
- sc – Single Crochet
- dc – Double Crochet
- inc – Increase (Work 2 single crochet stitches in the same stitch.)
- dec – Decrease (Single crochet 2 stitches together – sc2tog.)
Pattern Highlights
- Compact mini design for Halloween designs
- BLO and FLO construction for clean shaping
- Separate strap for an attractive finishing touch
- Suitable for amigurumi decorations and small accessories
Pattern Walkthrough: From the First Round to the Final Finish
The pattern starts by forming a flat circular brim with purple yarn. A Magic Ring creates the center, followed by increase rounds that shape the brim before the final round is worked through the back loops only to prepare for the hat body.
Next, the cone is crocheted into the front loops left from the brim. Single crochet rounds and gradual decreases shape the pointed top until the opening is closed neatly and the yarn tail is secured.
To complete the hat, a separate green chain is made for the decorative band. It is wrapped around the base and sewn or glued into place, and the finished hat can then be attached to an amigurumi figure or used as a miniature Halloween decoration.

Step-by-step pattern instructions
Brim (Purple Yarn)
R1:
- MR, 6sc [6sts]
- Close the MR, slst, ch1
R2:
- 6inc [12sts]
- slst, ch1
R3:
- Work on back loops only (BLO)
- ch1, BLO 1dc into the same stitch, repeat BLO (2dc into the same stitch) *11 times [24sts]
- slst, cut the yarn, and weave in the ends

Cone (Purple Yarn)
R4:
- Work on front loops only (FLO) of the inner loop
- Attach the yarn, then ch1
- FLO 12sc [12sts].
- slst, ch1
R5:
- (2sc, dec) 3 times [9sts]
- slst, ch1
R6:
- (sc, dec) 3 times [6sts]
- slst, ch1
R7:
- 6sc [6sts]
- slst, ch1
R8:
- 3dec [3sts]
- Cut yarn, sew to close & hide the yarn tail

Strap (Green Yarn)
- Slip knot, ch15, then cut
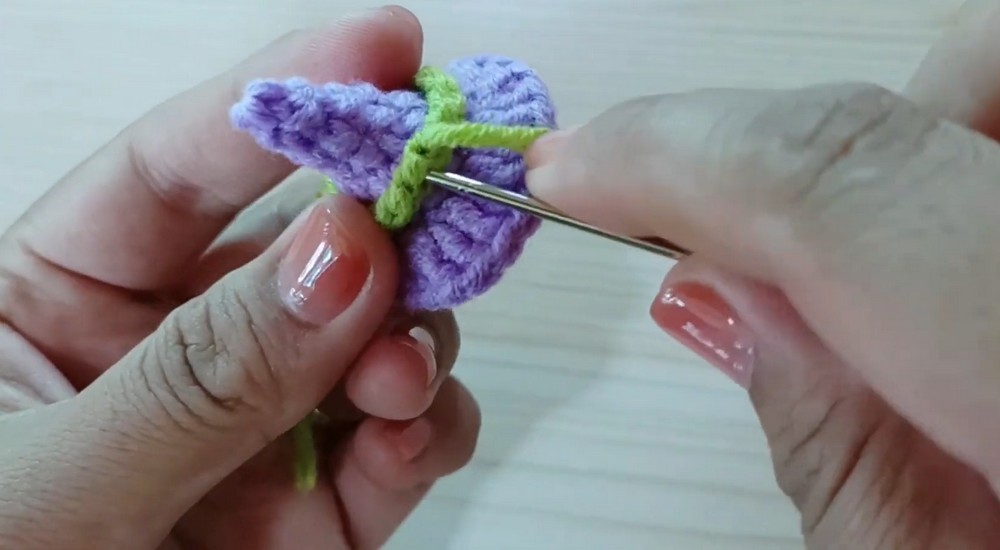
Assembly Guide
- Wrap the green chain strap around the base of the hat.
- Sew or glue it securely in place.
- Attach the completed hat to an amigurumi character if desired.
Helpful Reminders
- Pull the Magic Ring tightly to remove any opening.
- Use the Front Loops Only stitches correctly when starting the cone.
- Weave in all yarn ends securely for a neat finish.

Creative Variations
- Try different yarn colors for unique Halloween themes.
- Use the finished hat on ghosts, pumpkins, cats, or other amigurumi characters.
- Make several hats in different colors for festive decorations.
Final Thoughts
This Mini Witch Hat is a quick design that’s easy to complete and enjoyable to customize. Whether you use it as an amigurumi accessory, seasonal decoration, or handmade gift embellishment, the finished piece adds a playful Halloween touch to your crochet collection.


