Turn simple crochet rounds into a tiny acorn charm with a textured cap, firm shape, and sturdy top loop ready for fall keychains or seasonal décor.
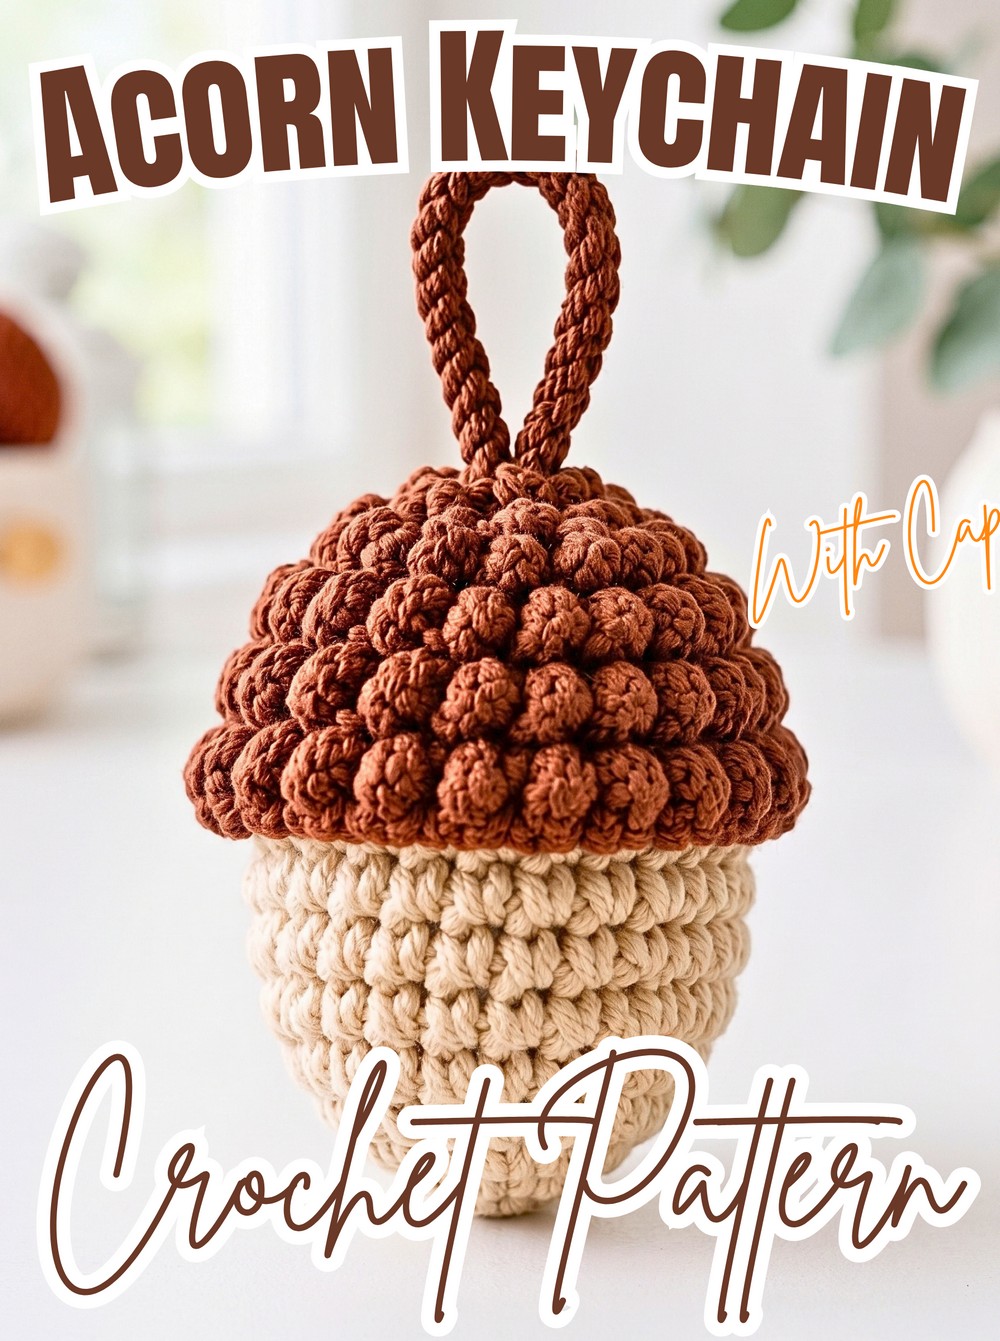
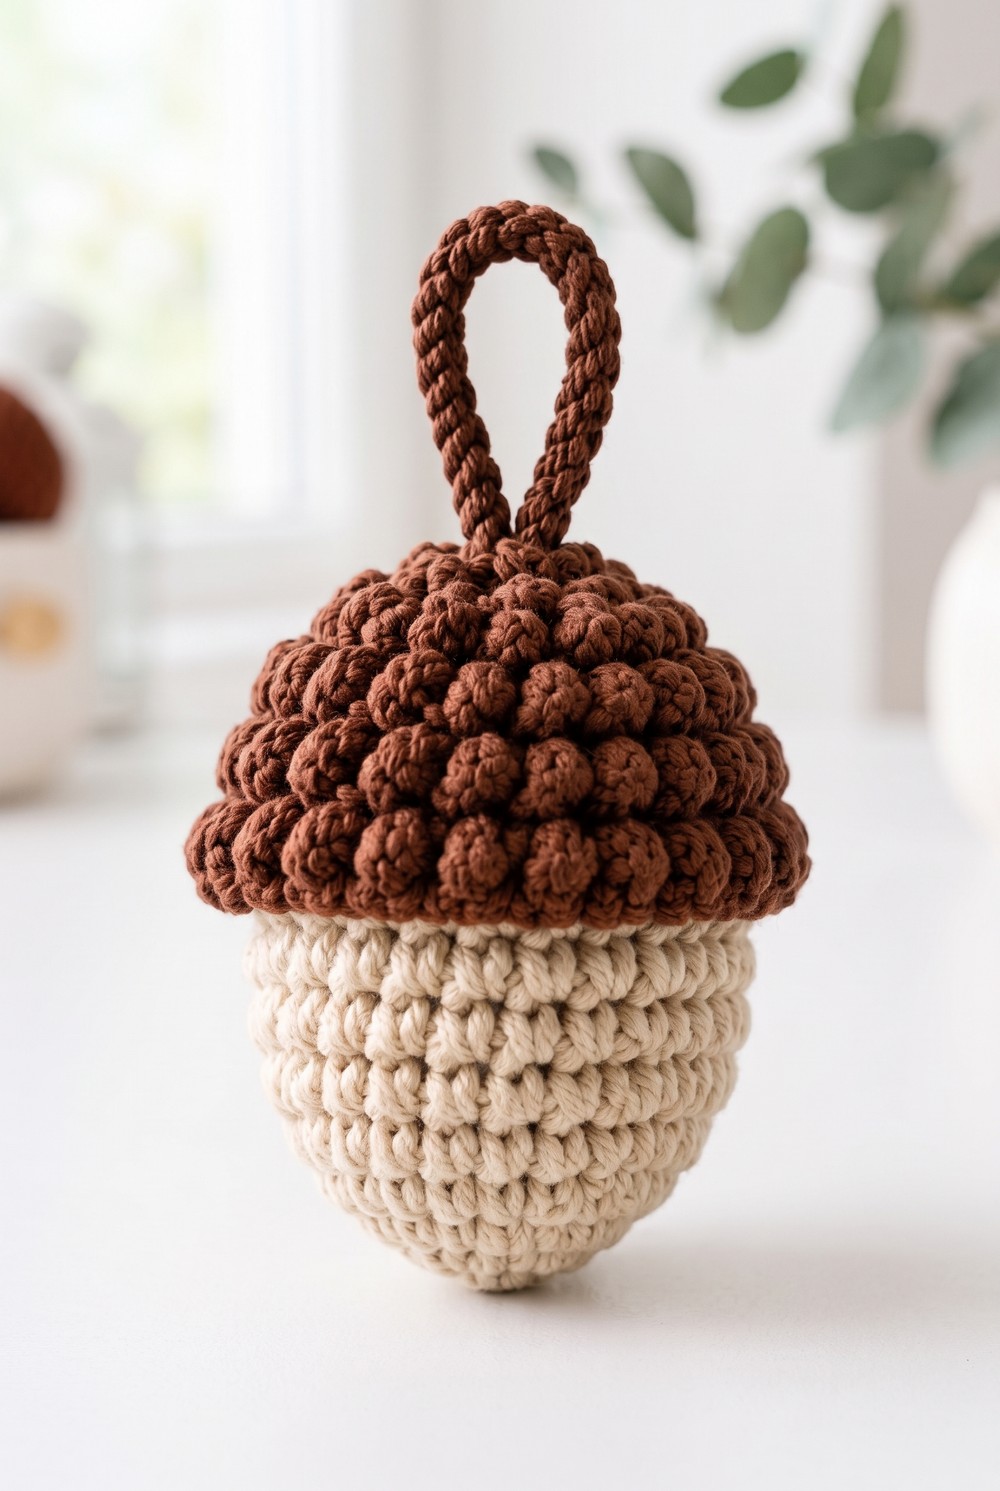
Pointed nut shape and chunky brown cap give this crochet acorn its instantly recognizable fall look, while compact size makes it easy to use as a keychain charm or seasonal decoration. Raised loops across the cap add playful texture, giving the finished piece more character than simple smooth crochet.
Begin with light tan yarn and build it upward through joined rounds, using increases first, even rounds through the middle, then decreases toward the top. Stuffing needs to be added before the opening becomes too small, while the color change at Round 14 prepares the surface for a textured cap. Once the crochet cap closes, the 25-chain loop is reinforced with slip stitches for stronger hanging or keychain use.
Credit Knit with SA Studio
Materials & Tools Needed
- Yarn: Light tan or beige yarn for acorn body and dark brown yarn for cap
- Crochet Hook: 2.50 mm hook; Tulip 4/0 hook is shown in the tutorial video
- Stuffing: Polyester fiberfill or toy stuffing
- Notions: Scissors and yarn needle for weaving in ends
Finished Size & Customization Ideas
Using recommended 2.50 mm hook and matching yarn, the finished acorn measures approximately 2 to 2.5 inches tall, excluding the top loop.
For stronger everyday use, attach a metal keyring or lobster clasp to the crocheted loop.
For seasonal décor, make several acorns in fall shades such as mustard yellow, burnt orange, and olive green, then arrange them as garland.
For oversized décor, switch to chunky blanket yarn with a 5.0 mm or 6.0 mm hook. Larger scale can turn the same basic acorn shape into a plush table accent or decorative pillow.
Pattern Abbreviations & Terminology
- MR: Magic Ring
- sc: Single crochet
- inc: Increase – 2 sc in same stitch
- dec: Decrease – single crochet 2 together
- ch: Chain
- sl st: Slip stitch
- st / sts: Stitch/stitches
- [ ]: Repeat instructions inside brackets
Crochet Acorn Nut
Start with light tan or beige yarn. Work the nut from the pointed bottom upward toward the cap using joined rounds. At end of each round, join with slip stitch to first stitch, then chain 1 before beginning next round.
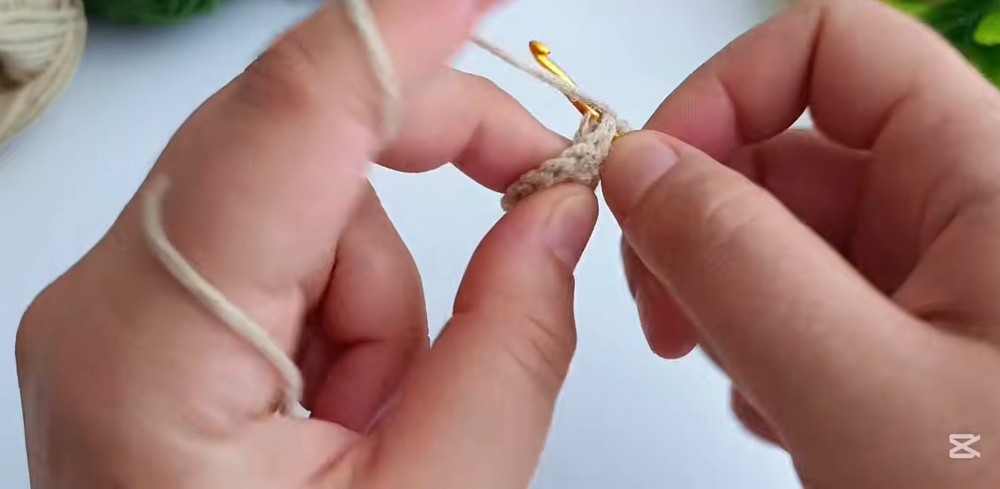
Round 1: Make MR; crochet 4 sc into ring; pull ring tight; join with sl st to first st, ch 1. (4 sts)
Round 2: [2 sc in next st] around; join with sl st, ch 1. (8 sts)
Round 3: [2 sc in next st] around; join with sl st, ch 1. (16 sts)
Round 4: [1 sc in next 3 sts, 1 inc in next st] around; join with sl st, ch 1. (20 sts)
Round 5: [1 sc in next 4 sts, 1 inc in next st] around; join with sl st, ch 1. (24 sts)
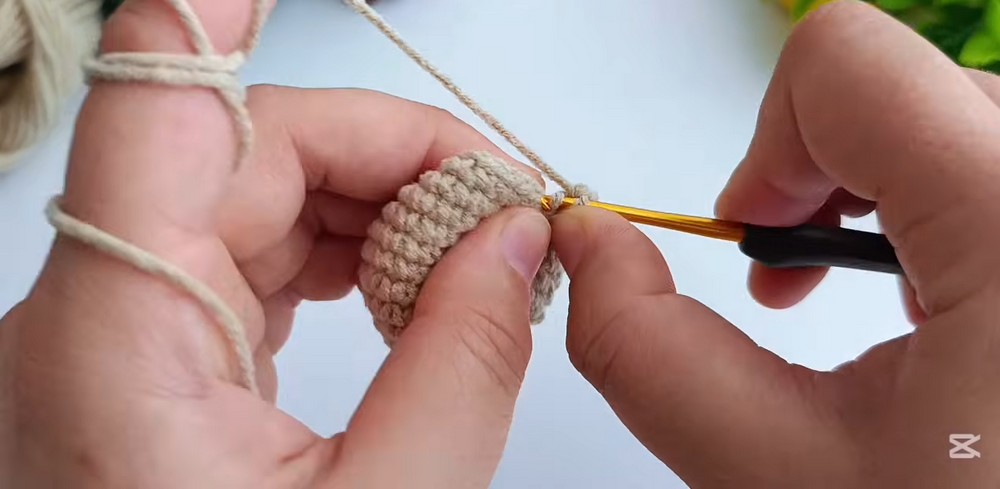
Rounds 6–11: Work 1 sc in every st around for 6 rounds; join with sl st, ch 1 at end of each round. (24 sts)
At this stage, sides should remain evenly rounded rather than narrowing. Keep stitch count at 24 through all six rounds so full middle section develops before decreases begin.
Round 12: [1 sc in next 4 sts, 1 dec] around; join with sl st, ch 1. (20 sts)
Round 13: [1 sc in next 3 sts, 1 dec] around; join with sl st, ch 1. (16 sts)
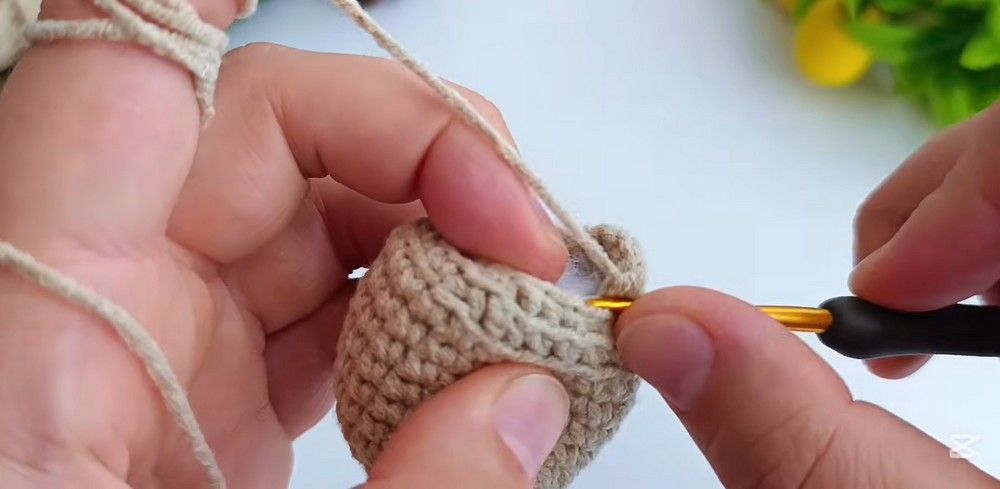
Stuffing Check: Pause after Round 13 and fill acorn firmly with polyester fiberfill before opening becomes too small. Add stuffing gradually and shape the nut from the inside, keeping surface rounded without leaving loose or hollow areas.
Round 14: [1 sc in next 2 sts, 1 dec] around. (12 sts)
Textured Acorn Cap
Change to dark brown yarn during the final step of the last stitch from Round 14. Brown section is worked directly onto remaining 12 stitches, creating raised chain-and-slip-stitch loops that give cap its thick, bumpy appearance.
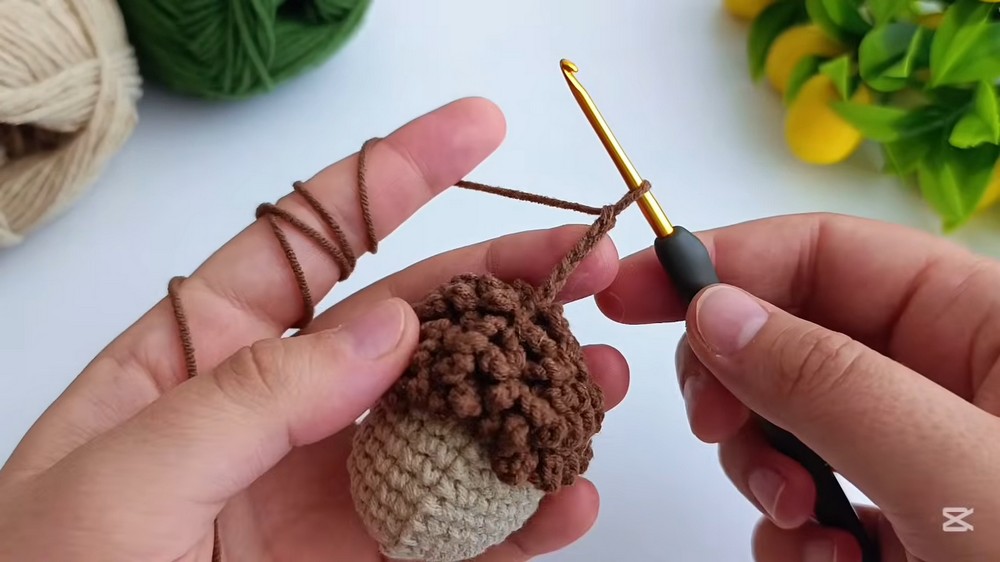
Round 15 – Textured Cap: Attach brown yarn; [ch 5, sl st into next st] around all 12 remaining stitches; continue ch-5 and sl-st technique around remaining gaps while spiraling inward until center top closes completely.
Keep each chain-5 loop similar in size as you work inward. Consistent loops help the cap texture look full and balanced rather than creating noticeably loose or tight sections.
Keychain Loop
Once the textured cap reaches and closes at the top center, create a long loop directly from the finished cap.
Chain: Ch 25.
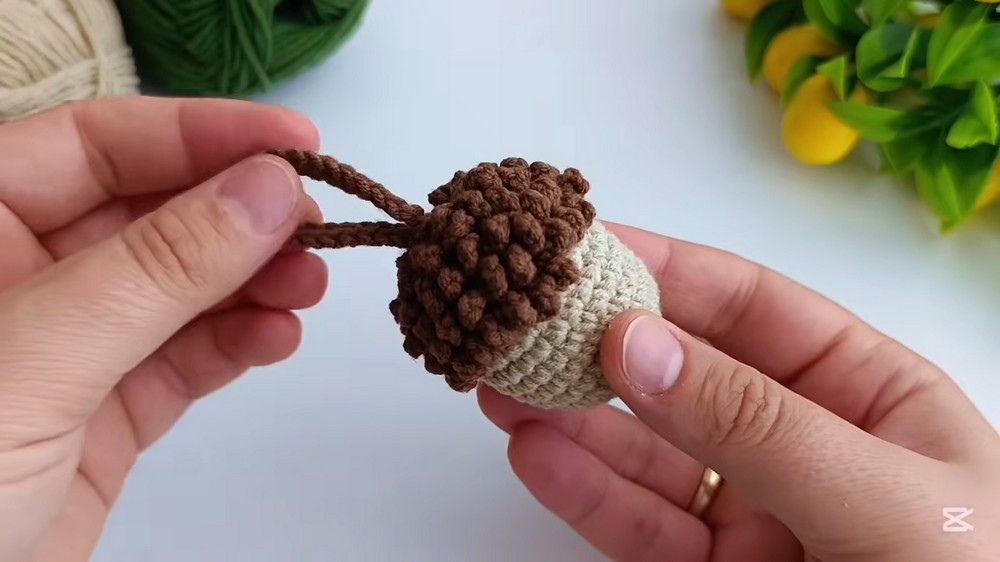
Thicken Loop: Sl st into each of the 25 chains all the way back down toward the cap base.
Working slip stitches back along the chain gives the loop more body and makes it better suited for attaching a metal keyring or lobster clasp.
Assembly & Finishing
This acorn is worked continuously from bottom through cap and loop, so separate pieces do not need to be sewn together.
- Anchor Loop: Slip stitch into base of cap to secure thick keychain loop.
- Fasten Off: Cut yarn, leaving a short tail, then pull tail through final loop to secure.
- Hide Tail: Thread yarn tail onto yarn needle and pull it through inside of acorn so knot and remaining end stay hidden.
- Trim: Snip excess yarn close to finished surface.
Loop & Display Options
For everyday keychain use, add a metal keyring or lobster clasp through the reinforced top loop. For seasonal décor, leave loop ready for hanging and make several acorns in coordinating autumn shades.
When making multiple acorns for garland, keeping the same hook size and yarn weight will help pieces maintain similar proportions. Larger yarn and hook combinations can instead create oversized versions suited to table displays or other fall décor.