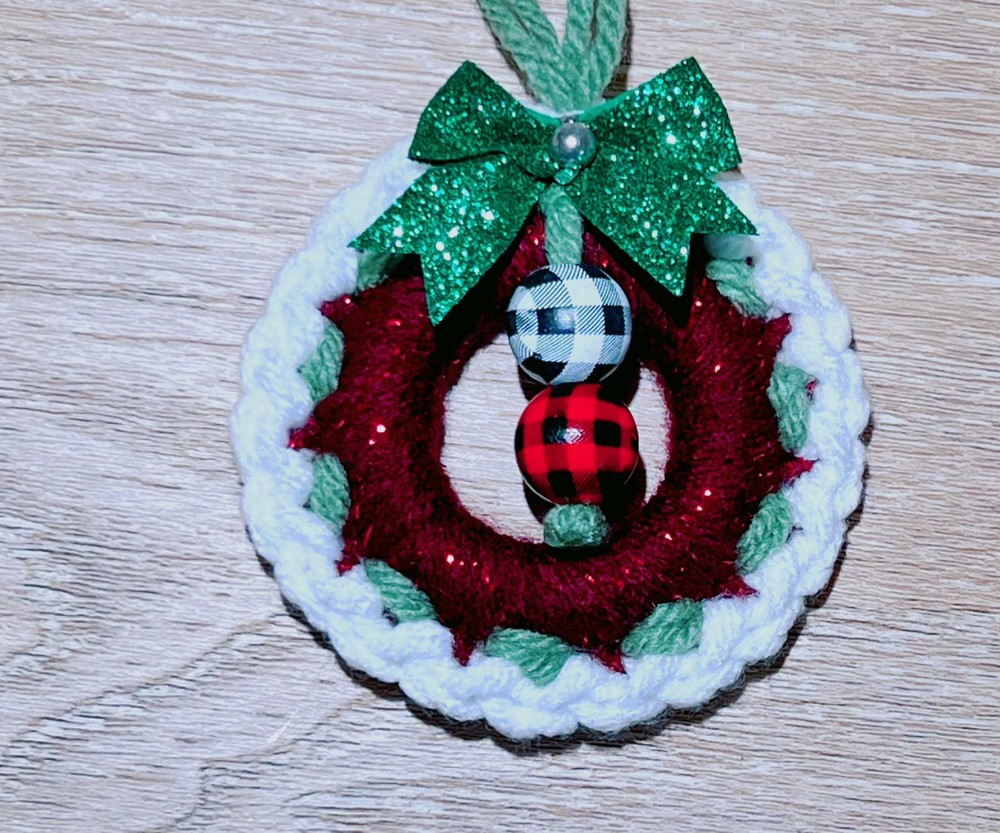
Those little holiday details can make handmade décor feel special, and this crochet wreath adds textured stitches, dangling wooden beads, and a decorative bow.
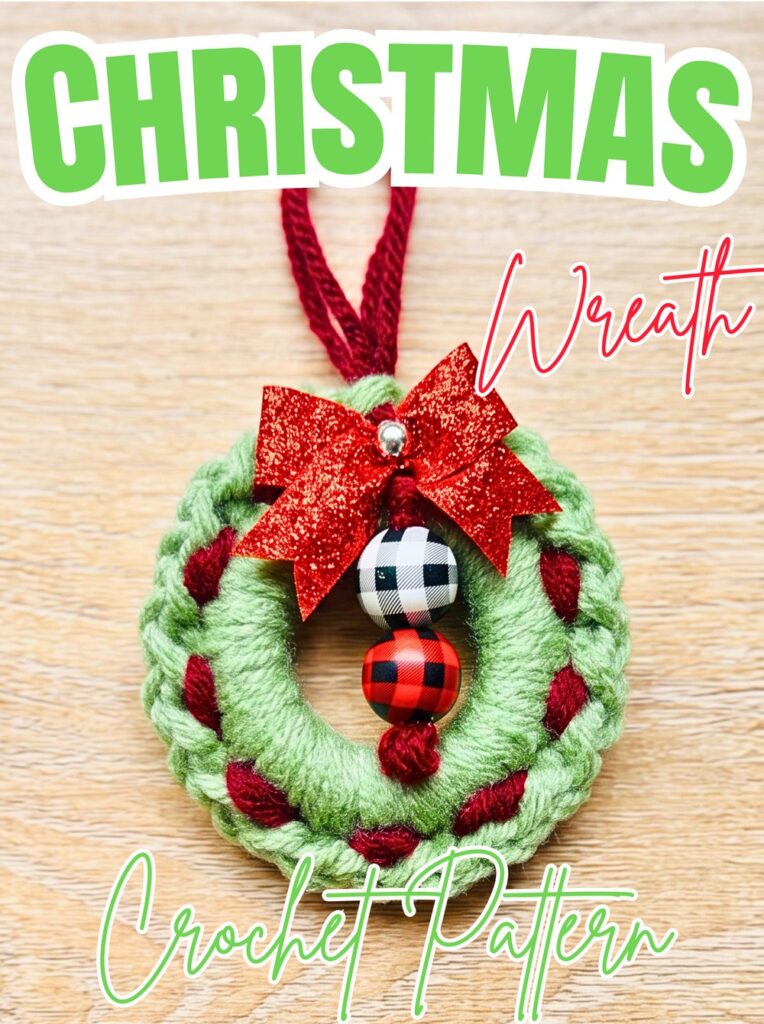
Handmade ornaments bring personality to Christmas decorating without taking up much space. This crochet wreath combines chunky yarn coverage with contrasting texture, while wooden beads add movement and a rustic touch to its center.
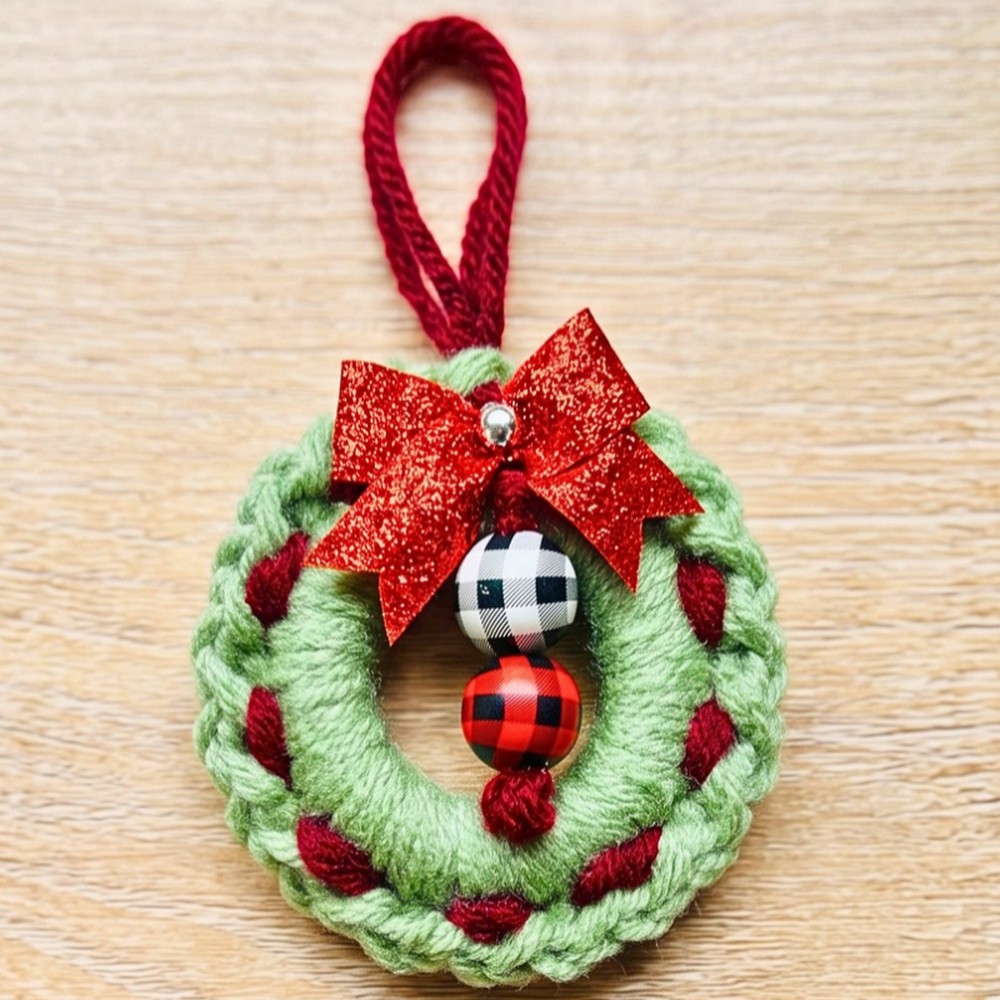
This crochet wreath pattern guides you through covering your ring, adding a slip-stitch border, attaching decorative thread accents, and securing wooden beads and a bow. You’ll also learn how to adapt ring size and color choices for different seasonal displays.
Credit Erfin R. Tangdilintin
Materials and Tools Needed
Gather your materials before starting. Holding multiple yarn strands together creates a thicker covering around the ring, while the smaller hook helps pull threads through the wooden bead holes.
- Yarn: Size 4 medium-weight yarn in three different colors, worked with double or multiple strands for thickness.
- 5 mm crochet hook: For covering the ring and crocheting the textured border.
- 0.9 mm crochet hook: For pulling yarn threads through the center holes of the wooden beads.
- Ring or hoop: A 2-inch-diameter ring; a 3-inch ring can also be used.
- Decorative bow: One ready-made bow for the top of the wreath.
- Wooden beads: Two wooden balls with holes through their centers.
- Yarn needle: For closing rounds, sewing the decorative strands, and securing yarn ends.
- Scissors: For cutting yarn.
- Glue gun and glue sticks: For attaching the bow and securing the decorative details.
Finished Size and Customization
The finished wreath measures approximately 2–3 inches in diameter, depending on the ring you use.
- For a 2-inch ring: Work 20 single crochet stitches around the base.
- For a 3-inch ring: Work 24–26 single crochet stitches around the base.
- For Christmas colors: Combine traditional green, red, and white.
- For winter décor: Try white, silver-toned yarn, and a contrasting accent color.
- For other seasons: Choose pastel shades or colors inspired by a favorite celebration.
- For the hanging details: Adjust the decorative strands or bead arrangement to suit your preferred look.
Crochet Abbreviations
The pattern uses US crochet terminology.
- ch(s): Chain(s)
- sc: Single crochet
- sl st: Slip stitch
- Rnd / Row: Round or row
- st(s): Stitch(es)
How to Crochet the Wreath Base and Border
The base is worked directly around the ring rather than crocheted as a separate circle. After covering the ring, you’ll add a contrasting slip-stitch border before attaching the hanging details and embellishments.
Step 1: Cover the Ring with the First Color
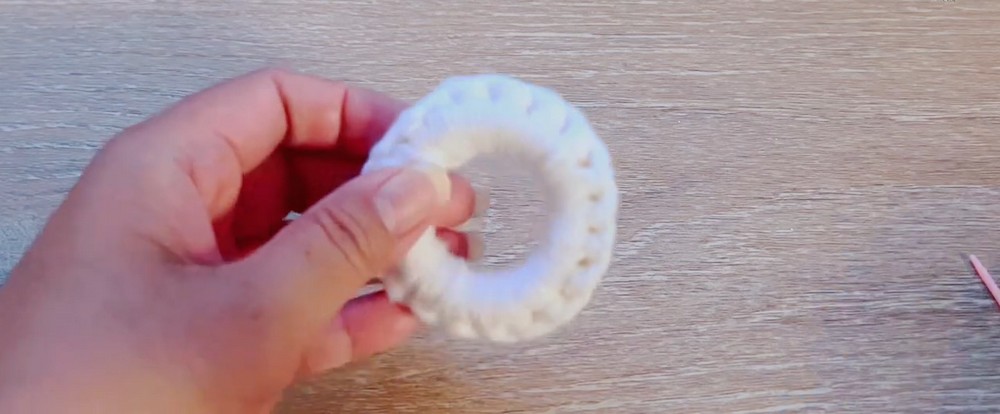
Choose your first yarn color and hold two strands together. This double-strand method gives the base extra thickness and helps conceal the ring.
- Make a slip knot using the doubled yarn and place it on your 5 mm hook.
- Hold the 2-inch or 3-inch ring securely.
- Insert the hook through the center of the ring, bring the yarn around the ring structure, and work single crochet stitches over it.
- For a 2-inch ring, make 20 single crochet stitches around the ring.
- For a 3-inch ring, make 24–26 single crochet stitches instead.
- Spread the stitches evenly around the circumference, checking that the ring is covered without large gaps.
Once the ring is completely covered, cut the yarn, leaving enough length to close the round neatly. Use your yarn needle to imitate a slip stitch at the join, secure the yarn firmly at the back, and trim the excess.
Helpful tip: Keep your stitches snug but not so tight that the yarn becomes difficult to work around the ring. Even spacing helps maintain a balanced circular shape.
Step 2: Change Colors for the Textured Border
Switch to your second color, again holding two strands together.
- Insert your 5 mm hook into any stitch on the covered ring.
- Pick up the second color and pull it through the stitch.
- Chain 1 to begin the border.
- Work a slip stitch into the next stitch.
- Chain 1, then work a slip stitch into the following stitch.
- Continue alternating ch 1 and sl st into the next stitch around the ring.
Keep the chain spaces and slip stitches consistent. This repeating pattern creates a textured edge that stands out against the denser base.
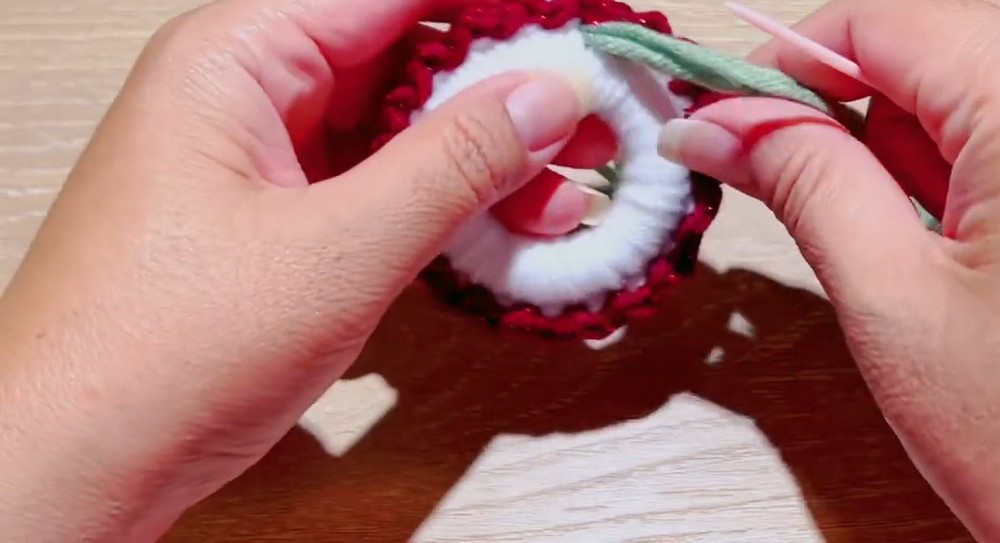
Step 3: Close the Textured Border
When you reach the end of the border round, finish the join carefully.
- Cut the yarn, leaving a tail long enough to secure the round.
- Thread the tail onto your yarn needle.
- Insert the needle through the first stitch to create a neat join.
- Bring the yarn back toward the final stitch and pass it through the back thread as described in the supplied method.
- Pull gently to even out the join.
- Secure the yarn at the back and weave in the remaining end.
Avoid pulling the yarn so tightly that the final stitch becomes smaller than the rest. A smooth join helps the border look continuous around the wreath.

How to Add the Hanging Threads and Wooden Beads
The decorative center uses the third yarn color to create dangling strands. Wooden beads are attached to these strands, giving the finished wreath an extra detail and a little movement.
Step 4: Prepare the Decorative Yarn Strands
Choose your third yarn color and cut a strand approximately 4 feet long.
- Fold the strand in half.
- Thread the folded strand onto your yarn needle so the working arrangement contains four yarn lengths, as described in the supplied instructions.
- Pass the strands through the wreath base, positioning them where you want the hanging center decoration.
- Pull the strands through from the back to the front.
- Use the long tail to tie the strands securely at the front of the base.
- Leave two strands hanging and trim the excess yarn.
Arrange the strands before tightening the knot completely. Keep the decorative section near the center so the finished wreath looks balanced.
Step 5: Shape the Hanging Strands
Adjust the two remaining strands to create the hanging details.
- Use your yarn needle to guide the strands toward the back of the wreath.
- Bring the yarn back toward the center of the decorative section, then return it to the front.
- Adjust the hanging length to your preference.
- Tie a tight knot close to the base to secure the strand.
- Repeat the same process for the other side.
Check that both strands hang neatly. They do not have to be identical in length, but keeping them reasonably balanced will help the wooden beads sit attractively.
Step 6: Attach the Wooden Beads
Use the two wooden balls with center holes and your 0.9 mm hook.
- Take one wooden bead and locate its center hole.
- Use the small hook to catch the yarn threads and pull them through the hole.
- Position the bead along its hanging strand.
- Tie the yarn twice to help keep the bead from sliding off.
- Repeat the process with the second wooden bead.
- Trim excess yarn only after checking that both beads are secure.
- Apply a small drop of glue to the thread ends to keep them neat and untangled.
- Add a small amount of glue beneath the hanging threads where they meet the wreath base to hold them in place.
Safety and finishing tip: Use the glue gun carefully, and let all glued areas cool completely before handling the ornament. Keep the glue away from visible front surfaces so it does not distract from the yarn texture.
Final Assembly
Step 7: Attach the Decorative Bow
The final embellishment gives the wreath its finished holiday look.
- Position the decorative bow at the top of the wreath or at the base of the wreath, depending on the look you prefer.
- Check its placement from the front before applying glue.
- Use your glue gun to attach the bow firmly to the ring.
- Hold it in place until the glue sets, following the glue manufacturer’s instructions.
- Inspect the back and trim any remaining loose yarn ends.
The bow should be secure without covering the textured border or interfering with the hanging strands.