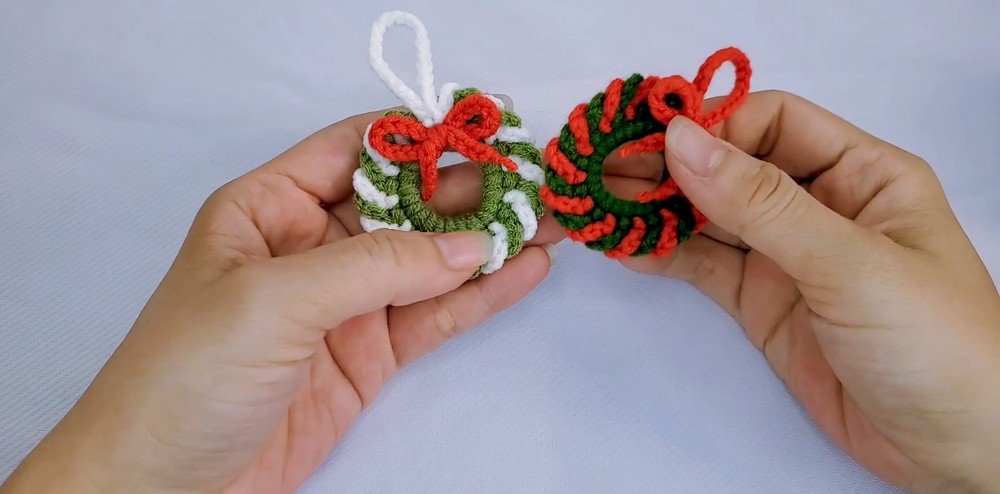
Here’s a tiny crochet Christmas wreath with a twisted green-and-white ruffle, a neat hanging loop, and a handmade red bow for a festive finish.
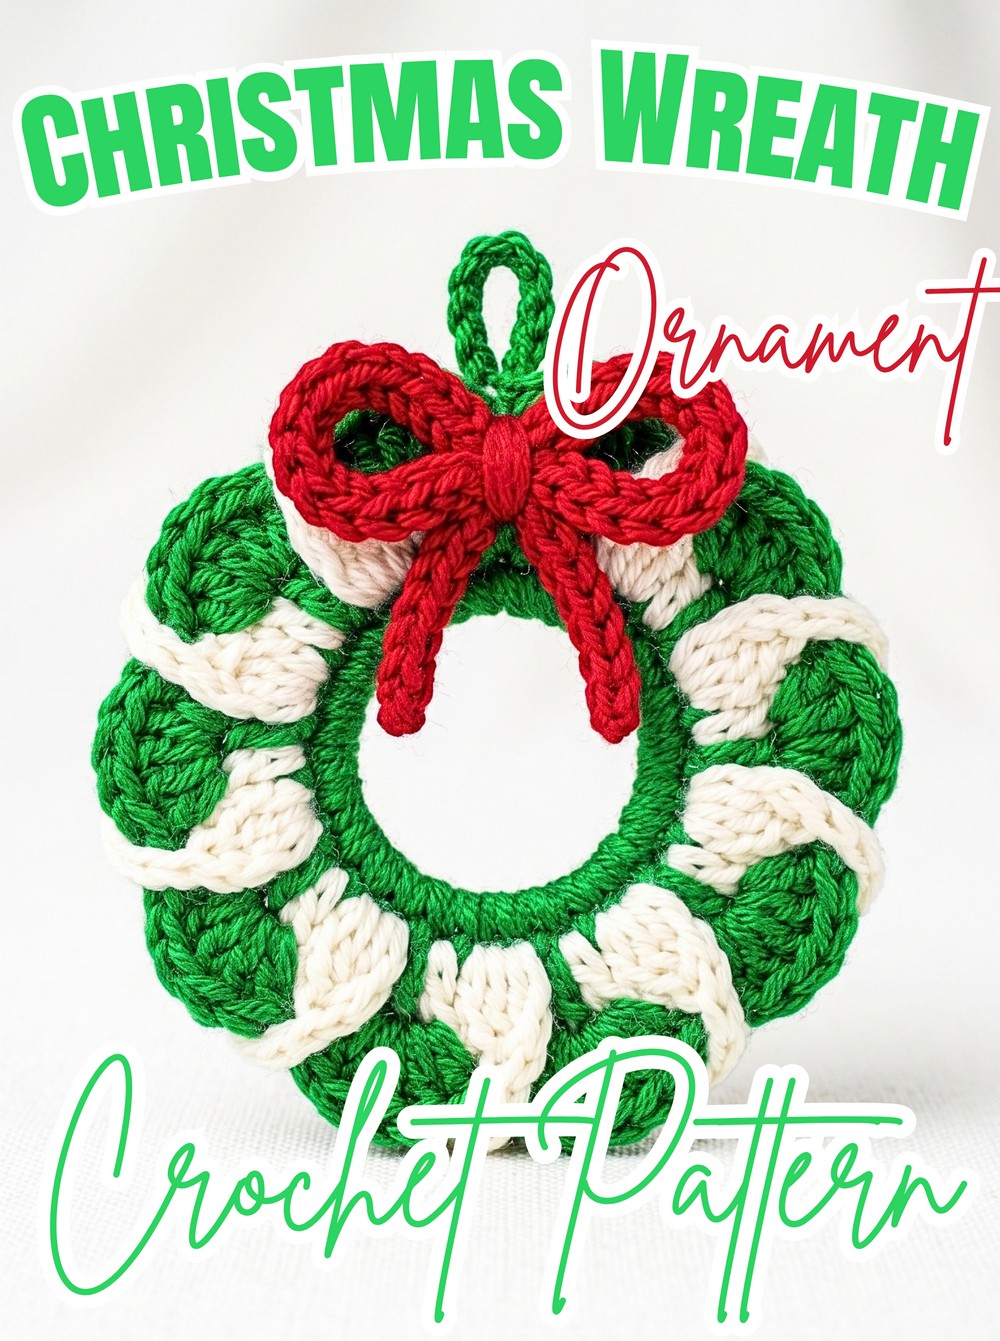
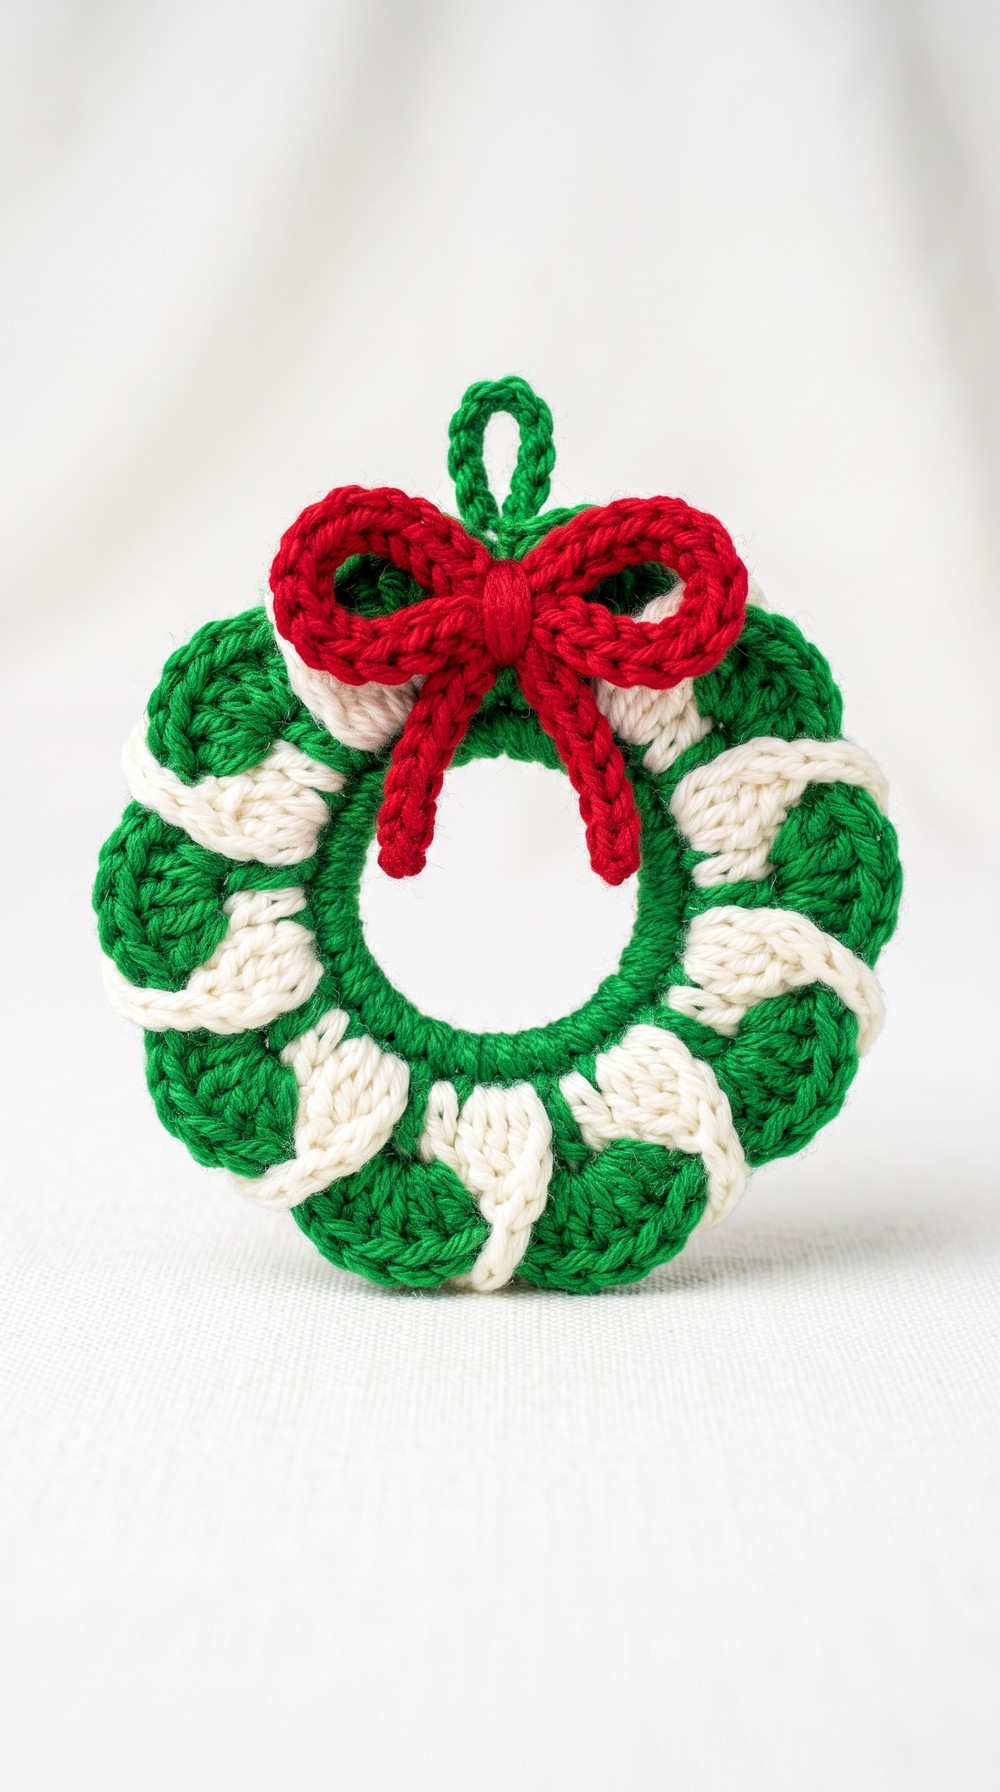
Festive color changes and a softly twisted ruffle turn this tiny crochet wreath into a cheerful tree ornament that looks more detailed than its small size suggests. The green-and-white edging gives the wreath a braided appearance, while the red bow adds a classic Christmas crochet accent.
Made from a wrapped yarn ring rather than a traditional magic ring, the wreath begins with a sturdy circular base and then builds its decorative edge by alternating two active yarn colors. You’ll also learn how to keep the dropped loops secure, create the hanger from the remaining white yarn, and shape a simple chain into the finished crochet bow.
Credit Po Handmade
Materials & Tools
- Light worsted or DK-weight yarn in three colors:
- Green for the wreath base
- White for the contrasting ruffle and hanging loop
- Red for the decorative bow
- Crochet hook: 3.0-4.0 mm, depending on your yarn
- Tapestry needle: For sewing and weaving in ends
- Scissors
- Stitch marker: Recommended for marking the first stitch of the round
Finished Size & Customization
The finished mini wreath measures approximately 2–3 inches in diameter, depending on yarn weight and individual tension.
For a different holiday look, replace the crocheted red bow with a small satin ribbon or tiny metal craft bell. For extra sparkle, hold a strand of metallic embroidery thread together with the green and white yarn while crocheting the wreath.
Abbreviations
- ch: Chain
- sc: Single Crochet
- sl st: Slip Stitch
- st(s): Stitch(es)
Before You Begin
This wreath starts differently from many small crochet ornaments. Instead of making a magic ring, you’ll wrap the green yarn around two fingers 8 times to create a thick bundle, then crochet directly around those strands.
The two-color ruffle also works differently from a normal color-change round. You will keep both green and white loops active, dropping one while working with the other. The dropped loop should remain long enough that it does not unravel, and each new color is worked into the next base stitch.
Once you understand those two ideas, the rest of the wreath becomes much easier to follow.
Crochet the Wrapped Wreath Base
The wrapped yarn bundle provides the firm circular foundation needed to keep this small ornament from becoming too floppy.
Step 1: Wrap the green yarn around two fingers 8 times, keeping the strands together. Carefully slide the entire bundle off your fingers without allowing the strands to separate.
Step 2: Insert your hook through the center of the wrapped ring, pull up a loop, and ch 2 to secure the bundle.
Round 1: Work 23 sc directly into the center of the wrapped ring, enclosing all 8 strands as you crochet around them. Place a stitch marker in the very first sc so you can identify the beginning of the round.
Join: After completing all 23 sc, work 1 sl st into the first marked sc to close the round.

Check the Base
Before beginning the ruffle, look at the ring from above. You should have a small, firm circle with 23 stitches around its outer edge. If the wrapped strands have shifted, straighten them now because the next section uses every base stitch individually.
Create the Two-Color Braided Ruffle
The decorative edge is made by alternating green and white one stitch at a time. The chain-5 loops from both colors overlap as you move around the wreath, creating the twisted or braided effect.
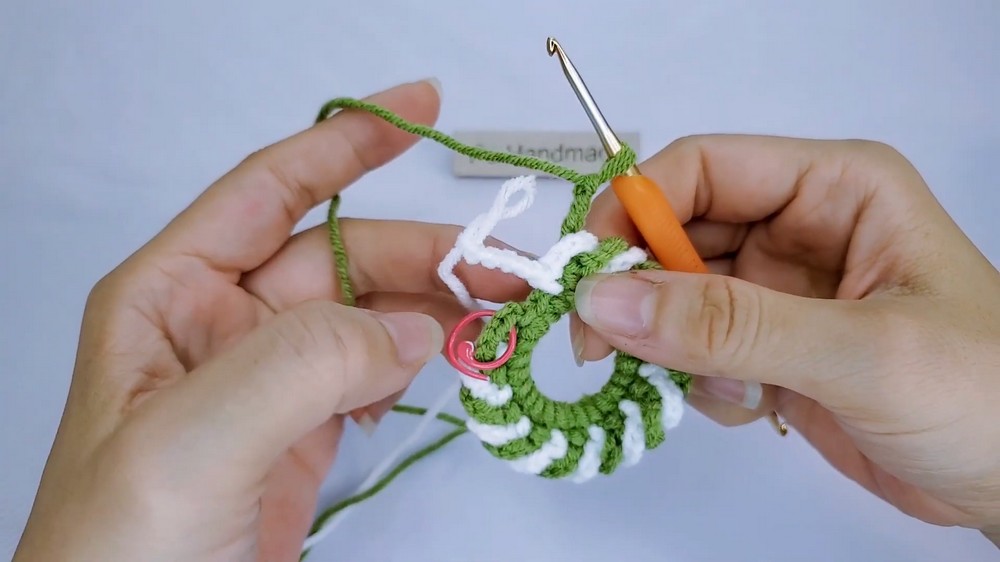
Keep both yarns attached throughout this section. When you are not using one color, remove your hook from its loop and leave that loop long enough to prevent it from slipping out.
Step 1 Green: Ch 1, then work 1 sc into the first base stitch. Ch 5 and remove your hook from the green loop, leaving the loop loose but secure.
Step 2 – White: Insert your hook into the second base stitch. Pull the white yarn through to attach it, then ch 1 and work 1 sc into that same stitch, crocheting over the white yarn tail to help secure it. Ch 5 and drop the white loop.
Step 3 – Green: Pick up the dropped green loop. Bring the green yarn forward and over the white chain loop, then work 1 sc into the next available base stitch. Ch 5 and drop the green loop again.
Step 4 – White: Pick up the white loop. Bring the white yarn forward and over the green chain loop, pushing the green working yarn toward the back. Work 1 sc into the next available base stitch, ch 5, and drop the white loop.
Step 5 – Continue around: Keep alternating green and white in this same way, using one color per base stitch. Each color forms its own chain-5 loop, while carrying the active color over the dropped chain loop creates the braided appearance.

What to Watch For
The important part here is not to accidentally work both colors into the same base stitch. Each new sc belongs in the next available stitch around the wreath.
Also, avoid pulling the dropped loop tight. It needs enough length to sit comfortably over the neighboring chain loop; otherwise, the ruffle can become puckered or lose its twisted appearance.
As you work farther around the ring, periodically spread the chain loops with your fingers. This makes the green-and-white crossing easier to see and helps you maintain the decorative rhythm.
Finish the Ruffle and Make the Hanger
When you reach the end of the green-and-white sequence, the two colors finish differently.
Finish the Green: Pick up the green loop and work the final 1 sc into the next available base stitch, then ch 1. Cut the green yarn and pull it completely through to fasten off.
Finish the White: Pick up the white loop. Instead of making another sc, work 1 sl st into the remaining base stitch.
Create the hanger: Ch 20 to form the hanging loop. Fold this chain outward, then sl st back into the exact same base stitch to anchor the loop.
Ch 1, cut the white yarn, and fasten off.
Use your tapestry needle to weave the loose green and white ends neatly into the back of the wreath.
Hanger Check
Hold the wreath by the new loop before continuing. The chain should rise cleanly from the top of the wreath without twisting the circular base. If the loop is lying sideways, adjust its fold before securing the yarn ends.
Make the Red Crochet Bow
The bow is formed from a simple chain, so the important part is the folding and center wrap rather than complicated stitches.
Step 1: Make a slip knot with red yarn and ch 30.
Step 2: Cut the yarn, pull it through to fasten off, and trim the excess tails close to the knots.
Step 3: Fold both ends of the chain inward toward the center to form two loops. Adjust the loops until they are as symmetrical as possible.
Step 4: Thread a separate long piece of red yarn onto your tapestry needle, with a knot at one end. Push the needle from the back through the center of the folded bow to hold all the layers together.
Step 5: Wrap the working red yarn tightly around the middle of the bow 2–3 times. This creates the gathered center and keeps the two loops in their bow shape.

Shape Check
Before attaching the bow, hold it by the center and let the two loops fall naturally. If one side is noticeably larger, adjust the folded chain now. It is much easier to correct the symmetry before sewing the bow to the wreath.
Attach the Bow
Position the completed red bow at the bottom center of the wreath, or place it over the area where the crochet rows were finished.
Use the remaining red yarn on your needle to sew through the bow and wreath base several times. Adjust the bow as you sew so it remains centered rather than drifting to one side.
Once the bow is secure, tie a knot at the back of the wreath, weave the remaining red tail through several stitches, and trim the excess.
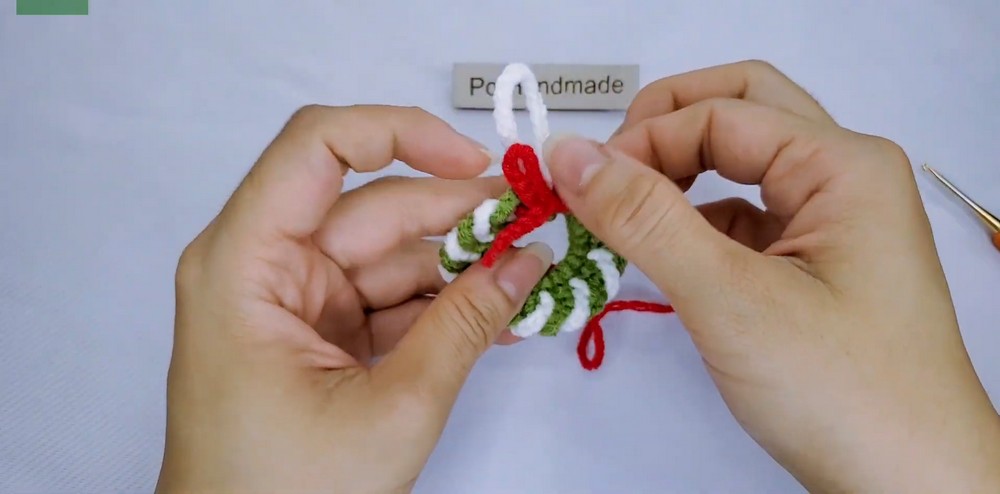
Final Shape Check
Give the ornament a quick inspection before hanging it:
- The wreath should remain circular rather than stretched into an oval.
- The green and white ruffle should show its alternating braided effect.
- The hanging loop should rise cleanly from the top.
- The red bow should sit securely and remain centered.
- All yarn tails should be woven into the back and trimmed neatly.
Your mini crochet Christmas wreath is ready to hang on a tree, add to a holiday package, or use as a small handmade seasonal decoration. Its compact size also makes it a useful way to turn small amounts of leftover yarn into festive ornaments.