
Those colorful crochet bulbs turn simple chains into a festive light string, with soft stuffed shapes and adjustable gaps for decorating trees, mantels, or railings.
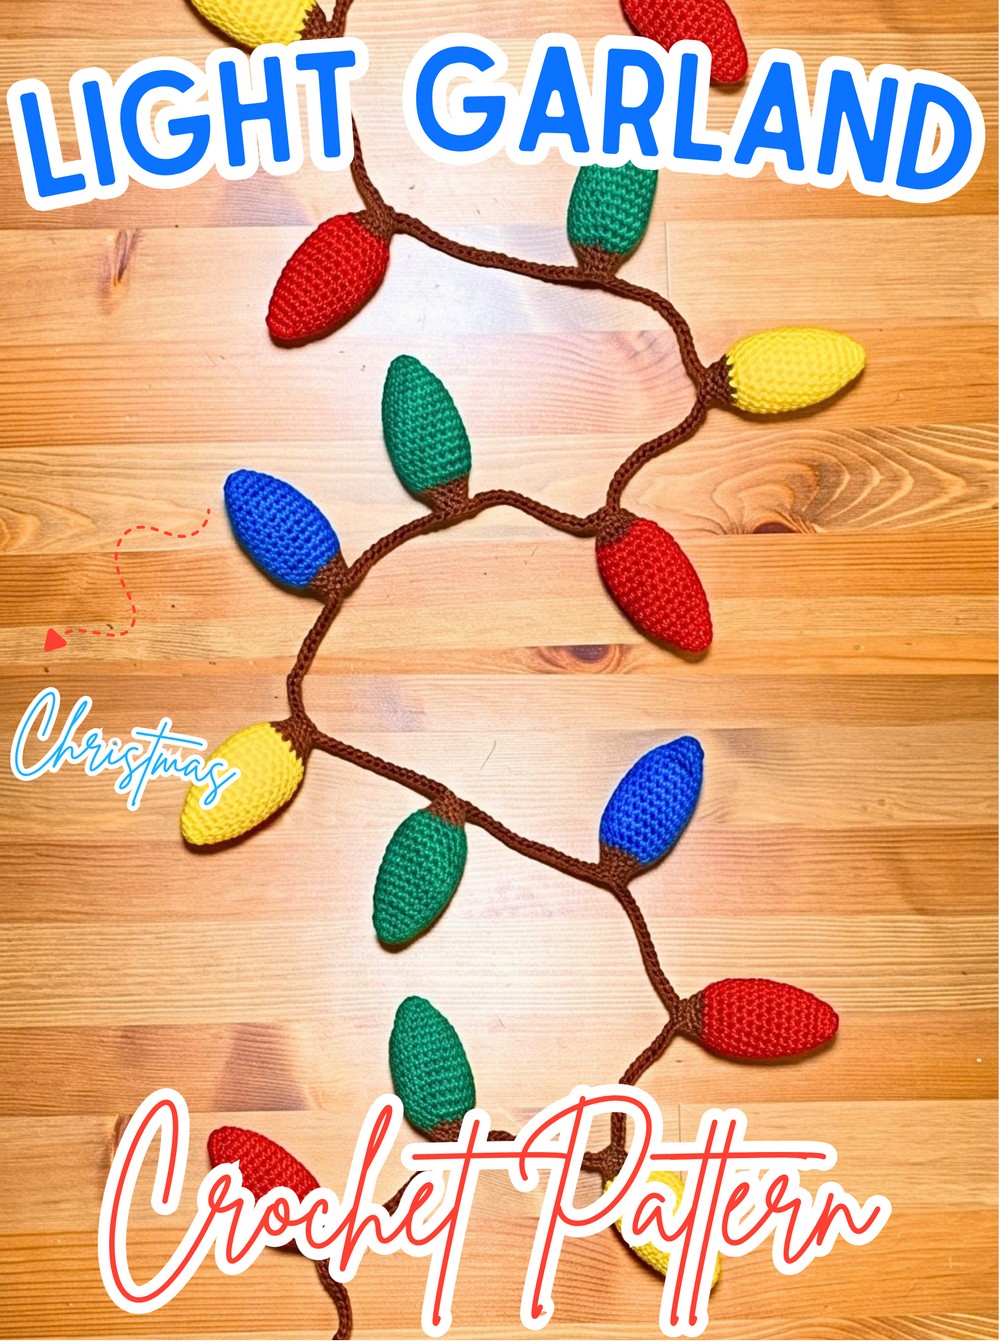
Bright little bulbs linked by a crocheted brown or green cord give this Christmas garland the look of a classic strand without complicated stitching. Each bulb is softly stuffed and finished with a narrow yarn-covered top, so the individual colors remain easy to see along the string.
Four bright shades can be arranged in any order, while the number of crochet bulbs and the chain length between them can be changed to suit your decorating space. The tutorial covers the continuous bulb spiral, timely stuffing, the top wire-base section, and the final chain that connects all eight crochet bulbs into one flexible strand.
Credit Keep Calm and Crochet
Materials & Tools
- DK yarn: Use several colors. Brown, black, or green works well for the wire-like base, while four bright colors can be used for the bulbs.
- 3.5 mm crochet hook
- Fiberfill
- Stitch marker: A paper clip or scrap of yarn can also work.
- Scissors
Finished Size & Customization
The pattern creates small, realistic-looking holiday bulbs connected into a flexible crocheted string. The finished strand can be made longer by adding more bulbs.
For an orderly look, repeat the same bulb color throughout. For something brighter, rotate through four colors or arrange the completed bulbs in a rainbow-inspired sequence.
Spacing is also adjustable. The supplied pattern uses 25 chains between bulbs; adding more chains creates wider gaps, while fewer chains bring the bulbs closer together.
Abbreviations
- ch: Chain
- sc: Single Crochet
- inc: Increase – 2 sc in the same stitch
- dec: Decrease – single crochet 2 stitches together
- sl st: Slip Stitch
- st(s): Stitch(es)
- Rnd: Round
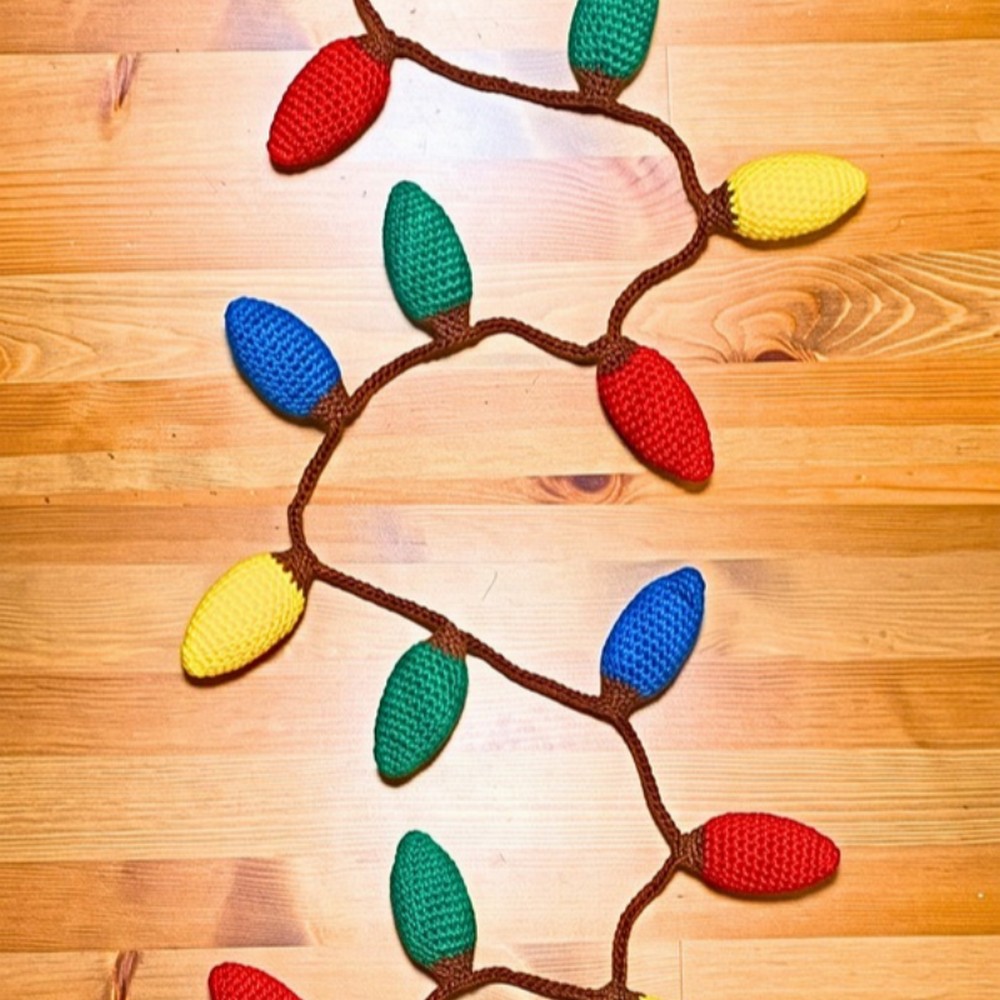
Crochet the Lightbulbs
Make 8 bulbs total, using 2 bulbs in each of 4 colors.
Each bulb is worked in a continuous spiral, so there is no joining at the end of every round. Place a stitch marker in the first stitch and move it upward as you work. This small habit is especially useful here because the stitch counts change during the shaping.
Shape Each Bulb
Rnd 1: With the chosen bulb color, make a slip knot, ch 2, skip the first ch from the hook, and work 6 sc into the second ch; pull the yarn tail to eliminate the gap (6 sts).
The short chain creates the starting opening, while the six single crochets establish the narrow bottom of the bulb. Closing the gap now prevents a visible hole from remaining inside the finished shape.
Rnd 2: [1 sc, inc] x3 (9 sts).
Rnd 3: Sc around (9 sts).
Rnd 4: [2 sc, inc] x3 (12 sts).
Rnd 5: [1 sc, inc] x6 (18 sts).
The increases gradually widen the bulb rather than creating the full width immediately. At the end of Round 5, you should have a noticeably wider shape with 18 stitches around it.
Rnds 6–13: Sc around for 8 continuous rounds (18 sts).
These even rounds create the main length of the bulb. Keep the sides reasonably firm and consistent so all eight bulbs end up with similar proportions.

Stuff Before the Opening Narrows
Before closing the top, add the fiberfill. This is easier now because the opening is still wide enough for your fingers or a stuffing tool to reach the bottom.
Use enough stuffing to give the bulb a firm, rounded appearance without forcing the crochet stitches apart. Check the outside as you fill: the bulb should look plump rather than lumpy.
Rnd 14: [1 sc, dec] x6 (12 sts).
The decreases begin narrowing the upper opening so it can receive the small yarn-covered base.
Finish the bulb: Sl st in the next st to fasten off; cut the yarn, pull it through, and push the remaining tail down inside the stuffed bulb.
Before moving on, compare the finished bulb with your previous ones. Keeping their size and stuffing level similar will make the completed garland look much more balanced.

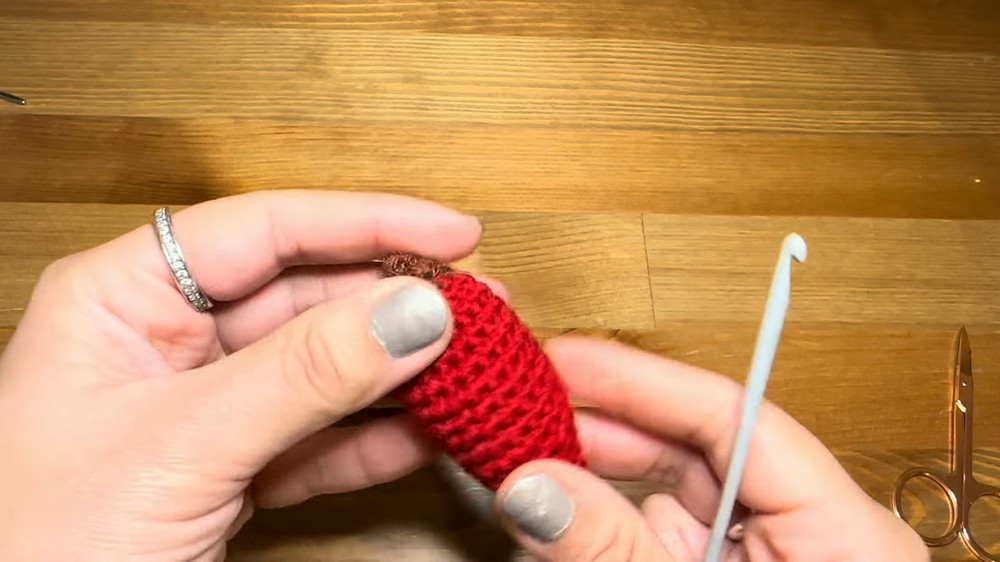
Add the Yarn-Covered Bulb Base
The brown, black, or green yarn forms the narrow top section that visually represents the wire connection on each bulb.
Rnd 1: Insert the hook into a stitch at the top of the bulb, preferably away from the fastening-off point; ch 1 to attach, pull up a loop in the same stitch, then work 6 dec around (6 sts), tucking the yarn tails inside the bulb as you work.
Starting away from the fastened-off area can give the color transition a cleaner appearance. The decreases pull the opening inward and create the small top section.
Rnd 2: Sc around (6 sts).
The six single crochets stabilize this narrow base before it is closed.
Finish the base: Insert the hook completely through the front and back of the top opening, pull up a loop, and sl st to pinch the opening closed. Cut the yarn, pull through, then weave the tail down through the center of the bulb and trim the excess.
Shape check: Each completed bulb should now have a rounded, stuffed colored body with a small dark or brown top. Make all eight bulbs before beginning the long connecting chain.
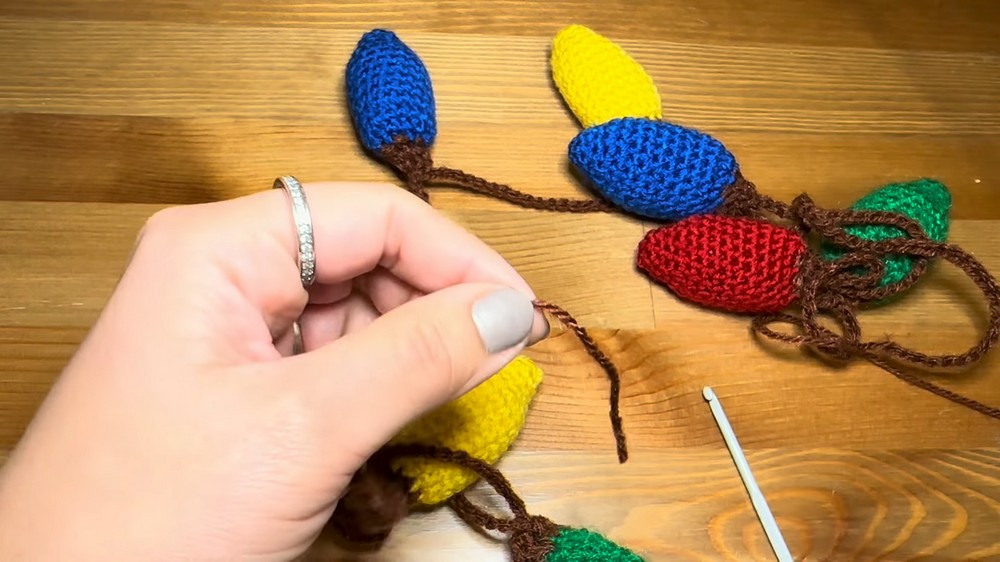
Arrange the Bulbs Before Connecting Them
Lay all 8 finished bulbs in front of you and decide their exact color order before crocheting the string.
This is worth doing now because once the bulbs are attached, changing their order means undoing the connecting chain. Place the colors in a sequence you like and keep them in that order as you work.
Crochet the Connecting String
The chain forms the flexible wire-like strand between the bulbs. The supplied spacing is 25 chains between each bulb, with 40 chains at both ends.
1. Start the string: With the brown, black, or green yarn, make a slip knot and ch 40.
The first 40 chains create the loose end that will hang beyond the first bulb. Keep this section relaxed rather than pulling the chains unusually tight.
2. Attach Bulb 1: Insert the hook into the top middle point of the first bulb’s brown base, pull up a loop, then pull that loop directly through the loop already on your hook to make a sl st connection.
The bulb should sit securely on the end of the chain while remaining free enough to hang naturally.
3. Create the first gap: Ch 25.
4. Attach Bulb 2: Insert the hook into the top middle point of the second bulb and sl st to connect it.
5. Continue the strand: Repeat ch 25, then sl st into the top middle point of the next bulb until all 8 bulbs have been attached.
As you work, keep checking the strand on a flat surface. The bulbs should follow the planned color sequence and hang from the same general orientation rather than twisting unpredictably.
6. Finish the opposite end: After attaching the eighth and final bulb, ch 40.
7. Secure the string: Cut the yarn, pull it through the final loop, and tighten to make a secure knot. Trim the excess tails from both ends.
Final Shape & Display Check
Spread the finished strand out before hanging it. The bulbs should be distributed along the chain with approximately equal 25-chain gaps, while the two 40-chain ends provide extra length for positioning the decoration.
If you want a longer strand, make additional bulbs and continue the same attachment sequence. For a more compact garland, shorten the chain gaps in a future version.
Once arranged, these soft crochet lights can be draped across a mantel, wrapped around a bannister, or placed on a Christmas tree for a colorful handmade accent.





