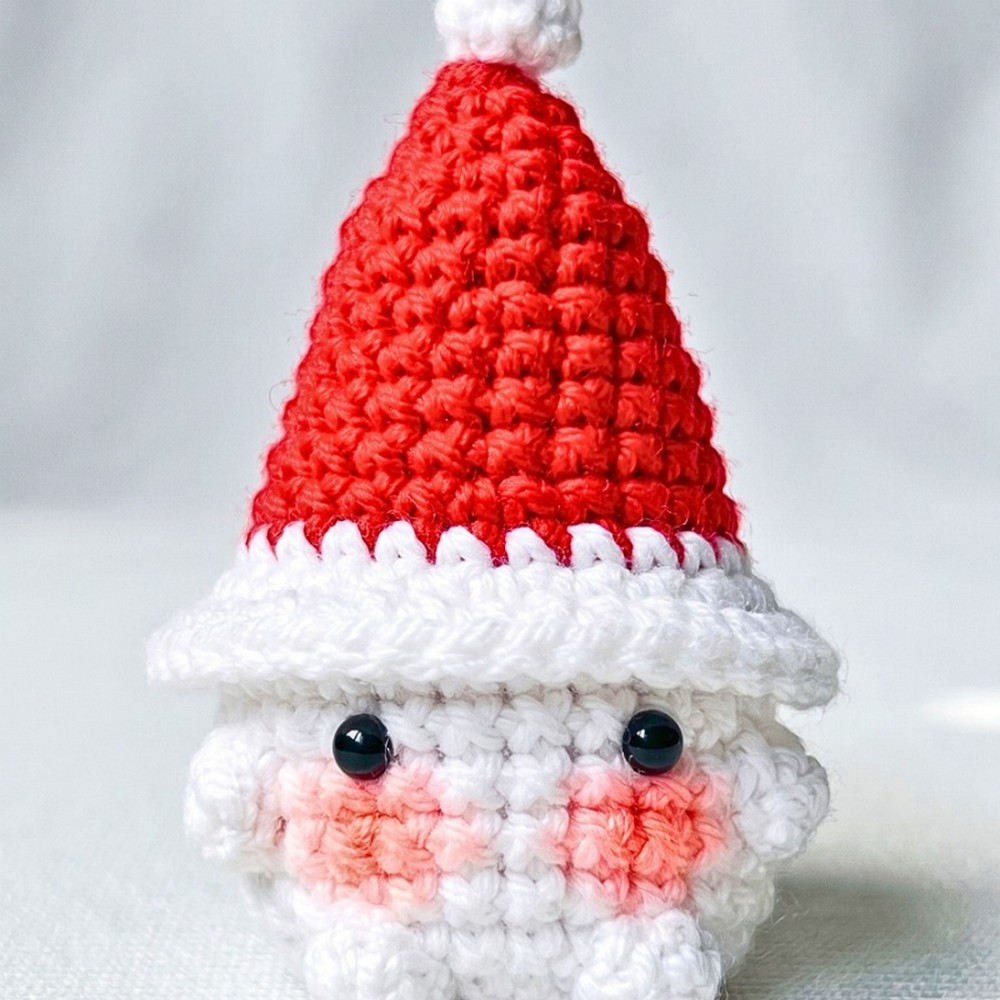
Here’s a tiny Christmas crochet mushroom with a snowy cap brim, bobble limbs, and a pom-pom top-follow the shaping closely to get its rounded woodland look.
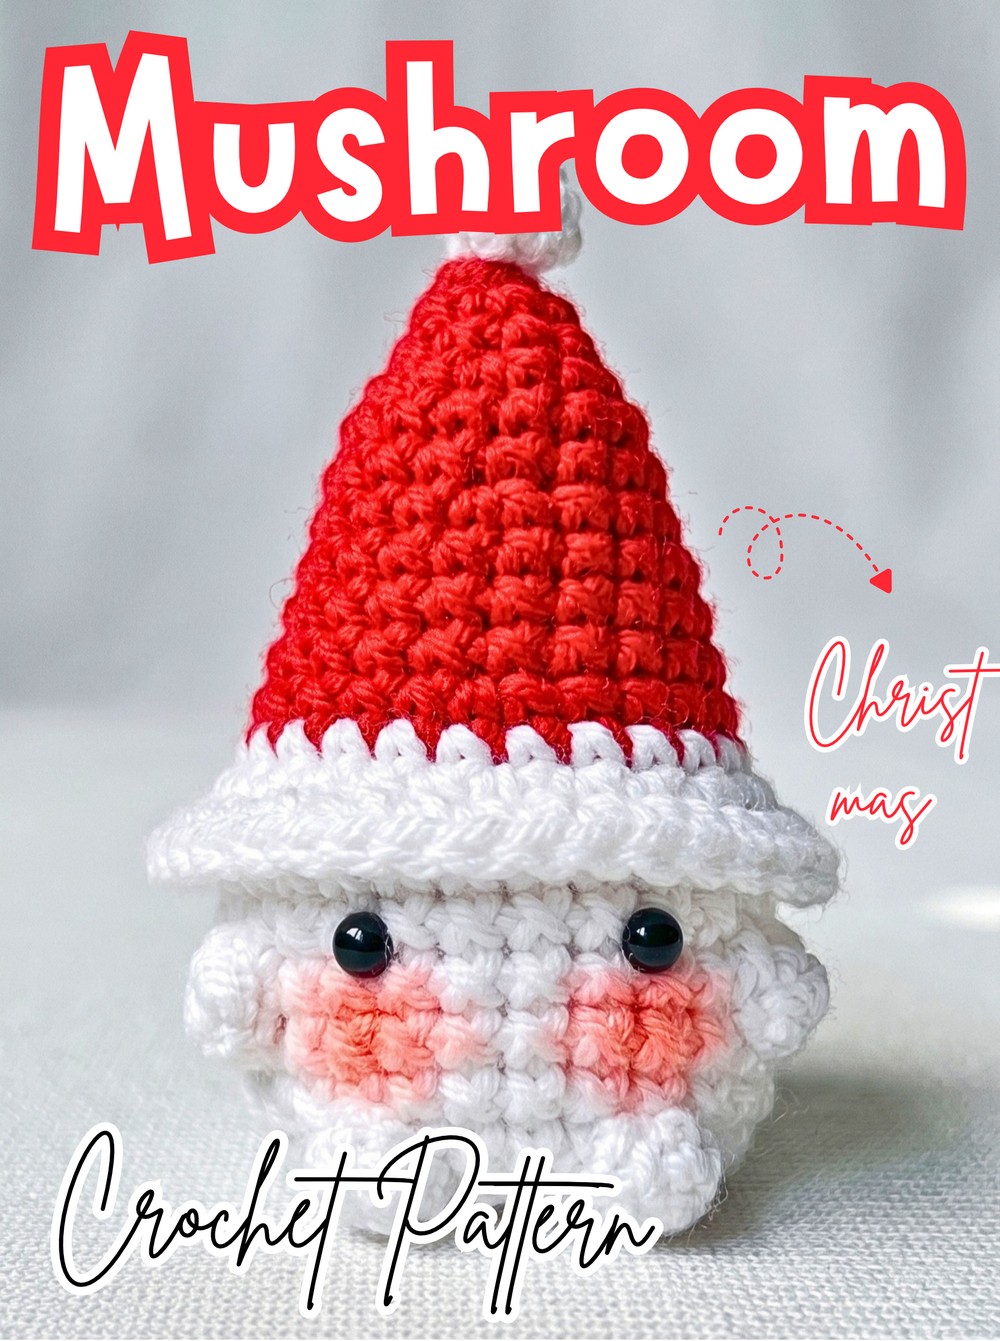
A little crochet mushroom with a bright red cap, snowy white trim, and tiny bobble arms and legs makes a charming addition to a Christmas crochet collection. Its rounded cap gives it that familiar woodland shape, while the textured limbs and pom-pom add plenty of character without requiring separate sewn-on arms or legs.
Designed as a small, palm-sized amigurumi, this pattern works well as a holiday crochet ornament, a cute gift, or a small handmade-market item. The tutorial walks through the cap shaping, front-loop brim, body, bobble details, stuffing, safety-eye placement, and final pom-pom so you can see exactly where each part belongs as the mushroom takes shape.
Credit Po Handmade
Materials & Tools
- Red and White sport or DK weight cotton yarn
- 2.5-3.0 mm crochet hook, or a size suitable for your yarn
- 6 mm or 8 mm safety eyes
- Fiberfill stuffing
- Tapestry or yarn needle
- Stitch marker
- Scissors
For a firm amigurumi shape, choose a hook that gives you fairly tight stitches. The exact hook size can vary with your yarn, so the most important check is that the stuffing will not show through the finished stitches.
Finished Size & Customization
This pattern makes a small, palm-sized mushroom that can be used as a Christmas tree ornament, a keychain, or a handmade holiday item. To turn it into a classic woodland mushroom instead, replace the Christmas red with an earth-tone brown, green, or another color you prefer.
A small keychain ring can also be added through the top pom-pom area if you want to turn the finished mushroom into a hanging accessory.
Abbreviations & Special Stitches
US crochet terms are used throughout.
- MR: Magic Ring
- ch: Chain
- sc: Single Crochet
- inc: Increase – 2 sc in the same stitch
- dec: Invisible Decrease – sc 2 together through the front loops
- sl st: Slip Stitch
- FLO: Front Loops Only
- BLO: Back Loops Only
- st(s): Stitch(es)
4-dc Bobble: Yarn over, insert the hook into the stitch, pull up a loop, yarn over, and pull through 2 loops four times in the same stitch. You will have 5 loops on the hook; yarn over and pull through all 5 loops.
3-dc Bobble: Yarn over, insert the hook into the stitch, pull up a loop, yarn over, and pull through 2 loops three times in the same stitch. You will have 4 loops on the hook; yarn over and pull through all 4 loops.
Each round is joined with a slip stitch to the first stitch, followed by a chain 1 to move up to the next round.
Crochet the Christmas Mushroom Cap
Start with Red yarn. The cap begins very small and gradually widens through evenly spaced increases. The increase rounds create the rounded shape, while the later front-loop round gives you the mushroom’s wider snowy brim.
Round 1: Make a MR, ch 1, work 3 sc into the MR, pull the ring tight, and sl st to the first sc. (3 sts)
Round 2: Ch 1, work 3 inc, then sl st to join. (6 sts)
Round 3: Ch 1, turn the piece inside out so you are working on the correct right side, work (1 sc, 1 inc) 3 times, then sl st to join. (9 sts)
At this point, check the surface before continuing. Turning the piece here puts the stitches on the intended right side, so the cap can develop its proper amigurumi appearance as it grows.
Round 4: Ch 1, work (1 sc, 1 inc, 1 sc) 3 times, then sl st to join. (12 sts)
Round 5: Ch 1, work (3 sc, 1 inc) 3 times, then sl st to join. (15 sts)
Round 6: Ch 1, work 15 sc around, then sl st to join. (15 sts)
Round 7: Ch 1, work (2 sc, 1 inc, 2 sc) 3 times, then sl st to join. (18 sts)
Round 8: Ch 1, work 18 sc around, then sl st to join. (18 sts)
Round 9: Ch 1, work (5 sc, 1 inc) 3 times, then sl st to join. (21 sts)
Round 10: Ch 1, work 21 sc around, then sl st to join. (21 sts)
Round 11: Ch 1, work (3 sc, 1 inc, 3 sc) 3 times; on the final pull-through of the last stitch, change to White yarn, then sl st to join. (24 sts)
Changing color on the final pull-through keeps the transition neat. Do not cut the White yarn after joining; it will continue directly into the snowy section.
Round 12: With White yarn, ch 1, work 24 sc around, carrying and crocheting over the White yarn tail to secure it, then sl st to join. (24 sts)

Round 13 – Cap Brim: Ch 1, working in FLO only, work (3 sc, 1 inc) 6 times, then sl st to join. (30 sts)
The front-loop-only stitches leave the remaining loops available on the underside. This is what creates the distinct edge where the cap begins to flare outward.
Round 14: Ch 1, work (2 sc, 1 inc, 2 sc) 6 times, then sl st to join. (36 sts)
The cap should now have a noticeably wider brim than the rounded section above it. If the brim is curling more than expected, check that every increase has been worked into the intended stitch before moving on.
Finish the Cap: Fasten off, cut the yarn, and weave the yarn tail down into the inside of the cap to hide it.

Crochet the Mushroom Stem and Body
Turn the finished cap over so you can see its underside. The next section begins by using the unworked BLO of Round 12, which creates the opening from which the white mushroom stem grows.
Round 15: Flip the cap over to the underside, locate the unworked BLO of Round 12, attach White yarn to the first back loop, ch 1, work 24 sc in the BLO, then sl st to join. (24 sts)
Before starting the next round, look around the inside edge of the cap and make sure all 24 back loops were worked. This round establishes the connection between the red cap and white body.
Rounds 16-17: Ch 1, work 24 sc around, then sl st to join. (24 sts per round)
The body is now forming downward beneath the cap. Keep the stitches fairly firm, so the finished mushroom will hold its rounded shape once stuffed.
Round 18 – Arms: Ch 1, work 7 sc, 1 4-dc bobble, 8 sc, 1 4-dc bobble, 7 sc, then sl st to join. (24 sts)
The two bobbles become the arms, so check their placement as you finish the round: there should be 7 sc before the first arm, 8 sc between the two arms, and 7 sc after the second arm.
Rounds 19-20: Ch 1, work 24 sc around, then sl st to join. (24 sts per round)

These plain rounds carry the body downward and place enough space between the arms and legs for the mushroom’s face and torso.
Round 21 – Legs: Ch 1, work 9 sc, 1 4-dc bobble, 4 sc, 1 4-dc bobble, 9 sc, then sl st to join. (24 sts)
The two new bobbles form the legs. Check that the shorter 4-sc section sits directly between them; this helps keep the legs balanced across the front of the body.
Round 22: Ch 1, work 12 invisible dec using the front loops, then sl st to join. (12 sts)
The opening should now be much smaller. This is the point to add the stuffing, before the final rounds close the body.
Stuff the Mushroom
Pause after Round 22 and firmly stuff both the body and cap with fiberfill. Add enough stuffing to give the mushroom a full, rounded shape, but avoid packing it so tightly that the stitches stretch open.
Check the cap as you stuff. The top should remain rounded while the brim stays wider and clearly defined.
Round 23: Ch 1, work 6 dec, then sl st to join. (6 sts)
Finish the Body: Fasten off, leaving a long tail. Weave the tail through the front loops of the remaining 6 stitches, pull tight to close the opening flat, and hide the tail neatly inside the body.

Make the Tiny White Pom-Pom
Use White yarn for the pom-pom. This small bobble becomes the snowy decoration on top of the red cap.
Make a MR, ch 2, work 1 3-dc bobble directly into the MR, ch 2, and sl st back into the MR. Fasten off, leaving a long tail for sewing.
Push the bobble outward so it turns right side out, then pull the MR tight to form the tiny ball. Keep both yarn tails long enough to attach it securely to the cap.

Add the Safety Eyes
Insert the safety eyes between Rounds 17 and 18 of the stem, centering them evenly between the two arms. Leave exactly 4 stitches of space between the eyes.
For easier access, the safety-eye backings can be fitted after Round 21 and before the body is decreased and stuffed. Once the placement looks even, snap the backings on securely.
Take a moment to view the face from the front before moving on. The eyes should sit level with one another and remain centered between the bobble arms.

Attach the Pom-Pom
Thread the long tails from the white pom-pom onto your tapestry needle. Insert the needle straight down through the center of the Magic Ring at the very top of the red cap.
Pull both tails firmly into the inside of the hat, tie a secure knot, and hide the remaining yarn inside the cap. The pom-pom should sit directly on top rather than leaning toward one side.
Final Shape Check
Give the mushroom a gentle squeeze and adjust the fiberfill from the outside if needed. The cap should stay rounded above the wider white brim, the stem should look full without becoming overly stretched, and the bobble arms and legs should remain clearly visible.
If you are turning the mushroom into a Christmas ornament, attach your hanging loop or ring at the top. For a keychain, a small keychain ring can be connected through the top pom-pom area once the pom-pom is securely sewn down.
The finished mushroom has a cheerful red-and-white Christmas look, but the same shape can easily become an everyday woodland mushroom simply by changing the cap color.