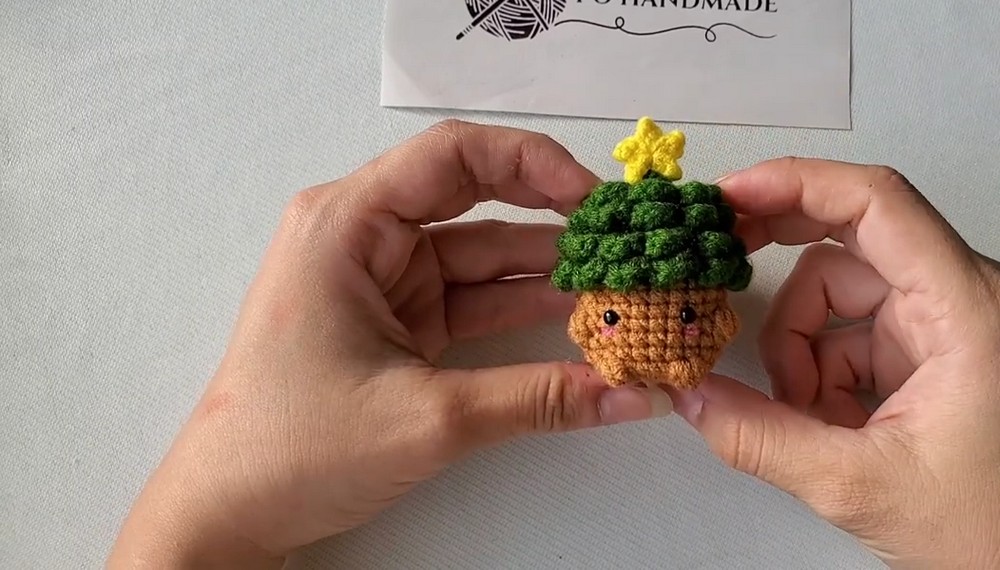
Looking for a tiny holiday make with personality? This Christmas crochet tree mushroom combines layered pine branches, a yellow star, and built-in bobble arms and feet.
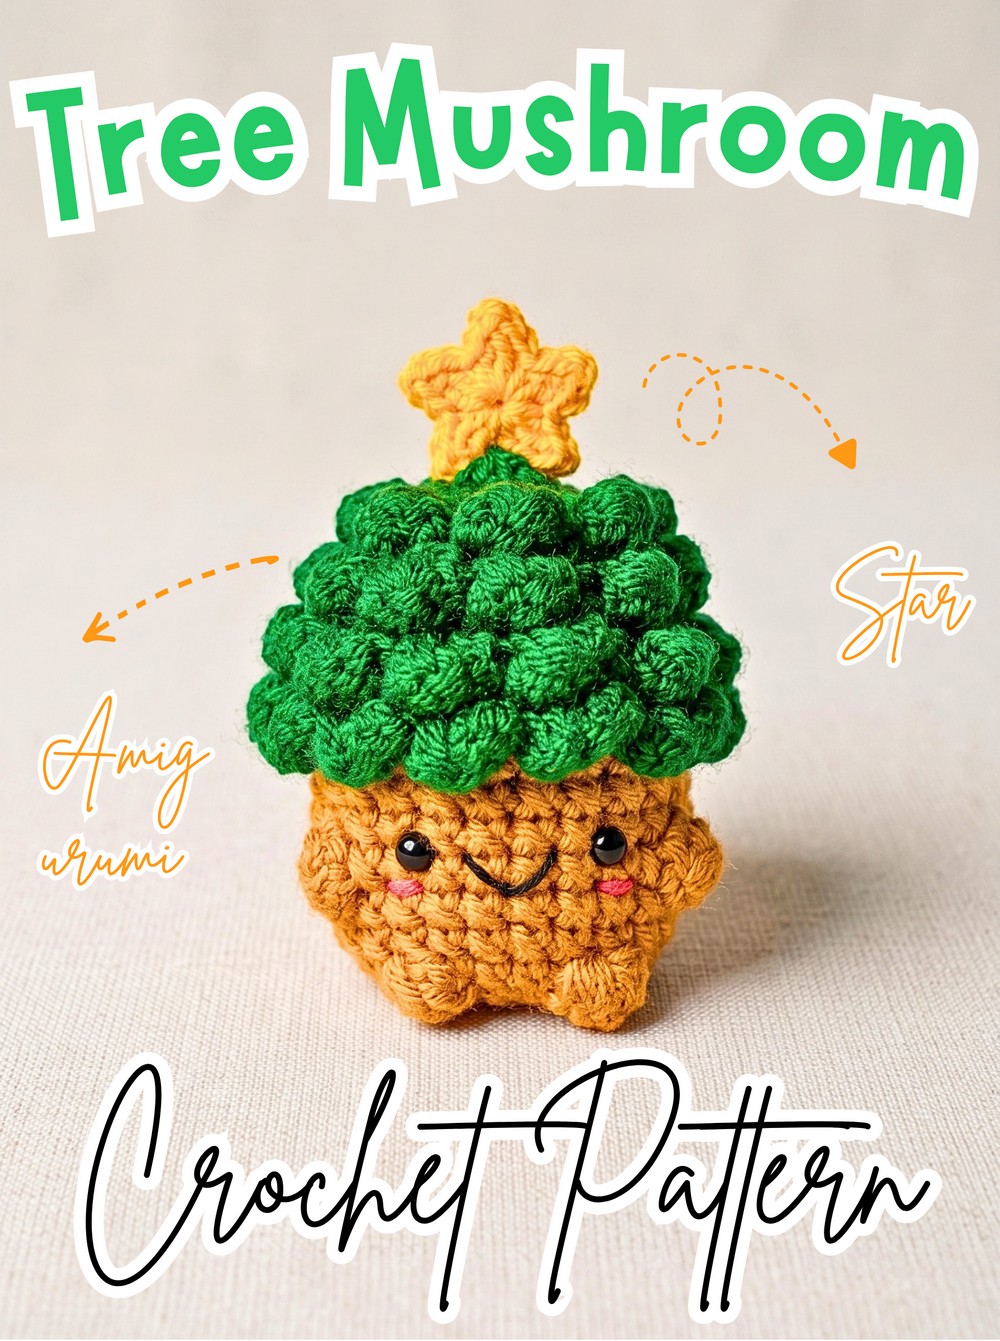
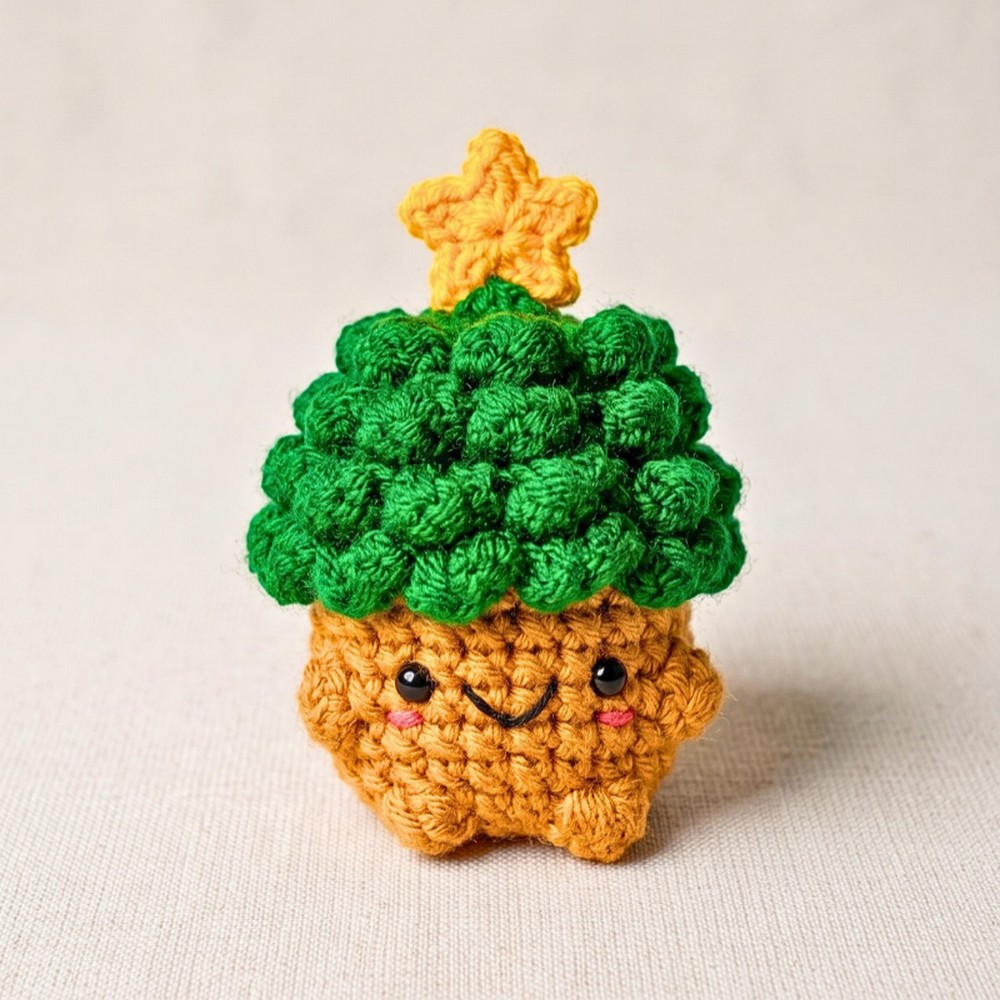
Festive details give this little Christmas crochet tree mushroom plenty to notice, from its tiered green pine branches to the cheerful star perched on top. The brown mushroom body adds a playful woodland feel, while the tiny bobble arms and feet make the finished crochet amigurumi look especially sweet.
Made with simple amigurumi rounds and a few special stitch techniques, this crochet pattern is worked from the pointed green hat down into the mushroom stalk. You’ll also learn how the unused front loops create the three leafy tiers, how bobble stitches become the arms and feet, and where to place the safety eyes and rosy cheeks for a balanced face.
Credit Po Handmade
Materials & Tools Needed
- Light worsted/DK weight cotton or acrylic yarn in green, brown, yellow, and pink
- Crochet hook appropriate for your yarn, usually 2.5–3.0 mm for amigurumi
- Two small black safety eyes
- Polyester fiberfill
- Yarn needle
- Scissors
- Stitch markers
Finished Size & Customization
The completed Christmas tree mushroom is approximately 3–4 inches tall, although the final size can change with yarn weight and crochet tension.
For a festive variation, add a small keychain ring to the top star to turn the mushroom into a holiday bag charm. You can also decorate the green pine tiers with tiny beads or embroidered French knots to resemble Christmas ornaments.
Pattern Abbreviations
MR: Magic Ring
ch: Chain
sc: Single crochet
dc: Double crochet
inc: Increase – 2 sc in the same stitch
dec: Invisible decrease – sc 2 together through the front loops
sl st: Slip stitch
BLO: Back Loop Only
FLO: Front Loop Only
5-dc Bobble: Yarn over, insert the hook into the stitch, pull up a loop, and pull through 2 loops, leaving the remaining loops on the hook. Repeat this process 5 times in the same stitch, then yarn over and pull through all 6 loops on the hook.
4-dc Bobble: Work the same way as the 5-dc bobble, but repeat the partial double crochet 4 times, then pull through all 5 loops on the hook.
Crochet Christmas Tree Hat
The green hat begins at the narrow pointed end and gradually widens as the rounds increase. Every round is joined with a slip stitch to the first stitch, followed by a chain 1. Keep a stitch marker in the first stitch so the round boundaries stay easy to identify.
Rnd 1: Make a MR, ch 1, work 3 sc into the MR, join with a sl st, ch 1. (3 sts)
Check: You should have a tiny three-stitch circle. Keep the center tight so the tip of the tree remains pointed rather than leaving a large hole.
Rnd 2: Work 3 inc, join with a sl st, ch 1. (6 sts)
Check: The point is beginning to widen, with 6 stitches forming the base for the next round.
Rnd 3: Turn the piece inside out so the right side faces outward, then work (1 sc, 1 inc) 3 times, join with a sl st, ch 1. (9 sts)
Orientation: Turning the piece here places the right side outward before the remaining rounds continue.
Rnd 4: Work (1 sc, 1 inc, 1 sc) 3 times, join with a sl st, ch 1. (12 sts)
Rnd 5: Work (3 sc, 1 inc) 3 times, join with a sl st, ch 1. (15 sts)
Shape check: The hat should now look like a small cone that is gradually widening rather than forming a flat circle.
Rnd 6: Working in the BLO, work (2 sc, 1 inc, 2 sc) 3 times, join with a sl st, ch 1. (18 sts)
Why the BLO matters: The unused front loops from this round will become the attachment points for the first tier of pine leaves later, so make sure you are working only through the back loops.
Rnd 7: Working through both loops normally, work 18 sc around, join with a sl st, ch 1. (18 sts)
Rnd 8: Working in the BLO, work (5 sc, 1 inc) 3 times, join with a sl st, ch 1. (21 sts)
Check: Another ring of unused front loops should now be visible. These loops will form the second leafy tier.
Rnd 9: Working through both loops normally, work 21 sc around, join with a sl st, ch 1. (21 sts)
Rnd 10: Working in the BLO, work (3 sc, 1 inc, 3 sc) 3 times, join with a sl st, ch 1. (24 sts)
Orientation: The unused FLO from this round will become the highest leafy tier, so keep those front loops clearly defined.
Rnd 11: Working through both loops normally, work 24 sc around, join with a sl st, fasten off the green yarn, and weave in the end. (24 sts)
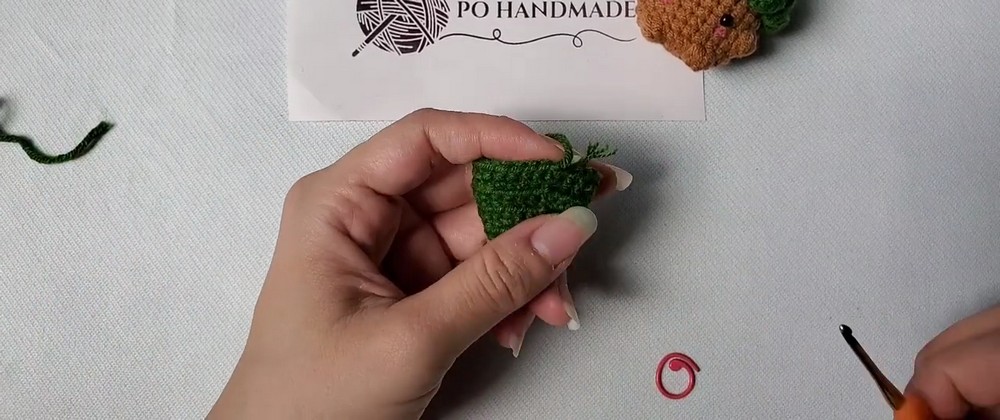
At this point, the green section should resemble a small pointed Christmas tree hat with three visible rows of unused front loops ready for the branches.
Add the Pine Tree Leaves
Turn the hat upside down so you can easily reach the unworked front loops from Rounds 6, 8, and 10. Each tier is made from small groups of double crochets separated by chains and slip stitches.
Tier 1 – Rnd 6 FLO: Attach green yarn with a sl st to the first FLO of Rnd 6, ch 1, then work (3 dc in the next stitch, ch 1, sl st in the next stitch, ch 1) around until you have 7 leaf clusters, then sl st into the very first stitch to close the tier.
Visual check: The first branch layer should flare outward around the lower edge of the hat, giving the otherwise smooth cone its first pine-like ruffle.
Tier 2 – Rnd 8 FLO: Without cutting the yarn, slip stitch directly down into the first FLO of Rnd 8, ch 1, then work (3 dc in the next stitch, ch 1, sl st in the next stitch, ch 1) around, finishing with a sl st into the first stitch of the tier to close.
Why this placement matters: Moving directly to Rnd 8 keeps the second leafy layer attached above the first without needing a new yarn end.
Tier 3 – Rnd 10 FLO: Slip stitch directly down into the first FLO of Rnd 10, ch 1, then work (3 dc in the next stitch, ch 1, sl st in the next stitch, ch 1) around, finish with a sl st into the first stitch of the tier, fasten off, and weave the end inside the hat.
Shape check: Three staggered layers should now surround the green cone, with the smallest tier closest to the pointed top.

Crochet the Mushroom Stalk
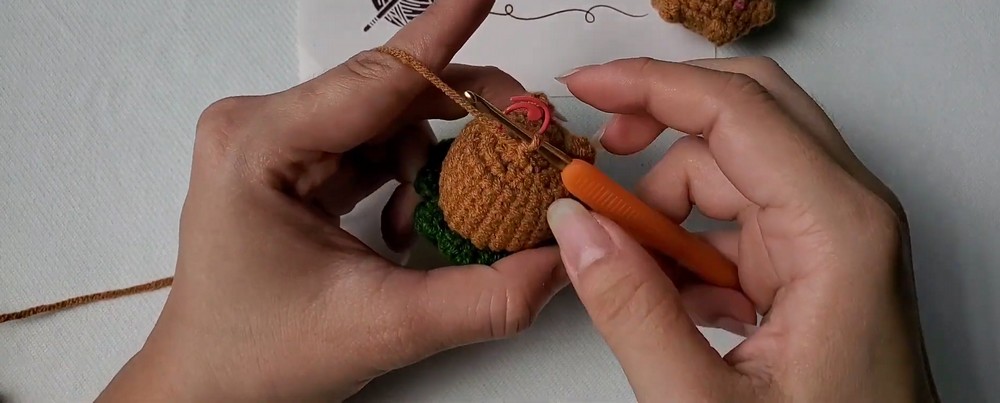
The brown stalk is worked directly from the inside loops behind Round 11 of the green hat. The first several rounds maintain the same stitch count before the bobble stitches are added.
Rnd 12: Attach brown yarn to the inside loops directly behind Rnd 11 of the hat and work 24 sc around, join with a sl st, ch 1. (24 sts)
Rnd 13–14: Work 24 sc around, join with a sl st, ch 1 after each round. (24 sts each)
Check: The brown section should extend downward evenly without narrowing yet.
Rnd 15 – Arms: Work 7 sc, 1 5-dc Bobble in the next stitch, 8 sc, 1 5-dc Bobble in the next stitch, 7 sc, join with a sl st, ch 1. (24 sts)
Placement check: The two bobbles should sit opposite one another around the stalk. They will become the mushroom’s arms, so avoid accidentally placing both bobbles on the same side.
Rnd 16-17: Work 24 sc around, join with a sl st, ch 1 after each round. (24 sts each)
Rnd 18 – Feet: Work 9 sc, 1 4-dc Bobble in the next stitch, 4 sc, 1 4-dc Bobble in the next stitch, 9 sc, join with a sl st, ch 1. (24 sts)
Visual check: The two lower bobbles should be positioned opposite each other and will become the little feet once the body is stuffed and closed.
Rnd 19: Working in the FLO for the invisible decreases, work 12 dec, join with a sl st, ch 1. (12 sts)
Next step: Before closing the bottom, fill the body firmly with polyester fiberfill. Add stuffing gradually and push it into the sides so the stalk becomes rounded and firm rather than lumpy.
Rnd 20: Working in the FLO, work 6 dec, join with a sl st. (6 sts)

Close and Shape the Body
Fasten off, leaving a long yarn tail. Weave the tail through the front loops of the remaining 6 stitches and pull tight to close the opening. Insert the needle up through the center of the body and bring it out through the side, then pull firmly enough to flatten the bottom so the mushroom can stand upright.
Standing check: Set the mushroom on a flat surface before hiding the yarn tail. If it tips, adjust the stuffing or the center pull until the base sits flat.
Make the Yellow Star
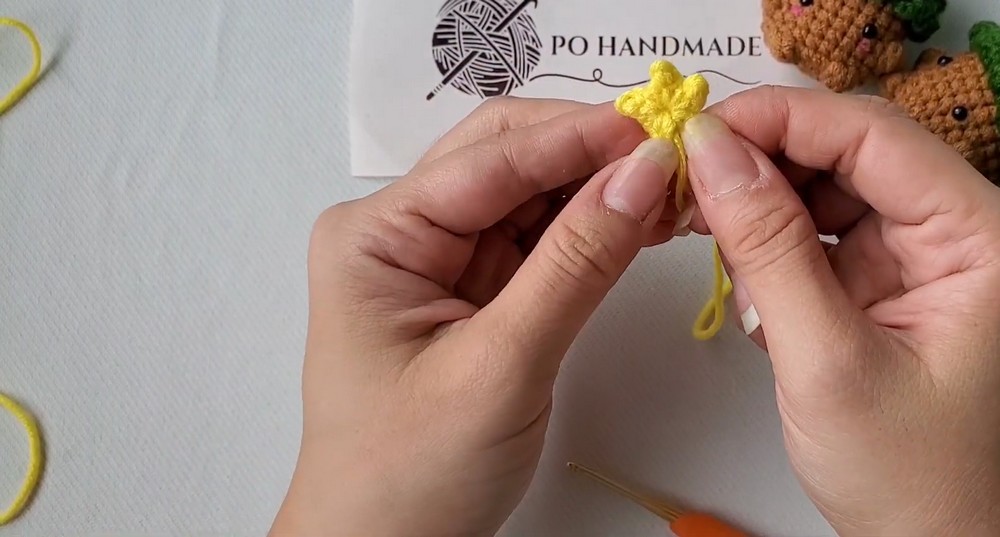
Leave a long starting tail before making the magic ring so the yarn can later be used for sewing.
Rnd 1: Inside the MR, repeat the following sequence 5 times: (1 sc, ch 1, sl st directly into the sc just made, ch 1, sl st into the MR). Pull the magic ring tight to close the center, fasten off, and leave a long tail for sewing.
Shape check: Five small points should radiate around the center. Keep the center pulled snugly so the star does not look loose when attached to the hat.
Add the Face and Star
Position the Safety Eyes
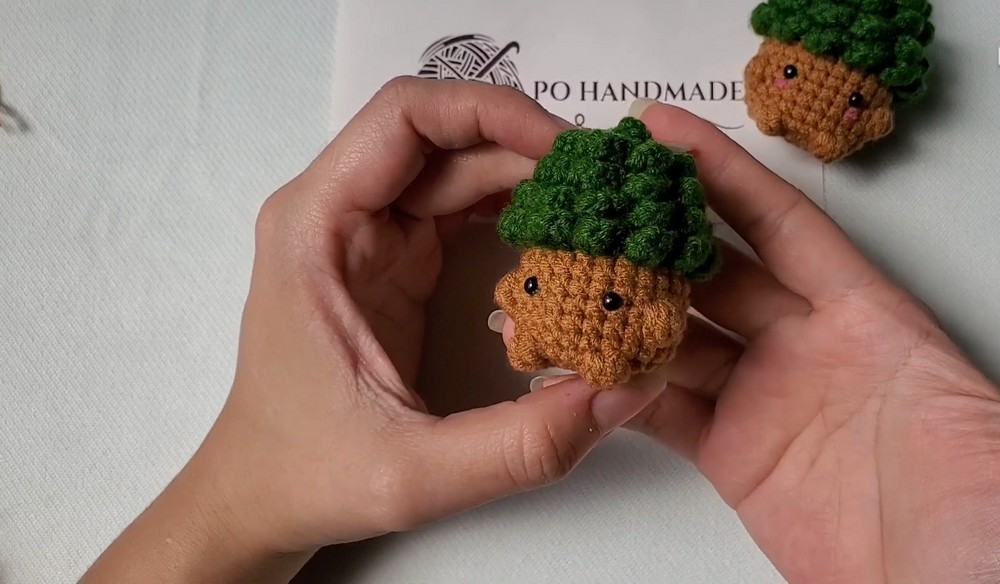
Insert the two safety eyes between Rounds 14 and 15 of the brown stalk, leaving exactly 4 stitches between them.
Before pressing the backs fully into place, check the face from the front. The eyes should sit at the same height and remain centered between the leafy sides of the mushroom.
Sew on the Star
Thread the yellow yarn tails from the star onto a tapestry needle. Position the star at the very top center point of the green tree hat, corresponding to the center of Rnd 1.
Sew through several stitches of the hat rather than relying on a single attachment point. Pull the stitches securely so the star stays upright, then conceal the remaining yarn ends inside the hat.
Embroider the Cheeks
Thread a small strand of pink yarn onto the needle. Stitch one short horizontal line immediately below and slightly to the outside of each eye.
Tie the pink yarn ends together inside the body and hide the knot completely.
Face check: Step back and look at both cheeks together. Matching placement matters more than making each line large; short, even stitches keep the expression delicate on this miniature amigurumi.
Finishing Check
Give the finished mushroom a quick inspection before displaying it. The three green pine tiers should sit at different heights, the yellow star should be centered on the top, and the brown body should stand without leaning.
If the body feels soft or loses its shape, add or redistribute a little fiberfill before the opening is permanently closed. For a decorative version, small beads or French knots can be added to the green tiers as colorful Christmas ornaments.
This tiny Christmas tree mushroom works especially well as seasonal decor, a handmade gift, or a cheerful miniature companion. The layered front-loop branches provide the tree shape, while the bobble stitches keep the arms and feet part of the crocheted body rather than requiring separate pieces.