
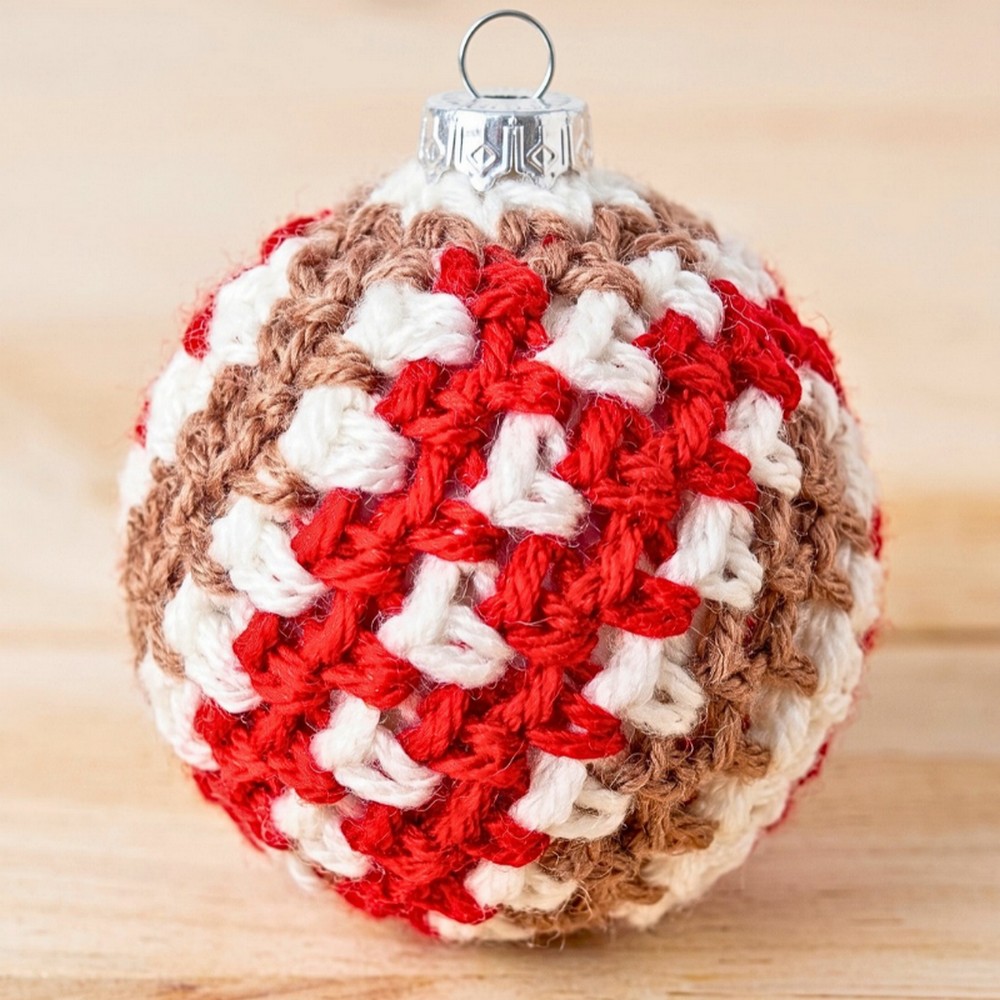
Want a cozy crochet cover for your Christmas baubles? Stripes of white, brown, and red give ordinary ornaments a warm handmade finish.

Holiday baubles get a completely different look when they are wrapped in a soft crochet layer. This striped cover combines white, brown, and red for a cheerful Christmas finish while allowing the round ornament underneath to keep its familiar shape.
Follow the crochet cover from its small white starting circle through the open chain-space rounds, color changes, and snug top closure. The crochet pattern is sized for standard 2.5- to 3-inch ornaments, with simple ways to change the colors or add sparkle when you want a different festive style.
Credit CrochetMagic Channel
Materials & Tools Needed
- Yarn: Medium worsted-weight yarn in three festive colors: White, Brown, and Red.
- Crochet Hook: 4.0 mm (US Size G) crochet hook, or the size needed to comfortably fit your yarn and ornament.
- Ornament: Standard round glass or plastic Christmas bauble, approximately 2.5 to 3 inches in diameter.
- Notions: Scissors and a tapestry needle for weaving in ends.
Finished Size & Customization Ideas
The finished cover is designed to stretch around a standard 2.5- to 3-inch Christmas ornament and gather around the hanger at the top.
For a different holiday look, try these simple changes:
- Color Palettes: Replace the red and brown with emerald green and gold, or use icy blue and silver for a winter-inspired combination.
- Add Sparkle: Hold a thin strand of metallic thread alongside the main yarn for a subtle twinkle throughout the cover.
- Texture Contrast: Substitute fuzzy or velvet yarn for the brown sections to add a softer, more tactile accent.
Pattern Abbreviations & Terminology
US crochet terms are used throughout.
- MR: Magic Ring
- CH: Chain
- SC: Single Crochet
- SL ST: Slip Stitch
- ST(S): Stitch(es)
- SP: Space
- SK: Skip
Before You Start
The cover begins as a small, solid circle and then changes into an open mesh of single crochets and chain-1 spaces. Those spaces are important because the later rounds are worked into them rather than directly into the single crochet stitches.
For every color change, join the new yarn by pulling it through the final slip stitch of the previous round.
Pattern note: The supplied instructions state that the ch-2 at the beginning of Rounds 3 through 12 counts as the first SC and a ch-1 space. Because a ch-2 normally consists of two chains rather than an SC plus a separate ch-1 space, this point should be checked against the original sample/tutorial before publication so the written pattern matches the intended stitch placement.
Crochet Christmas Ornament Cover Pattern
Round 1 (White): Start with a MR, ch 1, work 12 SC directly into the ring, pull the tail tightly to close the ring, then SL ST into the first SC to join. (12 sts)
Round 2 (White): Ch 1, work 2 SC into the same stitch, then work 2 SC into every stitch around; SL ST into the first SC to join. (24 sts)
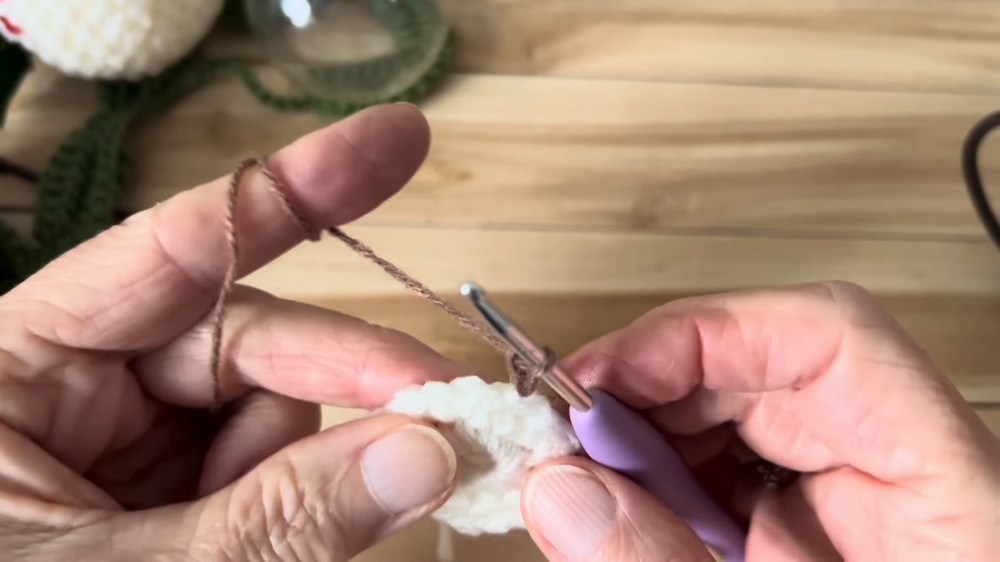
Round 3 (Brown): Join Brown, ch 2, SK 1 st, work 1 SC in the next st, ch 1; repeat (SK 1 st, 1 SC, ch 1) around, then SL ST into the initial chain space to join. (12 SC, 12 ch-1 spaces)
Round 4 (Brown): Ch 2, work 1 SC into the next ch-1 space, ch 1; repeat (1 SC in next space, ch 1) around, then SL ST into the starting space to join. (12 SC, 12 ch-1 spaces)
Round 5 (White): Join White, ch 2, work 1 SC into the next ch-1 space, ch 1; repeat (1 SC in next space, ch 1) around, then SL ST to join. (12 SC, 12 ch-1 spaces)
Round 6 (Red): Join Red, ch 2, work 1 SC into the next ch-1 space, ch 1; repeat (1 SC in next space, ch 1) around, then SL ST to join. (12 SC, 12 ch-1 spaces)
Round 7 (Red): Ch 2, work 1 SC into the next ch-1 space, ch 1; repeat (1 SC in next space, ch 1) around, then SL ST to join. (12 SC, 12 ch-1 spaces)
Round 8 (White): Join White, ch 2, work 1 SC into the next ch-1 space, ch 1; repeat (1 SC in next space, ch 1) around, then SL ST to join. (12 SC, 12 ch-1 spaces)
Round 9 (Red): Join Red, ch 2, work 1 SC into the next ch-1 space, ch 1; repeat (1 SC in next space, ch 1) around, then SL ST to join. (12 SC, 12 ch-1 spaces)

Round 10 (Red): Ch 2, work 1 SC into the next ch-1 space, ch 1; repeat (1 SC in next space, ch 1) around, then SL ST to join. (12 SC, 12 ch-1 spaces)
Round 11 (Brown): Join Brown, ch 2, work 1 SC into the next ch-1 space, ch 1; repeat (1 SC in next space, ch 1) around, then SL ST to join. (12 SC, 12 ch-1 spaces)
Round 12 (Brown): Ch 2, work 1 SC into the next ch-1 space, ch 1; repeat (1 SC in next space, ch 1) around, then SL ST to join and fasten off the Brown yarn. (12 SC, 12 ch-1 spaces)
Insert the Ornament
At this point, the crochet fabric should be open enough to stretch around the round bauble. Gently ease the ornament inside rather than forcing it through the stitches, especially if you are using glass.
Position the metal hanger so its neck points straight upward through the opening at the top. Keeping the ornament centered now makes the final gathering round much easier to work evenly.
Close the Top
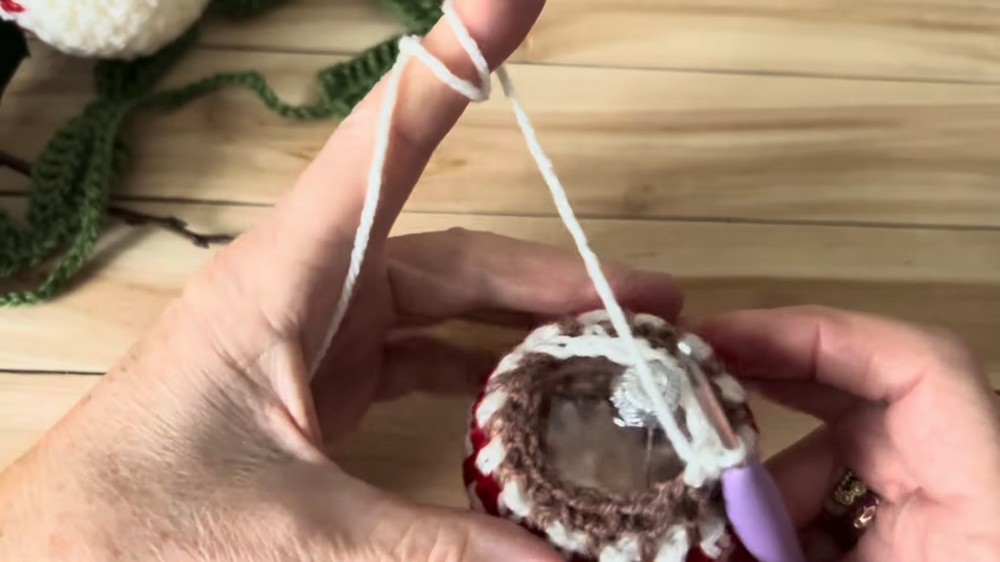
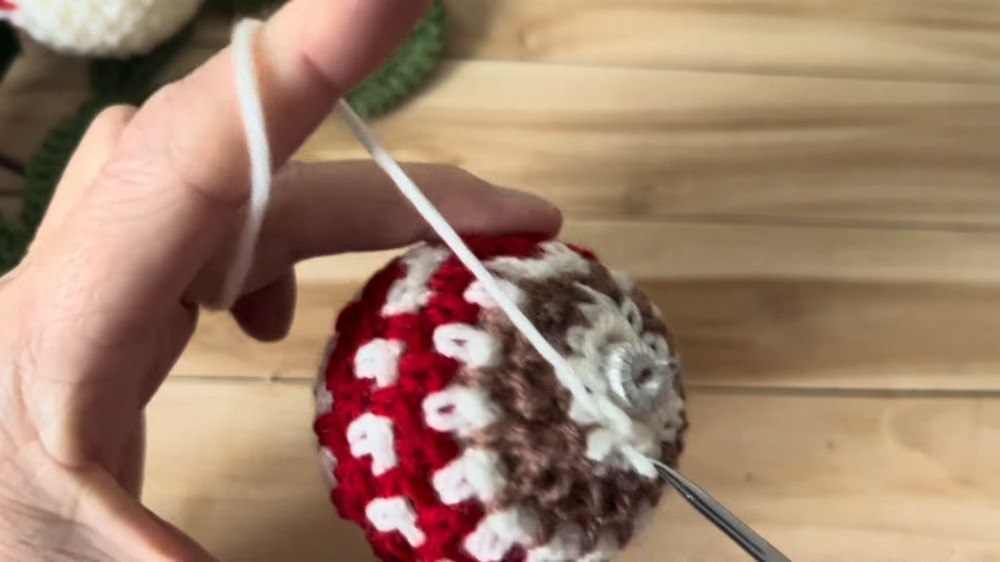
Round 13 (White): With the ornament resting securely inside the cover, join White at the top edge, work 1 SC into each ch-1 space around the ornament’s neck while completely skipping the SC stitches from the previous round, then SL ST to join. (12 sts)
Working into the spaces rather than the previous SC stitches pulls the open fabric inward around the ornament hardware. As you work, check that the cover is gathering evenly instead of pulling strongly to one side.
Finishing
Fasten off the White yarn, leaving a short tail. Use the tapestry needle to pull the final tail to the inside of the cover, then weave in all loose ends so they stay hidden inside.
Before placing the ornament on the tree, give the cover a gentle adjustment around the bauble. The stripes should sit smoothly around the round shape, while the top edge should remain gathered closely around the hanger neck.
A Quick Fit Check
The cover is intended for a standard 2.5- to 3-inch ornament, but yarn thickness and crochet tension can change the fit. If the fabric feels unusually loose or tight while you are working, compare it with the ornament before completing the top closure. The cover should stretch around the bauble without putting excessive strain on the stitches.





