
Looking for a textured crochet wing for an amigurumi? This feathered design builds from one Magic Ring into seven layered feathers with a naturally fanned shape.
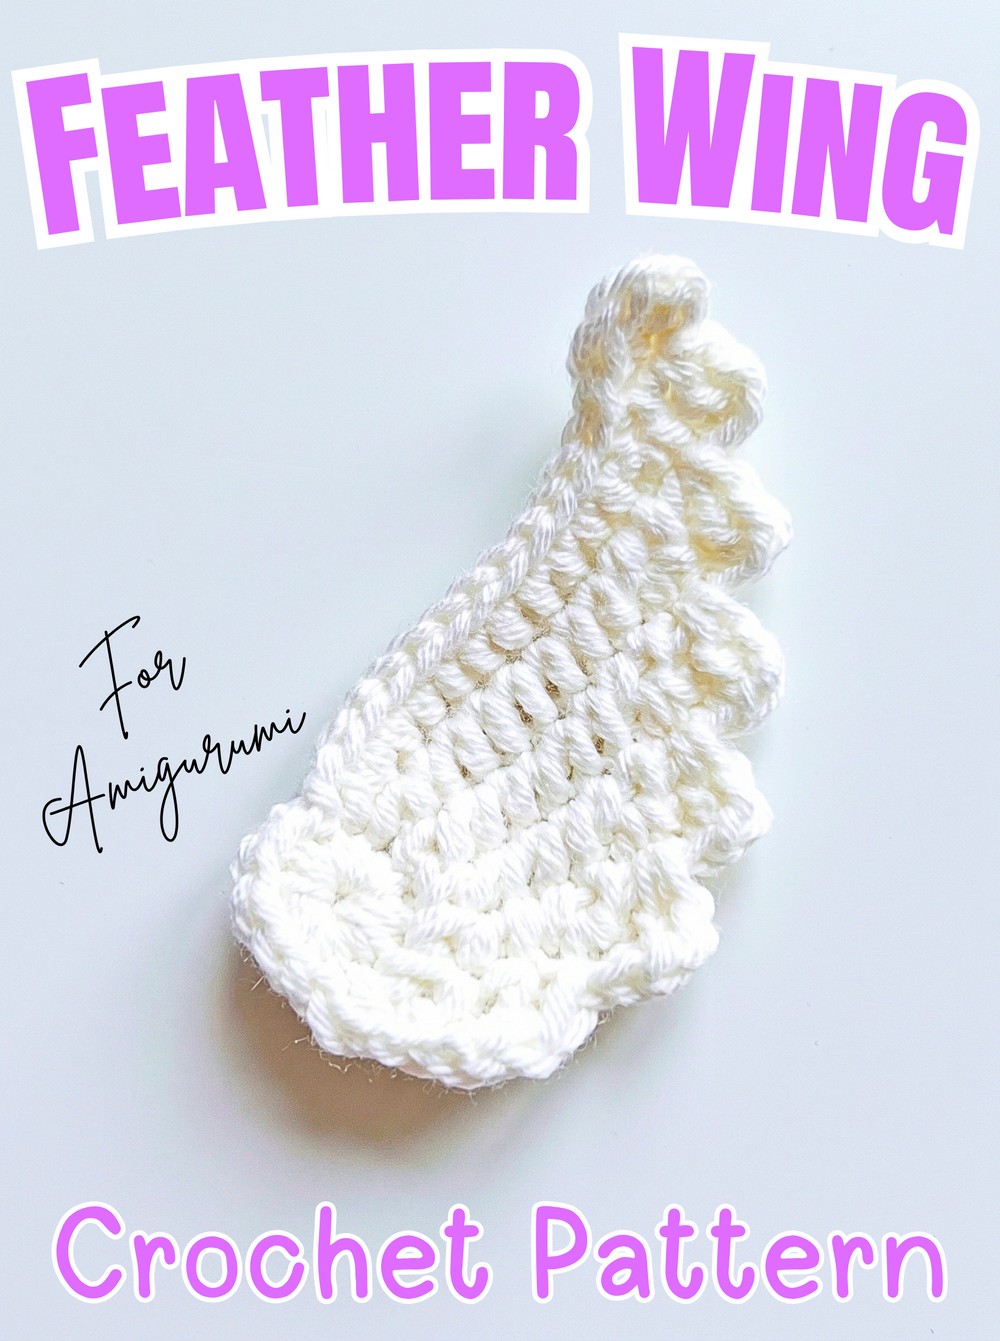
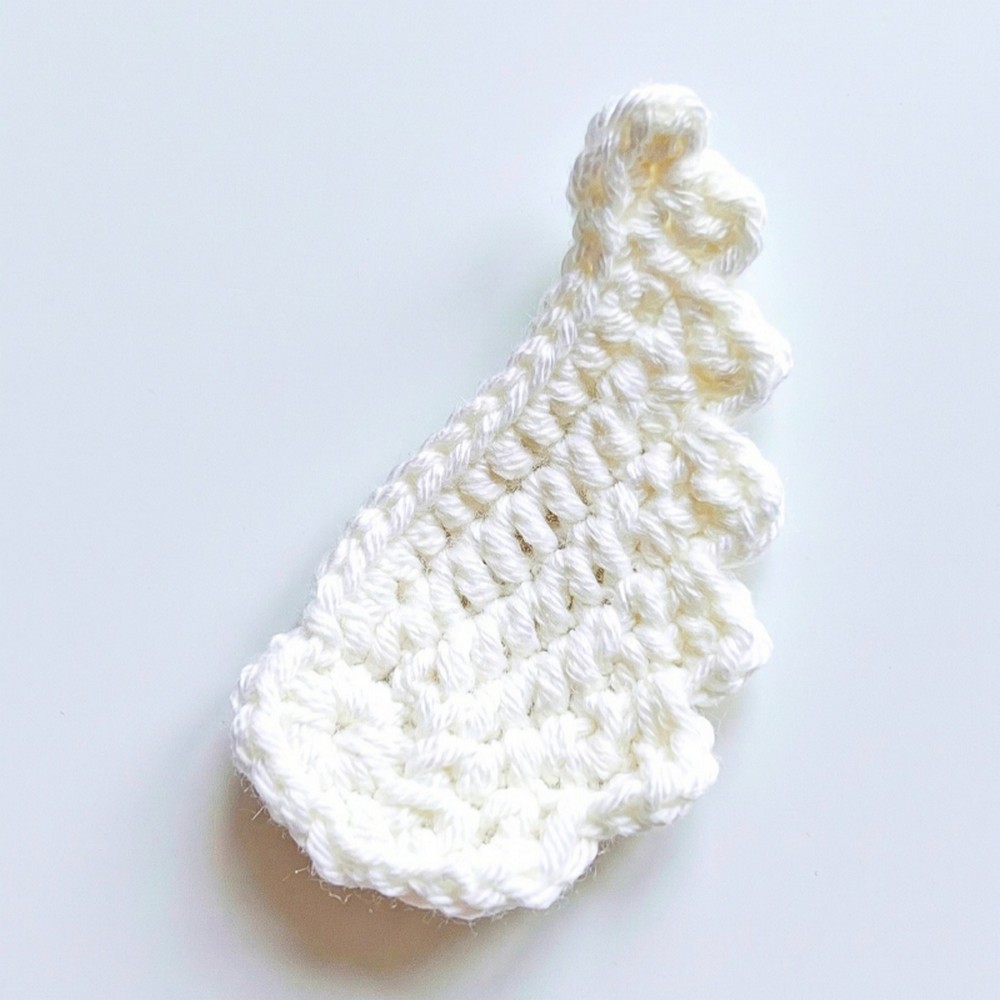
Delicate enough for a small amigurumi yet structured enough to keep its feathered outline, this crochet wing uses simple chains alongside unfinished stitches worked in Tunisian-style forward and return passes. The result is a layered wing with each feather growing progressively farther along the outer crochet wing’s edge.
Follow the base carefully first, then build each feather by pulling up loops along the previous edge and anchoring the new section into the next Magic Ring stitch. You’ll also see exactly where the slip stitches change-or disappear-so the crochet feathers develop their curved, overlapping shape without losing their place.
Credit Crochetbynisa
Materials & Tools
- Yarn: Medium weight (Worsted/Aran) or Sport weight cotton yarn in white or your preferred wing color
- Crochet hook: 2.5 mm or 3.0 mm, or a size appropriate for your yarn
- Scissors
- Yarn needle: For weaving in the finished tail
Finished Size & Customization
With standard 4-ply cotton and a 2.5 mm hook, the wing measures approximately 2.5–3 inches long.
For a larger amigurumi, you can switch to plush chenille yarn and a 5.0 mm hook. You can also make a matching left wing without changing the pattern: simply flip the completed wing over. The texture on the reverse side mirrors the front, allowing the same piece to work on the opposite side.
Pattern Abbreviations & Special Terms
This pattern uses US crochet terminology and a Tunisian-style method worked with a standard crochet hook.
- MR = Magic Ring
- ch = chain
- sc = single crochet
- sl st = slip stitch
- unfin sc = unfinished single crochet; insert the hook into the indicated stitch, yarn over, pull up a loop, and leave it on the hook
- unfin hdc = unfinished half double crochet; yarn over, insert the hook into the indicated stitch, yarn over, pull up a loop, and leave all loops on the hook
- unfin dc = unfinished double crochet; yarn over, insert the hook into the indicated stitch, pull up a loop, yarn over, and pull through 2 loops, leaving the remaining loop on the hook
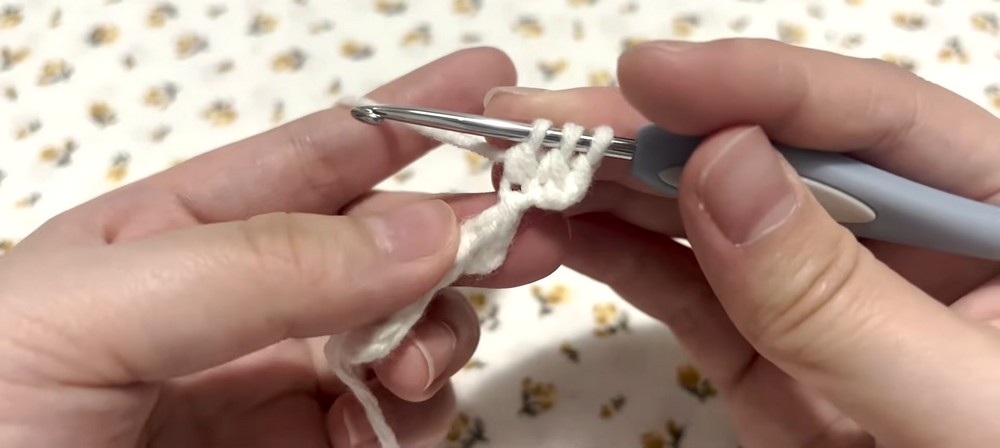
- Return Pass = yarn over and pull through 2 loops on the hook repeatedly until only 1 loop remains
How the Forward and Return Passes Work
Unlike ordinary crochet, you do not finish each unfinished stitch separately. Instead, loops accumulate on your hook during the forward work, and the return pass removes them two at a time.
That difference is important for this wing. When an instruction says to pull up several unfin sc, leave each loop on the hook until the return pass. The growing number of loops is intentional and creates the dense, feathered texture.
Build the Wing Base
Round 1: Wing Joint
Make a Magic Ring, crochet 12 sc into the ring, pull the tail to close the center, and sl st into the first sc to join. (12 sts)
Keep the ring snug but easy enough to identify each of the 12 base stitches. These stitches become the anchor points for the seven feathers, so keeping their positions clear will make the later steps much easier.
Feather 1
The first feather establishes the direction of the wing. It begins in the first Magic Ring stitch, rises through a short chain, and then returns to the second base stitch.
Feather 1: Ch 1, sc in the first st (the same st as the join), ch 4, skip the first ch from hook, work 1 unfin dc in each of the next 2 chs, insert hook into the 2nd Magic Ring st and pull up 1 unfin sc, then work the Return Pass by yarning over and pulling through 2 loops 3 times until 1 loop remains.
The two unfinished double crochets and the final unfinished single crochet should all remain on your hook before the return pass. This gives you the first small raised feather attached directly to the circular base.
Feather 2
The second feather begins immediately after Feather 1 and starts adding height along its outer edge.
Feather 2: Ch 4, skip the first ch from the hook, work 1 unfin dc in each of the next 2 chs, work 1 unfin hdc in the last remaining ch, pull up 1 unfin sc down the outer edge of Feather 1, insert hook into the 3rd Magic Ring st and pull up 1 unfin sc, then work the Return Pass by yarning over and pulling through 2 loops repeatedly until 1 loop remains.
The important placement here is the 3rd Magic Ring stitch. Feather 1 used the 2nd base stitch, so moving to the next base stitch allows the wing to expand gradually rather than stacking every feather in one spot.

Feather 3
Before starting the third feather, the working point moves farther up the outside edge.
Feather 3: Sl st into the next 3 sts up the outer edge of Feather 2, ch 4, skip the first ch from hook, work 1 unfin dc in each of the next 2 chs, work 1 unfin hdc in the last remaining ch, pull up 3 unfin sc back down the edge through the 3 slip stitches just made, insert hook into the 4th Magic Ring st and pull up 1 unfin sc, then work the Return Pass by yarning over and pulling through 2 loops approximately 7 times until 1 loop remains.
Those three slip stitches are not just a transition. They establish the section of Feather 2 where the three edge pull-ups for Feather 3 will be placed. Make sure each unfin sc goes into one of those slip stitches.

Feather 4
The next feather repeats the same basic idea but travels farther down the previous feather’s edge.
Feather 4: Sl st into the next 3 sts up the outer edge of Feather 3, ch 4, skip the first ch from hook, work 1 unfin dc in each of the next 2 chs, work 1 unfin hdc in the last remaining ch, pull up 5 unfin sc evenly down the remaining edge, insert hook into the 5th Magic Ring st and pull up 1 unfin sc, then work the Return Pass by yarning over and pulling through 2 loops approximately 9 times until 1 loop remains.
At this point, the outer edge should visibly be getting longer. The increase from 3 edge pull-ups to 5 is what lets the next feather reach farther without bunching tightly against the previous one.
Feather 5
Feather 5 is the point where the transition changes. There are no slip stitches up the edge before beginning this feather.
Feather 5: Ch 4, skip the first ch from the hook, work 1 unfin dc in each of the next 2 chs, work 1 unfin hdc in the last remaining ch, pull up 7 unfin sc down the edge of Feather 4, insert hook into the 6th Magic Ring st and pull up 1 unfin sc, then work the Return Pass by yarning over and pulling through 2 loops approximately 11 times until 1 loop remains.
Starting directly from the base rather than slip stitching upward gives the lower part of the wing its curved, flush transition. Don’t add the three slip stitches used for Feathers 3 and 4.

Feather 6
The sixth feather continues directly from the outer edge and increases the number of edge pull-ups again.
Feather 6: Ch 4, skip the first ch from hook, work 1 unfin dc in each of the next 2 chs, work 1 unfin hdc in the last remaining ch, pull up 9 unfin sc down the edge of Feather 5, insert hook into the 7th Magic Ring st and pull up 1 unfin sc, then work the Return Pass by yarning over and pulling through 2 loops approximately 13 times until 1 loop remains.
The 7th Magic Ring stitch is the next anchor point around the original circle. Keeping track of these base stitches—2nd, 3rd, 4th, 5th, 6th, and now 7th—helps maintain the gradual spread of the wing.
Feather 7
The final feather is the longest and finishes the fan-shaped outer edge.
Feather 7: Ch 4, skip the first ch from hook, work 1 unfin dc in each of the next 2 chs, work 1 unfin hdc in the last remaining ch, pull up 11 unfin sc down the edge of Feather 6, insert hook into the 8th Magic Ring st and pull up 1 unfin sc, then work the Return Pass by yarning over and pulling through 2 loops approximately 15 times until 1 loop remains.
The tutorial describes this section as 12 pull-ups when the hdc is included; the working instructions above use 11 unfin sc plus the unfin hdc to create that same progression.
Before fastening off, spread the feathers gently with your fingers. The wing should now widen progressively from the small upper feathers toward the longer lower feathers rather than forming a straight strip.

Finish and Shape the Wing
Once the final Return Pass on Feather 7 leaves 1 loop on the hook, cut the yarn, leaving approximately a 4-inch tail. Yarn over and pull the tail completely through the final loop to secure it.
Thread the tail onto your yarn needle and weave it through several dense stitches on the back of the wing. Keep the tail on the reverse side so it does not interfere with the feather texture, then trim the excess.
Give the finished wing a gentle tug and use your fingers to separate and fan the seven feathers. Avoid pulling aggressively; small adjustments are enough to reveal the layered outline.
Placement Tip for a Matching Pair
For a pair of wings, make the second wing using the exact same instructions and simply turn the finished piece over. Because the reverse mirrors the visible texture, this creates the opposite-facing wing without changing any of the stitch work.






