
Need sweet handmade charm for your bag or keys? This flower bear crochet pattern combines soft rounded shaping, tiny ears, embroidered features, and floral detail in one pocket-sized accessory.
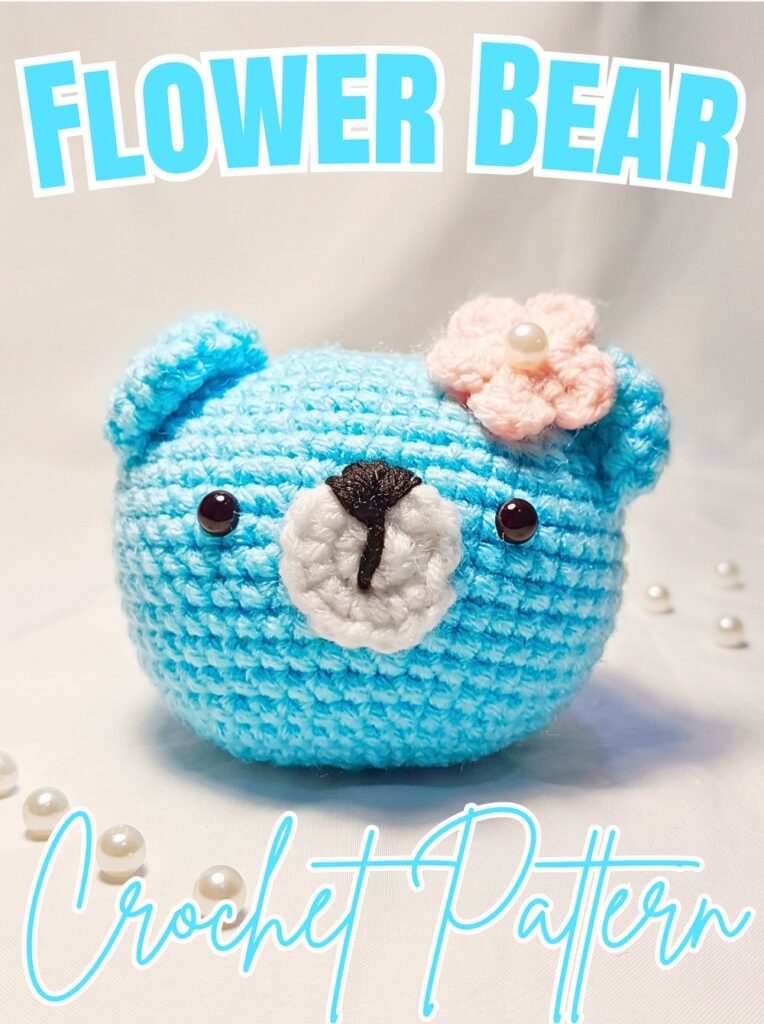
A soft blue crochet bear with a little pink flower makes a charming pocket-sized accessory, while its rounded shape and tiny facial details give it plenty of personality. This crochet design is a lovely way to create a handmade bag charm or a thoughtful small gift.
Inside, you’ll learn how to crochet the oval head and body, shape matching ears, add a contrasting muzzle, and embroider a sweet expression. The tutorial also guides you through attaching the flower and securing the keychain hardware, so you can finish your little crochet bear with confidence.
Credit Hanabi Amigurumi
Materials & Tools
- Yarn: Sport-weight or light worsted cotton-blend yarn in:
- Main color, such as light blue, for head and body.
- White or cream for muzzle.
- Pink or another contrasting color for flower.
- Embroidery Floss: Black or dark brown for nose, mouth, and facial details.
- Crochet Hook: 2.5 mm.
- Stuffing: Fiberfill.
- Tools: Tapestry needle and stitch markers.
- Flower Center: Small craft bead or pearl.
- Keychain Hardware: Keychain ring, jump ring, and suitable attachment hardware.
Finished Size & Customization
Finished bear measures approximately 2.5–3 inches tall, making it suitable for keys, handbags, backpacks, and small handmade gifts.
- Pastel Bear: Use pink, mint green, or lavender yarn for a softer appearance.
- Classic Bear: Choose brown yarn with cream muzzle.
- Different Flower: Change petal color or embroider small bow instead.
- Miniature Version: Use finer yarn with 2.0 mm hook.
- Plush Version: Use bulky chenille yarn and an appropriately sized hook, noting that finished dimensions will change.
Crochet Abbreviations
Pattern uses US crochet terminology. Original notation is included alongside standard abbreviations.
MR: Magic ring
CH / ch: Chain
X / sc: Single crochet
V / inc: Increase — 2 single crochet stitches in the same stitch
A / dec: Decrease — crochet 2 stitches together
sl st: Slip stitch
DC / dc: Double crochet
st(s): Stitch(es)
[ ]: Total stitch count at the end of the round

Before starting: Work head and body in continuous rounds without joining, unless specified. Place stitch marker in first stitch of each round and move it upward as you progress.
Step-by-Step Flower Bear Crochet Pattern
Step 1: Crochet the Foundation Oval
Start with main-color yarn and chain 12. Working around both sides of this chain creates oval base, allowing body to grow upward into rounded shape without a separate flat bottom.
Round 1
- Chain 12.
- Starting in second chain from hook, work 10 sc.
- Work 3 sc into last chain to turn around end.
- Continue along opposite side of foundation chain with 9 sc.
- Work 1 increase into final stitch.
Stitch count: [24]
Teaching tip: Keep foundation chain flat while working around its underside. The three single crochets at one end create curve needed for oval shape.
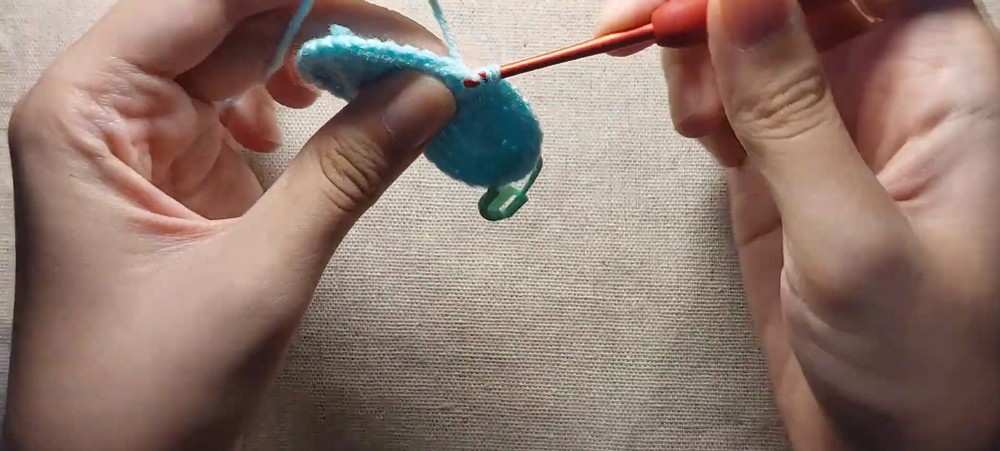
Step 2: Widen the Body
Increase stitches around both ends of oval to expand its shape evenly. Keep side stitches consistent so piece does not twist.
- Round 2: 1 inc, 9 sc, 3 inc, 9 sc, 2 inc. [30]
- Round 3: 1 inc, 10 sc, 1 inc, (1 sc, 1 inc) × 2, 10 sc, (1 sc, 1 inc) × 2. [36]
- Round 4: 2 sc, 1 inc, 11 sc, 1 inc, (2 sc, 1 inc) × 2, 11 sc, 1 inc, 2 sc, 1 inc. [42]
- Round 5: Work 1 sc in each stitch around. [42]
Shape check: After round 5, oval should have expanded while remaining relatively flat at base. If edges ripple, check for accidental extra increases.
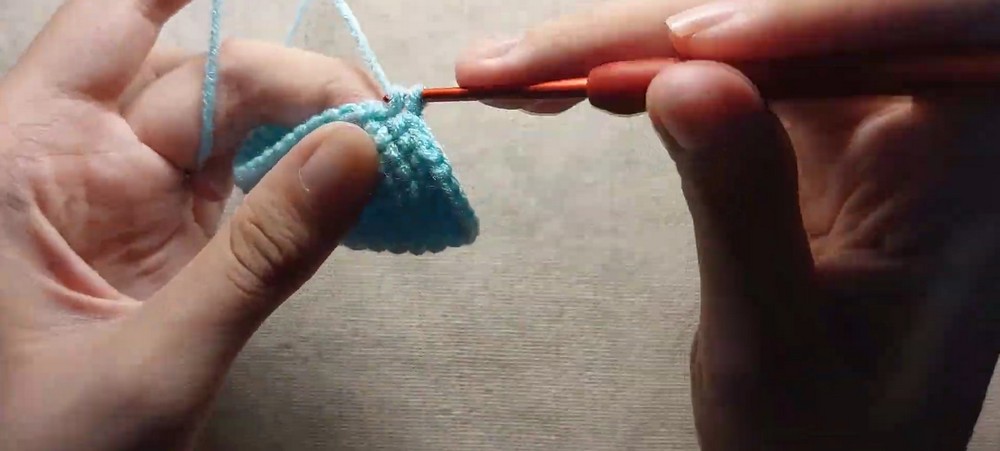
Step 3: Build Height and Shape Head
Rounds 6-15 establish main body height. Increase once more in round 6, then work even rounds to create rounded sides before decreasing toward top.
- Round 6: 1 sc, 1 inc, 12 sc, 1 inc, (3 sc, 1 inc) × 2, 12 sc, 1 inc, 3 sc, 1 inc, 2 sc. [48]
- Rounds 7-15: Work 1 sc in each stitch around. [48 per round]
Use stitch marker to track each round, especially while working nine even rounds. Keep tension steady so body walls remain smooth.
Progress check: Body should look like rounded tube with broad middle section. If using safety eyes, plan their placement before closing head so internal fasteners remain accessible.
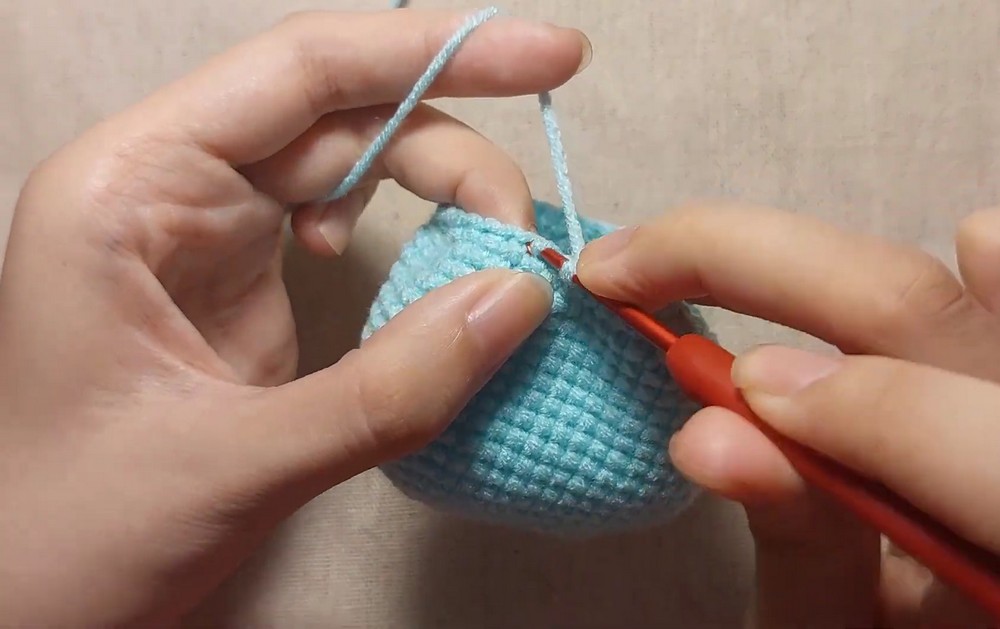
Step 4: Shape Upper Head
Decreases gradually narrow opening and form rounded top. Work decrease rounds carefully, checking stitch count after each one.
- Round 16: 1 sc, 1 dec, 12 sc, 1 dec, (3 sc, 1 dec) × 2, 12 sc, 1 dec, 3 sc, 1 dec, 2 sc. [42]
- Round 17: (5 sc, 1 dec) × 6. [36]
- Round 18: Work 18 decreases around. [18]
Stuffing checkpoint: Pause after round 18 and fill head and body firmly with fiberfill. Add small pieces and distribute them evenly to avoid lumps or empty areas.
- Round 19: (1 sc, 1 dec) × 6. [12]
- Round 20: Work 6 decreases. [6]
Fasten off, leaving short yarn tail. Thread tail through front loops of remaining six stitches using tapestry needle, pull closed, and secure yarn end inside body.
Finishing tip: Avoid overstuffing near final opening. Excess stuffing can push through small gaps and make closure difficult.
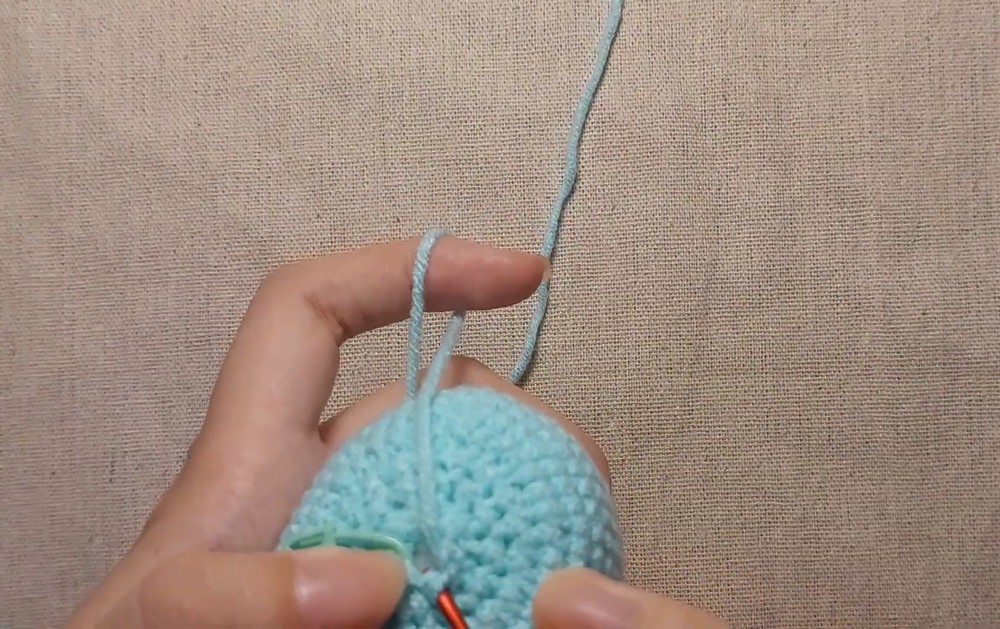
Step 5: Make Two Rounded Ears
Use main-color yarn for both ears. Each ear begins with small circle, expands, then gains one even round to create enough surface for sewing.
Make 2 ears
- Round 1: Work 5 sc in MR. [5]
- Round 2: Work 5 increases. [10]
- Round 3: (1 sc, 1 inc) × 5. [15]
- Round 4: Work 15 sc around. [15]
Fasten off, leaving long tail for sewing. Flatten opening gently.
Teaching tip: Keep both ears similar in size by checking stitch counts and matching tension. Slightly flattening each base makes attachment easier.
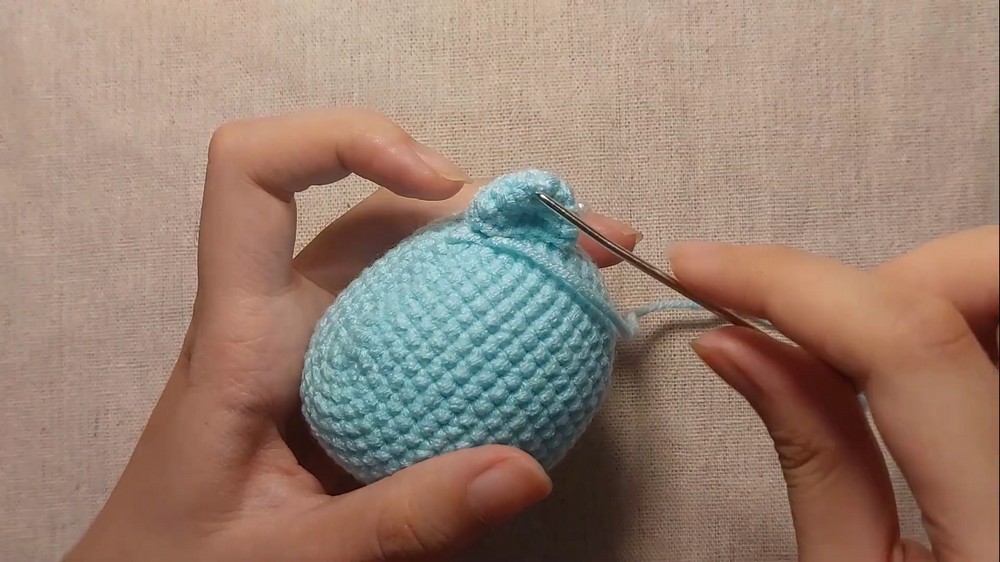
Step 6: Crochet Contrasting Muzzle
White or cream muzzle adds definition to bear’s face. Its small round shape sits on lower half of head.
- Round 1: Work 8 sc in MR. [8]
- Round 2: Work 8 increases. [16]
Fasten off, leaving long sewing tail.
Placement check: Before sewing, center muzzle on lower half of face. Leave sufficient room above it for eyes and between eyes for embroidered nose.
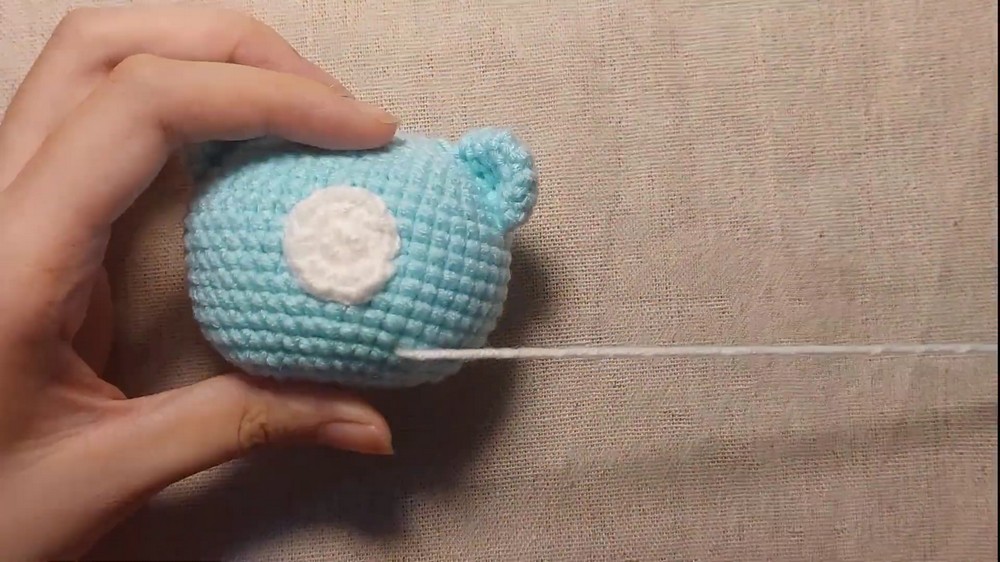
Step 7: Add Five-Petal Flower
Use pink or another contrast color. Work five small petals directly into magic ring, keeping each petal loose enough to spread naturally.
- Create MR.
- Work (ch 2, 2 dc, ch 2, sl st into ring).
- Repeat sequence five times to form five petals.
- Pull magic-ring tail tight to close center.
- Fasten off, leaving tail for attaching flower.
Finishing tip: Arrange petals with fingers before securing center. A small bead or pearl can be stitched into center to create decorative focal point.
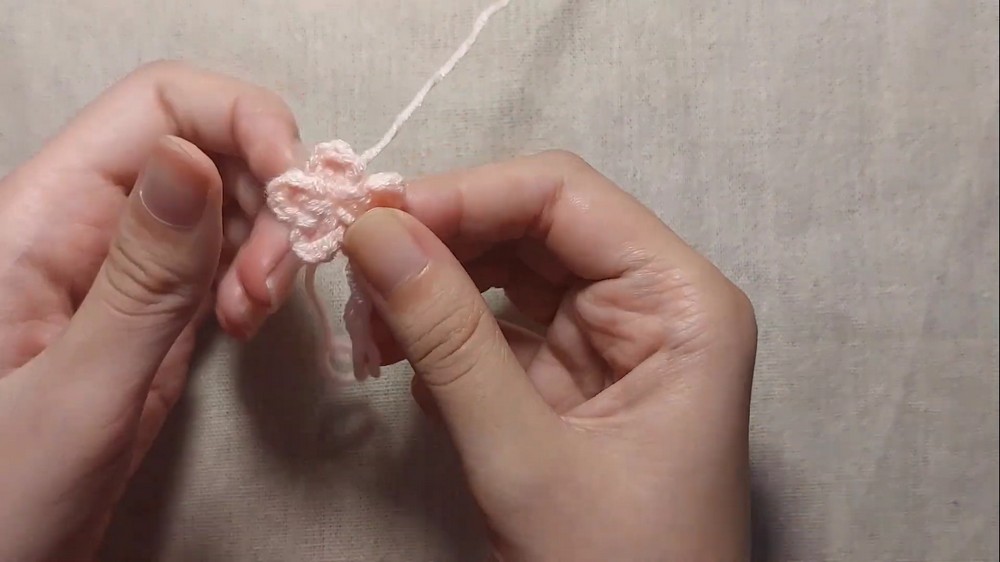
Step 8: Sew on Muzzle
Position muzzle centrally on lower half of head. Pin or hold it in place temporarily to check alignment before sewing.
- Thread long muzzle tail through tapestry needle.
- Sew around outer edge, catching stitches from muzzle and body.
- If desired, add tiny amount of fiberfill underneath before closing final section.
- Secure yarn and hide remaining tail inside body.
Teaching tip: Keep muzzle flat rather than pulling its edges tightly. Even stitches help preserve round shape.
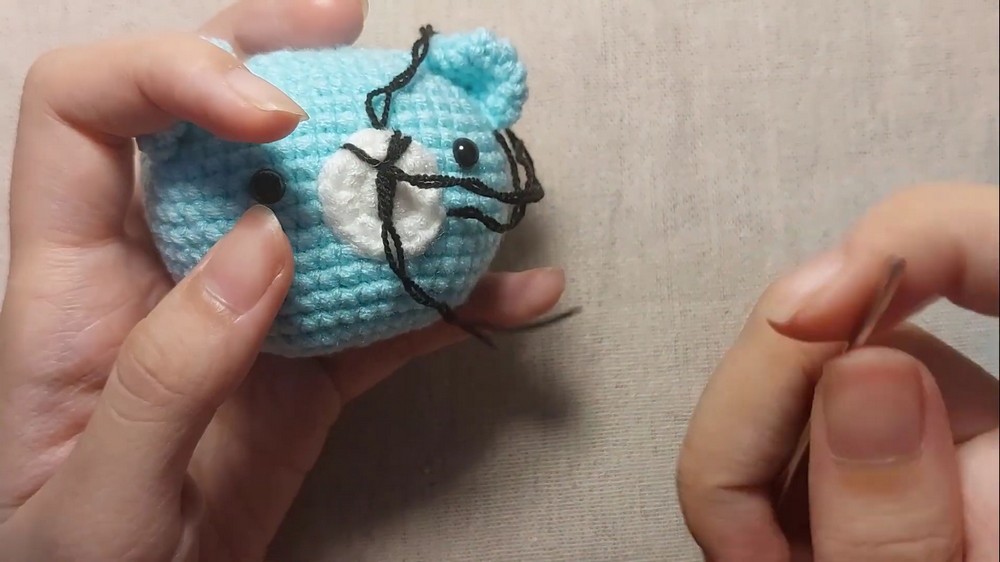
Step 9: Embroider Facial Features
Use black or dark-brown embroidery floss to create bear’s expression. Embroidered details are especially suitable for small accessories that may be handled frequently.
Nose and mouth
- Bring floss through upper portion of muzzle.
- Stitch small inverted triangle or short vertical nose line.
- Extend a short line downward from nose.
- Add two tiny curved stitches to create smile.
Eyes
Embroider small eyes just above upper outer edges of muzzle. If using bead eyes, secure them firmly according to manufacturer instructions before closing body whenever possible.
Safety note: For toys or accessories intended for young children, embroidered eyes are safer than loose beads or glued-on components. Always secure facial details firmly.
Step 10: Attach Ears and Flower
Position ears across top of head, using rounds 4–8 from top as approximate placement guide.
- Fold base of each ear flat.
- Pin ears symmetrically before sewing.
- Stitch each base securely to head using long yarn tails.
- Position flower beside one ear.
- Sew flower in place and attach bead or pearl to center if desired.
Shape check: View bear from front before fastening all ends. Adjust ears if one sits noticeably higher or farther outward than other.
Step 11: Add Keychain Hardware
Choose sturdy keychain hardware suited to finished bear’s weight. Attachment must pass through secure crochet stitches rather than relying on adhesive alone.
- Identify strong stitches at top of head.
- Attach jump ring or keychain connector through those stitches.
- Connect hardware to keychain ring or strap.
- Tug gently to check attachment before using accessory.
Helpful tip: Reinforce attachment with secure sewing thread or matching yarn if necessary. Avoid pulling through only one loose stitch.
Finishing & Customization
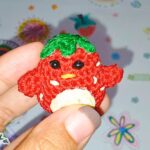
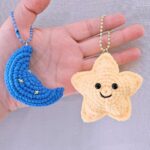
- Pastel Collection: Make several bears in different soft colors with matching flowers.
- Seasonal Gift: Use red, cream, and green for holiday accessories.
- Matching Details: Coordinate flower color with bag or keychain strap.
- Miniature Charm: Reduce yarn thickness and hook size while maintaining consistent tension.





One Comment