Create an adorable crochet pumpkin that’s perfect for seasonal home décor or gifting. Its vibrant design enhances any space, while its handmade charm adds warmth and personality.
Whether you’re looking to add touches of autumn or create a cozy atmosphere, this project is quick, beautiful, and versatile.

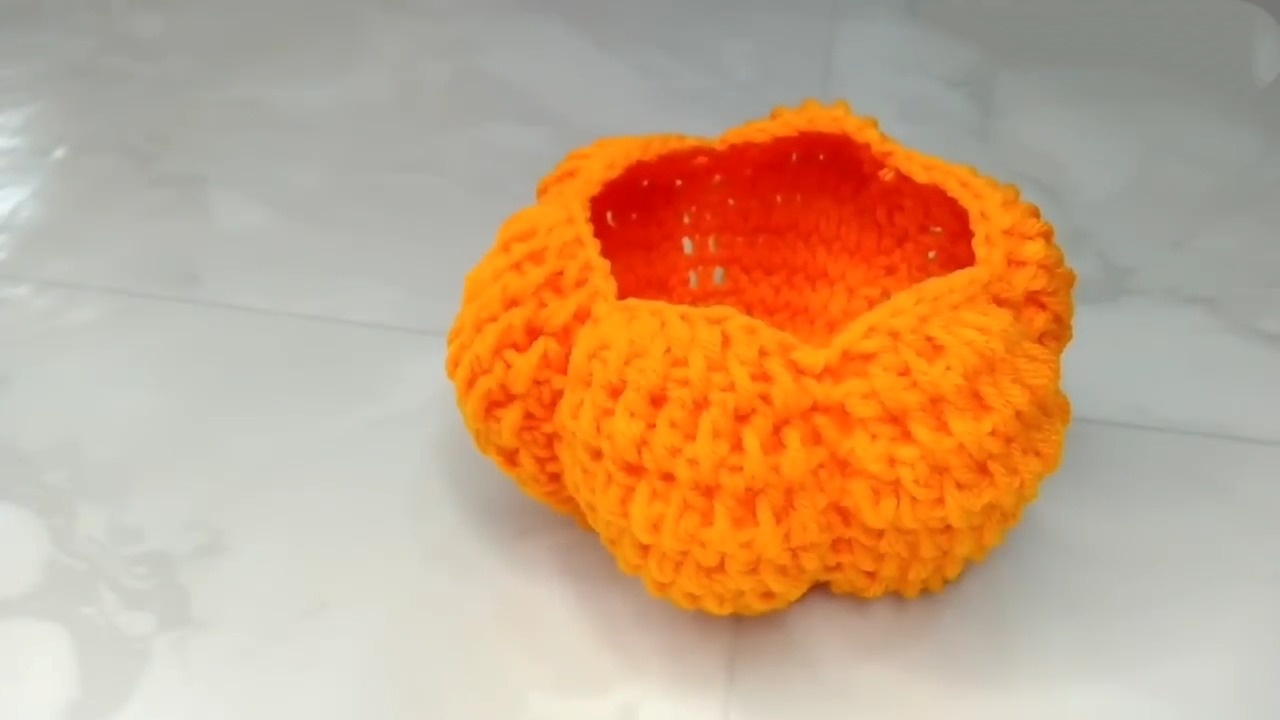
This crochet pumpkin serves as a durable and charming decorative piece, great for table settings, mantel displays, or festive centerpieces.
Its sturdy structure, soft texture, and vibrant appeal make it both functional and timeless. You can customize sizes and colors to suit your décor or gift preferences.
Materials and Preparation
Materials Needed:
- Yarn: Worsted weight yarn in orange (pumpkin body) and brown or green (stem).
- Crochet Hook: 4.0 mm (US G) or size recommended for your chosen yarn.
- Stuffing: Polyester fiberfill or similar for pumpkin plumpness.
- Tapestry Needle: For sewing and weaving ends.
- Stitch Marker: To keep track of rounds.
Optional Materials:
- Embroidery thread or darker yarn for decorative lines (if adding extra texture).
Abbreviations and Notes
Common Abbreviations Used:
- MR: Magic Ring
- SC: Single Crochet
- INC: Increase (2 single crochets in one stitch)
- DEC: Decrease (single crochet two stitches together)
- SLST: Slip Stitch

Important Notes:
- This crochet pumpkin is worked in continuous rounds; no need to join and chain after each round unless otherwise specified.
- Use a stitch marker to track the beginning of each round.
- Adjust hook size if your tension differs from the gauge for accurate sizing.
Gauge, Approximate Size, and Pattern Notes
Gauge:
- Typically, crocheting 4 SC x 4 rows = 1 inch (2.5 cm). Adjust your hook size as needed.
Approximate Finished Size:
- The pumpkin will measure about 4-6 inches in diameter, depending on how much stuffing you use and your tension.
Pattern Notes:
- No gauge swatch is required unless you are worried about sizing.
- The magic ring technique is central for starting the base.
- Special techniques could include adding textured embroidery or wrapping yarn for ridges.
Step-by-Step Pattern
1. Bottom of Pumpkin
- Round 1: Start with an MR. Work 6 SC into the ring. Pull tightly to close. [6 stitches]
- Round 2: INC in each stitch around. [12 stitches]
- Round 3: (SC in next stitch, INC in next stitch) repeat around. [18 stitches]
- Round 4: (SC in next 2 stitches, INC in next stitch) repeat around. [24 stitches]
- Round 5: Continue increasing using the formula (SC in next X stitches, INC) until your circle matches the desired base width.

2. Body of Pumpkin
- Work even rounds (1 SC in each stitch) until the body height reaches your desired dimensions.

3. Shaping the Pumpkin
- Begin decreasing to create the top: (SC in next X stitches, DEC) repeat around each round until a small opening remains.
- Stuff firmly with polyester fiberfill. Make sure the pumpkin is plump, but not overstuffed.
4. Closing the Pumpkin
- Continue decreasing until the hole at the top closes completely. Fasten off and weave in ends.
5. Creating the Stem
- Attach yarn in stem color to the top center of the pumpkin.
- Work in rounds: MR, then 6 SC. Continue with SC in each stitch for about 4-5 rounds to make a stubby stem. Adjust length as needed.
- SLST to finish, sew into the top of the pumpkin, and weave ends.
Optional: Add decorative ridges using yarn by wrapping it tightly around the pumpkin body and securing with a tapestry needle.

Final Tips
- For larger pumpkins, use thicker yarn and a larger hook. For mini pumpkins, use lighter yarn and a smaller hook.
- Experiment with colors and even sparkle yarn for unique designs.
Key to Success:
- Use high-quality yarn for durability and a beautiful finish.
- Follow the video’s instructions for precise stitching and shaping.
- Pay attention to tension while crocheting for uniform texture.
- Choose colors that match your seasonal or personal aesthetic.
- Finish with neat details to enhance overall appeal.
Conclusion:
Crafting a crochet pumpkin is a rewarding, creative way to add personality to your space or gift something unique. It’s fun and easy to make, with endless customization options. This project balances beauty and usability, making it a must-try for any crochet enthusiast.


