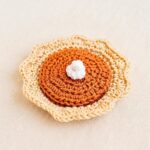
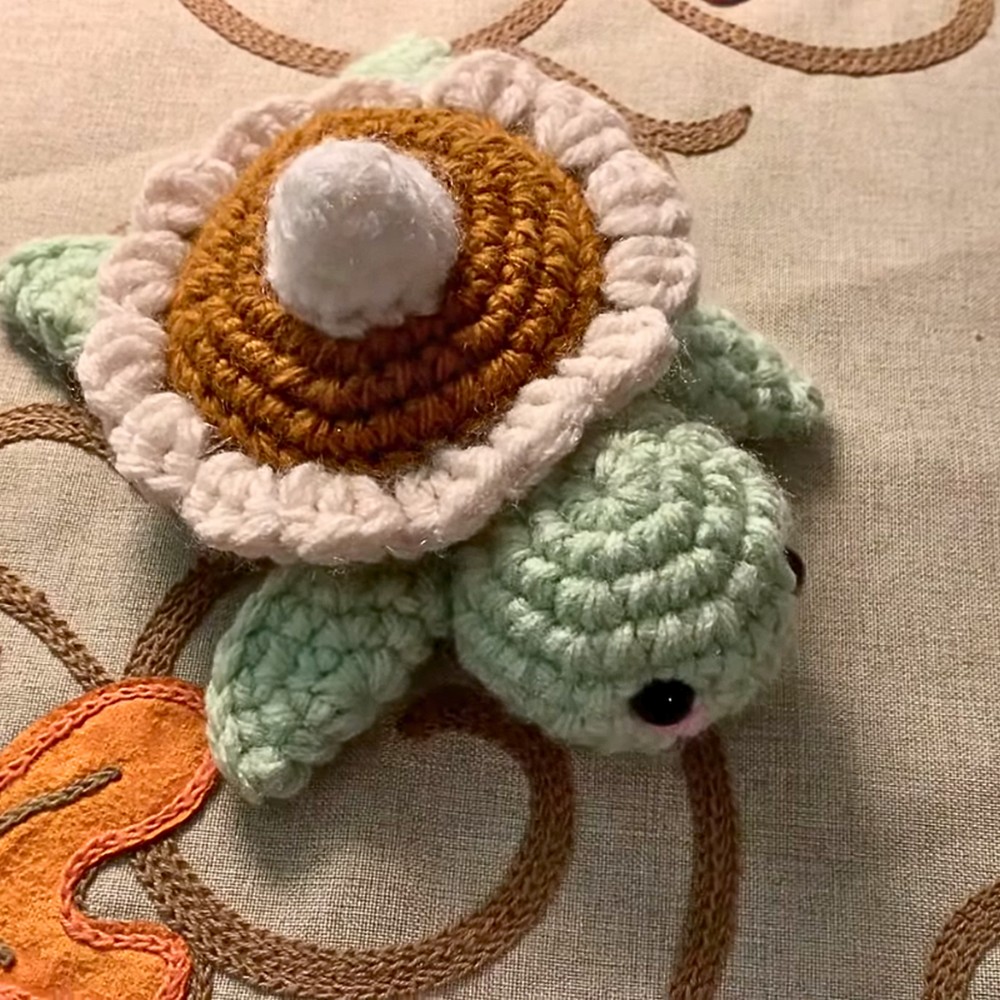
Here’s a playful crochet turtle pumpkin pie made with simple amigurumi shapes, warm fall colors, a whipped-cream topping, and four little flippers.
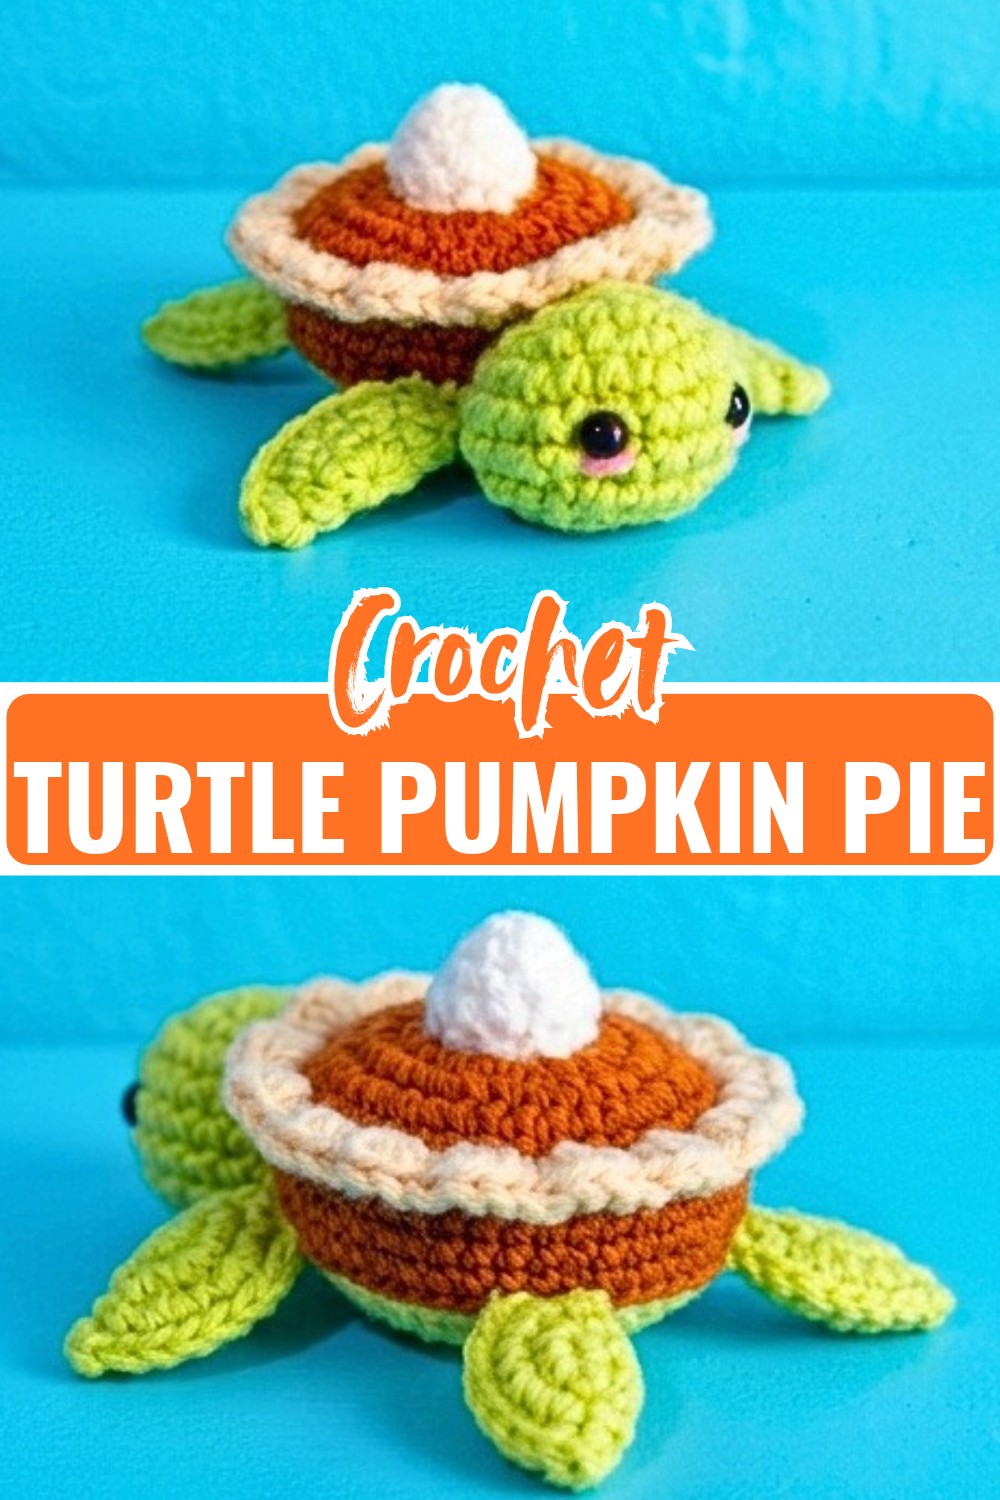
This crochet turtle pumpkin pie combines a cozy fall dessert with a tiny turtle character. The pie shell is worked first in brown yarn, with a cream round adding the decorative edge before the crochet pumpkin-colored filling is sewn inside.
The turtle pieces are made separately in green yarn, then arranged around the crochet pie shell to give the finished piece its character. The head, four flippers, and small tail each have a specific place, so keeping the assembly order in mind will make the final sewing much easier.
Credit The Hook Nook Crochet
Materials Needed
- Yarn: Size 4 (worsted weight) in Green, White, Brown, Cream, and Pumpkin
- Hook: 4.0 mm crochet hook
- Safety Eyes (with optional pink yarn for blush)
- Stuffing (Fiberfill)
- Tools: Tapestry needle, scissors, stitch marker
Abbreviations (US Terms)
- MR: Magic Ring
- sc: Single crochet
- inc: Increase (2 sc in one stitch)
- dec: Decrease (sc 2 together)
- sl st: Slip stitch
- hdc: Half double crochet
- dc: Double crochet
- BLO: Back Loop Only
- FLO: Front Loop Only
- st(s): Stitch(es)
Pattern Instructions
The pattern is made in separate sections: the pie tin, pumpkin filling, whipped cream, turtle head, flippers, and tail. Complete each piece as written before moving to the final assembly.
Pie Tin
Start with Brown yarn.
Round 1: 6 sc into a MR (6)
Round 2: inc in each st around (12)
Round 3: [1 sc, inc] repeat around (18)
Round 4: [2 sc, inc] repeat around (24)
Round 5: [3 sc, inc] repeat around (30)
Round 6: In BLO, sc in each st around (30)
Round 7: sc in each st around (30)
Round 8: sc in each st around (30)
Color Change: Change to Cream yarn on the last pull-through of Round 8.
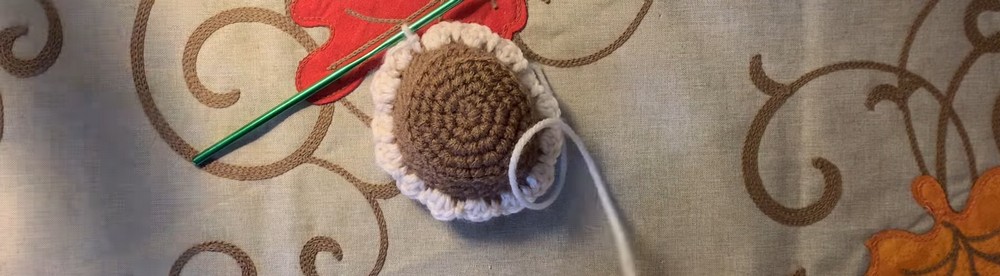
Round 9: In FLO, [3 dc in the next st, sl st in the next st] repeat all the way around.
Fasten off. You do not need to weave in this end.
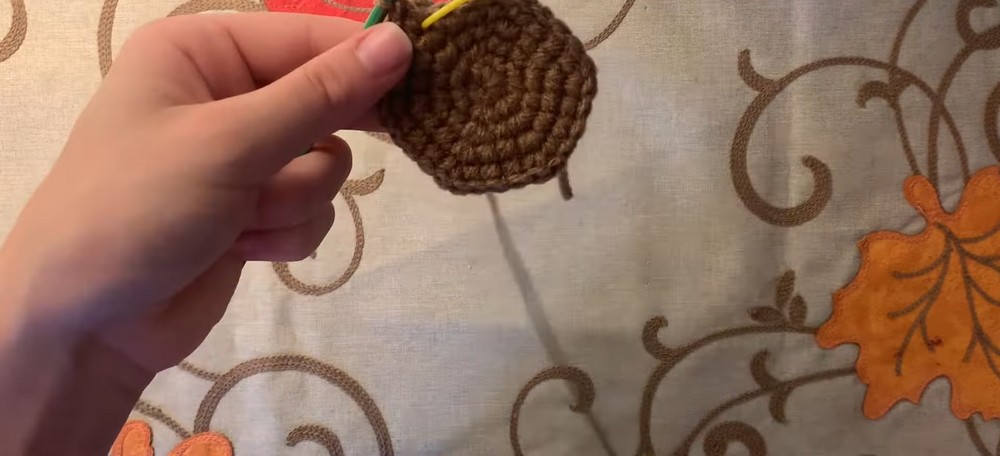
Color Change Check
The color change happens on the last pull-through of Round 8, so the next round begins in Cream yarn. Making the change at this point keeps the Cream decorative edge attached directly to the Brown pie tin.
Before continuing, make sure the new Cream yarn is secured through that final pull-through and that Round 9 is worked in FLO as written.
Pie Filling
Use Pumpkin yarn for the filling.
Round 1: 6 sc into a MR (6)
Round 2: inc in each st around (12)
Round 3: [1 sc, inc] repeat around (18)
Round 4: [2 sc, inc] repeat around (24)
Round 5: [3 sc, inc] repeat around (30)
Round 6: [4 sc, inc] repeat around (36)
Sl st to finish and fasten off, leaving a long tail for sewing.

Assembly Step: Sew the pie filling into the pie tin, attaching it to the inner ridge created from the back loops of Round 9. Tuck in all ends and stuff the pie firmly before completely sewing it closed.
What to Watch For: Keep the filling centered inside the pie tin as you sew. The long tail is needed for attaching the filling, so keep it available until the filling is completely secured.
Whipped Cream
Use White yarn.
Round 1: 4 sc into a MR (4)
Round 2: [1 sc, inc] repeat 2 times (6)
Round 3: sc in each st around (6)
Round 4: [1 sc, inc] repeat 3 times (9)
Round 5: [2 sc, inc] repeat 3 times (12)
Sl st to finish and fasten off, leaving a long tail. Sew the whipped cream onto the top of the pumpkin pie shell.
Turtle Head
Use Green yarn.
Round 1: 6 sc into a MR (6)
Round 2: inc in each st around (12)
Round 3: [1 sc, inc] repeat around (18)
Round 4: [2 sc, inc] repeat around (24)
Round 5: sc in each st around (24)
Round 6: sc in each st around (24)
Safety Eyes: Insert safety eyes between Rounds 5 and 6, about 3 to 4 stitches apart. Add backing. Optional: Sew a little pink blush under the eyes.
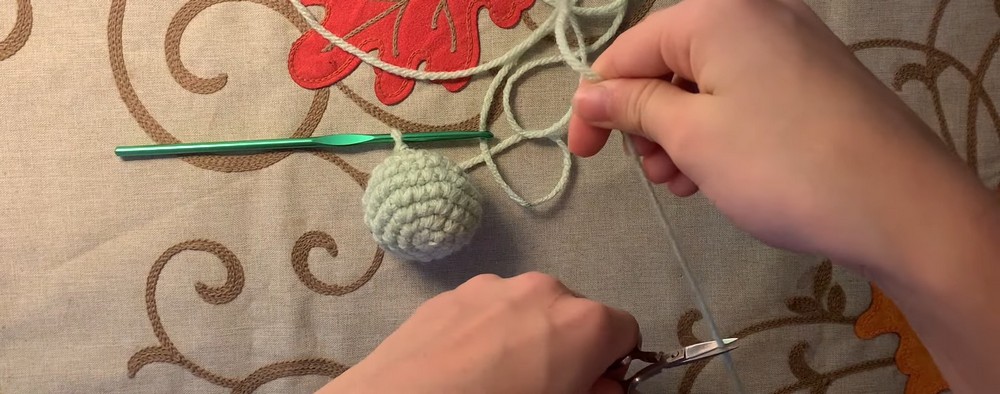
Round 7: [2 sc, dec] repeat around (18)
Round 8: [1 sc, dec] repeat around (12)
Stuff the head firmly.
Round 9: dec all the way around (6)
Fasten off, leaving a long tail. Cinch the bottom hole closed with your tapestry needle, but do not cut the yarn-you will use this tail to attach the head to the body.
Before Moving On: Make sure the safety eyes are positioned correctly before the head is closed. Once the head is finished and stuffed, keep the remaining yarn tail attached to sew it onto the pie shell.
Flippers
Make 4 with Green yarn.
Round 1: 6 sc into a MR (6)
Round 2: inc in each st around (12)
Round 3: [1 sc, inc] repeat around (18)
Fold the circle in half with the right side facing out. Working through the stitches on both sides to close the gap, make 8 sc across.
Fasten off, leaving a long tail for sewing.

Shape Check: After folding each flipper, make sure both sides are aligned before working the 8 sc across. This keeps the flipper closed evenly and gives you a consistent shape when all four pieces are attached.
Tail
Use Green yarn.
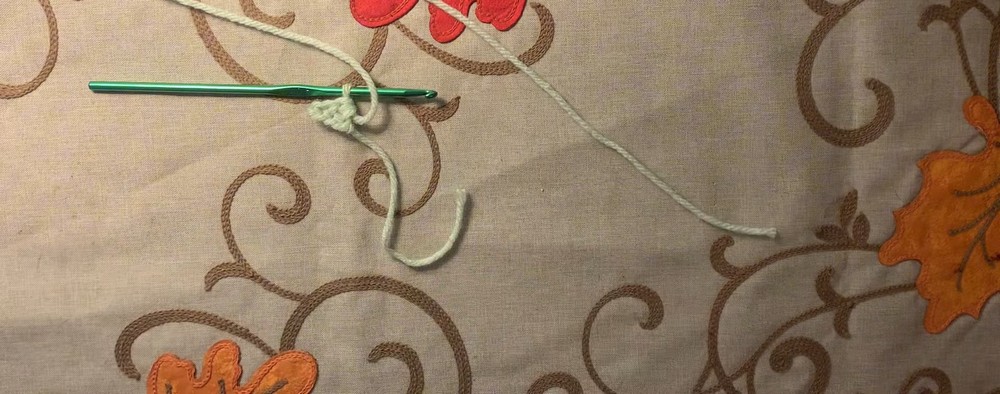
Chain 4: Working in the 2nd chain from the hook, make 1 sl st.
Next Chain: In the next chain, make 1 sc.
Last Chain: In the last chain, make 1 hdc.
Fasten off, leaving a tail for sewing.
Final Assembly
Once all the individual pieces are complete, arrange them around the pie shell before sewing them permanently in place.
Attach the Head
- Sew the Head securely onto the front of the pumpkin pie shell.
- Keep the head centered on the front so the facial features face outward.
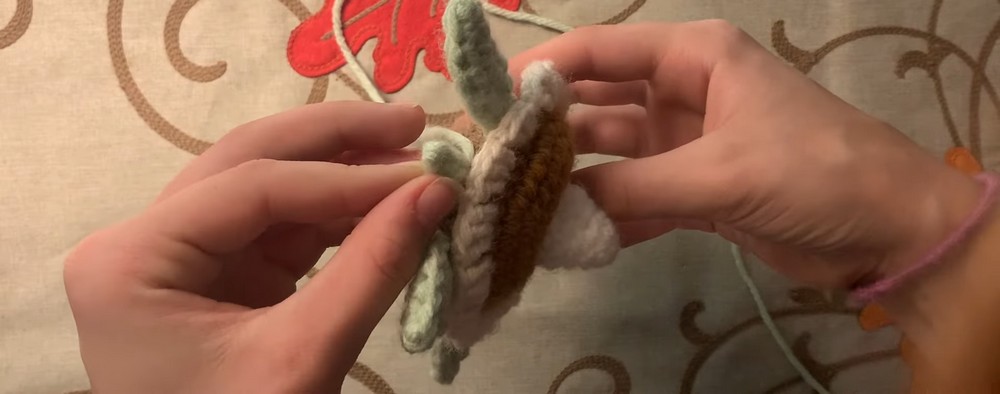
Attach the Flippers
- Sew the Front Flippers onto the shell on either side, directly next to the head.
- Sew the Back Flippers onto the shell, positioned just below the front arms and toward the back.
Attach the Tail
Sew the Tail at the very back of the shell, centered directly between the two back flippers.
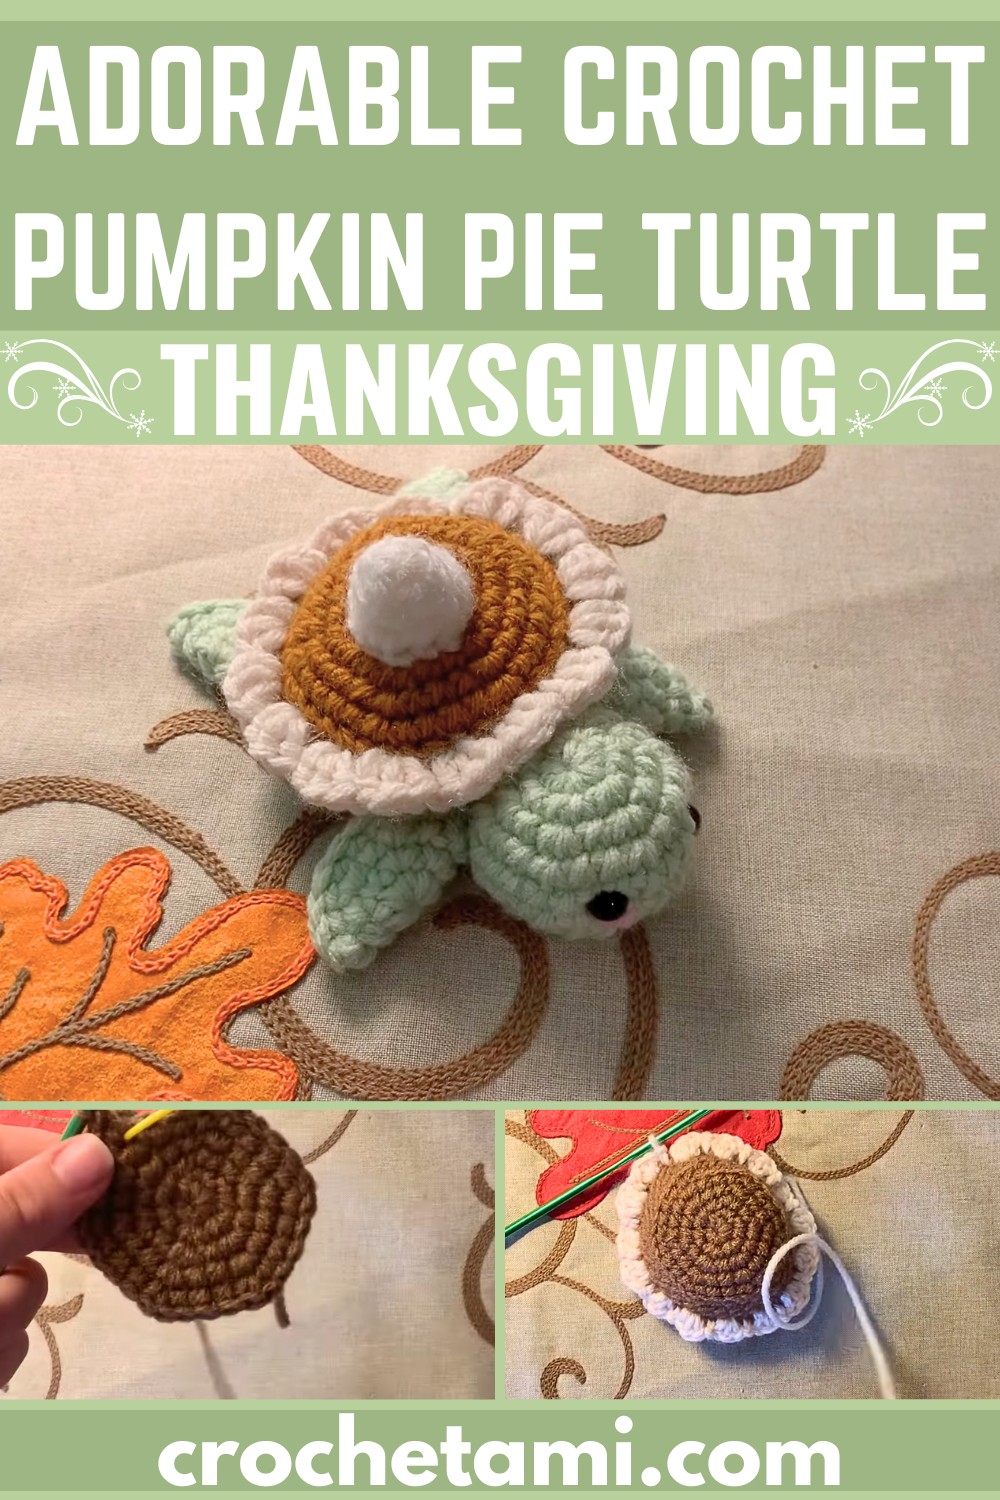
Final Placement Check: Before securing the last stitches, check that the head is at the front, the front flippers sit beside it, the back flippers remain toward the back, and the tail is centered between them. This gives the turtle its intended position around the pie shell.