Here is a tiny crochet Christmas tree that transforms a few simple rounds into a festive decoration with the sweetest handmade finish.
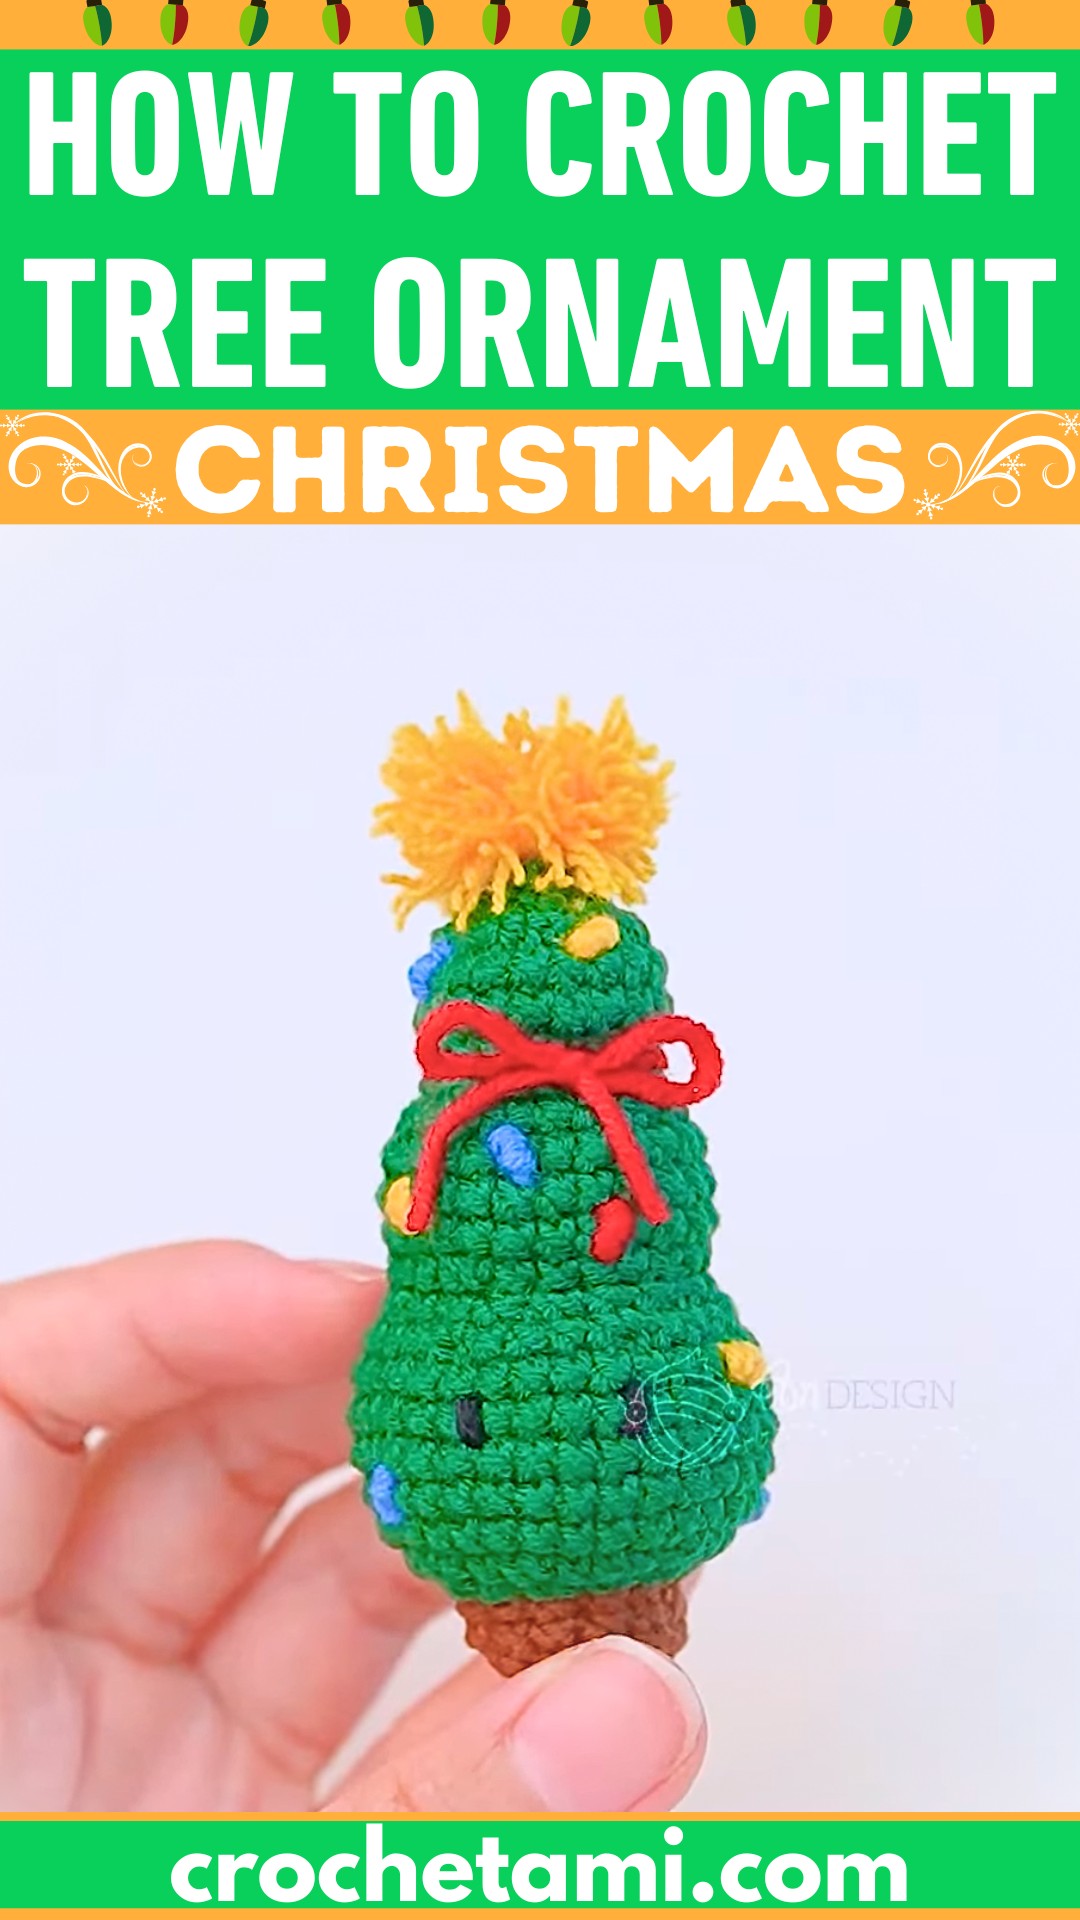
Nothing captures the warmth of the holiday season quite like a handmade decoration, and this tiny crochet Christmas tree is full of festive charm. Its neat trunk, layered branches, and cheerful topper come together step by step to create a delightful crochet ornament for any holiday display.
The pattern flows smoothly from the base to the finishing details, making every stage enjoyable to complete. A little stuffing, colorful embroidered ornaments, and a fluffy pom-pom bring this crochet tree to life, giving it a cozy handmade touch that looks beautiful as a gift or seasonal decoration.
Credit AnDesign_Craft
Gather Your Crochet Essentials
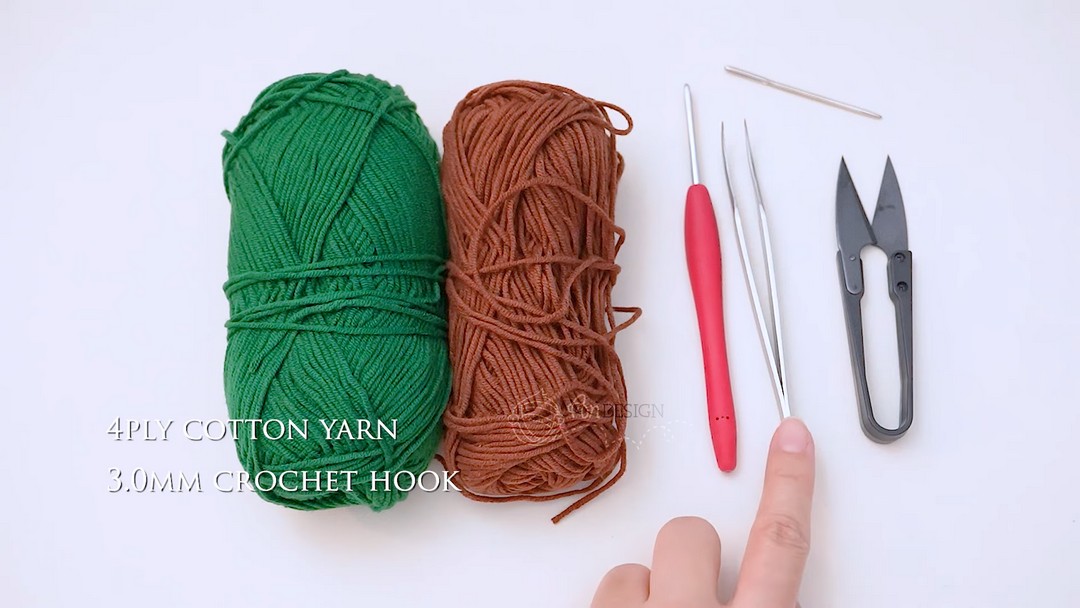
- Yarn:
- 4-ply cotton yarn in:
- Brown
- Green
- Yellow (for the pom-pom)
- Accent yarn in various colors for embroidered dots/details
- 4-ply cotton yarn in:
- Stuffing:
- Polyester fiberfill
Tools
- Crochet Hook:
- 3.0 mm
- Additional Notions:
- Tapestry needle
- Scissors
- Optional:
- Safety eyes
- Decorative ribbon
Pattern Notes
- Construction: Worked in joined rounds, starting from the brown trunk and transitioning into the green foliage.
- Joining Rounds: Close each round with a slip stitch in the first stitch, then chain 1 to start the next round.
Stitch Guide
MR: Magic Ring
st(s): Stitch(es)
ch: Chain
sl st: Slip stitch
sc: Single crochet
inc: Increase (2 sc in same st)
dec: Invisible decrease
BLO: Back loop only
FLO: Front loop only
Why You’ll Love This Pattern
- Trunk-to-Tree Transition: Start with the trunk using BLO to establish structure, then move seamlessly into green foliage.
- Tiered Amigurumi Shaping: Use FLO increases and decreases for textured, tiered tree layers.
- Customizable: Top with a pom-pom, use French knots for ornaments, and add optional decorative features like safety eyes and a ribbon.
Pattern Overview & Making Process
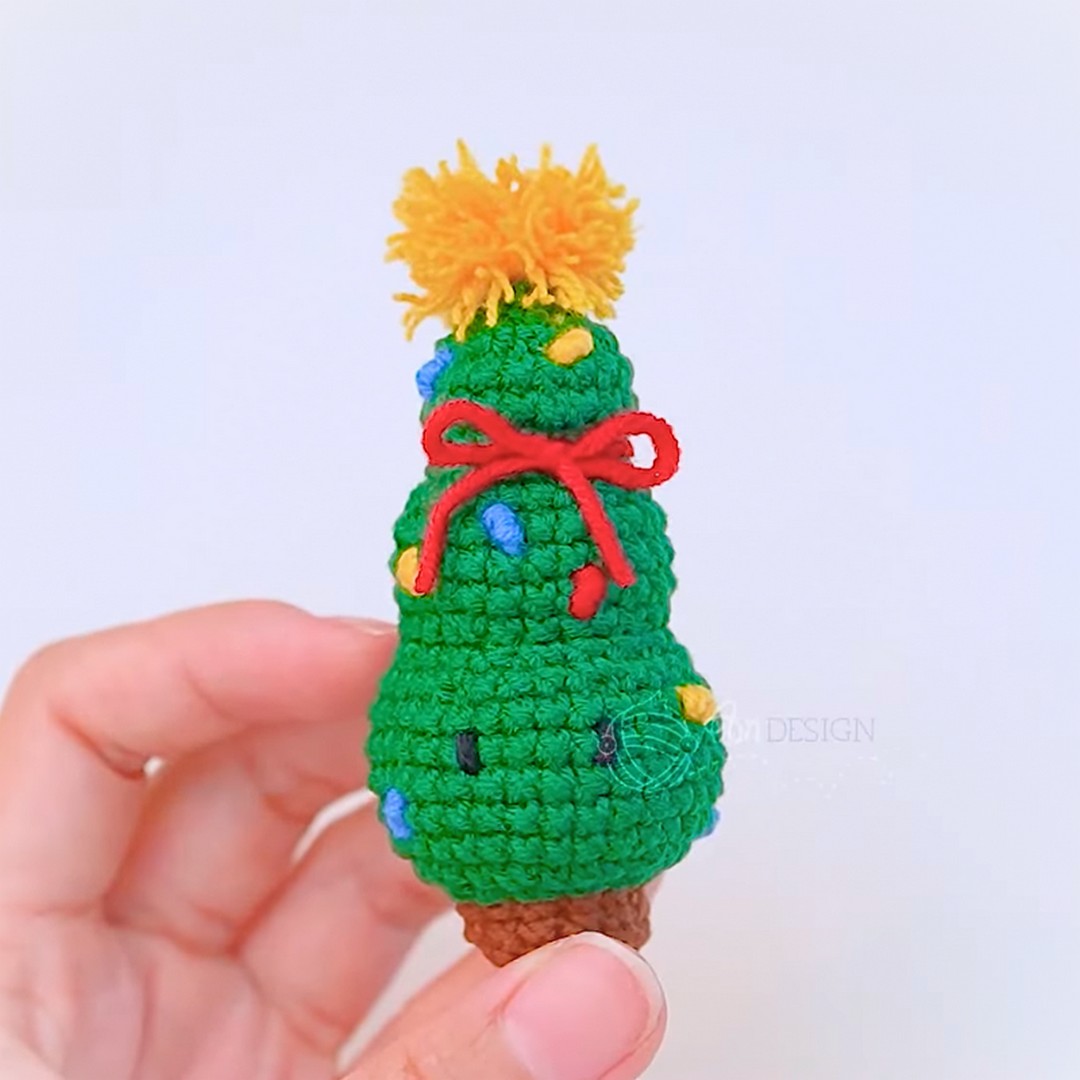
The pattern begins with brown yarn to form the trunk using a magic ring, followed by increase rounds and single crochet worked in the back loops to create a sturdy base. Green yarn is then joined through the front loops, allowing the tree to expand into its layered shape.
The main body is built with increase rounds, several even rounds of single crochet, and gradual invisible decreases that shape the branches. Another front-loop round adds extra texture before the upper section continues narrowing toward the top.
As the final rounds are completed, the tree is firmly stuffed with polyester fiberfill before the opening is neatly closed. A yellow pom-pom is attached to the top, while colorful French knots, with optional safety eyes and a ribbon bow, add the final festive finishing touches.
Let’s Make the Mini Tree Step-by-Step
Here’s your step-by-step crochet pattern broken down into clear sections.
Tree Trunk (Brown Yarn)
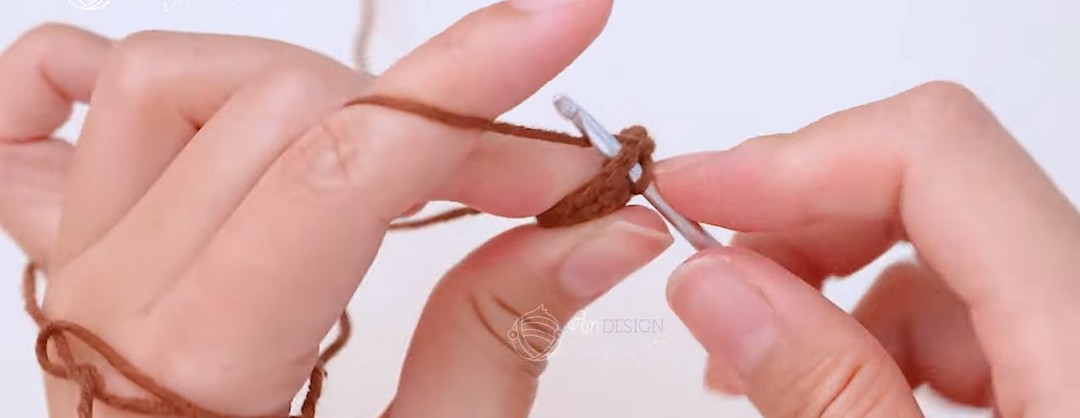
- Round 1: Make 6 sc in a MR (magic ring). Sl st to the 1st st, ch 1. (6 sts)
- Round 2: Inc in every st around. Sl st, ch 1. (12 sts)
- Round 3: Working in BLO, sc in each st around. Sl st, ch 1. (12 sts)
- Rounds 4–5: Sc in each st around. Sl st, ch 1. (12 sts)
Tree Body & Branches (Green Yarn)
- Round 6: Join Green yarn in FLO, then inc in each st around. Sl st, ch 1. (24 sts)
- Round 7: [3 sc, inc] x 6 times. Sl st, ch 1. (30 sts)
- Rounds 8–12: Sc in each st around. Sl st, ch 1. (30 sts)
- Round 13: [Invisible dec, 3 sc] x 6 times. Sl st, ch 1. (24 sts)
- Round 14: [2 sc, dec] x 6 times. Sl st, ch 1. (18 sts)
- Round 15: Working in FLO, [inc, 2 sc] x 6 times. Sl st, ch 1. (24 sts)
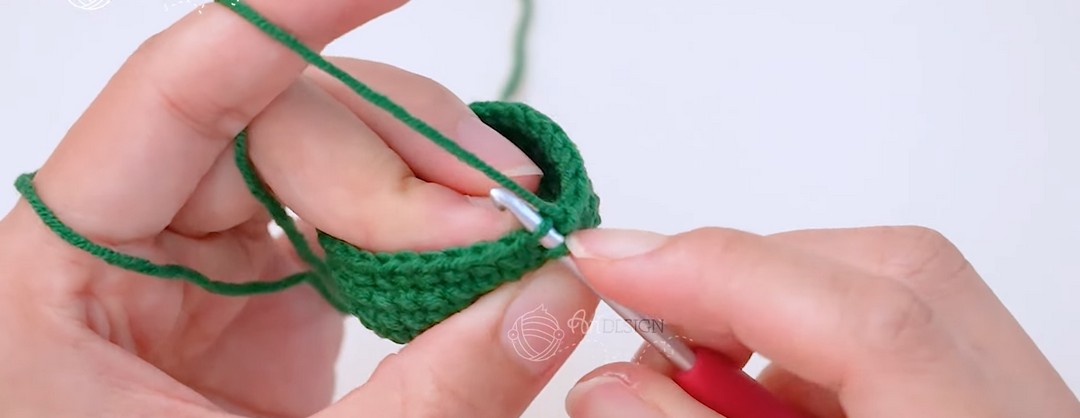
Tree Top (Continue Decreasing)
- Rounds 16+: Follow the decrease sequence to shape the tree top.
- Stuff the entire piece firmly with polyester fiberfill as you work.
- Continue decreasing until you close off the remaining hole neatly.
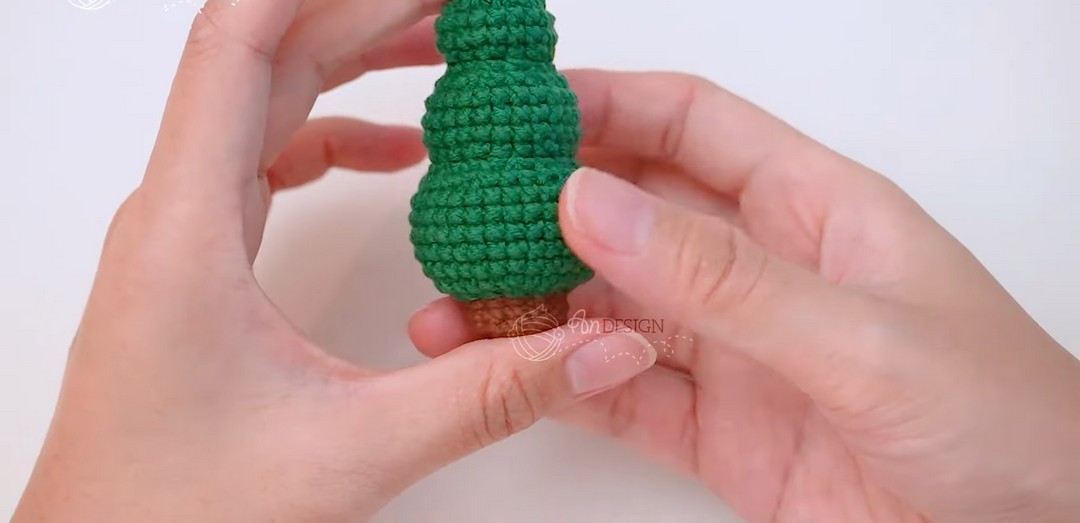
Finishing & Embellishments
Pom-Pom Topper
- Use yellow yarn to make a pom-pom:
- Wrap yarn around your fingers multiple times.
- Tie tightly in the middle.
- Trim the loops into a neat and round pom-pom.
- Attach securely to the top of the tree.
Decorations
- Add your personal touch:
- Use contrasting yarn to stitch French knot “dots” for ornaments.
- Optional: Add safety eyes and a small ribbon bow to give it a cute character look!
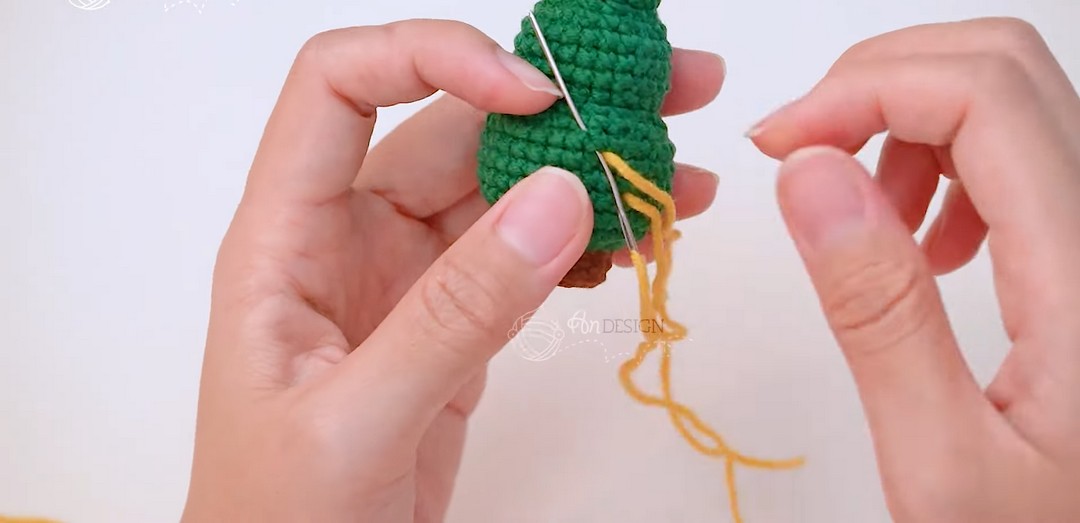
Helpful Tips for the Best Results
- Tidy Edges: Keep the slip stitch in each round tight to avoid extra stitches.
- Invisible Decreases: Use front loops only to prevent gaps when decreasing.
- Creative Variations:
- Swap green for pastel or icy colors for modern winter aesthetics.
- Add small beads instead of yarn dots for sparkle.
Easy Customization Ideas
- Switch up the yarn colors for a fresh look.
- Add beads, French knots, or colorful pom-poms.
- Complete with a ribbon bow for a personalized touch.
Final Steps
- Assemble your materials and tools.
- Follow the step-by-step pattern for the trunk, branches, and finishing touches.
- Personalize as desired to make it uniquely yours.