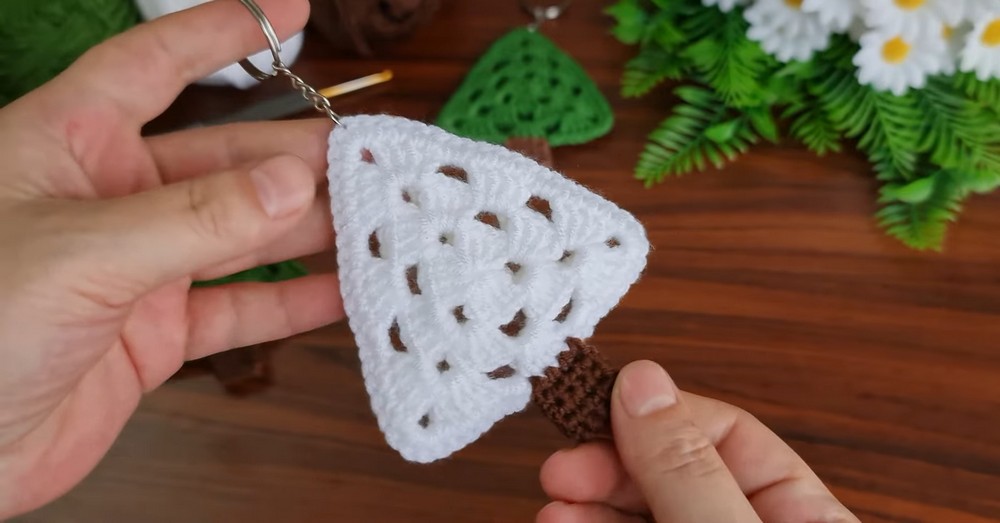
Try this compact crochet Christmas tree for keys or bags, with granny-cluster texture, crisp triangular shaping, and simple finishing that keeps it sturdy.

Green granny clusters create a triangular tree shape in just three rounds, making this Christmas tree keychain quick to crochet and easy to recognize. The brown trunk adds contrast at the bottom, while the matching brown loop gives the finished crochet piece its practical keychain function.
Before moving into finishing, each section has one small detail worth watching: corner spaces create the crochet tree shape, the middle 4-dc cluster determines trunk placement, and the top ch-3 space becomes the hanging point. You can keep one flat layer for lightweight use or join two tree panels for a thicker, more durable feel.
Credit Knitting Life
Materials & Tools Needed
- Yarn: Medium/Worsted weight yarn in Green for the tree and Brown for the trunk and loop.
- Crochet Hook: Use a hook size suited to the yarn weight. A 3.0 mm or 4.0 mm hook works well when firm stitches are desired for keychain use.
- Scissors
- Yarn Needle: For weaving in loose ends.
- Keychain Hardware: Optional metal keyring. Crocheted chain loop can also be used on its own.
Finished Size & Customization
Finished tree measures approximately 3 to 4 inches tall, depending on yarn weight and individual tension.
For extra decoration, sew tiny buttons, colorful beads, or French knots onto the green tree body as ornaments. Small star appliqué can also be added to the top point before attaching the loop.
For extra thickness, make two identical tree panels and join them with a final green slip-stitch border. This creates a double-layered version that feels more substantial in hand.
Pattern Abbreviations
- MR = Magic Ring
- ch = Chain
- sl st = Slip Stitch
- sc = Single Crochet
- dc = Double Crochet
- sp = Space
- st(s) = Stitch(es)
- Rnd = Round
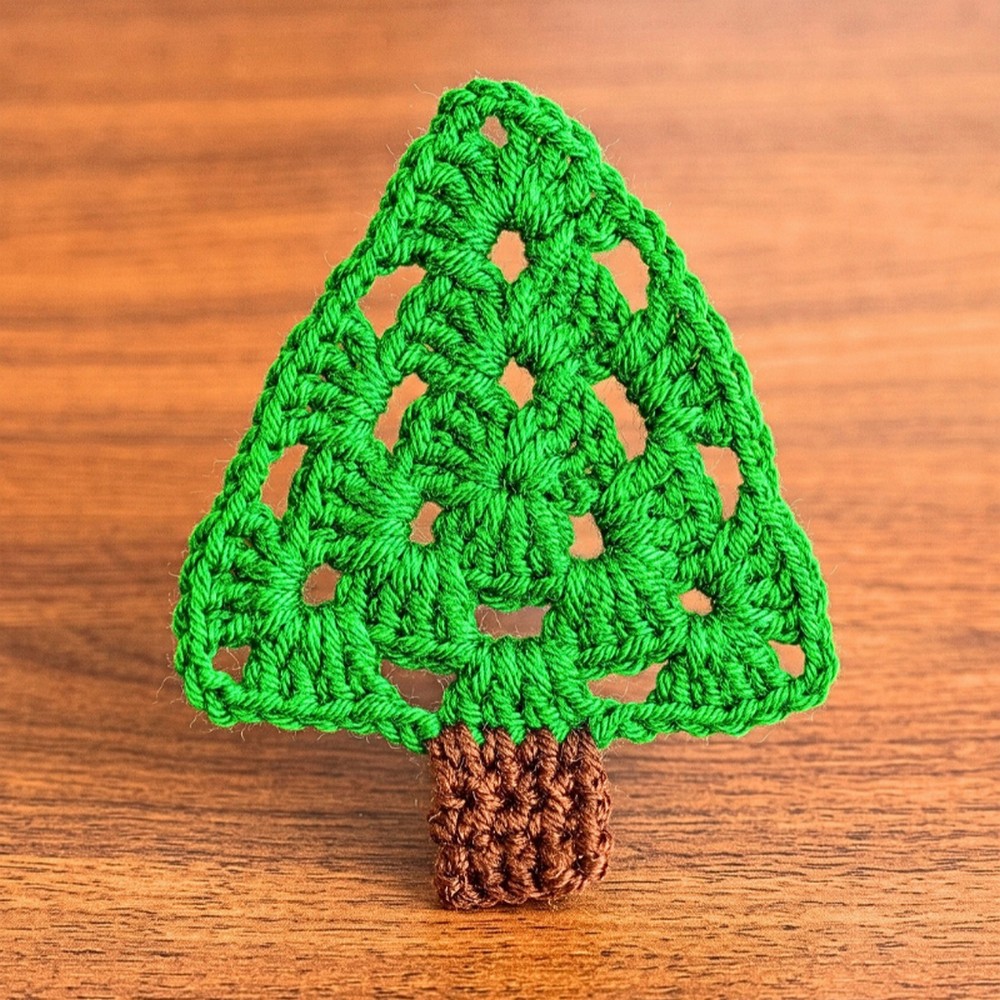
Tree Body – Green Yarn
Tree body is worked as a solid granny triangle in rounds. Each round expands the triangle through three corner spaces, while ch-2 spaces form sides between corners.
Round 1
Create MR with Green yarn. Ch 3, counting as first dc, then work 3 dc into ring. Ch 3, work second cluster of 4 dc into ring. Ch 3, work third cluster of 4 dc into ring. Ch 3, pull MR completely tight, then sl st into top of beginning ch-3 to close round. Stitch Count: 3 clusters of 4 dc, separated by 3 ch-3 corner spaces.
Check center after closing round: three clusters should sit around center with three open ch-3 spaces between them. These spaces become corners during next round.

Round 2
Sl st 4 times across tops of next 3 dc stitches to move hook into first ch-3 corner sp. Ch 3, work 3 dc into same corner sp to form first half of corner. Ch 2, crossing over previous 4-dc cluster. In next ch-3 sp, work full corner (4 dc, ch 3, 4 dc). Ch 2. In next ch-3 sp, work another full corner (4 dc, ch 3, 4 dc). Ch 2. Return to starting corner and work 4 dc into same space, ch 3, then sl st into top of beginning ch-3 to finish round. Stitch Count: 6 clusters of 4 dc, 3 ch-3 corner spaces, 3 ch-2 side spaces.
Moving through tops of 3 dc stitches before starting cluster, place hook inside corner space rather than on top of cluster. Keep this placement consistent so each side grows evenly.
Round 3
Sl st 4 times across next 3 dc stitches to move into first ch-2 side sp. Ch 3, work 3 dc into side sp. Ch 2. In next ch-3 corner sp, work full corner (4 dc, ch 3, 4 dc). Ch 2, work 4 dc into next ch-2 side sp. Ch 2, work full corner (4 dc, ch 3, 4 dc) in next ch-3 corner sp. Ch 2, work 4 dc in next ch-2 side sp. Ch 2, work full corner (4 dc, ch 3, 4 dc) in final ch-3 corner sp. Ch 2, then sl st to top of beginning ch-3 to finish round. Stitch Count: 9 clusters of 4 dc, 3 ch-3 corner spaces, 6 ch-2 side spaces.
After Round 3, the triangle should have a clear top point and two lower corners. Before changing color, check that all three ch-3 corner spaces remain visible and that each side contains its expected ch-2 spaces.
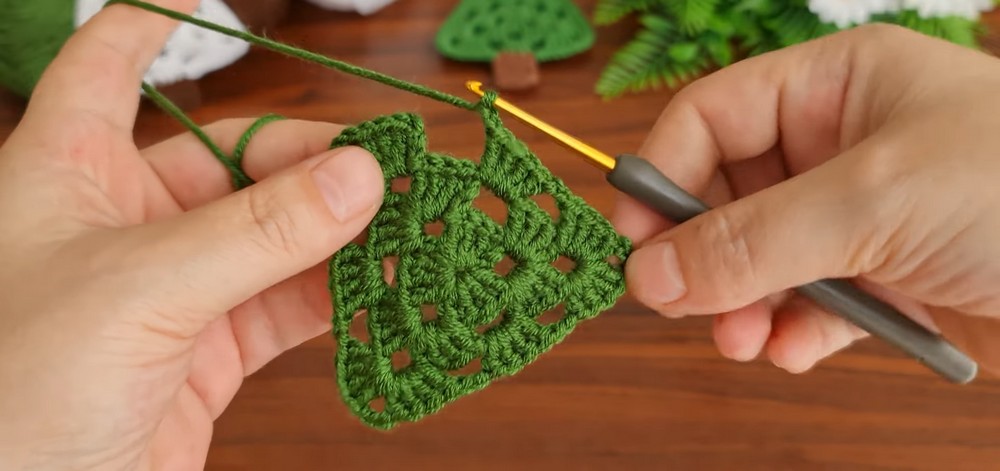
Brown Trunk
Locate the bottom edge of the green triangle and find the middle 4-dc cluster along this edge. Trunk attaches directly to these four stitches.
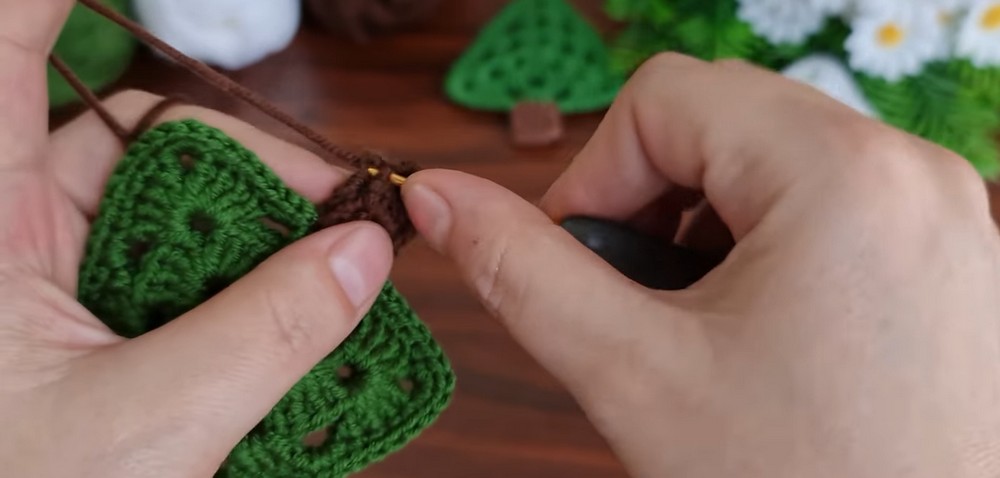
Row 1: Attach Brown yarn to first dc of middle 4-dc cluster and work 1 sc in each of 4 dc stitches across.
Row 2: Ch 1, turn, then work 1 sc in each of 4 stitches.
Rows 3–4: Repeat Row 2 until trunk has exactly 4 rows total. Fasten off Brown yarn and weave in ends.
Keeping the trunk centered under the middle cluster gives the tree a balanced appearance. If trunk seems shifted, check that attachment begins at first dc of middle cluster rather than beside it.
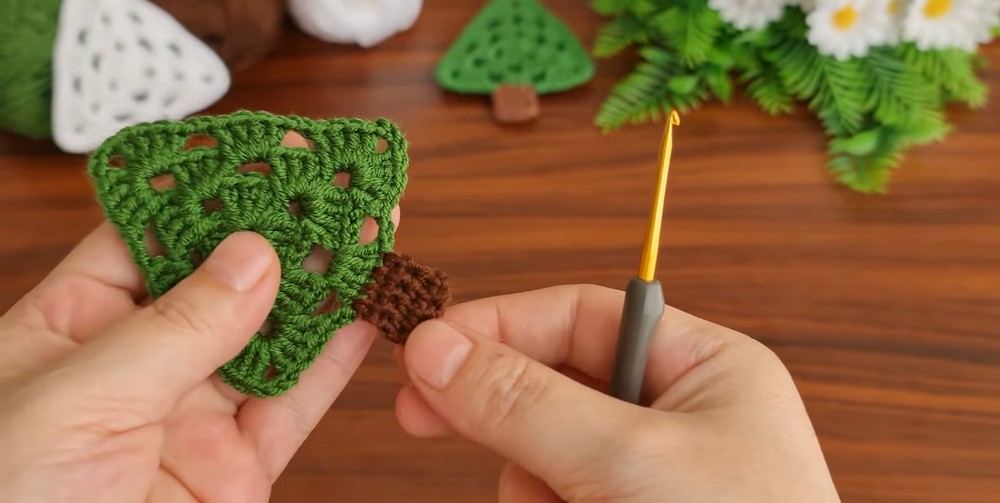
Brown Hanging Loop
Attach Brown yarn to top ch-3 corner sp of tree. Ch 30, then sl st back into same corner sp to form long hanging loop. Fasten off.
This loop can hold metal keychain hardware, or it can remain as a simple crocheted hanger when the tree is being used as a small ornament instead.
Green Border
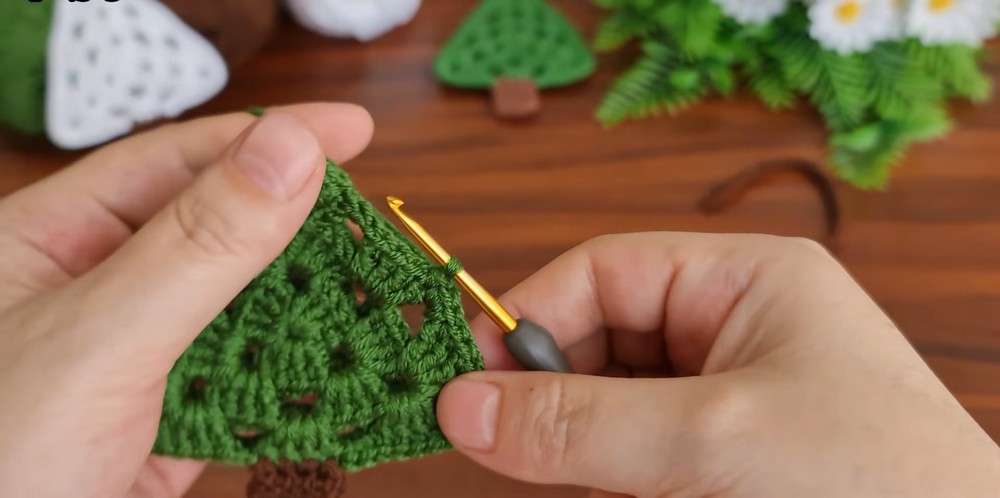
Re-attach Green yarn anywhere along the tree perimeter. Sl st evenly around entire outside edge, including around base of Brown trunk. Fasten off.
Work border evenly without pulling stitches too tightly. Relaxed slip stitches help preserve the triangular outline instead of drawing edges inward.
Easy Christmas Variations
Tiny Ornaments: Add colorful buttons, beads, or French knots across green triangle to create miniature baubles.
Star-Topped Tree: Attach small star appliqué to top point before adding Brown loop.
Two-Layer Keychain: Join two tree panels for a thicker feel and extra visual depth.
Simple Tree Hanger: Skip metal hardware and use Brown chain loop as hanging loop for tree ornaments, gift tags, or small festive garlands.
Final Shape Check
Before placing the tree onto keys or gift packaging, check:
- Three rounds form an even triangular tree.
- Brown trunk sits beneath middle 4-dc cluster.
- Brown chain-30 loop is firmly attached to top corner.
- Green border follows complete perimeter.
- All yarn tails are woven securely.
- Double-layer version has both panels aligned before the final border is completed.
This small Christmas tree combines familiar granny clusters with simple color changes and edging, so most of the shaping happens naturally through corner spaces. Three green rounds create a flat triangular body, four short brown rows form the trunk, and one long chain creates a hanging loop. With buttons, beads, stars, or a second layer, the same basic tree can become several different festive keychain styles.