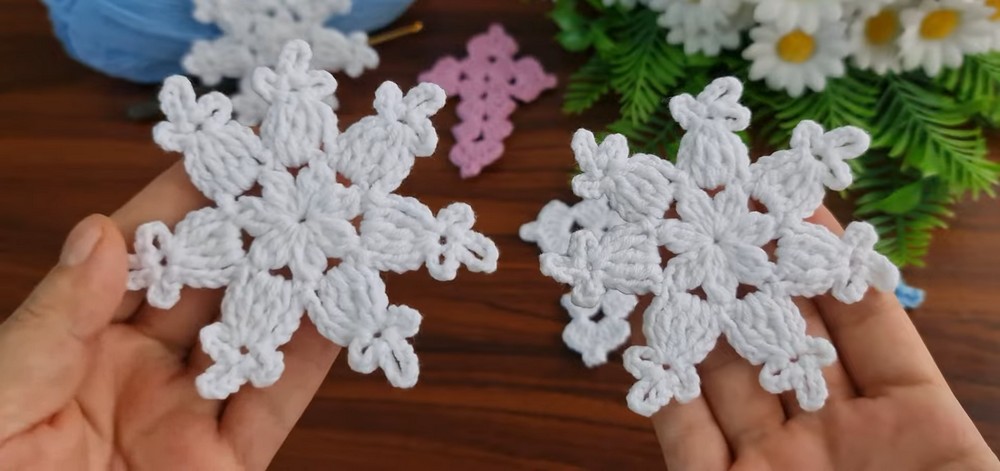
Here’s a delicate crochet snowflake with six crisp points and tiny picot tips, worked in just two rounds for quick holiday decorating and handmade gifts.

Crochet snowflakes bring delicate winter detail to holiday decorating without requiring many rounds or complicated shaping. Six evenly spaced points give this white crochet ornament its familiar snowy look, while small picot tips add fine detail along each point.
Before starting, you’ll work through two main rounds: first, creating six double-crochet clusters around a Magic Ring; then shaping each point with treble clusters, chain spaces, and picots. Clear placement guidance helps keep all six points evenly arranged, while finishing and blocking ideas let you choose between soft snowflakes and firmer ornaments.
Credit Knitting Life
Materials & Tools Needed
- Yarn: Lightweight cotton or acrylic yarn in White, using Sport or DK weight. Light blue can also be used for color variations.
- Crochet Hook: 2.2 mm.
- Notions: Scissors and yarn needle for weaving in ends.
Finished Size & Customization
Finished snowflakes measure approximately 3 to 4 inches in diameter, depending on individual tension and yarn choice.
For crisp, rigid ornaments that hold their shape on a tree, pin finished snowflakes to a blocking board and apply commercial fabric stiffener or diluted white glue. Extra-fine glitter can also be sprinkled over snowflakes while the stiffener is still wet for an icy, frosted effect.
For larger versions, such as coaster-size snowflakes, switch to a 4.0 mm or 5.0 mm hook and use heavier worsted-weight yarn. Larger yarn and hook combinations will increase finished size while keeping basic stitch sequence intact.
Pattern Abbreviations & Terminology
- MR – Magic Ring
- ch – Chain
- sl st – Slip Stitch
- dc – Double Crochet
- tr – Treble Crochet
- tr-cl – Treble Cluster, worked by combining 3 tr stitches into one point
- sp – Space
- st(s) – Stitch(es)

Point White Crochet Snowflake
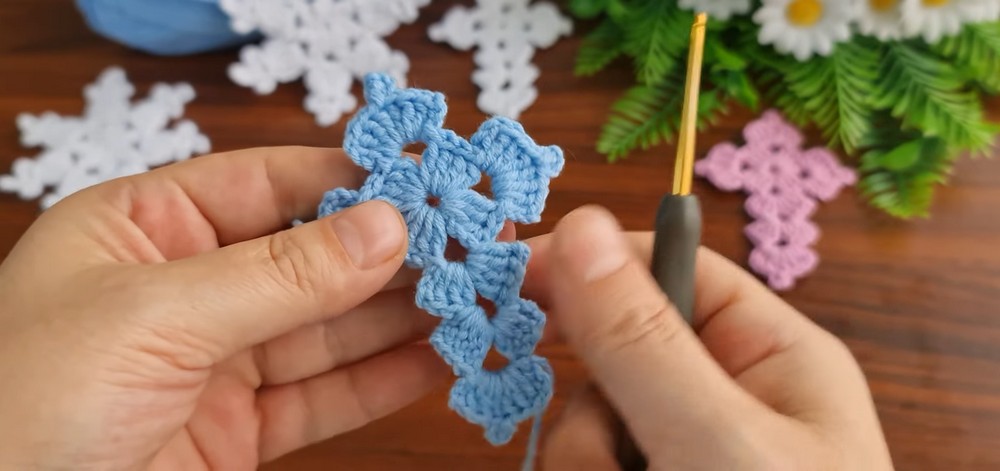
This pattern follows the classic white snowflake motif shown in the tutorial. Tutorial also features blue 4-point cross/star variation, but instructions here cover six-point white snowflake.
Round 1: Center Base
Start: Create Magic Ring (MR).
First Cluster: Ch 3, which counts as the first dc, then work 2 dc into MR for 3 dc in the first group.
First Chain Space: Ch 3 to form first gap.
Next Clusters: Work 3 dc into MR, followed by ch 3. Repeat this sequence four more times until you have 6 groups of 3 dc, separated by 6 ch-3 spaces. Total count is 18 dc and 6 ch-3 spaces.
Join: Pull the magic ring tail firmly to close the center opening. Sl st into top of initial ch-3 to close round.
At this point, the center should look like six small dc groups radiating outward. Keep ch-3 spaces open and easy to identify because each one becomes the base for one snowflake point in the next round.
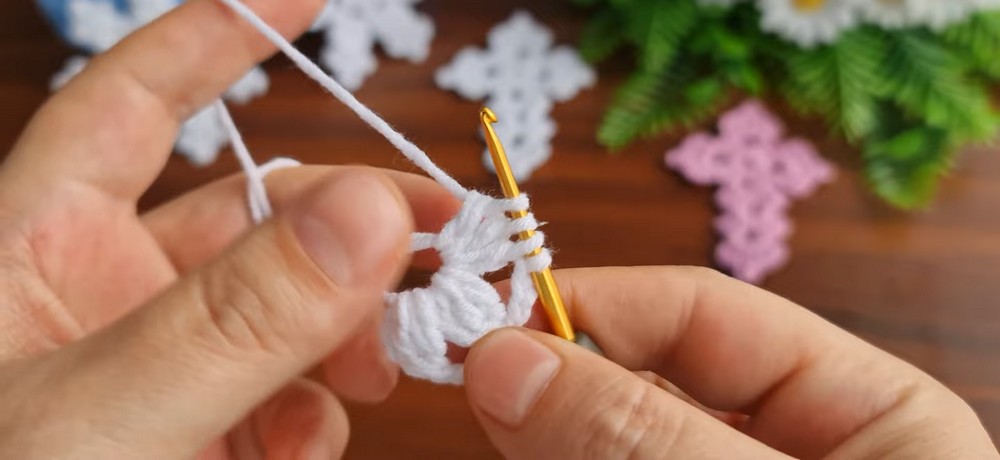
Round 2: Six Snowflake Points
Color Change Option: For two-tone ornaments, fasten off White yarn after Round 1. Attach new color, such as Blue, with sl st directly into any ch-3 space before beginning Round 2.
Positioning: Sl st across next 2 dc stitches, then sl st into first ch-3 space. This places the hook directly at the base of the first point.
First Point Base: Ch 4, counting as first tr, then work 3-tr cluster into same ch-3 space. For cluster, yarn over twice, insert hook into space, pull up loop, yarn over and pull through 2 loops, yarn over and pull through 2 loops again, leaving final loop on hook. Repeat this process 2 more times until 4 loops remain on hook. Yarn over and pull through all 4 loops together.
Left Picot: Ch 5, then sl st directly into top of completed tr-cluster.
Center Picot: Ch 7, then sl st into same top stitch of cluster.
Right Picot: Ch 5, then sl st into same top stitch of cluster. This creates three small picot tips across the point.
Finish Point: Ch 4, then sl st back into same ch-3 space used for point base.
Move to Next Point: Sl st across tops of next 3 dc stitches to reach following ch-3 space.
Repeat: Repeat point sequence in each remaining 5 ch-3 spaces. Each space creates one point, giving the finished snowflake 6 evenly spaced points.
As each point is completed, check that its base returns to its original ch-3 space and that the transition crosses exactly 3 dc stitches. Keeping this spacing consistent prevents points from crowding together or shifting around the center.
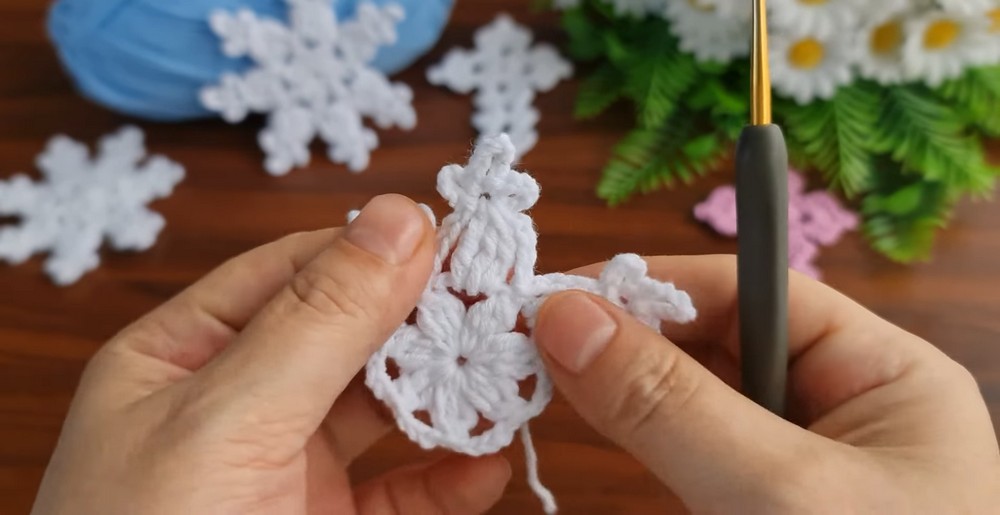
Finishing Your Snowflake
Optional Hanging Loop
After completing the final point and slip stitching into the final space, chain 15 to 20 stitches for a built-in hanging loop. Sl st back into base to secure loop.
This loop can be adjusted according to how you plan to display the snowflake. Shorter loops sit close to tree branches, while longer loops work nicely for garlands or decorative hooks.
Fasten Off & Hide Ends
Cut yarn, leaving approximately 4 to 6 inches of tail. Pull yarn through final loop on hook to secure.
Thread loose tails onto yarn needle and weave them back and forth through dense stitches on back side of Round 1. Keep tails hidden within stitches, then trim remaining excess.
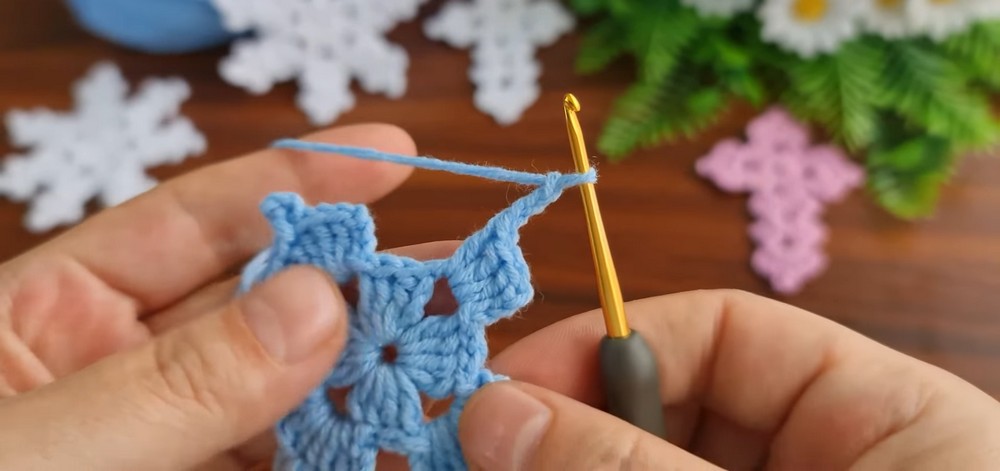
Shape & Stiffen Snowflake
For soft fabric-style snowflakes, weave in ends and leave finished motif flexible.
For firm ornaments, pin snowflake evenly to blocking board, stretching six points gently until shape looks balanced. Apply commercial fabric stiffener or diluted white glue mixture, then allow snowflake to dry completely before removing pins.
For extra holiday sparkle, sprinkle fine glitter over wet stiffener. Let finished snowflake dry fully before handling or hanging.
Quick Checks Before Displaying
- Confirm all 6 points are present and evenly spaced.
- Check that each point has three picot tips.
- Make sure the center opening is firmly closed after Round 1.
- Hide yarn tails securely before trimming.
- If using stiffener, allow snowflake to dry completely while pinned.
- Add hanging loop only after final point is secure.
With only two main rounds, this snowflake is easy to repeat for multiple ornaments while still giving plenty of room for color, size, glitter, and stiffness variations. Six double-crochet clusters create simple center structure, while treble clusters and three picots transform each space into a delicate pointed detail.