
Bring Santa to life with a detailed crochet amigurumi featuring a fluffy beard, black belt, pointed hat, and carefully shaped body for festive holiday display.
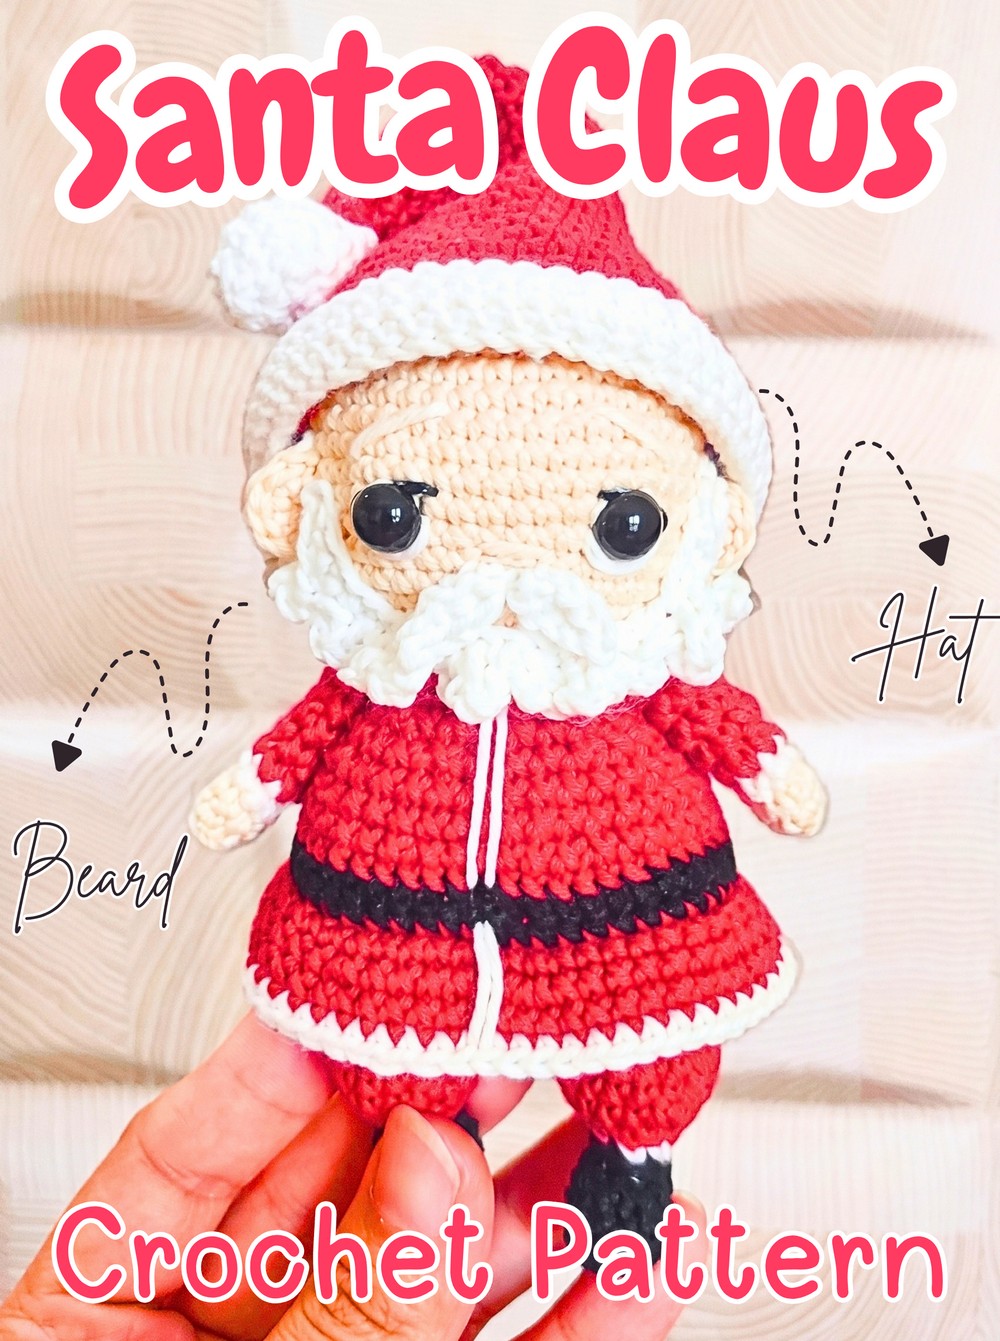
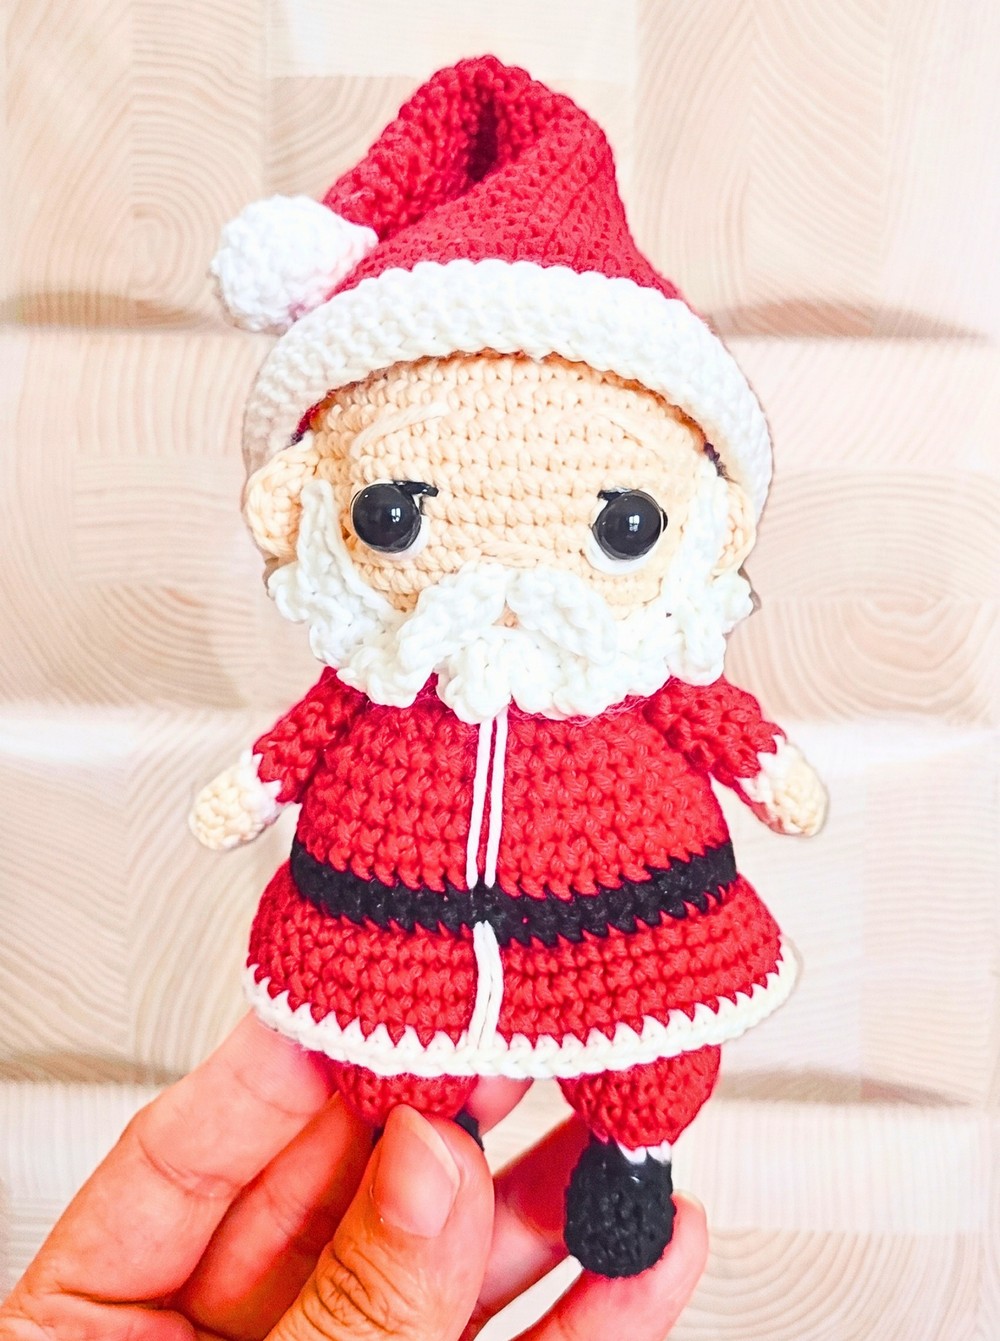
This crochet Santa Claus has all the recognizable details that make him instantly festive, from his white beard and red suit to his black belt, gold buckle, boots, and pointed hat. His rounded amigurumi shape gives him plenty of character, while textured white trims add definition around his clothing.
Work the crochet Santa in separate head, nose, beard, leg, body, arm, and hat sections before bringing everything together. Pay close attention to color changes, stuffing levels, and placement of facial pieces, since these details determine how neatly crochet finished Santa sits and how well his features align.
Credit Yui Crochet
Materials & Tools Needed
- Yarn: Fine or DK weight cotton/acrylic blend in Skin Color, Red, White, Black, and a small amount of Yellow/Gold
- Crochet Hook: 2.5 mm, or a size that creates tight, gap-free stitches
- Stuffing: Polyester fiberfill
- Eyes: 8 mm black safety eyes
- Tools: Yarn needle, stitch markers, scissors, and sewing pins
- Optional: Small pre-made white pom-pom for hat
Finished Size & Customization Ideas
Finished Santa measures approximately 7–8 inches tall when made with recommended yarn weight and hook size.
For more texture, substitute standard White yarn with fluffy blanket-style yarn for beard, hat trim, and coat borders. This gives white sections fuller surface texture and makes Santa’s clothing details stand out.
You can also experiment with yarn sizes or tension to create larger or smaller Santa figures while maintaining the same basic shaping.
Pattern Abbreviations
- MR: Magic Ring
- ch: Chain
- sc: Single Crochet
- inc: Increase – 2 sc in same stitch
- dec: Invisible decrease – sc 2 together through front loops
- BLO: Back Loop Only
- FLO: Front Loop Only
- sl st: Slip Stitch
- st(s): Stitch(es)
- [ ] x: Repeat instructions inside brackets the indicated number of times
- ( ): Total stitch count at end of round
How to make Head
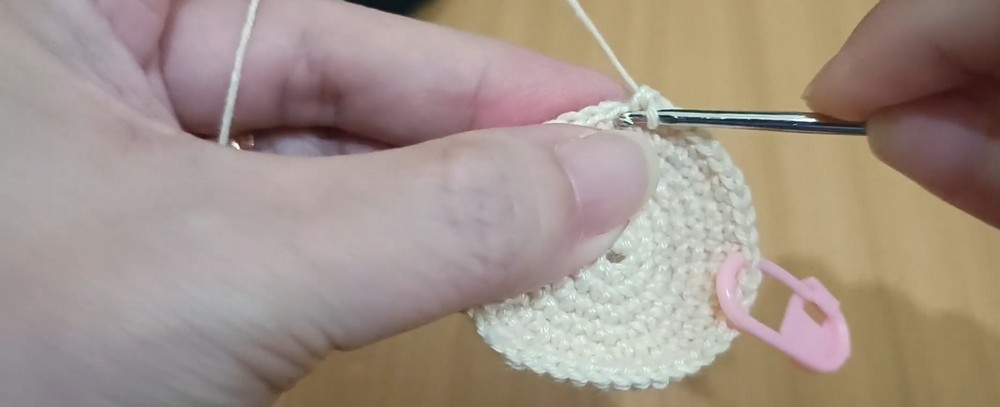
Work in continuous rounds with Skin Color yarn.
Round 1: 6 sc in MR. (6)
Round 2: 6 inc. (12)
Round 3: [1 sc, 1 inc] x 6. (18)
Round 4: [2 sc, 1 inc] x 6. (24)
Round 5: [3 sc, 1 inc] x 6. (30)
Round 6: [4 sc, 1 inc] x 6. (36)
Round 7: [5 sc, 1 inc] x 6. (42)
Round 8: [6 sc, 1 inc] x 6. (48)
Rounds 9–16: 48 sc around for 8 rounds. (48)
Insert 8 mm safety eyes between Rounds 13 and 14, spacing them approximately 8–9 stitches apart.
Round 17: [6 sc, 1 dec] x 6. (42)
Round 18: [5 sc, 1 dec] x 6. (36)
Round 19: [4 sc, 1 dec] x 6. (30)
Round 20: [3 sc, 1 dec] x 6. (24)
Begin stuffing head firmly.
Round 21: [2 sc, 1 dec] x 6. (18)
Fasten off, leaving a long tail for sewing the head to body. Finish stuffing firmly.

Arms
Make 2 arms, beginning with White yarn.
Round 1: 6 sc in MR. (6)
Round 2: 6 inc. (12)
Rounds 3–4: 12 sc around. (12)
Change to Red yarn.
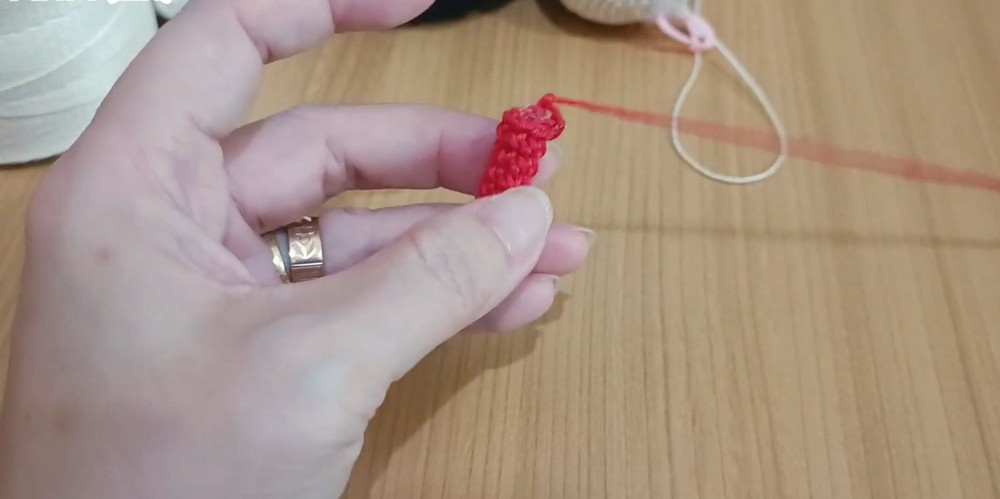
Round 5: Working BLO, 12 sc. (12)
Rounds 6–12: 12 sc around for 7 rounds. (12)
Round 13: [2 sc, 1 dec] x 3. (9)
Stuff bottom half lightly, leaving upper half empty so arm can rest flat against body. Pinch top flat and crochet 4 sc through both layers to close. Fasten off with long tail.
Sleeve Trim
Reattach White yarn to the front loops of Round 5 and crochet 12 sc around.
Legs
Make 2 legs, beginning with Black yarn for boots.
Round 1: 6 sc in MR. (6)
Round 2: 6 inc. (12)
Round 3: [1 sc, 1 inc] x 6. (18)
Round 4: Working BLO, 18 sc. (18)
Rounds 5–6: 18 sc around. (18)
Round 7: 6 sc, 3 dec, 6 sc. (15)
Round 8: 6 sc, 1 dec using invisible decrease over front center, 7 sc. (14)
Change to Red yarn during the final step of the last stitch of Round 8.
Round 9: Working BLO, 14 sc. (14)
Rounds 10–14: 14 sc around for 5 rounds. (14)
For the first leg, fasten off.
For the second leg, do not fasten off, since working yarn will continue directly into the joining section. Stuff both legs firmly.
Boot Trim
Reattach White yarn to the front loops of Round 9 on both legs and work 14 sl st or sc around the top of each boot.

Body
Continue with Red yarn from the second leg.
Round 15 — Joining Round: Ch 3 from second leg, join to first leg with sc, crochet 13 more sc around first leg, 3 sc across chain, 14 sc around second leg, 3 sc across opposite side of chain. (34)
Round 16: [16 sc, 1 inc] x 2. (36)
Round 17: [5 sc, 1 inc] x 6. (42)
Rounds 18–21: 42 sc around in Red. (42)
Change to Black yarn.
Rounds 22–23: 42 sc around. (42)
Change back to Red yarn.
Round 24: Working BLO, 42 sc. (42)
Round 25: [5 sc, 1 dec] x 6. (36)
Rounds 26–27: 36 sc around. (36)
Round 28: [4 sc, 1 dec] x 6. (30)
Rounds 29–30: 30 sc around. (30)
Round 31: [3 sc, 1 dec] x 6. (24)
Round 32: 24 sc around. (24)
Round 33: [2 sc, 1 dec] x 6. (18)
Fasten off. Stuff body firmly, paying special attention to hips and belly so body retains rounded shape.
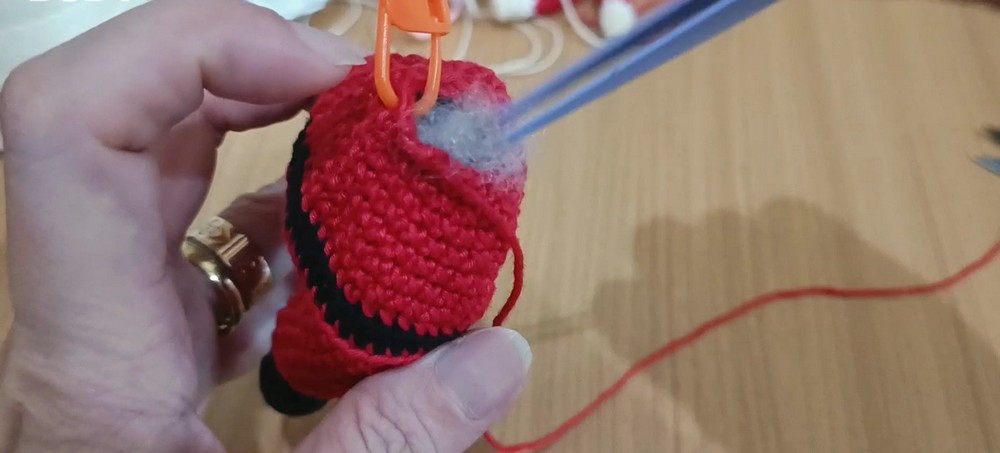
Jacket Trim
Reattach White yarn to front loops of Round 24 and crochet 42 sc around to form bottom jacket rim.
Belt Buckle
Using Yellow or Gold yarn and a yarn needle, embroider a square buckle over the front center of Black belt.

Beard
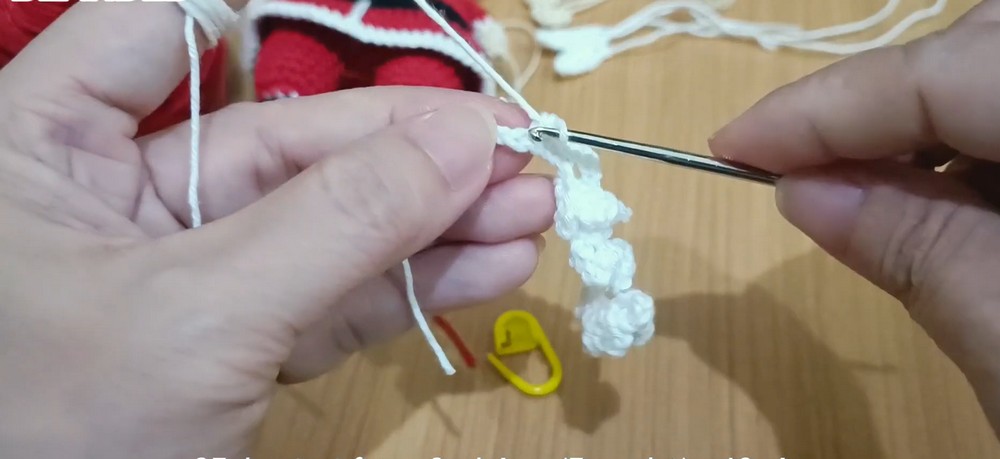
Use White yarn and work in flat rows.
Row 1: Ch 19, starting in the 2nd ch from the hook, 18 sc, ch 1, turn. (18)
Row 2: 1 dec, 14 sc, 1 dec, ch 1, turn. (16)
Row 3: 1 dec, 12 sc, 1 dec, ch 1, turn. (14)
Row 4: 1 dec, 10 sc, 1 dec, ch 1, turn. (12)
Row 5: 1 dec, 8 sc, 1 dec, ch 1, turn. (10)
Row 6: 1 dec, 6 sc, 1 dec, ch 1, turn. (8)
Row 7: 1 dec, 4 sc, 1 dec, ch 1, turn. (6)
Row 8: 1 dec, 2 sc, 1 dec, ch 1, turn. (4)
Row 9: 2 dec. (2)
Fasten off, leaving tail for sewing.
For extra beard texture, lightly brush White yarn fibers with a small pet brush after the piece is finished. Work gently so stitches remain intact.
Nose
Use skin-colored yarn.
Round 1: 6 sc in MR. (6)
Round 2: [2 sc, 1 inc] x 2. (8)
Round 3: 8 sc around. (8)
Fasten off, leaving tail for sewing.

Hat
Begin with White yarn for the hat brim.
Row 1: Ch 5, starting in the 2nd ch from the hook, 4 sc, ch 1, turn. (4)
Rows 2–42: 4 sc in BLO, ch 1, turn. (4)
Check band against Santa’s head as you work. Add or remove rows if needed so finished band fits snugly.
Join two short ends with sl sts to form band. Do not cut yarn.
Change to Red yarn.
Round 1: Crochet 42 sc evenly around long edge of band. (42)
Rounds 2–4: 42 sc around. (42)
Round 5: [5 sc, 1 dec] x 6. (36)
Rounds 6–7: 36 sc around. (36)
Round 8: [4 sc, 1 dec] x 6. (30)
Rounds 9–10: 30 sc around. (30)
Round 11: [3 sc, 1 dec] x 6. (24)
Rounds 12–13: 24 sc around. (24)
Round 14: [2 sc, 1 dec] x 6. (18)
Rounds 15–16: 18 sc around. (18)
Round 17: [1 sc, 1 dec] x 6. (12)
Rounds 18–19: 12 sc around. (12)
Round 20: 6 dec. (6)
Rounds 21–22: 6 sc around. (6)
Fasten off, weave tail through remaining 6 stitches, pull tightly to close opening, and weave in end. Attach white pom-pom to hat tip.

Assembly
Attach Head
Use long tail left on head, or suitable body tail, to sew head securely onto neck opening. Check that eyes face forward and align with center of belt buckle. Add small amount of extra stuffing immediately before fully closing seam if needed to prevent the head from flopping.
Add Nose
Sew nose horizontally centered between eyes, positioned lightly across Rounds 14 and 15.
Attach Beard
Place straight top edge of beard directly beneath nose. Curve both sides slightly upward toward outer lower corners of eyes, then sew firmly into place.
Attach Arms
Sew arms symmetrically to body sides, positioning them approximately one round below neckline seam.
Place Hat
Position hat over head. Hat may remain removable or be secured with small invisible stitches around inner White rim.
For classic Santa silhouette, fold hat tip toward one side and secure with a single stitch.

Finishing Check
Before displaying finished Santa, check that head sits firmly, eyes face forward, beard remains centered, belt buckle sits at front center, and both arms hang at matching heights. Make small positioning adjustments before trimming or hiding remaining sewing tails.





